- Choosing the Right Location for Planting Cotoneaster
- Sunlight
- Soil Type
- Moisture
- Climate
- Spacing
- Other Considerations
- Soil Preparation for Cotoneaster
- Planting Cotoneaster: Step-by-Step Guide
- 1. Choose the Right Location
- 2. Prepare the Soil
- 3. Dig a Hole
- 4. Amend the Soil
- 5. Remove the Plant from Its Container
- 6. Place the Plant in the Hole
- 7. Backfill the Hole
- 8. Water Thoroughly
- 9. Mulch the Plant
- 10. Regular Care
- Watering and Fertilizing Cotoneaster
- Watering
- Fertilizing
- Pruning and Training Techniques for Cotoneaster
- Pruning Cotoneaster Shrubs
- Training Cotoneaster Trees
- Conclusion
- Common Types of Cotoneaster
- 1. Cotoneaster horizontalis
- 2. Cotoneaster dammeri
- 3. Cotoneaster lacteus
- 4. Cotoneaster franchetii
- 5. Cotoneaster microphyllus
- Popular Varieties of Cotoneaster for Different Landscapes
- 1. Cotoneaster dammeri (Bearberry cotoneaster)
- 2. Cotoneaster horizontalis (Rock cotoneaster)
- 3. Cotoneaster lacteus (Red Clusterberry)
- 4. Cotoneaster lucidus (Shiny Cotoneaster)
- 5. Cotoneaster franchetii (Franchet’s Cotoneaster)
- 6. Cotoneaster salicifolius (Willow-leaf Cotoneaster)
- Common Pest and Disease Problems with Cotoneaster
- 1. Aphids
- 2. Powdery Mildew
- 3. Fire Blight
- 4. Leaf Spot
- 5. Spider Mites
- Questions and Answers:
- What is cotoneaster and how is it planted?
- What are the different types of cotoneaster varieties?
- What are the best growing conditions for cotoneaster?
- How often should I prune my cotoneaster shrub?
- Are cotoneaster shrubs invasive?
- Videos: How to style cotoneaters for bonsai from nursery stock
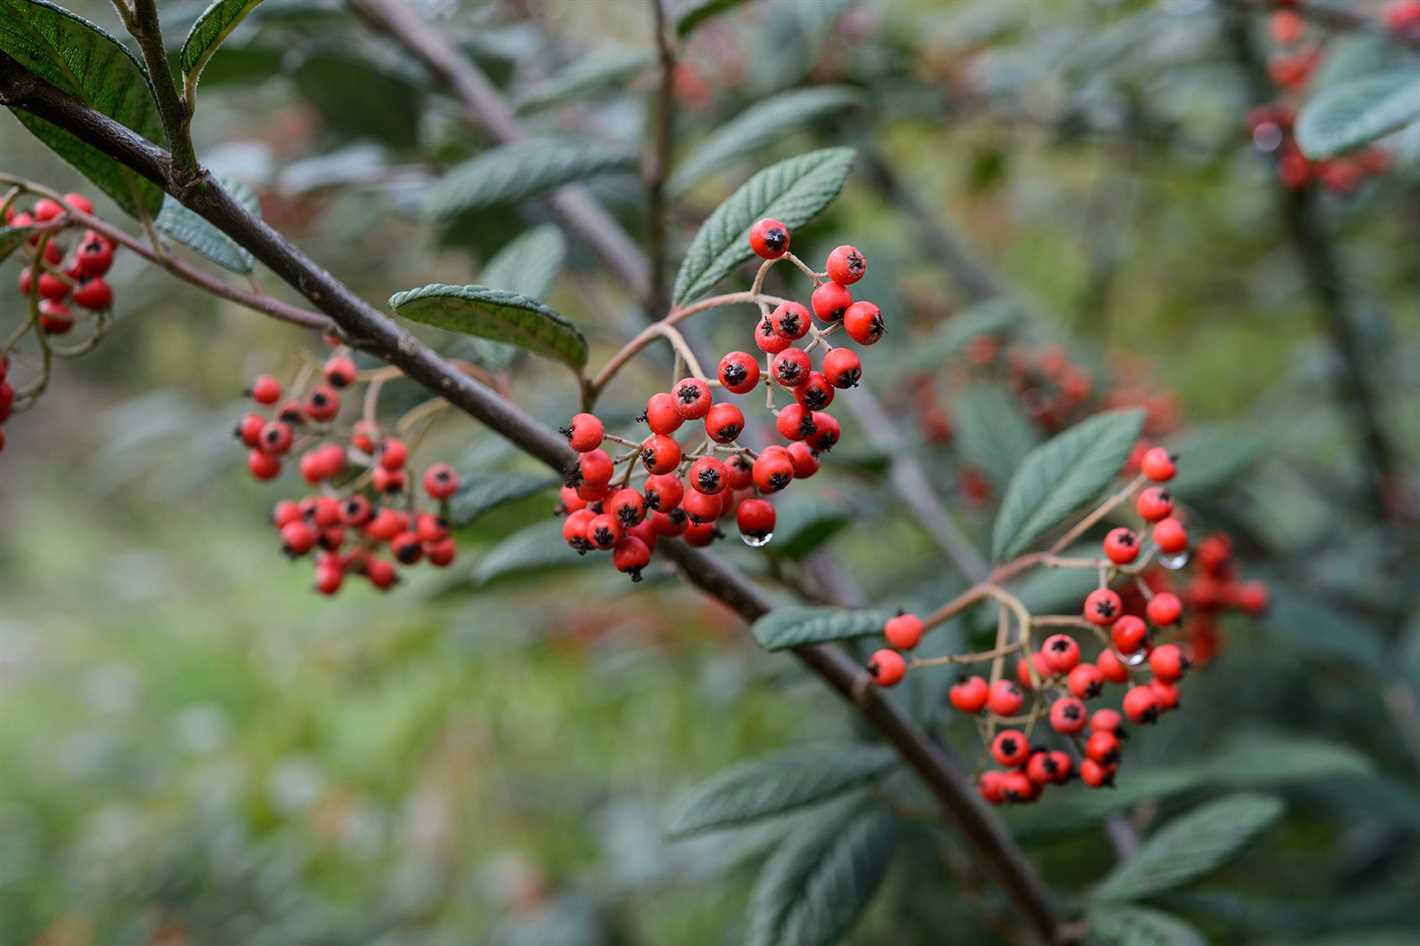
The cotoneaster plant is a versatile and popular choice for gardens and landscapes. With its attractive foliage, showy flowers, and vibrant berries, it adds beauty and interest to any outdoor space. In this planting and cultivation guide, we will explore the different types and varieties of cotoneaster, as well as offer tips for successful growth and care.
Cotoneaster plants belong to the Rosaceae family and are native to regions in Asia, Europe, and Africa. They are known for their ability to tolerate a wide range of growing conditions, making them suitable for various climates and soil types. Whether you are looking for a low-growing ground cover or a tall shrub, there is a cotoneaster variety to suit your needs.
Some of the most popular types of cotoneaster include the Cotoneaster horizontalis, which features horizontally spreading branches and bright red berries, and the Cotoneaster lacteus, which has glossy leaves and clusters of white flowers. Other varieties such as the Cotoneaster dammeri, Cotoneaster franchetii, and Cotoneaster salicifolius offer different growth habits and ornamental features.
To successfully grow and care for cotoneaster, it is important to choose a suitable location with well-drained soil and full sun or partial shade. Proper watering, pruning, and fertilizing are also essential for maintaining the health and beauty of the plant. With the right care, cotoneaster can thrive and enhance the aesthetic appeal of your garden or landscape.
In conclusion, cotoneaster plants are a wonderful addition to any outdoor space, offering attractive foliage, showy flowers, and vibrant berries. Understanding the different types and varieties, as well as the proper planting and cultivation techniques, will help you successfully grow and care for this versatile plant.
Choosing the Right Location for Planting Cotoneaster
When it comes to planting cotoneaster, choosing the right location is crucial for the health and growth of the plant. Cotoneaster is a versatile plant that can tolerate a variety of growing conditions, but there are some important factors to consider when selecting the perfect spot for your cotoneaster.
Sunlight
Cotoneaster plants thrive in full sun to partial shade, so it’s important to choose a location with adequate sunlight. Ideally, the plant should receive at least 6 hours of direct sunlight each day. Avoid planting cotoneaster in areas with excessive shade, as this can result in poor growth and less vibrant foliage.
Soil Type
Cotoneaster can tolerate a wide range of soil types, but it prefers well-draining soil. Avoid planting cotoneaster in areas with heavy clay soil or soil that tends to retain water, as this can lead to root rot. If your soil is heavy and poorly draining, consider amending it with organic matter, such as compost, to improve its drainage capabilities.
Moisture
While cotoneaster is drought-tolerant once established, it’s important to ensure that the plant receives adequate moisture, especially during its first year of growth. Avoid planting cotoneaster in areas prone to waterlogging or near areas with poor drainage. Additionally, ensure that the planting location provides good airflow to help prevent the development of fungal diseases.
Climate
Cotoneaster is a hardy plant that can tolerate a wide range of climates, but some varieties may have specific climate requirements. Consider the climate in your area and select a variety of cotoneaster that is well-suited for your specific climate zone. It’s also important to consider the potential for extreme temperature fluctuations or frost in your area, as this can impact the plant’s growth and survival.
Spacing
When planting cotoneaster, ensure that you provide enough spacing between individual plants to allow for adequate airflow and future growth. Spacing requirements will vary depending on the specific variety, so be sure to research the recommended spacing for the cotoneaster variety you are planting.
Other Considerations
In addition to the factors mentioned above, consider the overall aesthetics of the chosen location. Cotoneaster can be used as a ground cover, hedge, or specimen plant, so choose a location that complements its intended purpose. Take into account any potential obstructions or competition from nearby trees or plants that may overshadow or compete for resources with the cotoneaster.
By carefully selecting the right location for planting cotoneaster, you can ensure optimal growth, health, and overall success of your plants.
Soil Preparation for Cotoneaster
Proper soil preparation is vital for the successful growth and development of cotoneaster plants. These plants thrive in well-draining soil that is rich in organic matter. Here are the steps to prepare the soil for planting cotoneaster:
- Choose the right location: Cotoneaster plants prefer full sun to partial shade. Select a location that receives at least six hours of direct sunlight per day.
- Clear the area: Remove any weeds, grass, or debris from the planting area. Use a rake or garden hoe to loosen the top layer of soil.
- Test the soil: Conduct a soil test to determine its pH level and nutrient content. Cotoneaster plants prefer slightly acidic to neutral soil with a pH range of 6.0 to 7.0.
- Amend the soil: Based on the results of the soil test, amend the soil if necessary. If the soil is too acidic, add lime to raise the pH. If it is too alkaline, add sulfur or peat moss to lower the pH. Incorporate organic matter such as compost or well-rotted manure to improve soil fertility and drainage.
- Dig the planting hole: Dig a hole that is twice as wide and deep as the root ball of the cotoneaster plant. This will provide enough space for the roots to spread out.
- Plant the cotoneaster: Place the cotoneaster plant in the center of the hole, making sure that the top of the root ball is level with or slightly above the soil surface. Backfill the hole with amended soil, gently firming it around the roots.
- Water thoroughly: After planting, water the cotoneaster thoroughly to settle the soil and provide moisture to the roots. Apply a layer of mulch around the base of the plant to conserve moisture and suppress weed growth.
By following these soil preparation steps, you can create an ideal growing environment for your cotoneaster plants and ensure their long-term health and vitality.
Planting Cotoneaster: Step-by-Step Guide
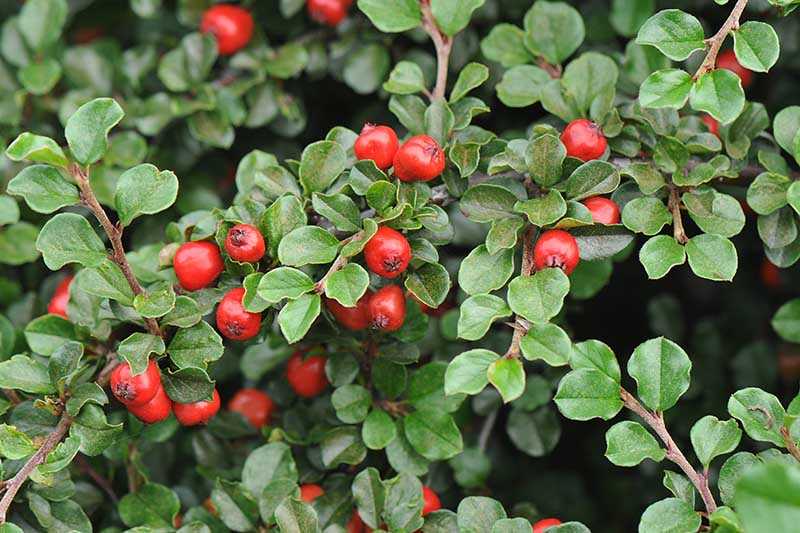
Planting cotoneaster can be a rewarding experience, adding beauty and interest to your garden. Follow these 10 simple steps to ensure a successful planting:
1. Choose the Right Location
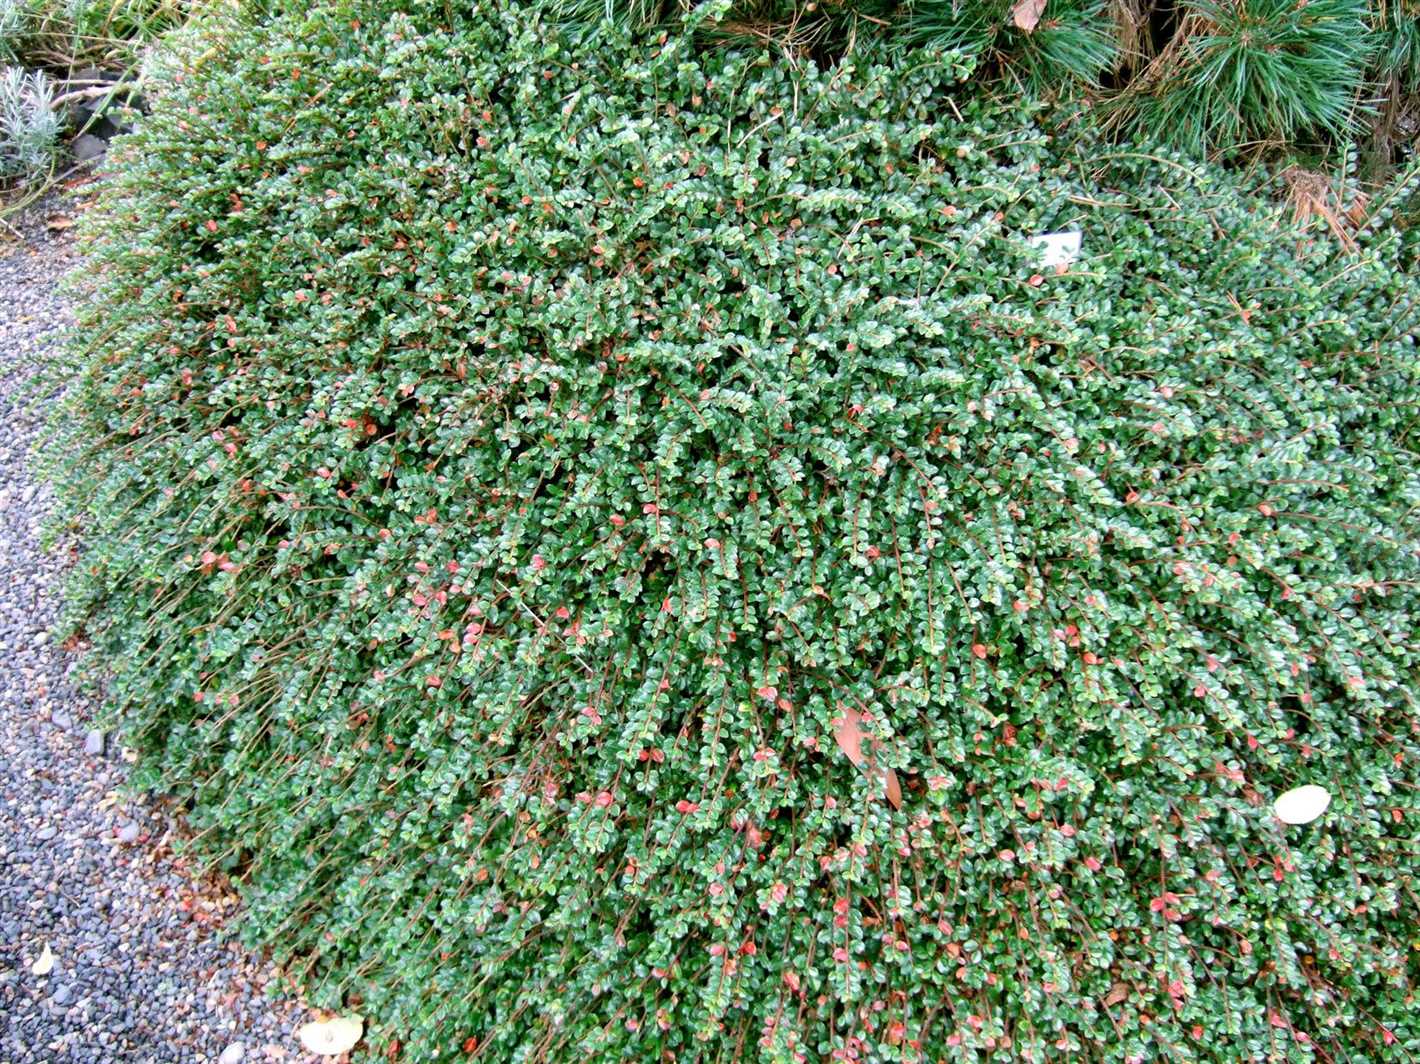
Select a location that receives full sun to partial shade. Cotoneaster can tolerate a wide range of soil conditions, but it prefers well-draining soil.
2. Prepare the Soil
Loosen the soil in the planting area to a depth of at least 12 inches. Remove any weeds or grass from the area.
3. Dig a Hole
Dig a hole that is wide and deep enough to accommodate the root ball of the cotoneaster plant. The hole should be at least twice as wide as the root ball.
4. Amend the Soil
If your soil is heavy clay or sandy, mix in some organic matter such as compost or well-rotted manure to improve the soil structure and fertility.
5. Remove the Plant from Its Container
Carefully remove the cotoneaster plant from its container, being careful not to damage the roots.
6. Place the Plant in the Hole
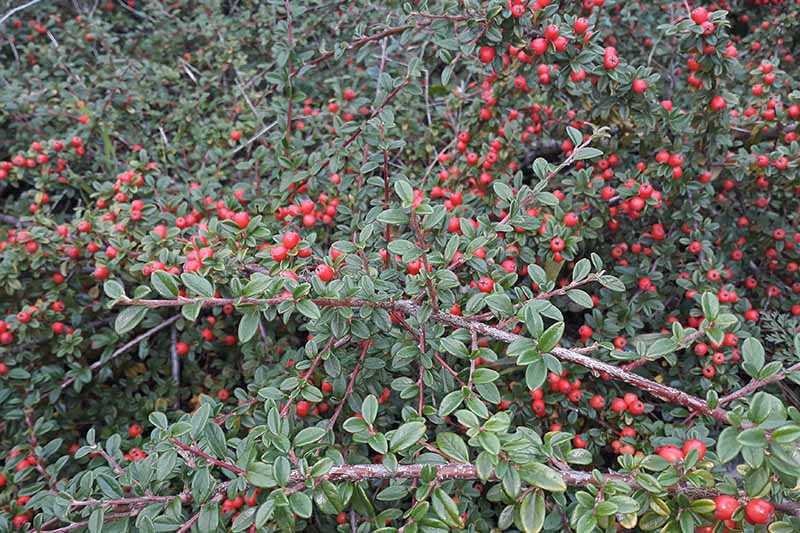
Place the cotoneaster plant in the hole, making sure that the top of the root ball is level with or slightly above the surrounding soil.
7. Backfill the Hole
Fill the hole with soil, gently firming it around the root ball. Make sure the plant is straight and centered in the hole.
8. Water Thoroughly
After planting, water the cotoneaster thoroughly to settle the soil and eliminate any air pockets around the roots. Keep the soil evenly moist, but not waterlogged, during the first few weeks after planting.
9. Mulch the Plant
Apply a layer of mulch around the base of the cotoneaster plant to help conserve moisture and suppress weeds. Keep the mulch a few inches away from the stem to prevent rot.
10. Regular Care
Provide regular care for your cotoneaster plant, including watering during dry spells, pruning to shape and control growth, and fertilizing as needed. Monitor for pest or disease problems and take appropriate action if necessary.
Watering and Fertilizing Cotoneaster
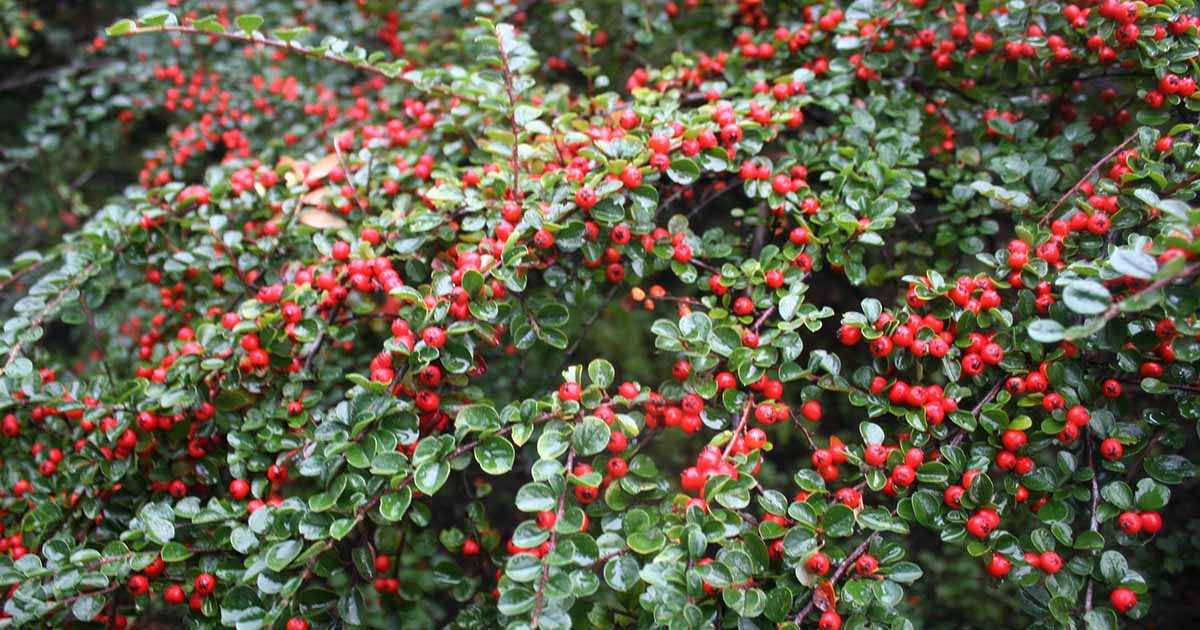
Watering and fertilizing are essential for the healthy growth and development of cotoneaster plants. Here are some guidelines to follow:
Watering
Cotoneaster plants generally have moderate water requirements. It is important to keep the soil evenly moist, especially during the first year of planting. After that, they can tolerate some drought and are relatively tolerant of various soil conditions.
Here are some watering tips:
- Water deeply and thoroughly, ensuring that the entire root system gets soaked.
- Apply water at the base of the plant, avoiding overhead watering to prevent disease.
- Watering should be done early in the morning or late in the evening to reduce evaporation.
- During dry periods, monitor the soil moisture and water when the top inch of soil feels dry.
- Be cautious not to overwater, as cotoneaster plants do not like to sit in waterlogged soil.
Fertilizing
Cotoneaster plants generally do not require heavy fertilization. However, applying fertilizer can help promote healthy growth and enhance flowering and fruit production. Here are some fertilizer guidelines:
- Before planting, incorporate organic matter or compost into the soil to improve fertility.
- In late winter or early spring, apply a balanced slow-release fertilizer according to the package instructions.
- Avoid applying excessive amounts of fertilizer, as it can lead to excessive vegetative growth and reduced fruit production.
- If the plants show signs of nutrient deficiency, such as yellowing leaves or poor growth, a foliar spray of liquid fertilizer may be applied.
- Always water the plants well after applying fertilizer to prevent burning the roots.
By following these watering and fertilizing guidelines, you can ensure the healthy growth and development of your cotoneaster plants.
Pruning and Training Techniques for Cotoneaster
Pruning Cotoneaster Shrubs
Pruning is an important aspect of cotoneaster care, as it helps maintain the desired shape and size of the shrubs, promotes healthy growth, and enhances flowering and fruiting.
Here are some basic pruning techniques for cotoneaster shrubs:
- Regular pruning: Cotoneaster shrubs should be pruned regularly to remove dead, damaged, or diseased branches. This should be done in late winter or early spring before the new growth begins.
- Shaping pruning: To maintain the desired shape of the shrubs, it is important to prune them for shaping. This can be done throughout the growing season, but the majority of shaping should be done in winter or early spring.
- Thinning pruning: Thinning pruning involves selectively removing some of the older, congested branches to improve air circulation and allow more light to reach the inner parts of the shrubs. This should be done in late winter or early spring.
- Renewal pruning: If your cotoneaster shrub becomes too leggy or overgrown, renewal pruning can be done to rejuvenate it. This involves cutting back the entire shrub to about 6-12 inches above the ground in late winter or early spring.
- Pruning after flowering: Some cotoneaster varieties produce flowers followed by berries. If your cotoneaster produces berries, it is best to prune it immediately after the flowering period to ensure maximum berry production.
Training Cotoneaster Trees
Cotoneaster trees can be trained to grow against walls or fences, or into specific shapes.
Here are some training techniques for cotoneaster trees:
- Wall training: To train a cotoneaster tree against a wall or fence, start by selecting a young tree with flexible branches. Attach the branches to the wall or fence using soft ties or wires, and gently bend and secure them into the desired shape. Regular pruning is necessary to maintain the shape.
- Espalier training: Espalier training involves training the cotoneaster tree to grow in a flat, two-dimensional form against a wall or fence. This is done by pruning and tying the branches horizontally to a support structure. Regular pruning and tying are required to maintain the desired form.
- Twiggy tree training: Cotoneaster trees can also be trained into a more formal shape, resembling a small tree. This is achieved by pruning and shaping the branches in a more vertical and symmetrical manner. Regular pruning is needed to maintain the shape.
Conclusion
Proper pruning and training techniques are essential for the healthy growth and maintenance of cotoneaster shrubs and trees. Regular pruning helps remove dead or diseased branches and promotes flowering and fruiting, while training techniques allow you to shape and direct the growth of the plants according to your preferences.
Remember to prune the shrubs in late winter or early spring before the new growth begins, and to prune trees throughout the growing season, focusing on shaping and maintaining the desired form. With proper care and attention, your cotoneaster plants will thrive and bring beauty to your garden.
Common Types of Cotoneaster
Cotoneaster is a versatile shrub that comes in a variety of different types and varieties. Whether you’re looking for a ground cover or a border plant, there is a cotoneaster variety that will suit your needs. Here are some of the most common types of cotoneaster:
1. Cotoneaster horizontalis
This is one of the most popular and easily recognizable types of cotoneaster. It has a spreading habit and grows low to the ground, making it ideal for use as a ground cover. The branches of this variety spread out horizontally, giving it a distinctive appearance. It produces tiny white or pink flowers in the spring, followed by red berries in the fall.
2. Cotoneaster dammeri
Cotoneaster dammeri is another common variety that is often used as a ground cover. It forms a dense mat of foliage and has a trailing habit, making it perfect for cascading down walls or hillsides. It produces small white flowers in the spring and bright red berries in the fall.
3. Cotoneaster lacteus
This variety is known for its large, glossy leaves and upright growth habit. It can grow quite tall and is often used as a hedge or screening plant. Cotoneaster lacteus produces clusters of small white flowers in the spring, followed by bright red berries in the fall that persist into winter.
4. Cotoneaster franchetii
This type of cotoneaster has a more upright and arching growth habit, making it a great choice for adding height and structure to your garden. It has small green leaves and produces white or pink flowers in the spring, followed by red berries in the fall.
5. Cotoneaster microphyllus
This variety is known for its small, finely textured foliage and compact growth habit. It is often used as a border or container plant. Cotoneaster microphyllus produces small white flowers in the spring and red berries in the fall.
These are just a few examples of the common types of cotoneaster available. With such a wide range of varieties to choose from, you’re sure to find one that suits your gardening needs.
Popular Varieties of Cotoneaster for Different Landscapes
Cotoneaster is a versatile plant that can be used in various landscapes to add beauty and interest. Here are some popular varieties of cotoneaster that are suitable for different types of landscapes:
1. Cotoneaster dammeri (Bearberry cotoneaster)
- Low-growing and spreading variety
- Excellent for ground cover
- Produces small white flowers in spring
- Berries turn red or orange in autumn
- Tolerant of various soil conditions
2. Cotoneaster horizontalis (Rock cotoneaster)
- Low-growing and spreading variety with horizontal branches
- Creates an attractive cascading effect
- Produces small pink or white flowers in spring
- Leaves turn fiery red in autumn
- Best used for rock gardens or as a ground cover
3. Cotoneaster lacteus (Red Clusterberry)
- Medium-sized shrub with arching branches
- Leaves are glossy and dark green
- Produces small white flowers in late spring
- Clusters of red berries last into winter
- Can be used as a hedge or specimen plant
4. Cotoneaster lucidus (Shiny Cotoneaster)
- Tall shrub with upright growth habit
- Leaves are shiny and dark green
- Produces small white or pink flowers in spring
- Berries turn bright red in autumn
- Great for creating privacy hedges
5. Cotoneaster franchetii (Franchet’s Cotoneaster)
- Medium-sized shrub with arching branches
- Foliage is gray-green and silver underneath
- Produces small white flowers in late spring
- Berries turn reddish-orange in autumn
- Works well as a specimen plant or in a mixed border
6. Cotoneaster salicifolius (Willow-leaf Cotoneaster)
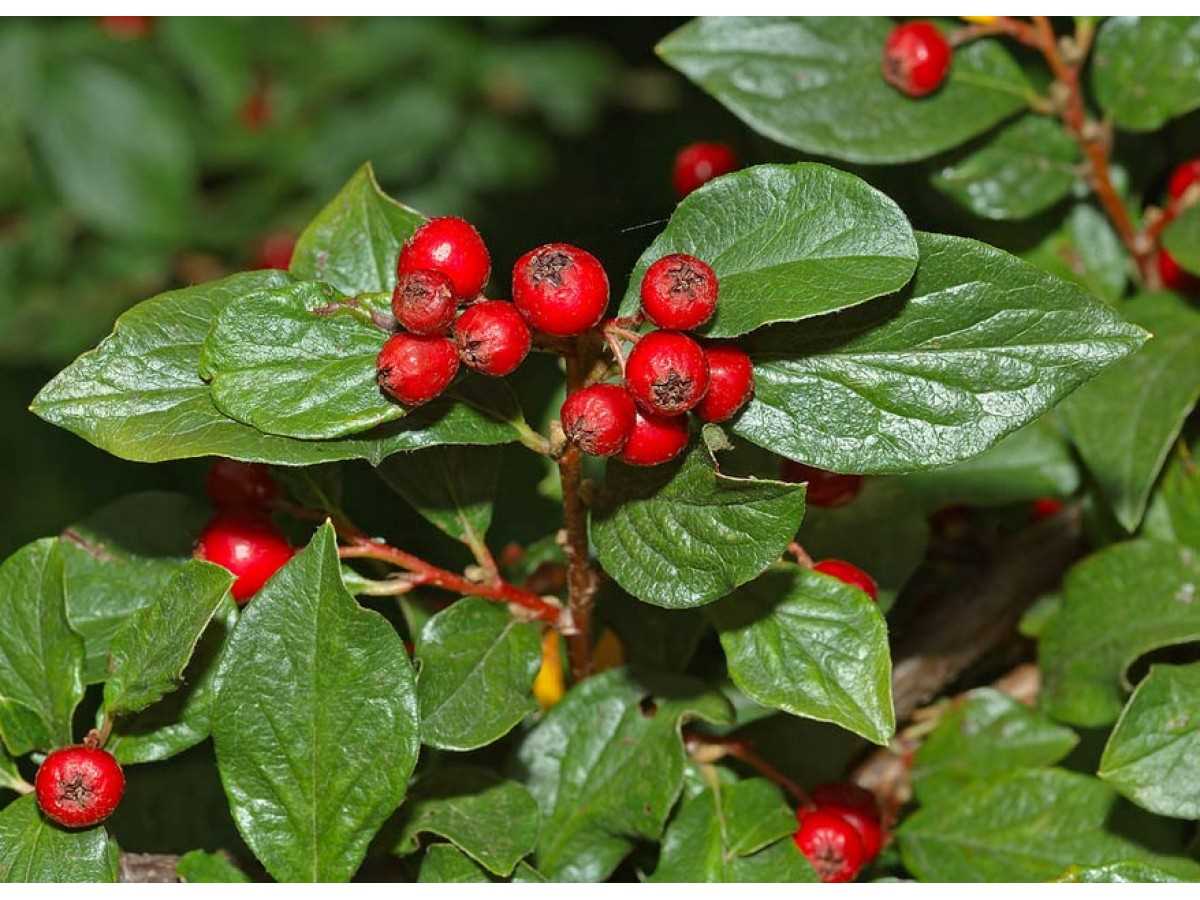
- Erect and spreading shrub with willow-like leaves
- Produces small white flowers in spring
- Berries turn bright red in autumn
- Tolerant of a wide range of soil conditions
- Great for erosion control on slopes
These are just a few examples of popular cotoneaster varieties that you can consider for different landscaping needs. Each variety offers unique characteristics, so choose the one that suits your preferences and the specific requirements of your landscape.
Common Pest and Disease Problems with Cotoneaster
Cotoneasters are generally hardy plants that are resistant to many pests and diseases. However, there are a few common problems that you may encounter when growing cotoneaster:
1. Aphids
Aphids are small insects that feed on the sap of cotoneaster leaves and shoots. They can cause distortion and discoloration of the leaves. To control aphids, you can use insecticidal soap or a natural insecticide. Regularly inspect your plants and remove any affected leaves or shoots to prevent the infestation from spreading.
2. Powdery Mildew
Powdery mildew is a fungal disease that commonly affects cotoneaster plants. It appears as a white, powdery coating on the leaves, stems, and flowers. To control powdery mildew, ensure good air circulation around the plants by pruning any overcrowded branches. You can also use a fungicide specifically designed for powdery mildew control.
3. Fire Blight
Fire blight is a bacterial disease that affects cotoneaster and other members of the Rosaceae family. It causes wilting, blackening, and a burnt appearance of the leaves, branches, and fruit. There is no cure for fire blight, so infected plants should be removed and destroyed to prevent the spread of the bacteria.
4. Leaf Spot
Leaf spot is a common fungal disease that causes circular brown or black spots on cotoneaster leaves. The spots may enlarge and merge, leading to premature leaf drop. To control leaf spot, remove and destroy affected leaves, and avoid overhead watering to prevent the spread of fungal spores.
5. Spider Mites
Spider mites are tiny pests that feed on cotoneaster leaves, causing discoloration and webbing. To control spider mites, regularly hose down the plants to remove any mites and their webs. You can also use insecticidal soap or a natural miticide if the infestation is severe.
| Pest/Disease | Symptoms | Control |
|---|---|---|
| Aphids | Distorted, discolored leaves | Insecticidal soap or natural insecticide |
| Powdery Mildew | White, powdery coating on leaves, stems, and flowers | Good air circulation, fungicide |
| Fire Blight | Wilting, blackening, burnt appearance of leaves, branches, and fruit | Remove and destroy infected plants |
| Leaf Spot | Circular brown or black spots on leaves | Remove affected leaves, avoid overhead watering |
| Spider Mites | Discoloration, webbing on leaves | Hose down plants, insecticidal soap or natural miticide |
Questions and Answers:
What is cotoneaster and how is it planted?
Cotoneaster is a type of shrub that belongs to the Rosaceae family. It is planted by preparing the soil, digging a hole slightly larger than the root ball of the plant, placing the plant in the hole, and backfilling it with soil.
What are the different types of cotoneaster varieties?
There are several different types of cotoneaster varieties, including cotoneaster horizontalis, cotoneaster lucidus, cotoneaster dammeri, cotoneaster franchetii, and cotoneaster salicifolius.
What are the best growing conditions for cotoneaster?
Cotoneaster thrives in full sun to partial shade and prefers well-draining soil. It can tolerate a wide range of soil types and pH levels. It is important to water the plant regularly during its first year of growth.
How often should I prune my cotoneaster shrub?
Cotoneaster shrubs should be pruned annually in late winter or early spring before new growth begins. Dead or damaged branches can be pruned at any time of the year.
Are cotoneaster shrubs invasive?
Some cotoneaster species can be considered invasive in certain regions. It is important to check with local authorities or gardening experts to determine if a specific cotoneaster variety is invasive in your area.


