- Pepper Seedlings
- Introduction
- Step 1: Choosing the right seeds
- Step 2: Starting seeds indoors
- Step 3: Providing adequate light
- Step 4: Regular watering
- Step 5: Transplanting into larger containers
- Step 6: Hardening off and transplanting outdoors
- Steps for Healthy Sprouts and Strong Plants
- 1. Seed Selection and Preparation
- 2. Seed Starting Mix
- 3. Sowing Seeds
- 4. Watering and Temperature
- 5. Providing Light
- 6. Transplanting and Hardening Off
- Step 1: Choosing the Right Seeds
- Select varieties suitable for your climate and preferences
- Step 2: Preparing the Soil
- Ensure well-drained soil with organic matter
- Step 3: Starting Seeds Indoors
- Materials Needed:
- Instructions:
- Provide sufficient light, warmth, and moisture
- Step 4: Transplanting Seedlings
- 1. Timing
- 2. Preparation
- 3. Hardening Off
- 4. Transplanting
- 5. Watering
- 6. Aftercare
- Wait until after the last frost date and harden off seedlings
- “Question-Answer”
- How long does it take for pepper seedlings to sprout?
- What is the best soil mix for pepper seedlings?
- Can I use regular potting soil for pepper seedlings?
- How often should I water my pepper seedlings?
- When should I transplant my pepper seedlings?
- How can I prevent damping off in my pepper seedlings?
- “Video” 8 POWERFUL HOMEMADE ROOTING HORMONES| Natural Rooting Stimulants for Gardening
Starting pepper seedlings is an exciting and rewarding process for any gardener. Whether you’re a beginner or a seasoned pro, these six steps will help you achieve healthy sprouts and strong plants. From selecting the right seeds to providing optimal growing conditions, each step is crucial in ensuring a successful pepper harvest.
1. Choosing the Right Seeds: When it comes to pepper seedlings, choosing the right seeds is key. Look for varieties that are well-suited to your climate and growing conditions. Consider factors such as heat tolerance, disease resistance, and flavor preferences. Whether you prefer sweet bell peppers or fiery hot chili peppers, there’s a variety out there for every taste.
2. Starting Seeds Indoors: While peppers can be directly sown into the garden, starting seeds indoors gives them a head start and increases the chances of success. Sow the seeds in seed trays or small pots filled with a lightweight, well-draining seed starting mix. Keep the soil consistently moist, and provide warmth and adequate lighting to encourage germination.
3. Providing the Right Environment: Pepper seedlings thrive in warm and sunny conditions. Maintain a temperature of around 70-80°F (21-27°C) during the day and 60-70°F (15-21°C) at night. Place the seedlings near a south-facing window or under fluorescent grow lights for at least 12-14 hours of light per day. Keep the humidity level around 50-70% to prevent damping off.
4. Thinning and Transplanting: Once the seedlings have developed their first true leaves, it’s important to thin them out to allow for proper airflow and prevent crowding. Gently snip off the weaker seedlings at soil level, leaving the strongest ones to grow. When the seedlings are about 2-3 inches tall and the outside temperature stays consistently above 50°F (10°C), they can be transplanted into larger containers or directly into the garden.
5. Hardening Off: Before transplanting your pepper seedlings outdoors, it’s essential to harden them off. Gradually introduce the seedlings to outdoor conditions by placing them outside for a few hours each day, starting with a sheltered spot and gradually increasing sun exposure and duration. This process helps the seedlings adjust to the harsher outdoor environment.
6. Proper Care and Maintenance: Once your pepper seedlings are in the garden, proper care and maintenance are crucial for their growth and development. Water the plants regularly, keeping the soil evenly moist but not soggy. Mulch around the plants to conserve moisture and suppress weeds. Support the plants with stakes or cages as they grow taller. Prune them if necessary to promote bushier growth and higher yields. And don’t forget to fertilize regularly to provide the nutrients they need.
Following these six steps will set you on the path to success with your pepper seedlings. From selecting the right seeds to providing proper care, you’ll be rewarded with healthy sprouts and strong plants that will produce a bountiful harvest of delicious, homegrown peppers.
Pepper Seedlings
Introduction
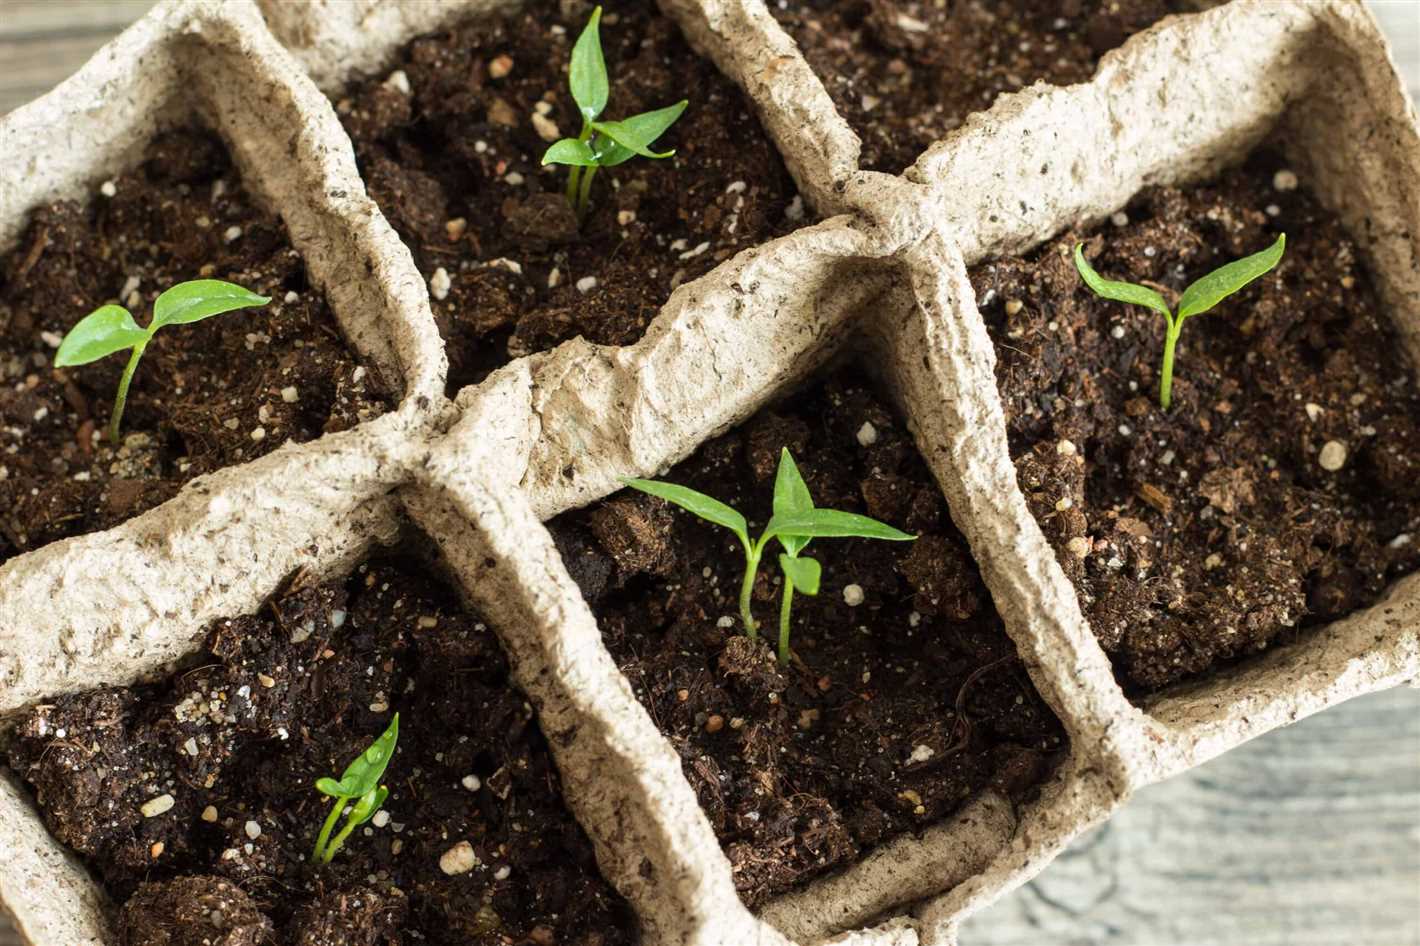
Growing pepper seedlings is a rewarding and satisfying process that requires proper care and attention. By following a few simple steps, you can ensure healthy sprouts and strong plants that will eventually provide you with an abundant harvest of flavorful peppers. In this guide, we will take you through the necessary steps to successfully grow pepper seedlings.
Step 1: Choosing the right seeds
Select high-quality pepper seeds from a reputable source. Look for seeds that are suited to your climate and desired pepper variety. It’s also important to choose seeds that are fresh to increase the chances of successful germination.
Step 2: Starting seeds indoors
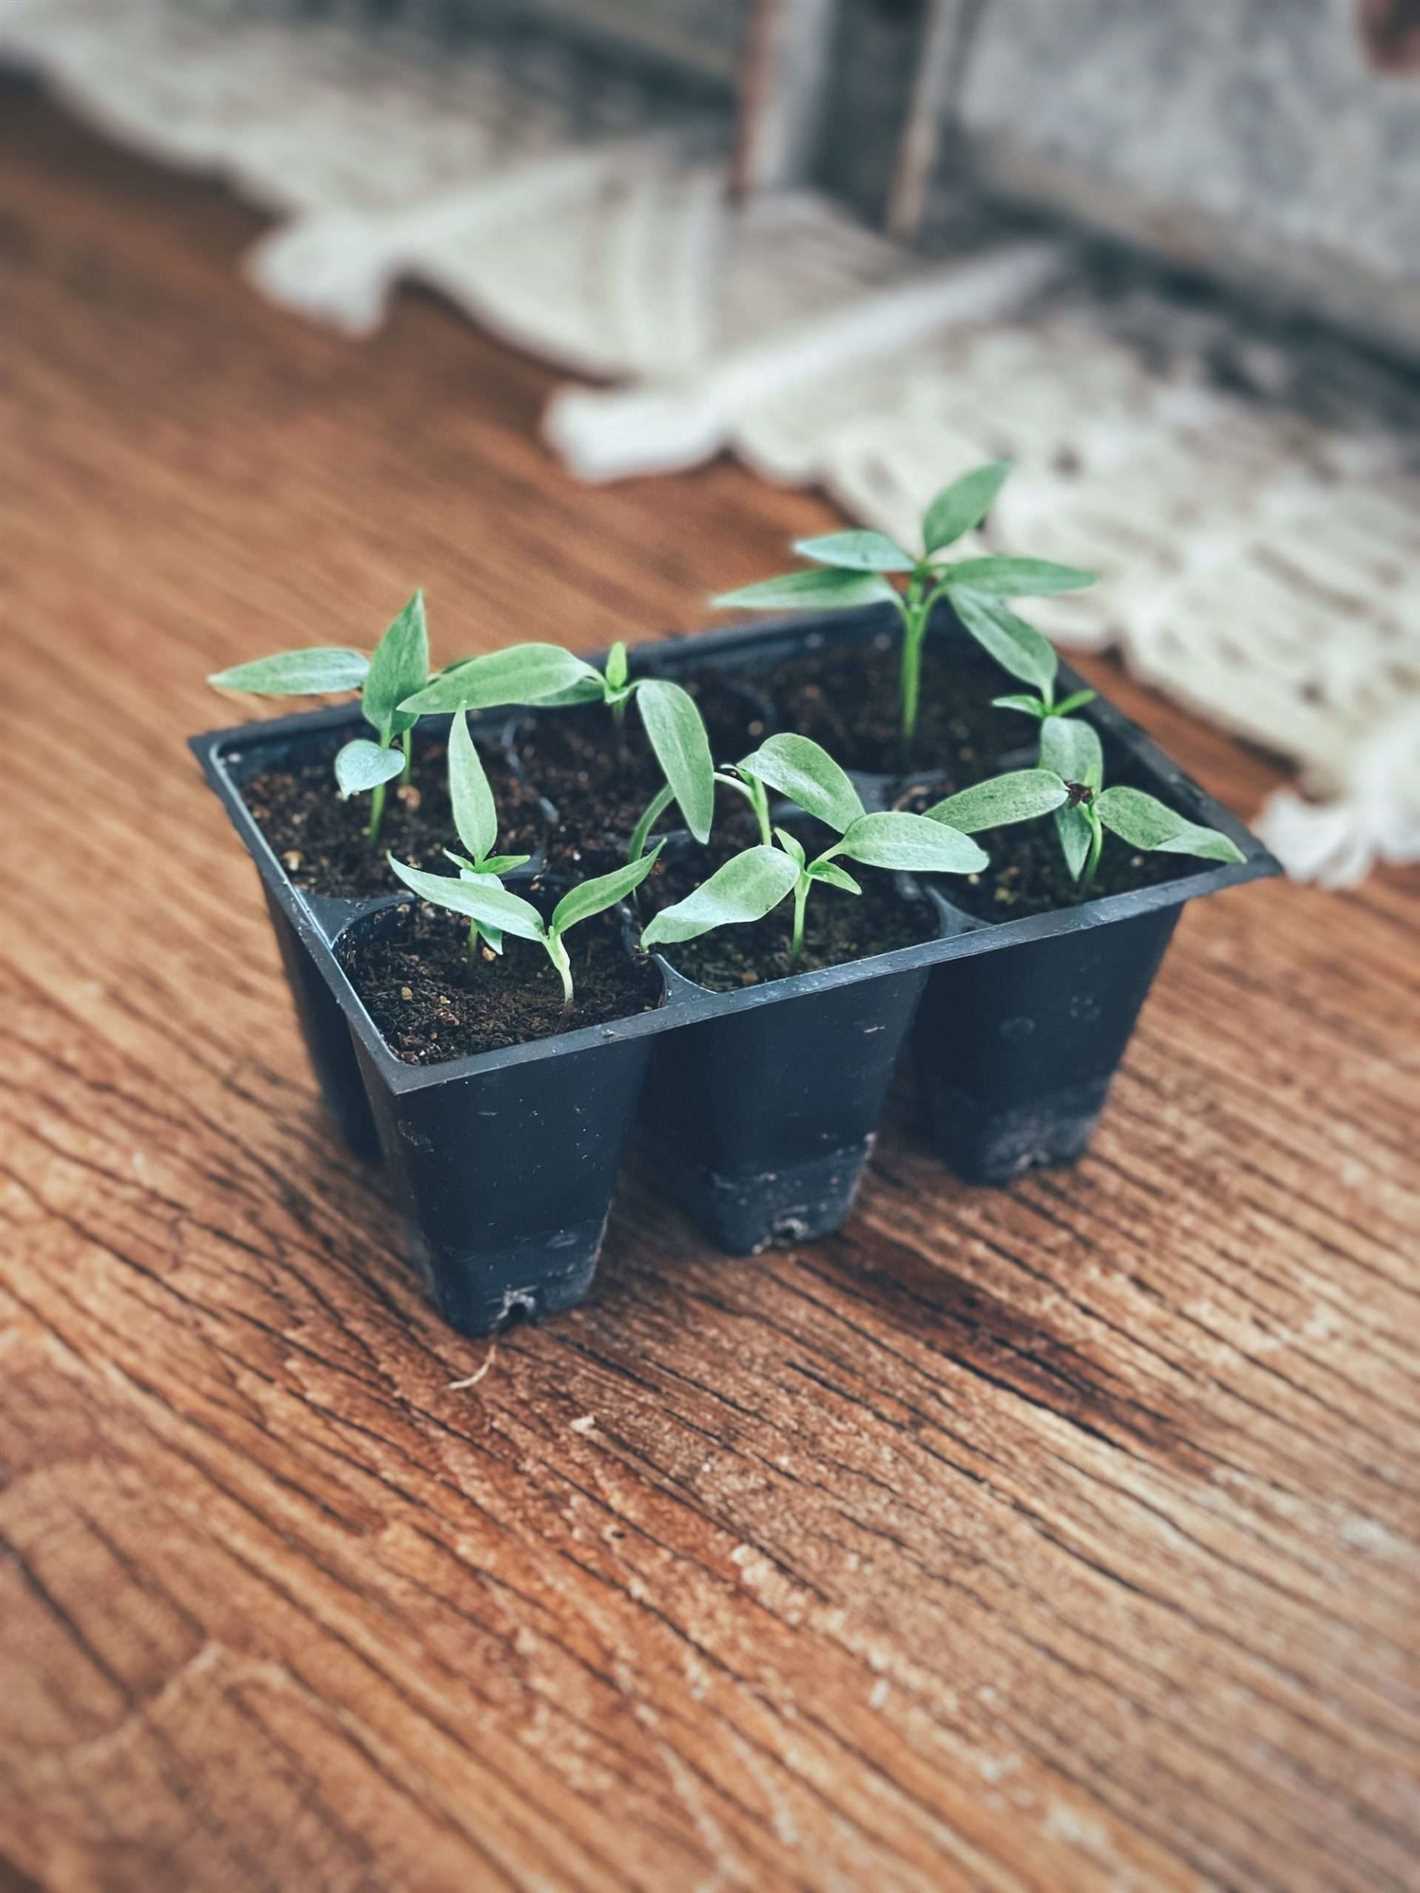
Pepper seeds require warm temperatures to germinate. Start your seeds indoors, approximately 8-10 weeks before the last expected frost date in your area. Use seed trays or pots filled with a well-draining seed starting mix. Plant the seeds at a depth of ¼ inch and keep the soil consistently moist until germination occurs.
Step 3: Providing adequate light
Once the pepper seeds have germinated, they require ample light for proper growth. Place the seedlings near a south-facing window or under grow lights. Aim for at least 12-14 hours of light each day to promote healthy and strong growth.
Step 4: Regular watering
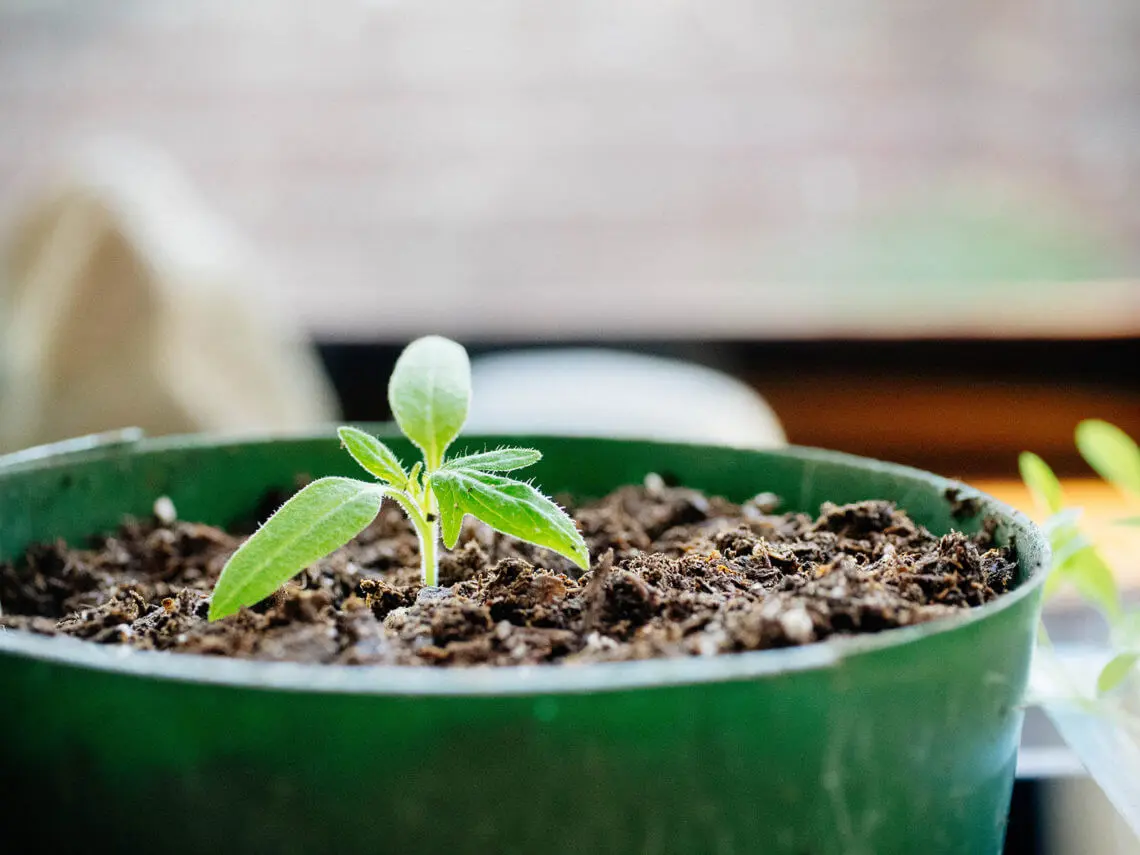
Water the pepper seedlings regularly, keeping the soil evenly moist but not waterlogged. Avoid overwatering as it can lead to root rot and other diseases. Check the moisture level of the soil regularly to ensure it is not drying out.
Step 5: Transplanting into larger containers
Once the pepper seedlings have developed a few sets of true leaves, it’s time to transplant them into larger containers. Choose pots that provide enough space for the roots to grow and use a well-draining potting mix. Gently remove the seedlings from their original containers and plant them at the same depth in the new pots. Water thoroughly after transplanting.
Step 6: Hardening off and transplanting outdoors
Prior to transplanting your pepper seedlings into the garden, it’s important to harden them off. This means gradually acclimating them to outdoor conditions by exposing them to increasing periods of sunlight and outdoor temperatures. Start by placing them outdoors for a few hours each day and gradually increase the duration over the course of a week. Once the seedlings are hardened off, transplant them into the garden, spacing them according to the specific pepper variety.
By following these six steps, you can ensure healthy and strong pepper seedlings that will thrive and provide you with a bountiful pepper harvest. Remember to monitor their progress, provide adequate care, and enjoy the satisfaction of growing your own peppers from seed!
Steps for Healthy Sprouts and Strong Plants
1. Seed Selection and Preparation
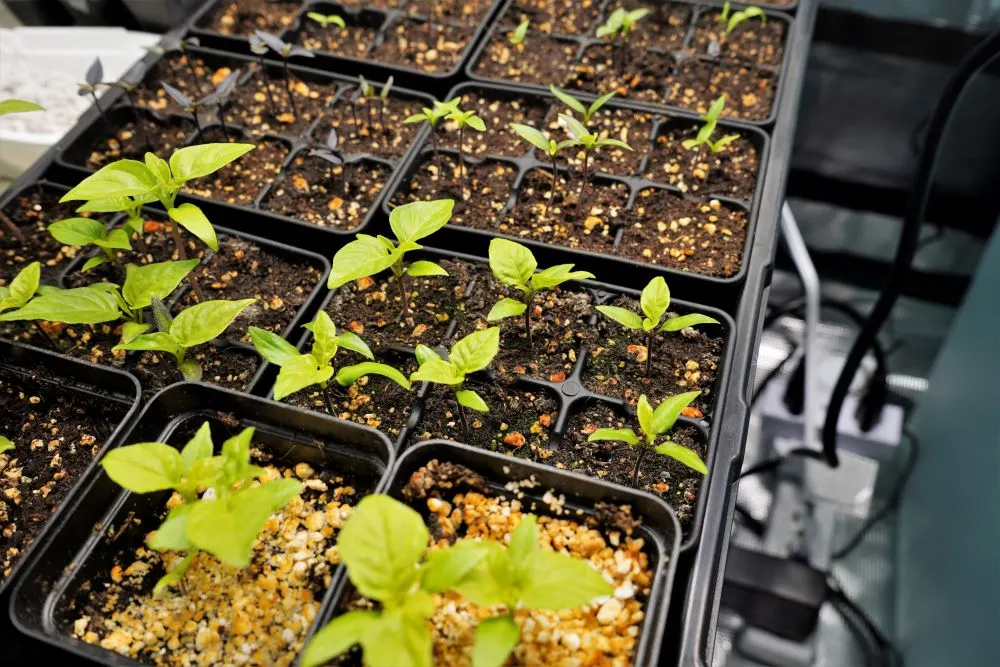
Choose high-quality pepper seeds that are suitable for your climate and growing conditions. Look for seeds that are disease-resistant and have a high germination rate. Before planting, soak the seeds in water for a few hours to help speed up germination.
2. Seed Starting Mix
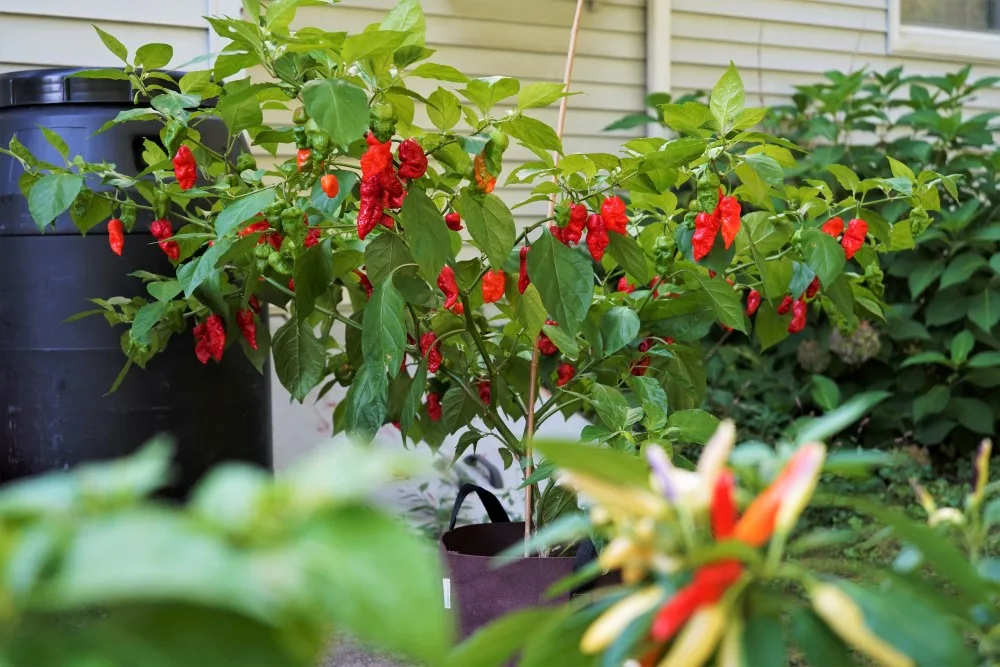
Use a well-draining seed starting mix to ensure proper moisture levels for germination. Avoid using regular garden soil, as it can be too dense and may lead to damping off disease. You can purchase pre-made seed starting mix or make your own by combining equal parts of peat moss, vermiculite, and perlite.
3. Sowing Seeds
Fill small containers or seed trays with the seed starting mix. Make small holes or depressions in the soil for each seed, following the recommended spacing for your pepper variety. Place one or two seeds in each hole and cover them lightly with soil.
4. Watering and Temperature
Keep the soil consistently moist but not waterlogged. Use a spray bottle or watering can with a fine nozzle to prevent disturbing the seeds. Optimal soil temperature for pepper seed germination ranges from 75-85°F (24-29°C). You can use a seedling heat mat or place the containers in a warm area to maintain the desired temperature.
5. Providing Light
Pepper seedlings require 14-16 hours of bright light each day to grow strong and healthy. If you don’t have access to natural sunlight, you can use fluorescent lights or grow lights to provide the necessary light intensity and duration.
6. Transplanting and Hardening Off
When seedlings have developed their first true leaves and are around 2-3 inches tall, they are ready to be transplanted into larger containers or the garden. Before moving them outdoors permanently, it’s important to harden off the seedlings by gradually exposing them to outdoor conditions over a period of 7-10 days. Start with a few hours of exposure to sunlight and gradually increase the duration and intensity. This process helps the plants acclimate to the new environment and reduces transplant shock.
By following these steps, you can ensure healthy sprouts and strong pepper plants that will thrive throughout the growing season.
Step 1: Choosing the Right Seeds
When it comes to growing pepper seedlings, one of the most important steps is selecting the right seeds. Here are some factors to consider when choosing your pepper seeds:
- Variety: There are many different varieties of peppers, each with its own unique flavor and characteristics. Decide whether you want sweet or hot peppers, and choose a variety that suits your taste preferences.
- Seed Source: It’s important to buy seeds from a reputable source to ensure their quality. Look for seeds that have been tested for germination rate and disease resistance.
- Open-Pollinated vs. Hybrid: Open-pollinated seeds come from plants that were pollinated by natural means, while hybrid seeds are produced by cross-pollination between different varieties. Consider whether you want to save seeds for future use, as open-pollinated seeds allow you to do so.
- Days to Maturity: Different pepper varieties have varying days to maturity, which refers to the time it takes for the plants to produce mature fruits. Consider your growing season length and choose a variety that will have enough time to fully mature.
- Size and Shape: Peppers come in various sizes and shapes, from small and round to long and thin. Consider the intended use of the peppers when selecting the size and shape of the fruits.
By taking the time to choose the right pepper seeds, you’ll give your seedlings a strong start and increase the chances of a bountiful pepper harvest.
Select varieties suitable for your climate and preferences
- Consider the climate in your area when selecting pepper varieties. Some peppers thrive in hotter climates, while others are better suited for cooler regions.
- Check the USDA hardiness zone map to determine your specific climate zone and choose pepper varieties that are recommended for that zone.
- Take into account your personal preferences for pepper taste and heat level. There are many different types of peppers available, ranging from mild and sweet to extremely hot and spicy.
Here are a few popular pepper varieties:
- Bell peppers: These are mild and sweet, and come in various colors, such as red, green, and yellow.
- Jalapeno peppers: These are moderately hot and are commonly used in Mexican cuisine.
- Habanero peppers: These are extremely hot and are known for their fruity flavor.
- Poblano peppers: These are mildly spicy and are often used in traditional Mexican dishes like chiles rellenos.
It’s important to select pepper varieties that are well-suited to your climate and growing conditions. This will help ensure that your pepper seedlings grow into healthy sprouts and strong plants.
Step 2: Preparing the Soil
Preparing the soil is an essential step in ensuring the healthy growth of pepper seedlings. Here are the steps you need to follow:
- Choose the right soil: Pepper seedlings thrive in well-drained soil that is rich in organic matter. Use a high-quality potting mix or make your own by combining equal parts of compost, peat moss, and perlite.
- Amend the soil: If the soil you have chosen is not already enriched with organic matter, add compost or well-rotted manure to improve its fertility. Mix it thoroughly with the soil to distribute the nutrients evenly.
- Test the pH: Pepper plants prefer slightly acidic soil, with a pH between 6 and 7. Use a pH testing kit to determine the pH level of your soil. If it’s too acidic (below 6) or too alkaline (above 7), you can adjust it by adding lime to raise the pH or sulfur to lower it.
- Prepare the planting area: Clear the planting area of any weeds or debris. Loosen the soil with a garden fork or tiller to a depth of about 8 inches. This will help improve drainage and create a loose, aerated growing medium for the seedlings.
- Add organic matter: Before planting the pepper seedlings, incorporate a layer of organic matter, such as compost or well-rotted manure, into the top few inches of soil. This will help retain moisture, improve soil structure, and provide essential nutrients.
- Water the soil: Before planting, thoroughly water the soil to ensure it is evenly moist. This will help settle the soil and provide a good environment for the pepper seedlings to establish their roots.
By following these steps, you can ensure that the soil is prepared to provide the necessary nutrients and growing conditions for your pepper seedlings.
Ensure well-drained soil with organic matter
To ensure the healthy growth of pepper seedlings, it is crucial to provide them with well-drained soil that is enriched with organic matter. This type of soil allows for proper root development and prevents waterlogged conditions that can lead to root rot.
Here are some steps to ensure well-drained soil for your pepper seedlings:
- Choose the right soil: Use a high-quality potting mix that is specifically formulated for seed starting. Avoid using soil from your garden, as it may contain weeds, pests, and diseases.
- Add organic matter: Mix in compost or well-rotted manure to improve the soil’s fertility and drainage. This will provide essential nutrients for the seedlings’ growth.
- Amend clay soil: If you have heavy clay soil, add sand or perlite to improve drainage. This will prevent the soil from becoming compacted and waterlogged.
- Ensure proper drainage: Make sure that the containers or seed trays have drainage holes at the bottom to allow excess water to escape. This will prevent water from sitting around the roots and causing rot.
- Water carefully: Water the seedlings thoroughly but avoid overwatering. Stick your finger into the soil to check if it feels moist before watering again. If it is still wet, wait for the soil to dry out slightly before watering.
- Monitor moisture levels: Use a moisture meter or simply observe the soil’s moisture level to prevent the soil from becoming too dry or too wet. Maintaining the right moisture level will ensure healthy seedling growth.
By following these steps and using well-drained soil with organic matter, you will provide the optimal growing conditions for your pepper seedlings, resulting in healthy sprouts and strong plants.
Step 3: Starting Seeds Indoors
Materials Needed:
- Seed starting trays or pots
- Seed starting soil mix
- Seeds
- Plastic wrap or seed starting dome
- Grow lights or bright windowsill
- Watering can or spray bottle
Instructions:
- Fill the seed starting trays or pots with seed starting soil mix. Make sure to moisten the soil before planting the seeds.
- Read the seed packet instructions for the recommended planting depth and spacing. Plant the seeds accordingly in the prepared trays or pots.
- Cover the trays or pots with plastic wrap or a seed starting dome to create a greenhouse-like environment for the seeds. This helps retain moisture and warmth.
- Place the trays or pots in a warm location, such as on top of a heating mat or near a heat source, to promote germination. Alternatively, you can use grow lights or a bright windowsill for sufficient light.
- Keep the soil consistently moist but avoid overwatering. Use a watering can or spray bottle to lightly water the seeds as needed.
- Once the seedlings have emerged and are strong enough, remove the plastic wrap or seed starting dome. Continue to provide them with adequate light and water.
Starting pepper seeds indoors gives them a head start and allows you to control the growing conditions. Follow these steps to ensure healthy sprouts and strong plants.
Provide sufficient light, warmth, and moisture
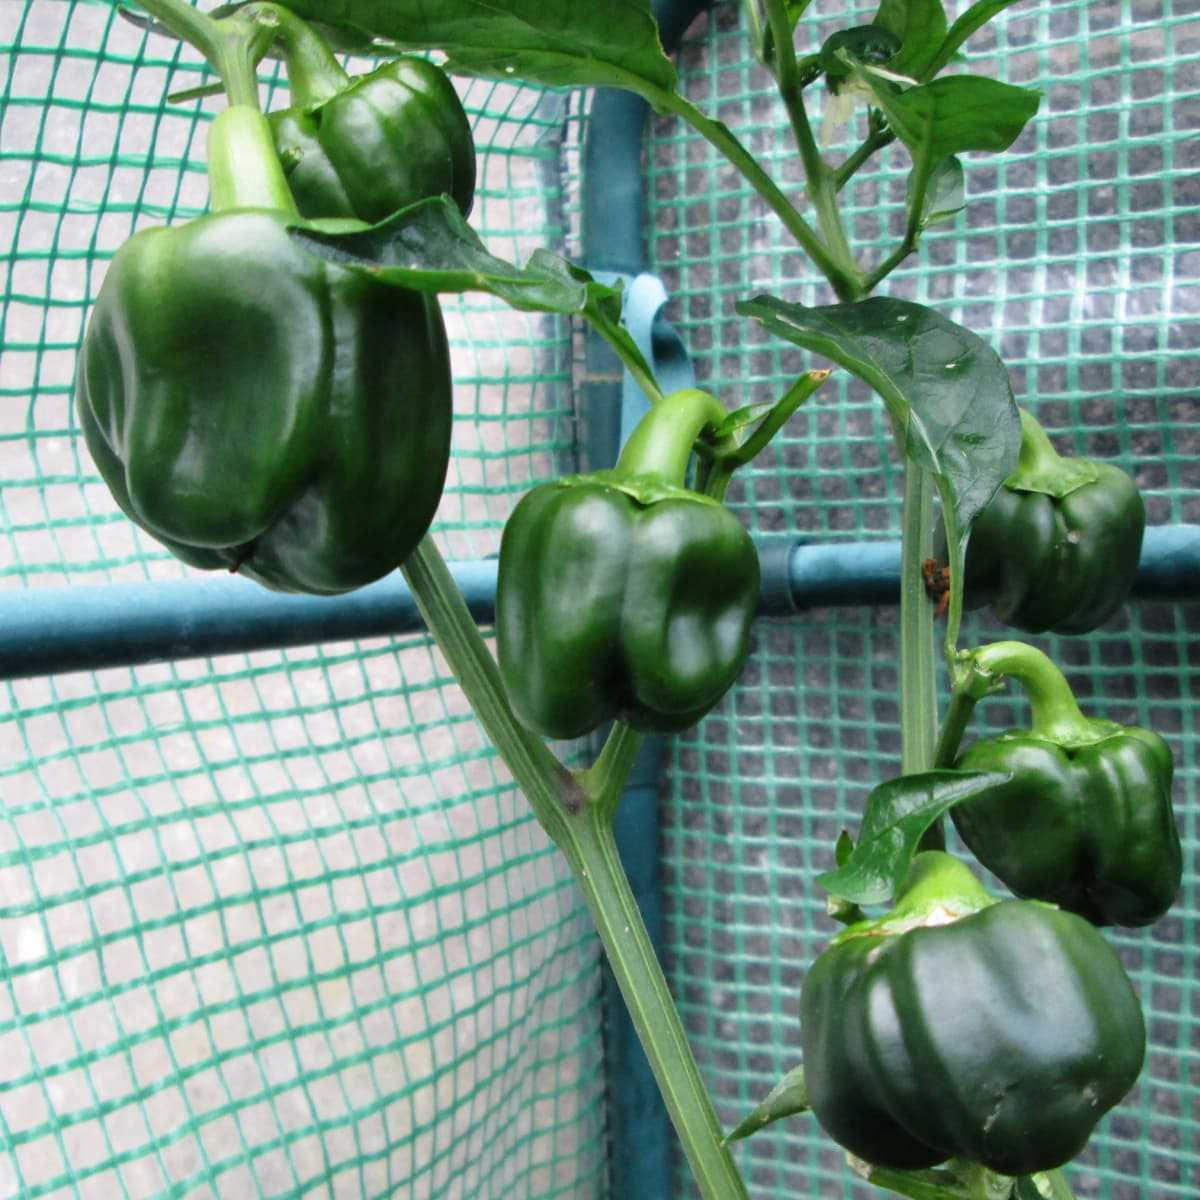
Proper lighting is essential for the healthy growth of pepper seedlings. Place them in a location where they can receive at least 6-8 hours of direct sunlight each day. If natural sunlight is not available, you can use fluorescent grow lights to provide the necessary light.
Pepper seedlings require warmth to thrive. The ideal temperature for their growth is between 70-85°F (21-29°C). You can use a heating mat or place the seedlings near a heat source to maintain the desired temperature.
Moisture is crucial for the germination and growth of pepper seedlings. Keep the soil evenly moist, but not waterlogged. Water the seedlings when the top inch of soil feels dry to the touch. Avoid overwatering as it can lead to root rot.
Avoid extreme temperature fluctuations and drafts, as they can stress the seedlings. To provide consistent warmth, you can cover the seed tray with a plastic dome or plastic wrap. This will create a greenhouse effect, helping to retain moisture and heat.
Monitor the moisture levels regularly and adjust watering accordingly. Use a fine mist sprayer to gently water the seedlings and avoid disturbing the delicate roots. Consider using a moisture meter or your finger to check the soil moisture levels.
Overall, by providing sufficient light, warmth, and moisture, your pepper seedlings will have the best conditions for healthy sprouts and strong plant development.
Step 4: Transplanting Seedlings
Transplanting seedlings is an important stage in the growth process of pepper plants. This step involves moving the young seedlings from their initial containers to larger pots or directly into the garden bed. Proper transplanting ensures the health and vigor of the plants, allowing them to grow and produce abundant peppers.
1. Timing
It is essential to transplant pepper seedlings at the right time. Ideally, seedlings should be transplanted when they have developed their first true leaves and have grown to a suitable size, usually around 4-6 inches tall. This typically takes place 6-8 weeks after sowing the seeds.
2. Preparation
Prior to transplanting, prepare the larger containers or the garden bed where the seedlings will be moved. Make sure the containers or the bed are clean and have adequate drainage.
3. Hardening Off
Before transplanting pepper seedlings, they need to be hardened off. This involves gradually exposing them to outdoor conditions, such as sunlight, wind, and temperature variations. Start by placing the seedlings outdoors in a sheltered area for a few hours each day, gradually increasing the amount of time over a period of 1-2 weeks. This helps the seedlings adjust to the new environment and reduces the risk of transplant shock.
4. Transplanting
When the seedlings are ready for transplanting, carefully remove them from their original containers by gently loosening the soil around the roots. Handle the seedlings by their leaves, avoiding touching the delicate stems. Create a hole in the new container or garden bed with the same depth as the seedling’s root ball. Place the seedling in the hole and gently firm the soil around it, ensuring that the top of the root ball is level with the soil surface.
5. Watering
After transplanting, water the seedlings thoroughly to settle the soil and eliminate any air pockets around the roots. Provide enough water to moisten the entire root zone, but be careful not to overwater as this can lead to root rot.
6. Aftercare
Keep a close eye on the transplanted seedlings and provide appropriate care. Place them in an area with adequate sunlight, water them regularly, and protect them from extreme temperatures or strong winds. Gradually increase watering and fertilization as the plants grow.
By following these steps, you can successfully transplant pepper seedlings and ensure their healthy growth, leading to robust plants that will produce a bountiful harvest of delicious peppers.
Wait until after the last frost date and harden off seedlings
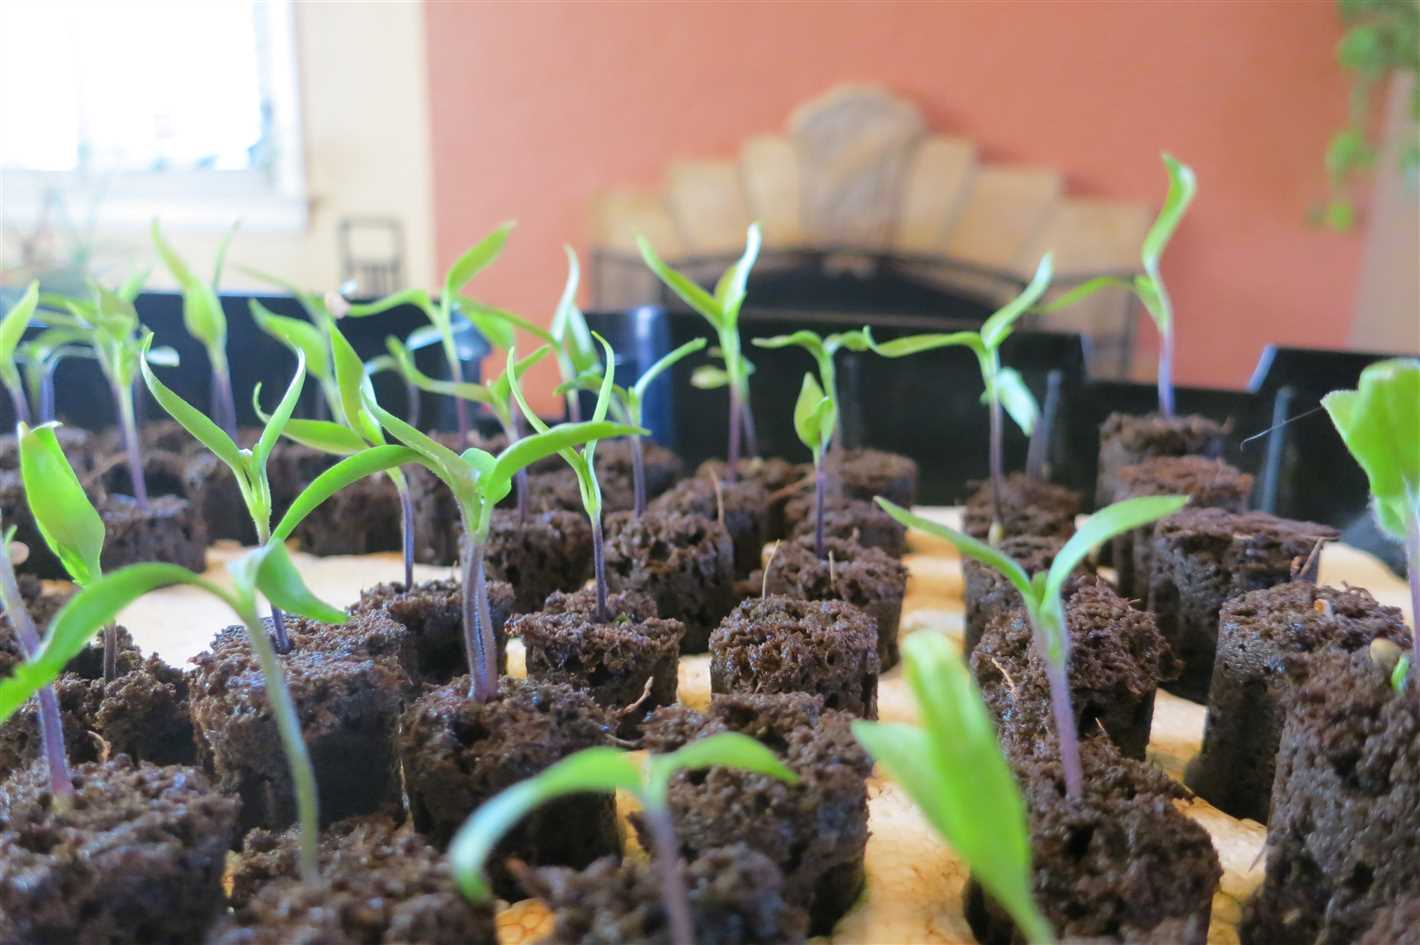
Before transplanting your pepper seedlings into the garden, it’s important to wait until after the last frost date in your area. Peppers are sensitive to cold temperatures, and a late frost can kill or damage the plants.
Once the danger of frost has passed, you can begin hardening off your seedlings. Hardening off is the process of gradually acclimating young plants to outdoor conditions. This helps them adjust to the temperature fluctuations, wind, and sun exposure in the garden.
To harden off your pepper seedlings, follow these steps:
- Choose a cloudy or overcast day to begin the process.
- Start by placing the seedlings outside for just a couple of hours in a sheltered location, such as a porch or under a tree.
- Gradually increase the amount of time the seedlings spend outdoors each day, allowing them to experience more sunlight and wind.
- After a week or two, the seedlings should be able to withstand a full day outdoors.
- During this time, it’s important to keep an eye on the weather forecast. If there’s a chance of frost or extreme weather, bring the seedlings indoors or provide them with temporary protection.
- Throughout the hardening off process, make sure to water the seedlings regularly and keep the soil moist.
By taking the time to harden off your pepper seedlings, you’ll give them the best chance of success in the garden. This process helps prevent transplant shock and allows the plants to establish themselves more easily.
“Question-Answer”
How long does it take for pepper seedlings to sprout?
Pepper seedlings usually take around 7-14 days to sprout.
What is the best soil mix for pepper seedlings?
The best soil mix for pepper seedlings is a blend of peat moss, perlite, and compost.
Can I use regular potting soil for pepper seedlings?
Regular potting soil is not ideal for pepper seedlings as it may be too dense and retain too much moisture. It is best to use a well-draining soil mix specifically formulated for seed starting.
How often should I water my pepper seedlings?
Pepper seedlings should be watered whenever the top inch of soil feels dry. It is important not to overwater, as excessive moisture can lead to root rot.
When should I transplant my pepper seedlings?
Pepper seedlings should be transplanted outdoors after all danger of frost has passed and the soil has warmed up. This is usually around 2-3 weeks after the last frost date in your area.
How can I prevent damping off in my pepper seedlings?
To prevent damping off in pepper seedlings, it is important to use clean containers and sterile soil. Avoid overwatering and provide good air circulation to help prevent fungal diseases.


