- Rule 1: Choose the Right Potato Varieties
- Rule 2: Prepare the Soil Properly
- Rule 3: Plant Potatoes at the Right Time
- Rule 4: Provide Adequate Water and Fertilizer
- Rule 5: Control Weeds and Pests
- 1. Mulching
- 2. Hand-pulling
- 3. Crop rotation
- 4. Natural predators
- 5. Organic pest control
- 6. Regular inspection
- 7. Proper sanitation
- Rule 6: Practice Proper Hilling and Mulching Techniques
- Rule 7: Harvest Potatoes at the Right Time
- “Question-Answer”
- What are the best conditions for growing potatoes?
- When is the ideal time to plant potatoes?
- How deep should I plant potatoes?
- How often should I water potatoes?
- What is the best way to harvest potatoes?
- “Video” HOW DO YOU KNOW WHEN SWEET POTATOES ARE READY TO HARVEST?

When it comes to growing potatoes, a successful harvest is the ultimate goal. However, achieving a bountiful crop requires careful planning and execution. In this article, we will explore seven rules that will help you dig a bucket per bush when harvesting your potatoes.
Rule #1: Choose the Right Varieties
Not all potato varieties are created equal when it comes to yield. Some varieties are known for producing larger, more plentiful tubers, while others are better suited for certain growing conditions. Research and select varieties that are well-suited for your climate and soil type to maximize your harvest.
Rule #2: Prepare the Soil Properly
To ensure a successful potato harvest, it is crucial to prepare the soil properly. Potatoes thrive in loose, well-draining soil. Prior to planting, remove any rocks, weeds, or debris. Loosen the soil and add organic matter, such as compost, to improve its structure and fertility.
Rule #3: Plant at the Right Time
The timing of your potato planting plays a significant role in the success of your harvest. Planting too early can result in frost damage, while planting too late can limit the tuber size. Consult a local gardening guide or extension office to determine the best time to plant potatoes in your area.
Rule #4: Proper Spacing
When planting potatoes, it is important to give them enough space to develop. Crowded plants can result in smaller tubers and reduced yields. Follow the spacing guidelines for the variety you are planting, ensuring that each plant has enough room to grow and access to sunlight.
Rule #5: Water Wisely
Potatoes require consistent moisture throughout their growing season. However, overwatering can lead to disease and rot, while underwatering can result in stunted growth. Water your potatoes deeply and evenly to keep the soil consistently moist but not waterlogged.
Rule #6: Maintain Weed Control
Weeds compete with potatoes for nutrients, water, and sunlight, ultimately reducing their yield. Regularly remove weeds by hand or use organic mulch to suppress weed growth. This will help your potatoes thrive and improve your overall harvest.
Rule #7: Dig Carefully
When it comes time to harvest your potatoes, it is important to dig carefully to avoid damaging or bruising the tubers. Use a garden fork or shovel to gently lift the plants out of the ground. Be mindful of the tubers, as they are delicate and can easily be bruised or punctured.
By following these seven rules, you can increase your chances of harvesting a bucket per bush of potatoes. Remember to choose the right varieties, prepare the soil properly, plant at the right time, provide proper spacing, water wisely, maintain weed control, and dig carefully. With these guidelines, you’ll be well on your way to a successful potato harvest.
Rule 1: Choose the Right Potato Varieties
Choosing the right potato varieties is essential for a successful potato harvest. Different varieties have different characteristics and are suited to different growing conditions.
Consider the following factors when choosing potato varieties:
- Growing season: Some potato varieties are better suited for short growing seasons, while others thrive in longer seasons. Consider the length of your growing season when selecting varieties.
- Resistance to diseases: Certain potato varieties have higher resistance to common potato diseases such as late blight or potato cyst nematode. Look for varieties with disease resistance to ensure a healthier crop.
- Yield: Different potato varieties can yield varying amounts of potatoes per plant. Consider the yield potential of each variety to maximize your harvest.
- Usage: Some potato varieties are better for cooking, while others are more suitable for mashing or frying. Choose varieties based on your preferred usage to ensure the best culinary results.
- Taste: Potato varieties can have different flavors and textures. Consider the taste preferences of your family or customers when selecting varieties.
- Storage: Certain potato varieties have better storage qualities, allowing them to stay fresh for longer periods. If you need potatoes that can be stored for an extended time, choose varieties with good storage characteristics.
- Climate: Some potato varieties are better suited to specific climate conditions, such as cold weather or high altitudes. Consider the climate of your region when choosing varieties to ensure optimal growth.
By carefully selecting potato varieties that match your specific requirements and growing conditions, you can increase the chances of a successful and bountiful potato harvest.
Rule 2: Prepare the Soil Properly
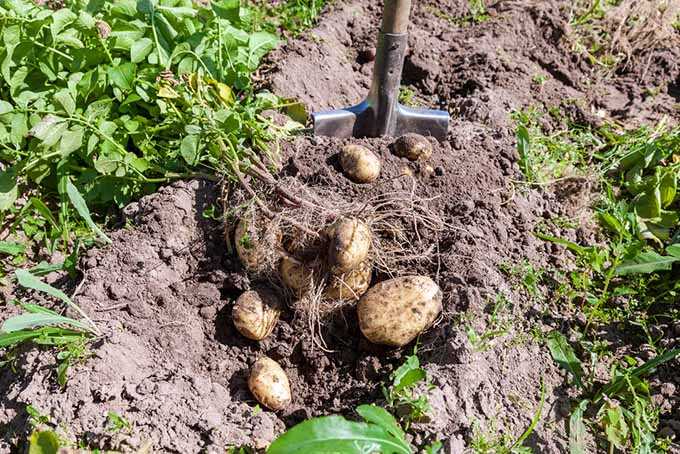
One of the most important steps in achieving a good potato harvest is to prepare the soil properly. The condition of the soil plays a crucial role in determining the yield and quality of the potatoes you will harvest. Here are some guidelines to follow when preparing the soil:
- Choose the right location: Potatoes thrive in loose, well-draining soil with a pH level of around 6.0 to 7.0. Select a sunny spot in your garden that gets at least 6 hours of sunlight per day.
- Remove weeds and debris: Clear the area of any weeds, rocks, or other debris that may hinder the growth of your potato plants. Weeds compete with potatoes for nutrients, sunlight, and water, so it’s important to eliminate them before planting.
- Loosen the soil: Use a garden fork or tiller to loosen the soil to a depth of at least 8 inches. This will improve aeration and drainage, allowing the potato roots to grow and develop properly.
- Amend the soil: If your soil is heavy or lacks nutrients, you may need to amend it with organic matter such as compost or well-rotted manure. This will improve the soil structure and nutrient content, providing a better environment for your potato plants.
- Test the soil: It’s recommended to test your soil’s pH level and nutrient levels before planting. You can use a soil testing kit or send a soil sample to a local agricultural extension office for analysis. Based on the test results, you can adjust the soil pH and add any necessary fertilizers.
- Add organic matter: Prior to planting, incorporate organic matter into the soil to further improve its structure and fertility. This can be done by spreading a layer of compost or well-rotted manure and mixing it into the top few inches of soil.
- Consider crop rotation: If you’ve grown potatoes in the same area in previous years, it’s advisable to practice crop rotation. This involves planting potatoes in a different part of the garden each year to minimize the risk of diseases and pests that can build up in the soil over time.
By following these guidelines and preparing the soil properly, you will provide your potato plants with the optimal conditions for growth and ultimately increase your chances of a successful and bountiful potato harvest.
Rule 3: Plant Potatoes at the Right Time
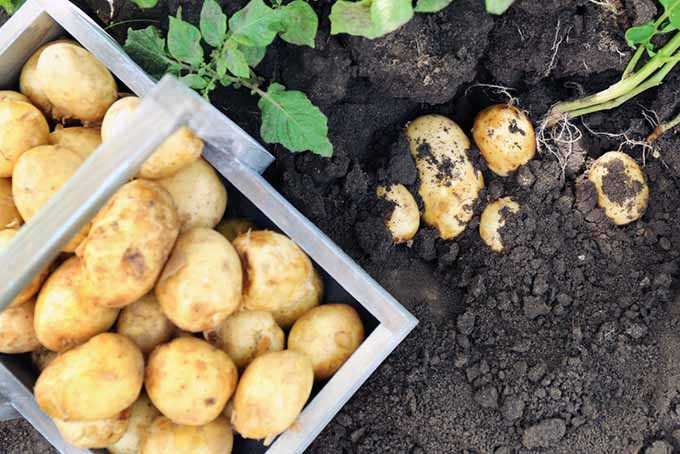
One of the key factors in successfully growing potatoes is planting them at the right time. Timing is crucial as it affects the growth and yield of the potato plants. Here are a few guidelines to keep in mind when planting potatoes:
- Soil temperature: Potatoes prefer cool soil temperatures between 45-55°F (7-13°C). It is important to wait until the soil has warmed up to at least 45°F before planting potatoes. Cold soil can slow down growth and increase the risk of rotting.
- Frost date: Planting potatoes around the last frost date is a good rule of thumb. In temperate regions, this is usually in the early spring, while in colder regions, it may be later in spring or even early summer. Potatoes need a certain amount of time to grow and mature before the first fall frost, so planting too late can reduce yield.
- Soil moisture: The soil should be moist but not waterlogged when planting potatoes. If the soil is too wet, it can lead to rotting and disease. If it’s too dry, the potato tubers may not develop properly. Test the soil moisture by squeezing a handful of soil; if it crumbles easily and feels slightly moist, it’s ready for planting.
- Seed potatoes: Use certified seed potatoes instead of potato scraps or grocery store potatoes. Certified seed potatoes are specifically cultivated for planting and have a reduced risk of diseases. Cut the seed potatoes into pieces, making sure each piece has at least one “eye” or bud for sprouting.
- Spacing: Plant the seed potatoes in rows, spacing them about 12-15 inches apart. This allows each potato plant to have enough space to grow and prevents overcrowding. Overcrowding can lead to competition for resources and smaller tubers.
- Depth: Plant the seed potatoes at a depth of about 4-6 inches. This allows the tubers to have enough space to develop and prevents them from being exposed to sunlight, which can cause them to turn green and become toxic.
- Fertilization: Before planting, incorporate organic matter or compost into the soil to improve fertility. Potatoes are heavy feeders and require nutrient-rich soil for optimal growth. Avoid using excessive nitrogen, as it can lead to lush foliage but smaller tubers.
By following these guidelines and planting potatoes at the right time, you’ll maximize your chances of a successful harvest with healthy and flavorful potatoes.
Rule 4: Provide Adequate Water and Fertilizer
Proper watering and fertilization are essential for a successful potato harvest. Following these guidelines will help ensure that your potato plants receive the nutrients and hydration they need to thrive:
- Watering:
- Keep the soil consistently moist but not waterlogged. Potatoes require about 1-2 inches of water per week, including rainfall.
- Water deeply, ensuring that the water reaches the root zone. Shallow watering can lead to shallow root development.
- Monitor soil moisture levels regularly. Stick your finger about 2 inches into the soil – if it feels dry at this depth, it’s time to water.
- To avoid wetting the foliage, water the base of the plants, preferably in the morning.
- Fertilizer:
- Before planting, prepare the soil by incorporating organic matter, such as compost or well-rotted manure, to improve fertility.
- Use a balanced fertilizer with equal parts nitrogen (N), phosphorus (P), and potassium (K). This can be applied as a complete granular or liquid fertilizer.
- Apply the fertilizer according to the manufacturer’s instructions. Generally, it is best to side dress the plants with fertilizer once they start actively growing.
- Avoid excessive nitrogen, as it can promote excessive foliage growth at the expense of tuber development.
- Consider soil testing to determine if any specific nutrients are lacking. This will help you adjust your fertilizer application accordingly.
Applying the right type and amount of fertilizer will provide the necessary nutrients for your potato plants. Consider the following:
By providing adequate water and fertilizer, you will support the healthy growth of your potato plants and increase your chances of a bountiful harvest.
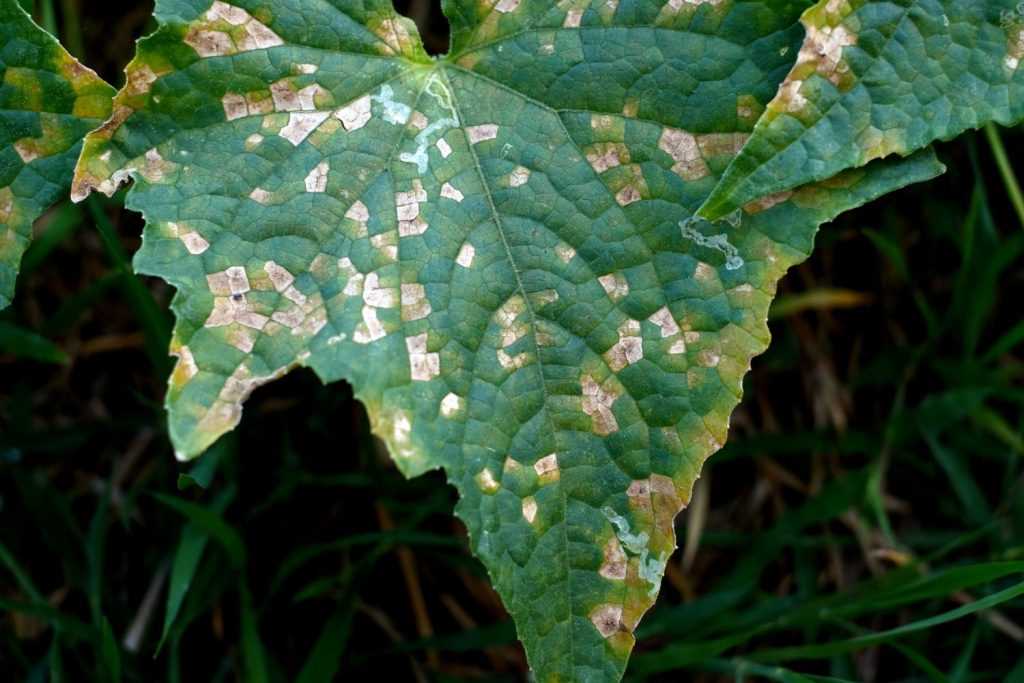
Rule 5: Control Weeds and Pests
Controlling weeds and pests is an essential part of ensuring a successful potato harvest. Weeds can compete with potato plants for nutrients and water, while pests can cause significant damage to the crop. Here are some tips to help you control weeds and pests effectively:
1. Mulching
Mulching is an effective technique to control weeds in your potato patch. Apply a layer of organic mulch, such as straw or wood chips, around your plants. This will help to smother weeds and prevent them from germinating and growing.
2. Hand-pulling
If you notice any weeds that have managed to grow despite mulching, it’s important to remove them promptly. Hand-pulling weeds is a labor-intensive task but is necessary to prevent them from competing with your potato plants for resources.
3. Crop rotation
Rotate your potato crop each year to help prevent the buildup of pests and diseases in the soil. Avoid planting potatoes in the same area for at least three years. This will disrupt the life cycle of pests and reduce the likelihood of infestation.
4. Natural predators
Encourage natural predators, such as ladybugs and birds, to your garden. These beneficial creatures can help control pests naturally by feeding on them. Provide habitats, such as birdhouses and flowers, to attract these beneficial organisms.
5. Organic pest control
Consider using organic pest control methods if the pest problem becomes severe. There are many organic and natural sprays and solutions available that can be effective against common potato pests. Always follow the instructions on the label and use them sparingly to avoid harming beneficial insects.
6. Regular inspection
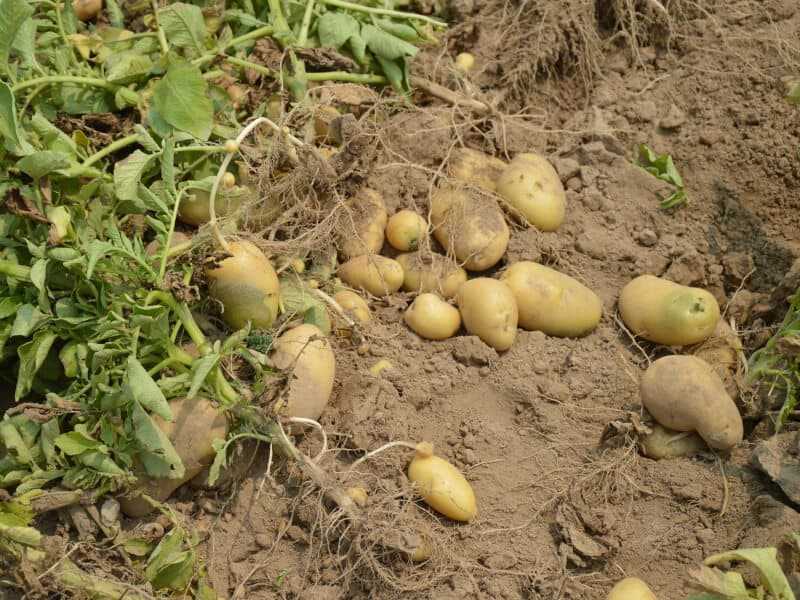
Regularly inspect your potato plants for any signs of pest or disease infestation. Early detection is crucial in controlling pests and preventing them from spreading and causing significant damage.
7. Proper sanitation
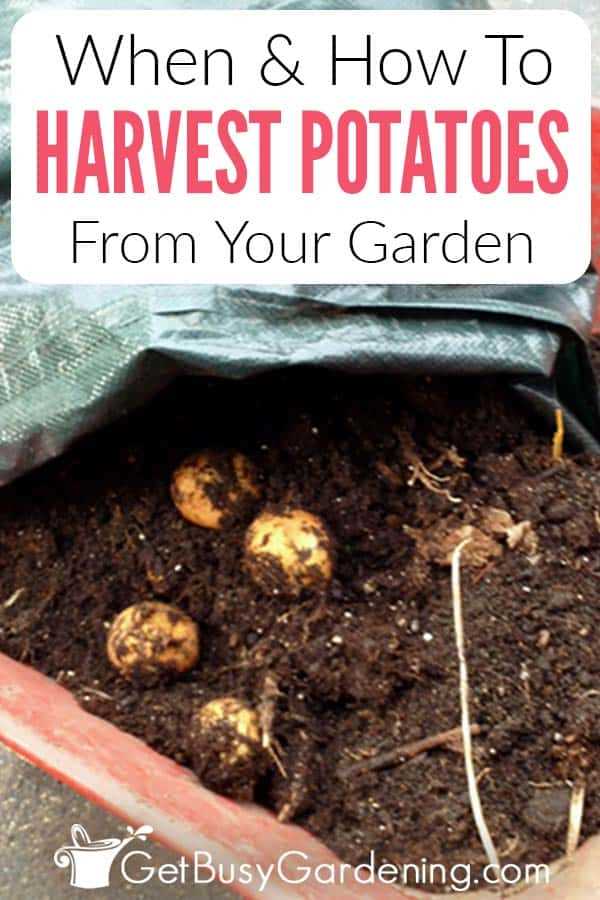
After harvesting your potato crop, it’s important to promptly remove any plant debris from the garden area. Proper sanitation will help reduce the chances of pests and diseases overwintering in the soil and reinfesting your next potato crop.
By following these tips and implementing appropriate weed and pest control measures, you can ensure a healthy and bountiful potato harvest.
Rule 6: Practice Proper Hilling and Mulching Techniques
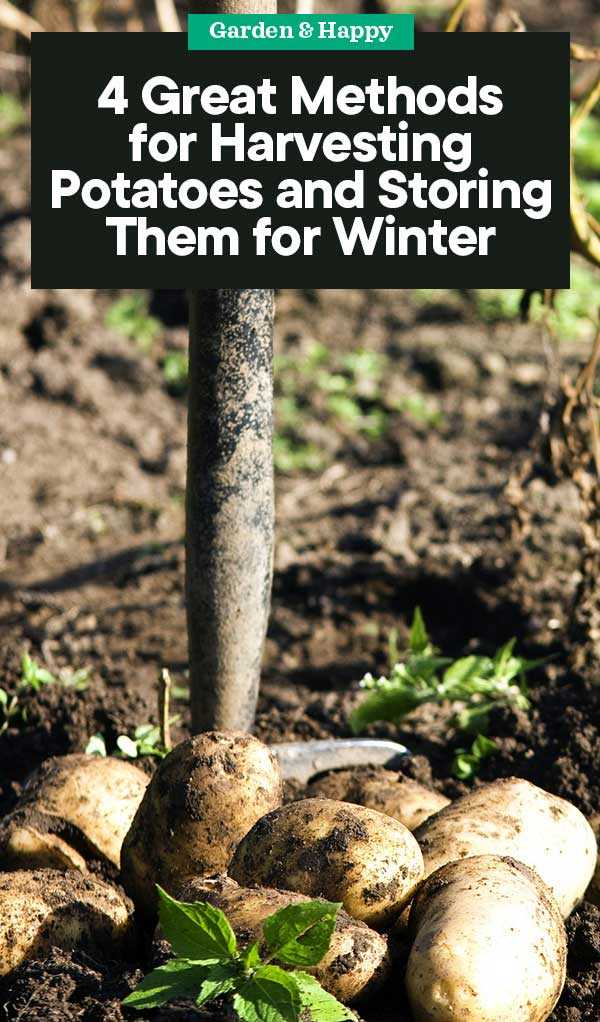
- Hilling: Hilling is an important technique for growing potatoes. It involves piling soil or mulch around the base of the potato plants as they grow. Hilling helps to promote the growth of additional tubers by providing loose soil for the potatoes to expand into. It also helps to protect the developing potatoes from sunlight, which can cause them to turn green and become toxic.
- Mulching: Mulching is another beneficial technique for growing potatoes. It involves covering the soil around the potato plants with a layer of organic material, such as straw or leaves. Mulching helps to regulate soil temperature, retain moisture, and suppress weed growth. It also helps to prevent the potatoes from being exposed to light, thereby reducing the risk of greening.
Here are some tips for practicing proper hilling and mulching techniques:
- Start hilling when the potato plants are around 6-8 inches tall. Use a rake or a hoe to gently mound the soil or mulch around the base of the plants, being careful not to damage the stems or leaves.
- Continue hilling as the plants grow, adding more soil or mulch every few weeks. Aim to create hills that are 6-8 inches high.
- When mulching, apply a layer of organic material around the base of the plants once they have reached a height of 6-8 inches. Make sure the layer is around 4-6 inches thick.
- Avoid using grass clippings or other materials that may contain weed seeds, as this can lead to more weed growth.
- Monitor the moisture levels in the soil regularly. If the soil becomes dry, water the plants thoroughly to ensure they receive enough moisture.
- Inspect the hills or mulched areas regularly for signs of pests or diseases. Take appropriate measures to control any issues that may arise.
- At the end of the growing season, be careful when removing the hilled soil or mulch to avoid damaging the potatoes. Gently remove the soil or mulch to uncover the potatoes, and allow them to dry for a few hours before storing them.
By practicing proper hilling and mulching techniques, you can help ensure a bountiful potato harvest and enjoy healthy, flavorful potatoes throughout the season.
Rule 7: Harvest Potatoes at the Right Time
Harvesting potatoes at the right time is crucial for a successful and abundant harvest. If you dig up the potatoes too early, they won’t have reached maturity and will be small in size. On the other hand, if you wait too long, the potatoes may start to rot in the ground or become susceptible to pests and diseases.
Signs that potatoes are ready for harvest:
- The plants have started to turn yellow and the foliage has begun to die back. This is a clear indication that the potatoes have reached maturity and are ready to be harvested.
- The skin of the potatoes becomes firm and the tubers are fully developed. Gently press your finger against the skin of a potato – if it doesn’t give or feels hard, it is a good sign that they are ready to be harvested.
- For varieties with colored skin, the color of the skin has become well-developed and is consistent across all the potatoes.
Steps to harvest potatoes:
- Start by gently loosening the soil around the potato plants using a garden fork or a shovel. Be careful not to damage the tubers or their fragile skin.
- Once the soil is loose, carefully lift the plants from the ground, grasping the stems near the base. Shake off the excess soil and remove any attached roots or weeds.
- Inspect the potatoes for any signs of damage or disease. Avoid storing damaged potatoes, as they can spoil the rest of the crop during storage. Set aside any damaged potatoes for immediate use.
- Allow the harvested potatoes to dry for a few hours in a cool, dry, and well-ventilated area to reduce the risk of rotting.
- After drying, gently brush off any remaining soil from the potatoes using your hands or a soft brush. Avoid washing the potatoes, as this can remove their protective layer and increase the risk of rotting during storage.
- Sort the potatoes based on their size and quality. Separate smaller potatoes from larger ones and set aside any potatoes that are misshapen or have blemishes.
- Store the harvested potatoes in a cool, dark, and well-ventilated area. Ideal storage conditions include a temperature of 40-50°F (4-10°C) and a humidity level of 85-90%.
By following these guidelines, you can ensure that you harvest your potatoes at the right time and maximize the yield of your potato crop.
“Question-Answer”
What are the best conditions for growing potatoes?
The best conditions for growing potatoes are loose, well-drained soil with a pH range of 5.8 to 6.5, full sun exposure, and ample watering.
When is the ideal time to plant potatoes?
The ideal time to plant potatoes is typically in the early spring, when the soil temperature reaches around 45 to 50 degrees Fahrenheit.
How deep should I plant potatoes?
Potatoes should be planted about 4 inches deep in the soil.
How often should I water potatoes?
Potatoes require consistent moisture, so they should be watered regularly, especially during dry periods. Aim to provide 1 to 2 inches of water per week.
What is the best way to harvest potatoes?
The best way to harvest potatoes is to start digging around the potato plants 2 to 3 weeks after the foliage has died back. Use a garden fork or spade to gently lift the potatoes out of the ground.


