- Tips for Growing Exhibition Onions
- Selecting the Right Onion Variety
- 1. Day Length
- 2. Bulbing Type
- 3. Disease Resistance
- 4. Maturity Date
- 5. Availability and Reputation
- Preparing the Soil for Onion Growth
- 1. Soil Type
- 2. Soil pH
- 3. Organic Matter
- 4. Fertilizer
- 5. Weed Control
- 6. Soil Moisture
- Planting Onion Sets or Seeds
- Planting Onion Sets
- Sowing Onion Seeds
- Providing Adequate Watering and Drainage
- 1. Consistent Moisture Levels
- 2. Deep and Infrequent Watering
- 3. Mulching
- 4. Proper Drainage
- 5. Monitoring Soil Moisture
- Feeding and Fertilizing Onion Plants
- Soil Preparation
- Choosing the Right Fertilizer
- When to Fertilize
- Applying Fertilizer
- Additional Tips
- Controlling Weeds and Pests
- Weed Control
- Pest Control
- Organic Pest Control
- Proper Onion Bulb Size and Thinning
- 1. Selecting the Right Onion Variety
- 2. Starting with High-Quality Onion Sets or Seeds
- 3. Adequate Spacing and Thinning
- 4. Providing Optimal Growing Conditions
- 5. Proper Fertilization
- Harvesting and Storing Exhibition Onions
- Harvesting:
- Storing:
- “Question-Answer”
- What are exhibition onions?
- What techniques can be used to grow exhibition onions?
- How long does it take to grow exhibition onions?
- What is the ideal weight for exhibition onions?
- Can exhibition onions be grown in containers?
- What are some common challenges when growing exhibition onions?
- “Video” 6 GENIUS Tips To Grow The BIGGEST Onions EVER!
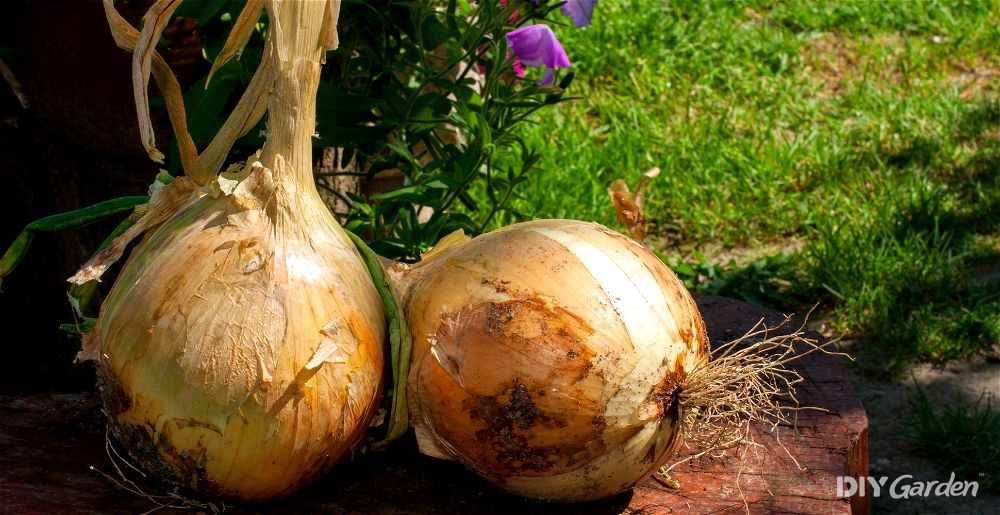
If you’re an avid gardener looking for a challenge, growing exhibition onions may be just what you need. Exhibition onions are known for their impressive size, often reaching weights of 1200 grams or more. These giant bulbs can be a showstopper in the garden and a point of pride for any gardener.
However, growing exhibition onions requires special care and attention. It’s not as simple as planting regular onion sets and waiting for them to grow. To achieve those monster-sized bulbs, you’ll need to follow a few key tips and techniques.
First and foremost, choose the right variety of onion for exhibition growing. There are specific varieties bred for their size and potential to reach impressive weights. Look for varieties such as ‘Ailsa Craig’ or ‘Kelsae’ to get started. These varieties have a reputation for producing exhibition-worthy onions.
Next, pay close attention to soil preparation. Exhibition onions need well-drained soil with plenty of organic matter. Prepare the soil by adding compost or well-rotted manure to improve its structure and fertility. Onions also prefer a slightly alkaline soil pH, so consider adding lime if your soil is acidic.
When it comes to planting, spacing is crucial.
Plant your onion sets with ample room for their large bulbs to develop. Space them at least 10-15 centimeters apart and ensure they are planted at the correct depth. Planting too shallow or too deep can affect bulb formation.
Once your onions are planted, it’s important to provide them with regular care and attention. Keep the soil consistently moist, but not waterlogged, throughout the growing season. Onions have shallow roots, so mulching around the plants can help retain moisture and suppress weeds. Regularly weed and thin out overcrowded seedlings to give your bulbs enough room to grow.
Nutrition is also essential for exhibition onions to reach their full potential. Fertilize regularly with a balanced fertilizer, particularly during the bulb development stage. Follow the instructions on the fertilizer packaging to ensure you’re providing the right amount and ratio of nutrients.
Finally, be patient. Exhibition onions take time to grow. The process from planting to harvest can take anywhere from 120 to 180 days, depending on the variety. But with proper care and attention, you’ll be rewarded with huge, beautiful bulbs that will impress any gardener or onion enthusiast.
Tips for Growing Exhibition Onions
- Choose the right variety: Select a variety of onion that is known for producing large bulbs, such as Exhibition onions.
- Start with quality seeds: Use high-quality onion seeds to ensure a good start for your plants. Look for seeds that are known for their ability to produce large bulbs.
- Plant at the right time: Onions are typically planted in early spring. Follow the recommended planting dates for your specific area to ensure optimal growth.
- Prepare the soil: Onions prefer well-drained soil with a pH level between 6.0 and 7.0. Add organic matter, such as compost, to improve soil structure and fertility.
- Provide adequate spacing: Space your onion plants properly to allow enough room for bulb development. Typically, plants should be spaced 4-6 inches apart in rows that are 12-18 inches apart.
- Keep the onions well-watered: Onions need consistent moisture, especially during bulbing. Water the plants deeply and regularly, especially during dry periods.
- Fertilize appropriately: Onions have specific nutrient requirements. Apply a balanced fertilizer, such as a 10-10-10, at planting time, and follow up with additional applications during the growing season according to package instructions.
- Control weeds: Keep the onion bed free from weeds, as they can compete with the plants for nutrients and water. Regularly remove any weeds that appear.
- Monitor for pests and diseases: Keep an eye out for common onion pests and diseases, such as onion maggots and downy mildew. Take appropriate steps to control and prevent these issues.
- Harvest at the right time: Harvest onions when the tops have fallen over and started to dry. Gently lift the bulbs from the soil and allow them to cure in a well-ventilated area for a few weeks before storage.
Following these tips and techniques can help you produce exhibition onions with large bulbs that are sure to impress.
Selecting the Right Onion Variety
Choosing the right onion variety is crucial for growing exhibition onions with large bulbs weighing up to 1200 grams. Here are some factors to consider when selecting the right variety:
1. Day Length
Onions are classified into three categories based on their response to day length: short-day, intermediate-day, and long-day varieties. For growing exhibition onions, it is recommended to select long-day varieties. These varieties require 14-16 hours of daylight to develop large bulbs.
2. Bulbing Type
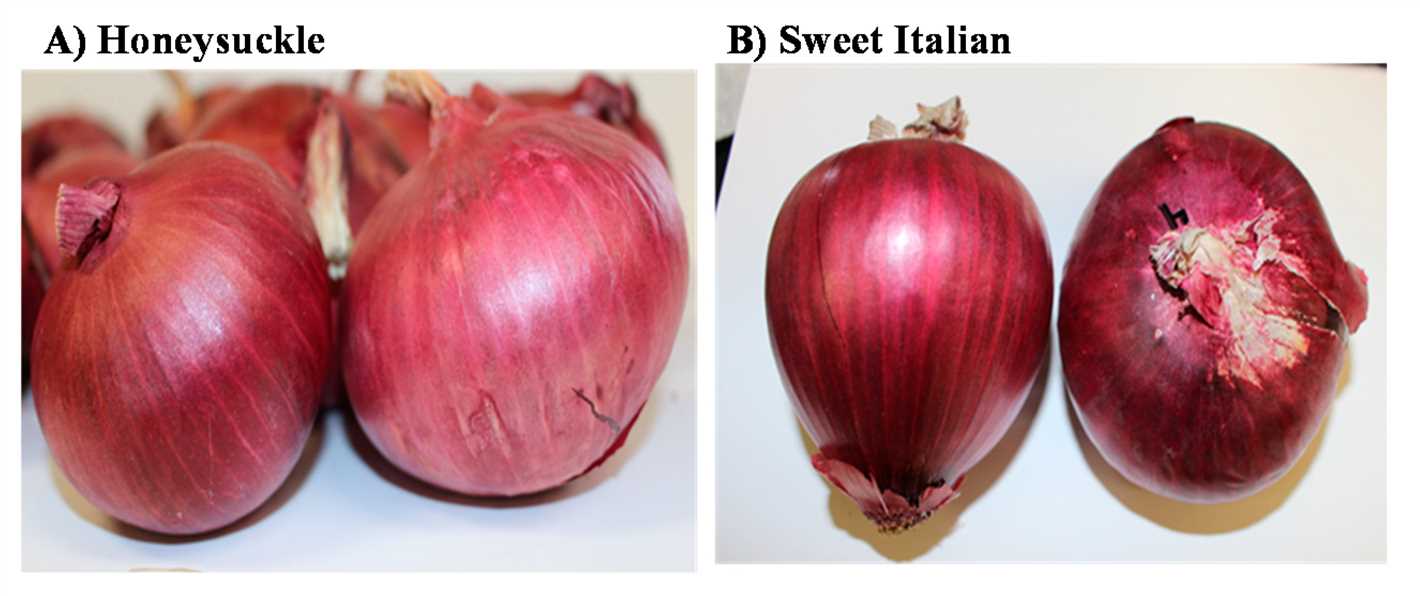
There are two types of onion bulbing: single-centered and multi-centered. Single-centered onions produce a single large bulb, which makes them ideal for exhibition purposes. Multi-centered onions produce multiple small bulbs and are not suitable for growing large exhibition onions.
3. Disease Resistance
It is important to select onion varieties that are resistant to common diseases such as onion smut, leaf blight, and pink root. Disease-resistant varieties are more likely to produce healthy bulbs and have a higher chance of reaching the desired weight of 1200 grams.
4. Maturity Date
The maturity date of an onion variety indicates how long it takes for the bulbs to reach their full size and ripen. For exhibition onions, it is advisable to choose varieties with a longer maturity date. These varieties have more time to develop larger bulbs before they are harvested.
5. Availability and Reputation
Consider the availability and reputation of different onion varieties. Some varieties may be more popular among exhibition onion growers and have a proven track record of producing large bulbs. It is worth researching and seeking advice from experienced growers in your area.
By taking these factors into consideration, you can select the right onion variety for growing exhibition onions with bulbs weighing up to 1200 grams. Remember to provide the recommended growing conditions and proper care to ensure the success of your onion crop.
Preparing the Soil for Onion Growth
Proper soil preparation is essential for growing exhibition onions and maximizing bulb size. Here are some tips for preparing the soil for onion growth:
1. Soil Type
Onions prefer loose, well-draining soil. Sandy loam or loamy soil types are ideal for onion growth. Avoid heavy clay soils, as they can become compacted and hinder root growth.
2. Soil pH
The optimal pH range for growing onions is between 6.0 and 7.5. Conduct a soil pH test using a kit available at your local garden center. Adjust the pH level if needed by adding lime to raise it or sulfur to lower it.
3. Organic Matter
Incorporate organic matter, such as compost or well-rotted manure, into the soil before planting. This improves soil fertility, moisture retention, and drainage. Spread a 2-3 inch layer of organic matter over the planting area and mix it into the top 6-8 inches of soil.
4. Fertilizer
Remove any existing weeds from the planting area before preparing the soil. Weeds compete with onions for nutrients, water, and sunlight. Use a hoe or hand-pull weeds to ensure they are completely removed.
6. Soil Moisture
Planting Onion Sets or Seeds
When it comes to planting exhibition onions, you have two options: using onion sets or sowing onion seeds. Both methods have their pros and cons, so it’s up to you to decide which one suits your needs and preferences best.
Planting Onion Sets
Onion sets are small, dormant onion bulbs that are grown the previous year and are ready to be planted. They offer a few advantages over onion seeds:
- Quicker to establish: Onion sets already have a head start and will establish themselves faster in the soil compared to seeds.
- Uniform size: Sets are usually of a similar size, which can result in more consistent growth and bulb development.
- Less prone to disease: Onion sets are less susceptible to certain diseases compared to seeds, providing an added level of protection.
Here are the steps to plant onion sets:
- Prepare the soil: Onions prefer well-drained soil with plenty of organic matter. Remove any weeds and loosen the soil to a depth of at least 6 inches.
- Plant the sets: Place the sets in the prepared soil, with the pointed end facing up. Space them about 4-6 inches apart in rows that are approximately 12 inches apart.
- Cover and water: Gently cover the sets with soil, ensuring that the tips are still visible. Water the soil thoroughly to help the sets settle in.
- Maintain: Keep the soil consistently moist, but not waterlogged. Remove any weeds that may compete with the onions for nutrients.
Sowing Onion Seeds
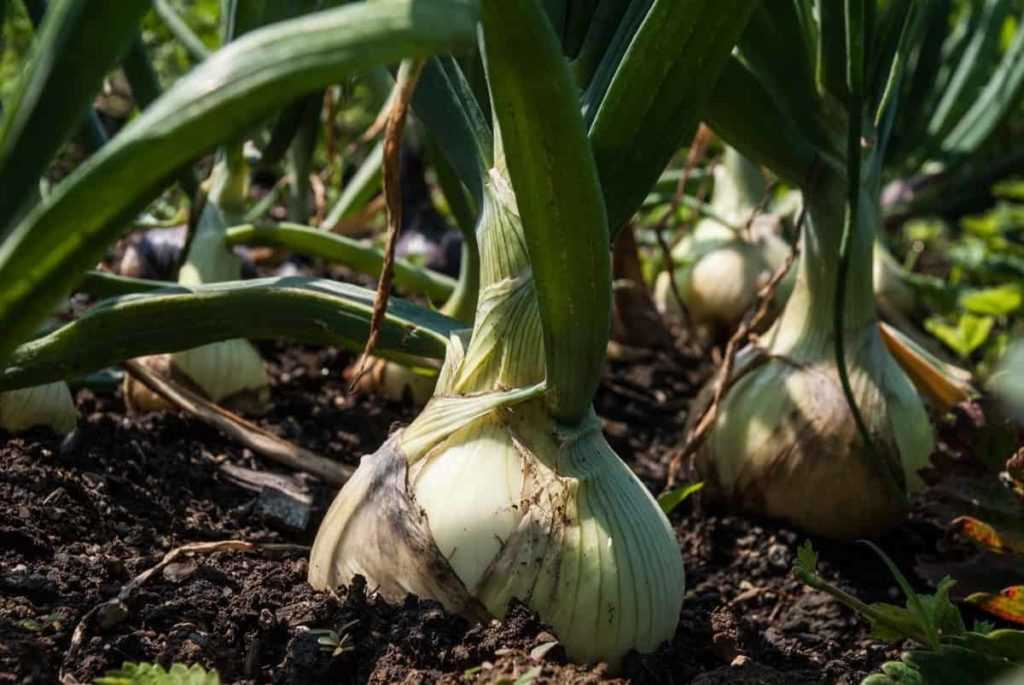
Sowing onion seeds is another method of growing exhibition onions. Here are some considerations when choosing to sow onion seeds:
- Greater variety: Seeds offer a wider range of onion varieties to choose from, allowing you to experiment with different flavors, sizes, and colors.
- Cost-effective: Seeds are generally more affordable than sets, especially if you plan on growing a large number of onions.
- Longer growing period: Onion seeds take longer to grow and establish compared to sets, so patience is required.
To sow onion seeds:
- Start indoors (optional): If you live in a region with a short growing season, start the seeds indoors several weeks before the last frost date.
- Prepare the soil: Choose a fertile, well-drained area and prepare the soil by removing weeds and adding organic matter.
- Sow the seeds: Plant the seeds about 1/4 inch deep and space them 1 inch apart. Cover the seeds with soil and gently firm the soil surface.
- Water and maintain: Keep the soil evenly moist during the germination period. Thin the seedlings to allow proper spacing as they grow.
Whether you choose onion sets or seeds, ensure that you provide your exhibition onions with the right growing conditions, including adequate sunlight, watering, and fertilization. With proper care and attention, you’ll be on your way to producing 1200g bulbs that will impress at any exhibition.
Providing Adequate Watering and Drainage
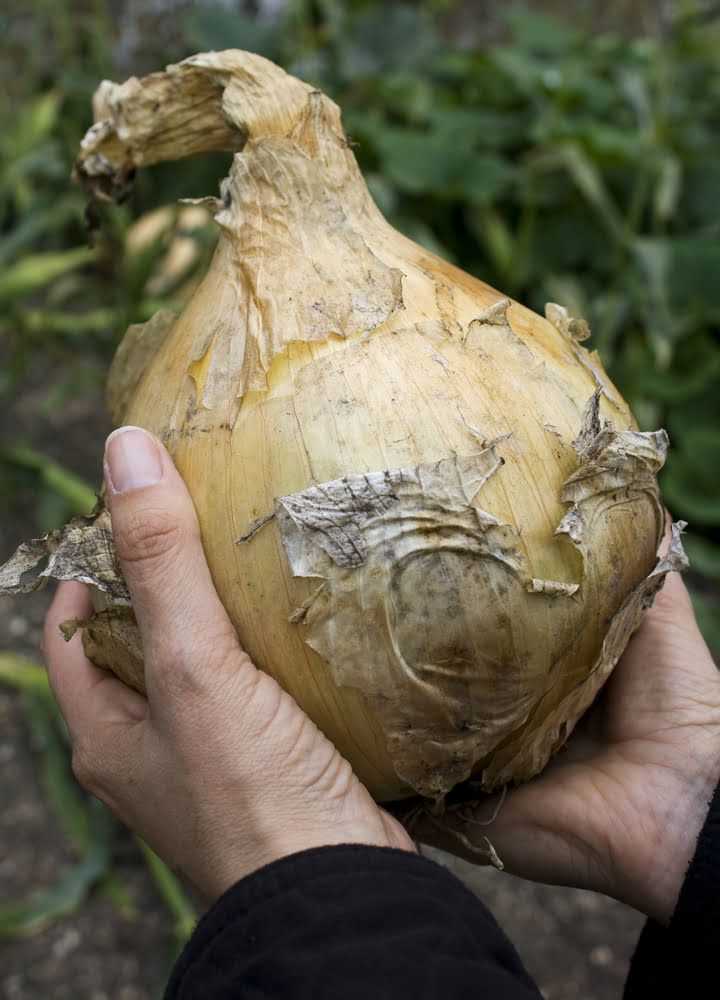
Watering is a crucial aspect of growing exhibition onions, as it directly affects the size and quality of the bulbs. Here are some tips to ensure adequate watering and drainage for your onions:
1. Consistent Moisture Levels
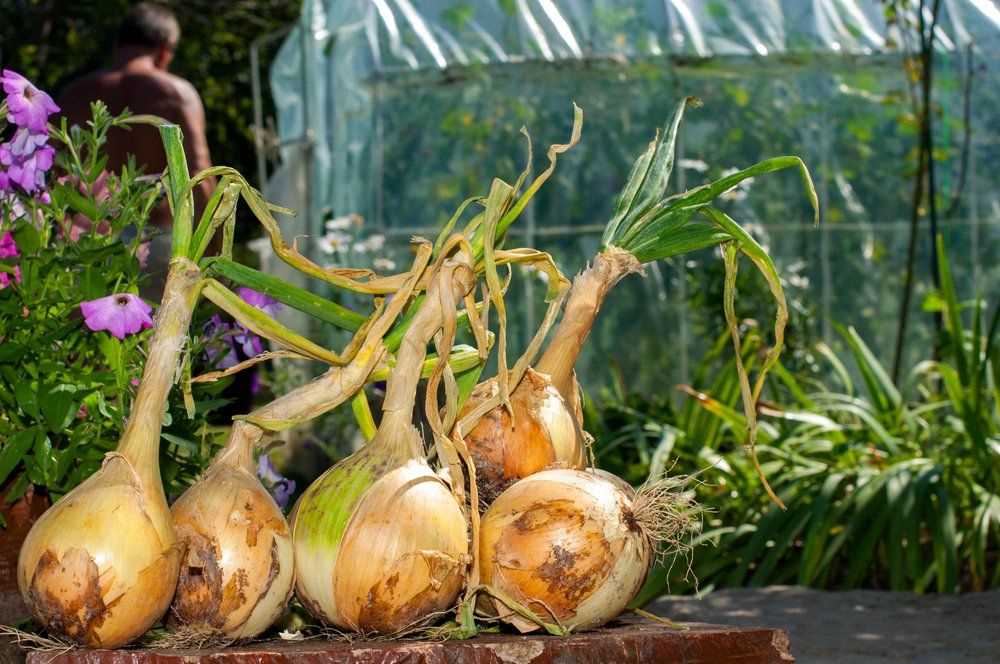
Onions need consistently moist soil throughout their growth cycle. Irrigate regularly to maintain a consistent level of moisture in the soil. Avoid overwatering or allowing the soil to dry out completely, as both can have negative effects on bulb development.
2. Deep and Infrequent Watering
When watering, aim to provide a deep soak to encourage root growth. Shallow watering can result in shallow root systems, which may lead to smaller bulbs. Frequent, light watering can also increase the risk of disease and pest problems. Instead, water deeply and less frequently to promote healthy root development.
3. Mulching
Applying a layer of organic mulch around the onion plants can help retain moisture in the soil and reduce evaporation. Mulching also helps to suppress weed growth, which can compete with the onions for water and nutrients.
4. Proper Drainage
Adequate drainage is crucial for the health of onion plants. Onions can be susceptible to root rot if left in waterlogged soil. To ensure proper drainage, plant onions in raised beds or mounds and amend the soil with organic matter to improve its structure. Avoid planting in areas with poor drainage.
5. Monitoring Soil Moisture
Regularly monitor the moisture levels in the soil by checking the depth at which it feels moist. This can be done by inserting a finger or a moisture meter into the soil. Adjust your watering schedule based on the moisture levels to prevent under or over-watering.
By providing adequate watering and drainage, you can help your exhibition onions reach their full potential and produce 1200g bulbs that are sure to impress.
Feeding and Fertilizing Onion Plants
Feeding and fertilizing onion plants is crucial to ensure healthy growth and the development of large bulbs. Here are some tips and techniques to help you properly feed and fertilize your onion plants.
Soil Preparation
Before planting onion sets or transplants, it is important to prepare the soil by incorporating organic matter, such as compost or well-rotted manure. This will provide essential nutrients and improve the soil’s structure and drainage.
Choosing the Right Fertilizer
Onion plants require a balanced fertilizer that contains nitrogen (N), phosphorus (P), and potassium (K). Look for fertilizers with an NPK ratio of around 10-10-10, or one that is specifically formulated for vegetables.
Alternatively, you can use organic fertilizers, such as fish emulsion or seaweed extract, which provide a slow-release of nutrients and promote soil health.
When to Fertilize
Onion plants should be fertilized at specific stages of their growth to maximize bulb development.
- Pre-Planting: Apply a balanced fertilizer or compost before planting to provide a nutrient-rich environment for young onion plants.
- Early Growth: After the onion plants have established themselves, apply a nitrogen-rich fertilizer to promote leaf growth. Be careful not to over-fertilize, as this can result in excessive foliage and small bulbs.
- Bulb Development: As the onion plants start forming bulbs, switch to a low-nitrogen, high-phosphorus fertilizer to encourage bulb size and development.
Applying Fertilizer
When applying fertilizer, it is important to evenly distribute it around the onion plants without touching the foliage. This can be done by hand or by using a controlled-release fertilizer, such as granules or slow-release spikes.
Ensure that the fertilizer is watered in thoroughly after application to prevent burning the roots and to help the nutrients penetrate the soil.
Additional Tips
- Monitor the moisture levels of the soil and ensure that the onion plants receive adequate water, as this will help the plants absorb and utilize the nutrients from the fertilizer.
- Avoid using excessive amounts of fertilizer, as this can lead to leaching of nutrients and environmental pollution.
- If using organic fertilizers, follow the manufacturer’s instructions for application rates and frequency.
- Regularly check the pH level of the soil to ensure it is within the optimal range for onion plants (pH 6.0-7.5).
By following these feeding and fertilizing techniques, you can provide your onion plants with the necessary nutrients for robust growth and large, healthy bulbs.
Controlling Weeds and Pests
When growing exhibition onions, it is important to control weeds and pests to ensure the best quality and yield of your crop. Here are some tips and techniques to help you in this endeavor:
Weed Control
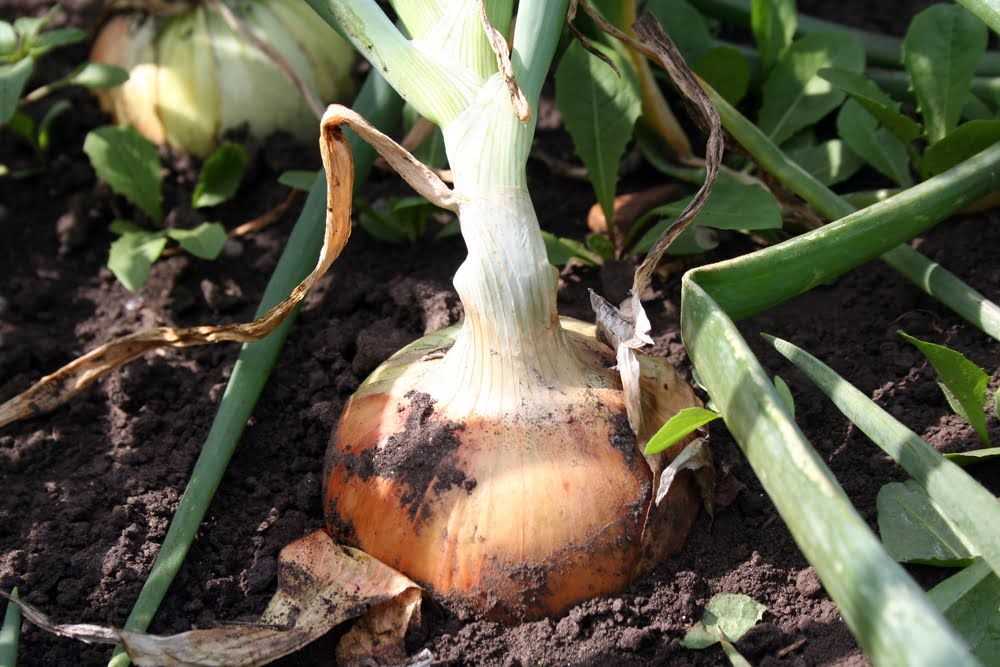
- Hand-pulling: Regularly inspect your onion beds and remove any weeds by hand. This is a tedious task but is effective in preventing weeds from competing with your onions for nutrients and water.
- Mulching: Apply a layer of organic mulch, such as straw, around your onion plants. This will help suppress weeds by blocking sunlight from reaching the soil and prevent weed seeds from germinating.
- Weed fabric: Consider using weed fabric or landscape fabric in your onion beds. This fabric allows water and nutrients to reach the onion roots while preventing weed growth.
Pest Control
- Aphids: Monitor your onion plants for aphid infestation. Aphids are small insects that suck the sap from plants, causing stunted growth and distorted leaves. Use insecticidal soap or a strong stream of water to control aphids.
- Onion maggots: These pests are the larvae of flies that lay their eggs near the base of onion plants. To prevent onion maggots, cover your onion beds with a floating row cover or apply a layer of diatomaceous earth around the base of your plants.
- Thrips: Thrips are tiny, slender insects that feed on onion leaves, causing silvering or bronzing of the foliage. Use insecticidal soap or neem oil to control thrips.
- Wireworms: Wireworms are the larval stage of click beetles and can cause severe damage to onion bulbs. Rotate your onion beds annually to reduce the risk of wireworm infestation. You can also use bait traps with pieces of raw potato or carrot to lure and control wireworms.
Organic Pest Control
If you prefer organic methods for pest control, consider the following:
- Neem oil: Neem oil is derived from the neem tree and is an effective organic insecticide. Dilute neem oil according to the instructions on the product label and spray it on your onion plants to control pests.
- Diatomaceous earth: Diatomaceous earth is a natural product that is composed of the fossilized remains of diatoms. Sprinkle diatomaceous earth around your onion plants to control insects. The sharp particles of diatomaceous earth damage the exoskeleton of insects, leading to dehydration and death.
- Natural predators: Encourage natural predators, such as ladybugs, lacewings, and predatory mites, in your garden. These beneficial insects feed on pests, helping to keep their populations in check.
By implementing these weed and pest control measures, you can protect your exhibition onion crop from weeds and harmful pests, ensuring a successful harvest of large and healthy bulbs.
Proper Onion Bulb Size and Thinning
One of the key factors in growing exhibition onions is achieving the proper bulb size. Here are some tips and techniques to help you achieve the desired size and quality:
1. Selecting the Right Onion Variety
Choosing the right onion variety is crucial in obtaining large exhibition-sized bulbs. Look for varieties that are known for their ability to produce large bulbs, such as ‘Ailsa Craig’ or ‘Kelsae’. These varieties have been bred specifically for exhibition purposes and have the potential to grow bulbs weighing 1200g or more.
2. Starting with High-Quality Onion Sets or Seeds
Starting with high-quality onion sets or seeds is essential for getting the best results. Look for sets or seeds that are large and firm, indicating good viability and potential for bulb development. Avoid sets or seeds that are soft, shriveled, or moldy.
3. Adequate Spacing and Thinning
Proper spacing and thinning are crucial factors in achieving the desired bulb size. Onions should be spaced at least 4-6 inches apart to allow enough room for bulb development. Additionally, thinning is necessary to ensure that each onion plant gets enough resources to produce a large bulb. Thin the seedlings or sets to one plant every 4-6 inches.
4. Providing Optimal Growing Conditions
To encourage bulb growth, provide optimal growing conditions for your onions. Onions prefer full sun, well-draining soil, and regular watering. Ensure that the soil is fertile and rich in organic matter by incorporating compost or well-rotted manure before planting. Use mulch to help conserve moisture and suppress weed growth.
5. Proper Fertilization
Fertilization is key to promoting bulb development. Onions are heavy feeders and require regular feeding. Use a balanced fertilizer with a higher ratio of phosphorus, which promotes root and bulb development. Apply the fertilizer according to the manufacturer’s instructions, being careful not to over-fertilize, as this can lead to excessive foliage growth at the expense of bulb development.
Following these tips and techniques for proper onion bulb size and thinning will increase your chances of growing exhibition-sized onions weighing 1200g or more. Remember to monitor your plants regularly and make adjustments to their care as needed to ensure optimal growth and bulb development.
Harvesting and Storing Exhibition Onions
Harvesting exhibition onions is an exciting time for any gardener. These onions have been growing all season long and are now ready to be harvested and stored for future use. Here are some tips and techniques for harvesting and storing exhibition onions:
Harvesting:
- Wait until the onion tops have completely died back and turned yellow. This indicates that the onions have finished growing and are ready to be harvested.
- Use a garden fork or trowel to gently loosen the soil around the onion bulb. Be careful not to damage the bulb during this process.
- Gently lift the onion bulb out of the ground, making sure to remove any excess soil that may be clinging to the bulb.
- Inspect the onion bulb for any signs of damage or disease. If the bulb is damaged, it is best to discard it.
Storing:
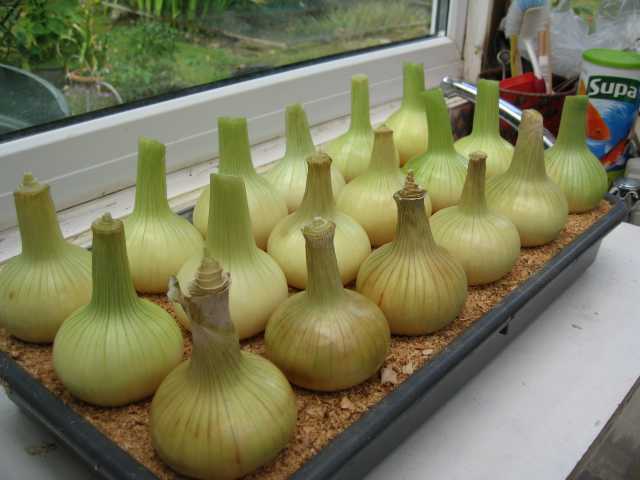
- Before storing, cure the onions by placing them in a warm, dry location with good air circulation. This will help the onions dry out and extend their shelf life.
- After curing, trim the onion tops to about 1 inch above the bulb. This will help prevent the onions from sprouting during storage.
- Place the onions in a mesh bag or an open crate to allow for air circulation. Avoid storing the onions in plastic bags, as this can promote moisture buildup and lead to rot.
- Store the onions in a cool, dry, and well-ventilated area, such as a basement or pantry. The ideal storage temperature is around 40 to 50 degrees Fahrenheit (4 to 10 degrees Celsius).
- Regularly check the stored onions for any signs of rot or disease. Remove any onions that show signs of spoilage to prevent further spread.
Following these harvesting and storing techniques will help ensure that your exhibition onions stay fresh and in top condition for as long as possible. Enjoy the fruits of your labor and savor the delicious taste of homegrown onions!
“Question-Answer”
What are exhibition onions?
Exhibition onions are a type of onion specifically grown for competition or display purposes. They are typically larger in size, have a uniform shape, and are grown to reach a particular weight. These onions are often entered in shows where they are judged based on their size, shape, and quality.
What techniques can be used to grow exhibition onions?
There are several techniques that can be used to grow exhibition onions. One important technique is starting with high-quality onion sets or seeds. Providing the onions with the right growing conditions, such as full sun, well-draining soil, and regular watering, is also crucial. Additionally, practicing good onion care, such as regular weeding, proper fertilization, and disease management, can help promote optimal growth and bulb development.
How long does it take to grow exhibition onions?
The time it takes to grow exhibition onions can vary depending on several factors, including the onion variety, growing conditions, and desired size. Generally, exhibition onions take around 120-150 days to reach full maturity. However, some varieties may take longer or shorter times to grow. It is important to monitor the onions closely and harvest them at the optimal time to achieve the desired size and weight.
What is the ideal weight for exhibition onions?
The ideal weight for exhibition onions varies depending on the specific competition or show requirements. However, a common target weight for exhibition onions is around 1200 grams (2.6 pounds). This weight is considered impressive and can increase the chances of winning in many onion shows. Growers can achieve this weight by providing the onions with optimal growing conditions and following recommended techniques for promoting bulb development.
Can exhibition onions be grown in containers?
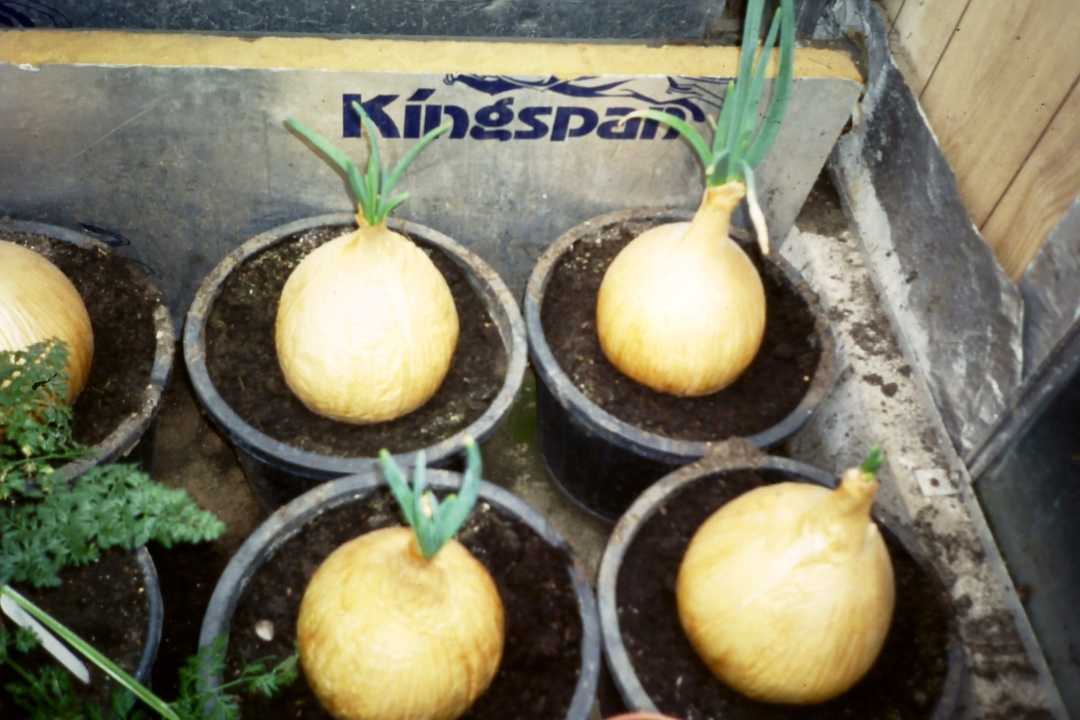
Yes, exhibition onions can be grown in containers. However, it is important to choose large enough containers that provide sufficient space for the onions to develop their roots and bulbs. Containers should also have drainage holes to prevent waterlogging and ensure good soil drainage. Additionally, regular watering and fertilization are essential for container-grown exhibition onions, as they may dry out or deplete nutrients more quickly than onions grown in the ground.
What are some common challenges when growing exhibition onions?
There are several common challenges when growing exhibition onions. One challenge is achieving the desired size and weight. This requires careful monitoring of the onions’ growth and ensuring they receive optimal growing conditions. Disease and pest management can also be a challenge, as onions are susceptible to various pests and diseases. Proper care, such as regular inspection, timely treatment, and practicing good hygiene, can help minimize these challenges. Finally, competition from weeds can hinder onion growth, so regular weeding is necessary to maintain healthy onions.


