- Step 1: Choose the Right Container
- Factors to Consider
- Container Options
- Step 2: Start Seeds Indoors
- Materials Needed:
- Instructions:
- Step 3: Transplanting Seedlings Into a Permanent Container
- Materials you’ll need:
- Transplanting Process:
- Step 4: Prepare the Permanent Container
- Choose the Right Container
- Select the Proper Potting Mix
- Provide Support
- Position the Container
- Prepare the Container
- Step 5: Harden Off Seedlings
- Here are the steps to harden off cucumber seedlings:
- Step 6: Planting Seedlings in the Permanent Container
- Step 7: Provide Proper Care
- Watering
- Fertilization
- Weed Control
- Support
- Pest and Disease Control
- Harvesting
- Step 8: Harvesting Cucumbers
- 1. Check for maturity
- 2. Regularly inspect your cucumber plants
- 3. Cut the cucumber from the vine
- 4. Harvesting frequency
- 5. Store properly
- “Question-Answer”
- When should I transplant cucumber seedlings into a permanent container?
- What kind of container should I use for transplanting cucumber seedlings?
- How should I prepare the container before transplanting the cucumber seedlings?
- Do cucumber seedlings need any special care after they are transplanted?
- Can I transplant cucumber seedlings directly into the ground instead of a container?
- “Video” How to Grow Cucumbers in Containers / on the Balcony | From Seed to Harvest
Transplanting seedlings is an important step in growing cucumbers at home. Once your seedlings have developed strong roots and a few sets of leaves, it’s time to move them into their permanent container. This will give them more space to grow and allow them to develop into healthy cucumber plants.
Before transplanting, make sure to choose a container that is large enough to accommodate the mature size of cucumber plants. Cucumbers have deep root systems, so it’s important to choose a container that is at least 12 inches deep. Additionally, make sure the container has adequate drainage holes to prevent water from pooling and causing root rot.
When transplanting, gently remove the seedlings from their original container, being careful not to damage the roots. If the roots are tightly packed, you can gently loosen them before placing the seedling into the permanent container. Make a hole in the soil of the container and place the seedling into it, ensuring that the base of the stem is level with the soil surface. Fill in the hole with soil, gently firming it around the seedling.
After transplanting, water the seedlings thoroughly to help them settle into their new container. Keep the soil consistently moist, but not waterlogged, as cucumbers prefer well-drained soil. Place the container in a location that receives full sun for at least 6-8 hours a day, as cucumbers thrive in warm and sunny conditions.
Transplanting seedlings into a permanent container is an important step in the process of growing cucumbers at home. By providing your plants with the proper space and care, you can look forward to a bountiful cucumber harvest in the months to come.
Step 1: Choose the Right Container
In order to successfully grow cucumbers at home, it is important to choose the right container for transplanting the seedlings. The container should provide enough space for the cucumbers to grow and should be suitable for their root system.
Factors to Consider
When choosing a container, consider the following factors:
- Size: The container should be large enough to accommodate the root system of the cucumber plant. A container with a depth of at least 12 inches (30 cm) is recommended.
- Drainage: Make sure the container has adequate drainage holes to prevent waterlogging and root rot. Excess water should be able to drain freely.
- Material: Choose a container made of a durable material such as plastic or clay. Plastic containers are lightweight and retain moisture well, while clay containers provide better breathability for the plant roots.
- Shape: Cucumbers have trailing vines, so a wider, more horizontal container is preferable to allow the vines to spread out.
Container Options
There are several container options available for growing cucumbers:
- Plastic pots: Plastic pots are lightweight, easy to move, and retain moisture well.
- Clay pots: Clay pots provide better breathability for the roots and give a more aesthetic look to your garden.
- Grow bags: Grow bags are made of breathable fabric, which promotes better drainage and root aeration.
- Self-watering containers: Self-watering containers have a reservoir at the bottom that provides a steady water supply to the plants.
- Recycled containers: You can repurpose old buckets, barrels, or even wooden crates as containers for growing cucumbers. Just make sure to drill drainage holes if necessary.
| Container Option | Pros | Cons |
|---|---|---|
| Plastic pots | Lightweight, retain moisture well | May deteriorate over time |
| Clay pots | Better breathability for roots, aesthetically pleasing | Can be heavy, may break if dropped |
| Grow bags | Promote better drainage, root aeration | May require additional support |
| Self-watering containers | Provide steady water supply, reduce watering frequency | Can be expensive |
| Recycled containers | Eco-friendly, cost-effective | May require modifications for drainage |
Choose the container option that best fits your needs and resources. Remember to fill the chosen container with a suitable potting mix before transplanting the cucumber seedlings.
Step 2: Start Seeds Indoors
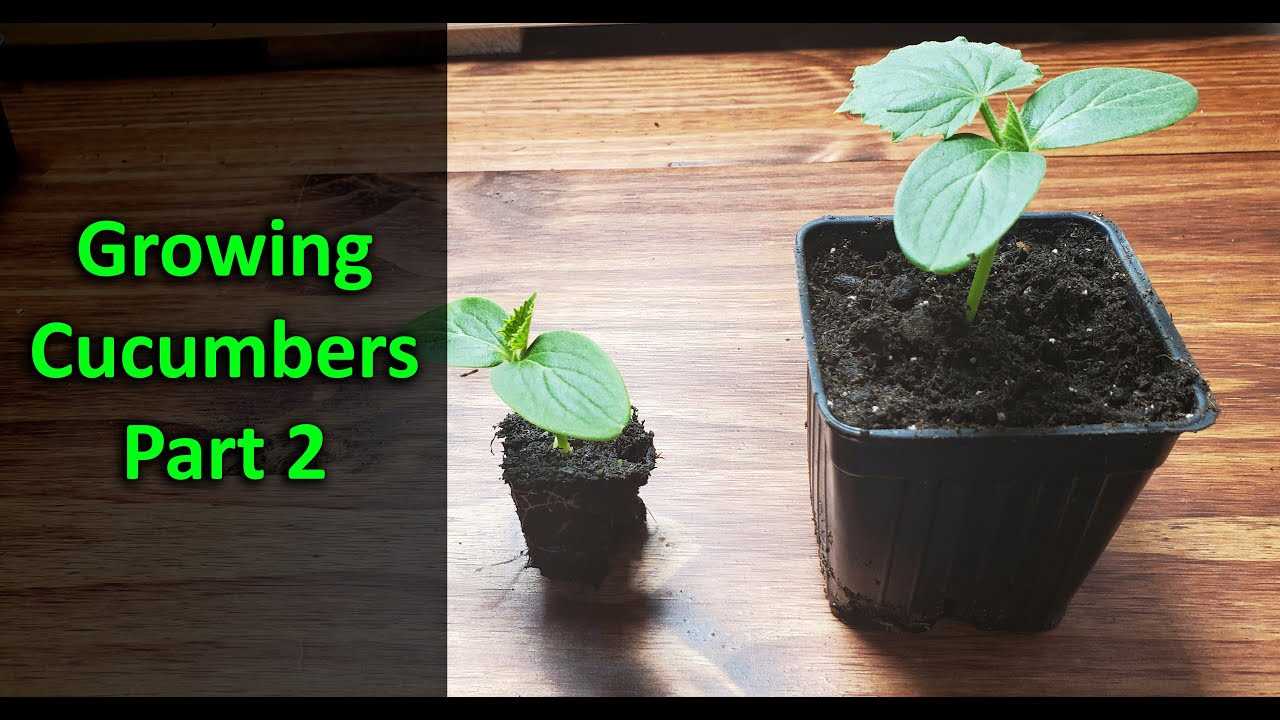
Starting cucumber seeds indoors is a crucial step in growing healthy cucumber plants. By starting seeds indoors, you can control the growing conditions and ensure that the seedlings have a strong start.
Materials Needed:
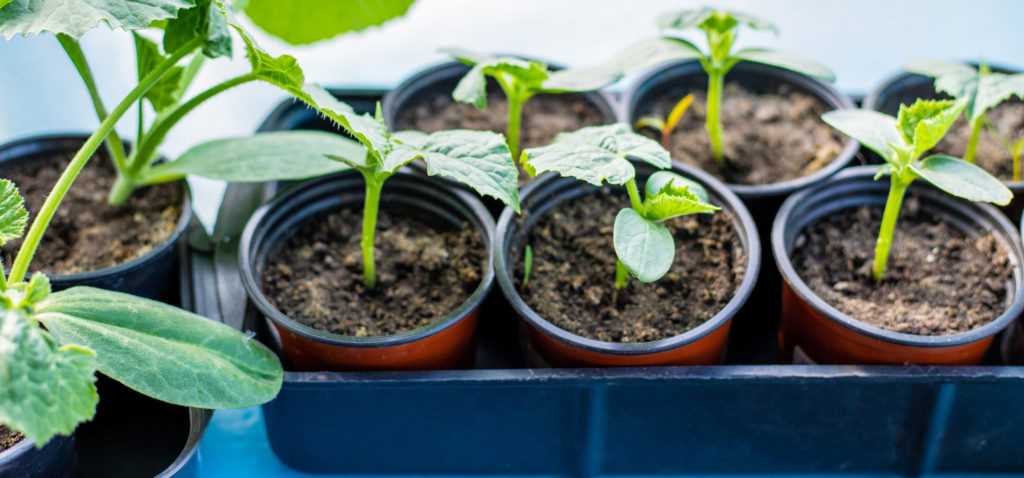
- Cucumber seeds
- Seed starting trays or pots
- Seed starting mix
- Water
- Plastic wrap or a seedling dome
- Grow lights or a sunny window
Instructions:
- Select a suitable seed starting tray or pots. Make sure they have drainage holes in the bottom.
- Fill the containers with seed starting mix, leaving a small space at the top for watering.
- Moisten the seed starting mix with water. It should be damp but not soaking wet.
- Plant 2-3 cucumber seeds in each container, following the recommended spacing on the seed packet. Cover the seeds with a thin layer of seed starting mix.
- Water the containers from the bottom. Place the trays in a shallow tray or saucer filled with water, and allow the water to be absorbed through the drainage holes.
- Cover the containers with plastic wrap or a seedling dome to create a greenhouse-like environment. This will help retain moisture and promote germination.
- Place the containers in a warm location, ideally between 70-80°F (21-27°C). You can use a heating mat to provide bottom heat if necessary.
- After germination, remove the plastic wrap or seedling dome and place the containers under grow lights or in a sunny window. Make sure the seedlings receive at least 12-14 hours of light per day.
- Water the seedlings regularly, keeping the soil evenly moist but not waterlogged.
- Once the seedlings have developed 2-3 true leaves and the danger of frost has passed, they are ready to be transplanted into a larger container or into the garden.
Following these steps will give your cucumber seedlings the best chance of success and help you grow healthy cucumber plants.
Step 3: Transplanting Seedlings Into a Permanent Container
After your cucumber seedlings have developed a few true leaves and are about 3-4 inches tall, it’s time to transplant them into a permanent container. This step is crucial for the healthy growth and development of your cucumber plants.
Materials you’ll need:
- A large container with drainage holes
- High-quality potting soil
- A trowel or small shovel
- Watering can or hose
Transplanting Process:
- Choose a container that is at least 12-16 inches deep and wide enough to accommodate the growing cucumber plant.
- Fill the container with well-draining potting soil, leaving about 2 inches of space at the top for watering.
- Use your trowel or shovel to create a small hole in the center of the soil, deep enough to accommodate the roots of the cucumber seedling.
- Gently remove the cucumber seedling from its original container, being careful not to damage the roots.
- Place the seedling into the hole you created, ensuring that the top of the root ball is level with the soil surface.
- Fill in the hole with soil, firming it gently around the base of the seedling to provide support.
- Water the newly transplanted seedling thoroughly, ensuring that the soil is evenly moist.
- Place the container in a sunny location, ideally receiving at least 6-8 hours of direct sunlight per day.
Transplant shock may occur initially, but with proper care and maintenance, your cucumber seedlings should adapt well and continue to grow. Remember to water regularly and provide support for your cucumber plants as they grow.
By following these transplanting steps, you will set your cucumber plants up for success and increase your chances of a bountiful cucumber harvest.
Step 4: Prepare the Permanent Container
Now that you have transplanted your cucumber seedlings into a temporary container and they have grown strong and healthy, it’s time to prepare the permanent container for your cucumber plants. This will provide them with the space and support they need to thrive.
Choose the Right Container
When selecting a container for your cucumbers, make sure it is large enough to accommodate the growing plants. A container with a minimum depth of 12 inches and a diameter of 18 inches is recommended. This will allow the roots to spread out and provide stability to the growing vines.
Select the Proper Potting Mix
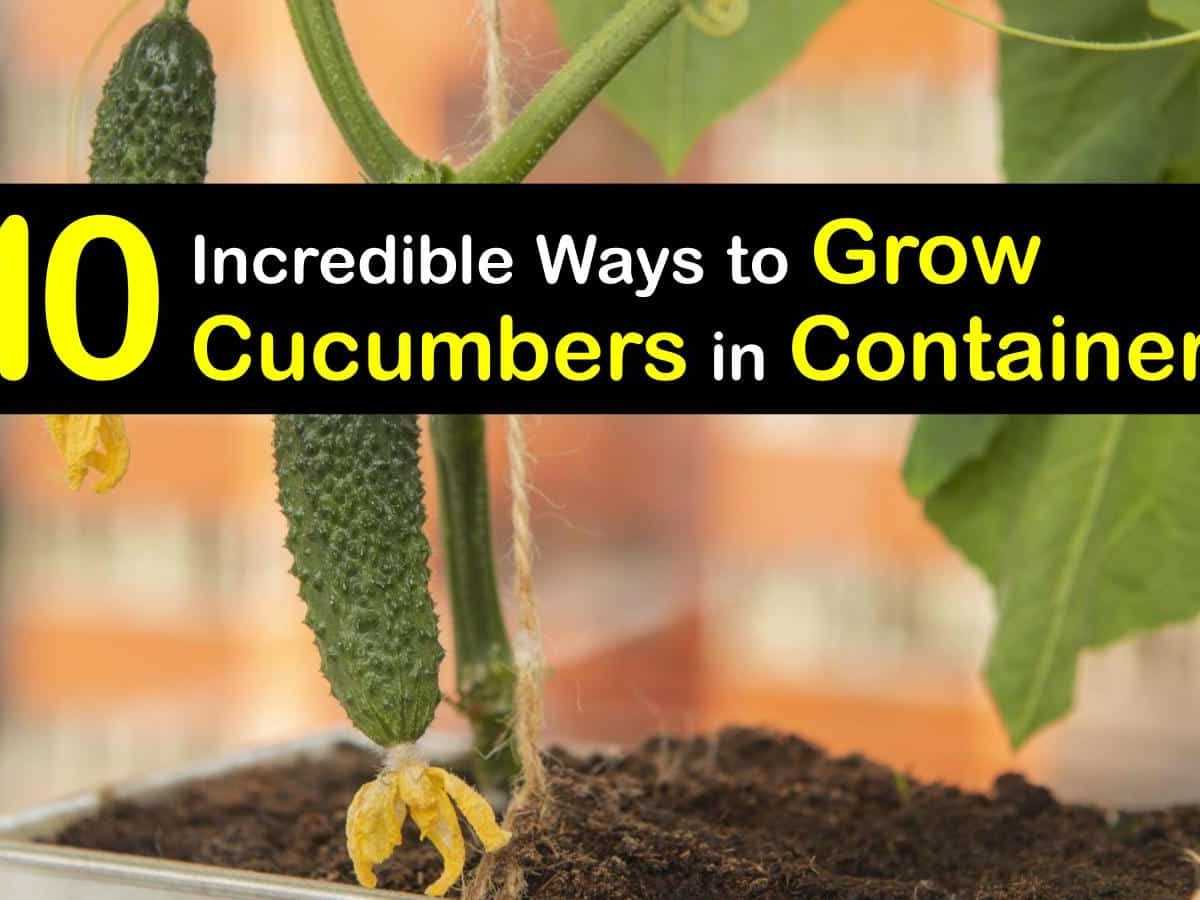
The potting mix you choose for your cucumbers should be well-draining and nutrient-rich. Consider using a mix that contains a combination of compost, peat moss, and perlite. This will provide the right balance of moisture retention and drainage for your plants.
Provide Support
Cucumbers are climbing plants that benefit from support to grow vertically and prevent their vines from sprawling on the ground. Install a trellis, stakes, or a cucumber cage inside the container to support the plants as they grow. This will also help with air circulation and reduce the risk of disease.
Position the Container
Choose a location for your container that receives full sun for at least 6 hours a day. Cucumbers thrive in warm temperatures, so make sure to place the container in a spot that provides adequate sunlight and warmth. Keep in mind that cucumbers are heavy feeders and require regular watering, so position the container near a water source.
Prepare the Container
Before planting your cucumbers, ensure that the container is clean and free from any debris. Rinse the container with water and a mild detergent, then rinse thoroughly to remove any soap residue. This will help prevent any potential disease or pest problems.
Summary:
- Choose a container with the right size and depth to accommodate cucumbers.
- Select a well-draining and nutrient-rich potting mix.
- Provide support for the growing vines.
- Position the container in a sunny location with adequate warmth.
- Prepare the container by cleaning it thoroughly.
By following these steps, you will be well-prepared to transplant your cucumber seedlings into their permanent container. With the right container and preparation, your cucumber plants will have the best chance of thriving and producing an abundant harvest.
Step 5: Harden Off Seedlings
Once your cucumber seedlings have reached a suitable size and are well-established in their containers, it is important to gradually acclimate them to outdoor conditions before planting them in the garden. This process is known as hardening off.
Hardening off is necessary because seedlings grown indoors or in a greenhouse have been protected from the elements and have not been exposed to the intensity of direct sunlight, wind, and fluctuating temperatures that they will experience outdoors. By hardening off the seedlings, you can help them adapt to these conditions and minimize the risk of transplant shock.
Here are the steps to harden off cucumber seedlings:
- Choose a suitable location: Select a sheltered outdoor area with partial shade where the seedlings will be protected from strong winds and direct sunlight during the initial hardening off period.
- Gradually expose seedlings to outdoor conditions: Start by placing the seedlings outdoors for a short period of time, such as a couple of hours in the morning or late afternoon, on a mild day. Increase the time outdoors each day, gradually exposing the seedlings to longer periods of direct sunlight and outdoor temperatures.
- Protect from extreme weather: If the weather is particularly hot, cold, or windy, it is important to protect the seedlings from these extreme conditions. You can use shade cloth or move the seedlings to a more sheltered location to shield them from excessive heat or cold.
- Water and fertilize as needed: Continue to water the seedlings regularly, ensuring that the soil remains evenly moist. You can also apply a balanced fertilizer according to the instructions to promote healthy growth and development.
- Monitor for signs of stress or damage: During the hardening off period, keep a close eye on the seedlings for any signs of stress or damage. If the leaves are wilting or turning yellow, it may indicate that they are not yet ready for full exposure to outdoor conditions.
By gradually exposing your cucumber seedlings to outdoor conditions through the hardening off process, you can help them adjust and thrive in the garden. Once they have become accustomed to outdoor conditions, they will be ready to be transplanted into the garden and continue their growth journey.
Step 6: Planting Seedlings in the Permanent Container
Once your cucumber seedlings have reached a suitable size and have developed a strong root system, it’s time to transplant them into a permanent container. Follow these steps to plant your seedlings in their final growing location:
- Prepare the container: Choose a large container with good drainage. Make sure to clean the container thoroughly before planting your seedlings.
- Add potting soil: Fill the container with a high-quality potting soil. This will provide essential nutrients and good drainage for your cucumber plants.
- Space the seedlings: Determine the spacing requirements for the specific cucumber variety you are growing. Leave enough space between each seedling to allow for proper growth and air circulation.
- Make holes: Use your fingers or a small tool to create holes in the potting soil. The holes should be deep enough to accommodate the seedlings and their root system.
- Plant the seedlings: Gently remove the cucumber seedlings from their original containers and place them into the prepared holes. Make sure to handle the seedlings carefully to avoid damaging their delicate roots.
- Backfill the soil: Once the seedlings are in place, carefully backfill the soil around the roots. Press the soil gently to remove any air pockets.
- Water thoroughly: After planting, thoroughly water the container to ensure that the soil is evenly moist. This will help the seedlings establish and reduce transplant shock.
- Provide support: If you are growing vining cucumber varieties, consider providing a trellis or cage for support. This will help the plants grow vertically and save space in your container.
- Monitor and care for your plants: Place the container in a location that receives at least 6-8 hours of direct sunlight per day. Water regularly and monitor the soil moisture levels. Fertilize as needed and remove any weeds that may compete with your cucumber plants.
Following these steps will help ensure the successful transplanting of your cucumber seedlings into their permanent container. With proper care and maintenance, your cucumber plants will thrive and produce an abundant harvest of fresh, delicious cucumbers.
Step 7: Provide Proper Care
Proper care is essential for the health and productivity of your cucumber plants. Here are some guidelines to help you provide the best care for your plants:
Watering
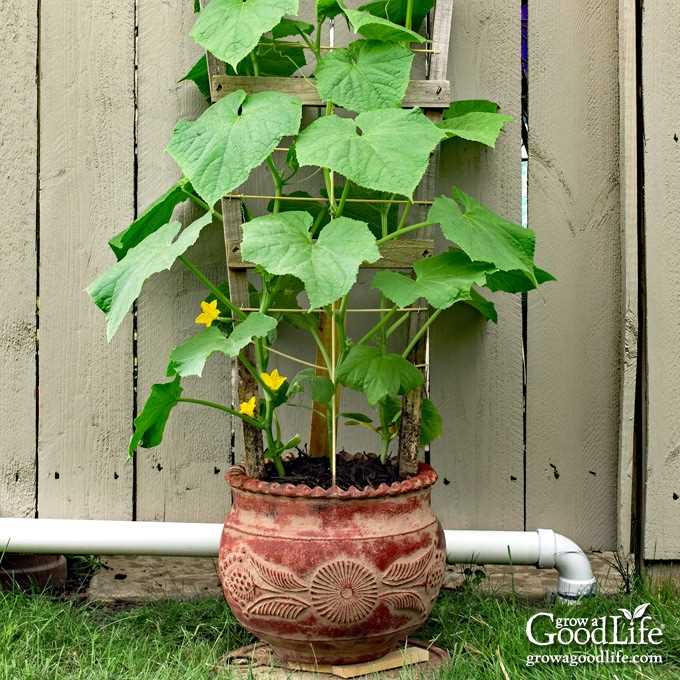
Cucumbers require consistent moisture to thrive. Water your plants regularly, aiming for about 1 inch of water per week. Be careful not to overwater, as this can lead to root rot. Water at the base of the plant to avoid wetting the leaves, as this can promote the growth of diseases.
Fertilization
Apply a balanced fertilizer every 2-3 weeks to provide your cucumber plants with the nutrients they need. Use a fertilizer specifically formulated for vegetable plants, following the instructions on the package. Avoid using excessive amounts of fertilizer, as this can burn the plants.
Weed Control
Keep the area around your cucumber plants free of weeds. Weeds compete with the plants for nutrients, water, and sunlight. Regularly remove weeds by hand or use a mulch to suppress weed growth.
Support
As your cucumber plants grow, they may need support to prevent the vines from sprawling on the ground. Use a trellis, stakes, or cages to provide support and keep the plants upright. This will also help improve air circulation and reduce the risk of diseases.
Pest and Disease Control
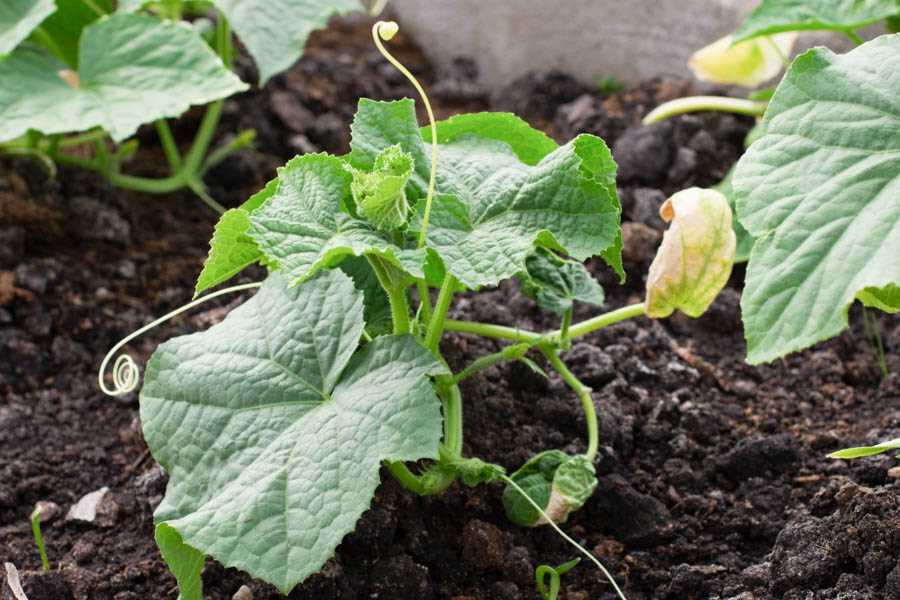
Monitor your cucumber plants regularly for any signs of pests or diseases. Common cucumber pests include aphids, cucumber beetles, and spider mites. Use organic pest control methods whenever possible, such as handpicking pests or using insecticidal soap. If you notice any signs of diseases, such as wilting or discoloration, take appropriate measures to control and prevent the spread of the disease.
Harvesting
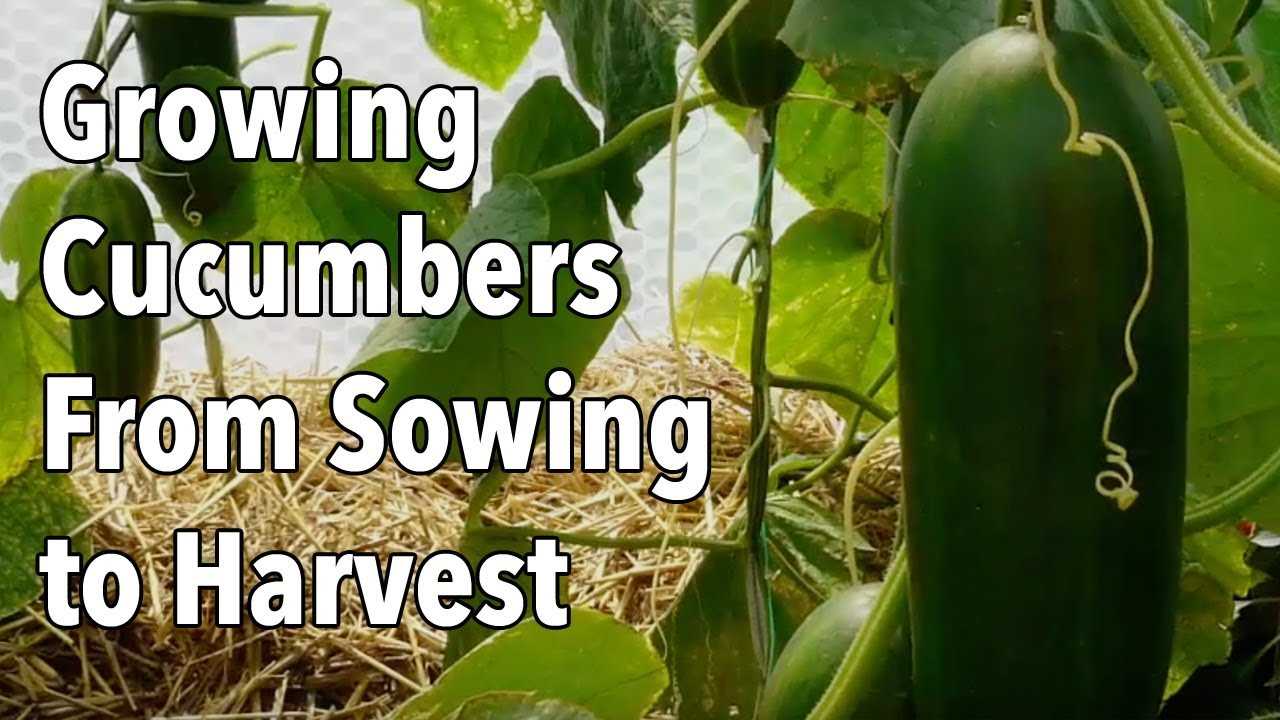
When your cucumbers are ready for harvest, pick them regularly to encourage the production of new fruit. Cucumbers are typically ready to harvest when they reach the desired size and are firm and green. Avoid leaving overripe cucumbers on the vine, as this can inhibit the production of new fruit.
| Problem | Solution |
|---|---|
| Yellowing leaves | Check for overwatering or nutrient deficiencies. Adjust watering and apply fertilizer as needed. |
| Powdery mildew | Remove infected leaves and treat with a fungicide if necessary. Improve air circulation around the plants. |
| Lack of fruit production | Ensure proper pollination by attracting pollinators or using hand pollination. Check for nutrient deficiencies and adjust fertilization if needed. |
| Bitter-tasting cucumbers | Harvest cucumbers when they are still young and avoid overripe fruits. Provide consistent moisture and avoid fluctuations in watering. |
By providing proper care and attention to your cucumber plants, you can enjoy a bountiful harvest of delicious cucumbers right from your own garden.
Step 8: Harvesting Cucumbers
Once your cucumber plants have grown and produced fruits, it is time to harvest them. Harvesting cucumbers at the right time ensures that you enjoy them at their peak flavor and texture.
1. Check for maturity
Begin by checking if your cucumbers are mature enough to be harvested. Cucumbers are typically ready for harvesting 50 to 70 days after planting the seeds, depending on the variety. They should be firm, bright green, and have a glossy skin. Avoid harvesting any cucumbers that are yellow, wrinkled, or have a dull appearance.
2. Regularly inspect your cucumber plants
Inspect your cucumber plants regularly to look for mature cucumbers that are ready to be harvested. Do not let them become overripe, as they can turn bitter and develop tough seeds.
3. Cut the cucumber from the vine
Using a clean pair of garden shears or a sharp knife, carefully cut the cucumber from the vine. Leave a small portion of the stem attached to the cucumber to prevent rotting. Avoid pulling or twisting the cucumbers off the vine, as this may damage the plant.
4. Harvesting frequency
Harvest your cucumbers every 2 to 3 days, as they can quickly become overripe if left on the vine for too long. Regular harvesting also encourages the plant to produce more cucumbers.
5. Store properly
After harvesting, cucumbers can be stored in the refrigerator for up to a week. Keep them in a reusable plastic bag or wrap them in a damp paper towel to retain their moisture.
Follow these steps to ensure a bountiful cucumber harvest that you can enjoy in salads, sandwiches, or pickled for later use!
“Question-Answer”
When should I transplant cucumber seedlings into a permanent container?
You should transplant cucumber seedlings into a permanent container when they have developed 2-3 true leaves and are about 3-4 inches tall.
What kind of container should I use for transplanting cucumber seedlings?
You can use a container that is at least 12 inches deep and wide, with drainage holes at the bottom. This will provide enough space for the roots to grow and allow excess water to drain out.
How should I prepare the container before transplanting the cucumber seedlings?
You should first clean the container with warm soapy water to remove any dirt or debris. Then, fill it with a well-draining potting mix, leaving about an inch of space at the top for watering.
Do cucumber seedlings need any special care after they are transplanted?
After transplanting cucumber seedlings, make sure to water them thoroughly and place them in a location with plenty of sunlight. You may also want to provide support for the plants to climb, such as a trellis or stakes.
Can I transplant cucumber seedlings directly into the ground instead of a container?
Yes, you can transplant cucumber seedlings directly into the ground if you have a suitable garden bed. Make sure to prepare the soil by adding compost or organic matter and providing support for the plants to climb.


