- Benefits of Growing Exhibition Onions
- 1. Impressive Size
- 2. Unique Appearance
- 3. Challenge for Gardeners
- 4. Great Taste
- 5. Long Shelf Life
- Choosing the Right Variety of Exhibition Onions
- Variety Selection
- Popular Exhibition Onion Varieties
- Selecting a Suitable Location for Growing Exhibition Onions
- 1. Sunlight
- 2. Soil Quality
- 3. Air Circulation
- 4. Temperature
- 5. Water Availability
- 6. Space
- 7. Protection from Pests
- Soil Preparation for Exhibition Onions
- 1. Soil pH
- 2. Soil Structure
- 3. Nutrients
- Recommended Fertilizer Ratio: 10-10-10 or 12-12-12
- 4. Soil Moisture
- 5. Weed Control
- 6. Soil Mulching
- 7. Crop Rotation
- 8. Regular Soil Testing
- 9. Soil Improvement Over Time
- Planting Exhibition Onions: Step-by-Step Guide
- 1. Choose the right variety
- 2. Prepare the soil
- 3. Add organic matter
- 4. Create planting furrows
- 5. Plant the onion sets
- 6. Cover the onion sets
- 7. Water the onion sets
- 8. Mulch the planting area
- 9. Provide regular care
- 10. Harvesting
- Watering and Care for Exhibition Onions
- 1. Watering
- 2. Soil and Mulching
- 3. Fertilization
- 4. Pest and Disease Control
- Harvesting Exhibition Onions: Tips and Techniques
- 1. Timing is Key
- 2. Prepare the Onions
- 3. Lift and Cure
- 4. Storage
- 5. Enjoy Your Harvest
- Storing and Using Exhibition Onions
- Storing Exhibition Onions
- Using Exhibition Onions
- Tips for Long-Term Storage
- “Question-Answer”
- How do I start growing onions?
- What are the different types of onions I can grow?
- When is the best time to harvest onions?
- How do I know if my onions are ready to be harvested?
- What is the best way to cure and store onions?
- “Video” What to do when ONIONS BOLT: Growing in the Garden
Onions are a versatile and essential ingredient in many cuisines around the world. They come in a variety of types, each with its own unique characteristics and flavor profiles. Exhibition onions, in particular, are a popular choice among gardeners and onion enthusiasts.
Exhibition onions are known for their large size and impressive appearance. They are typically grown for exhibition purposes, where they are judged based on their size, shape, and overall quality. These onions require special care and attention to reach their full potential.
Growing exhibition onions starts with selecting the right variety. Exhibition onions are usually long-day onions, which means they require a longer period of daylight to grow. It’s important to choose a variety that is suitable for your climate and growing conditions.
Tips for growing exhibition onions:
– Start with good quality onion sets or seeds.
– Plant them in well-draining soil with plenty of organic matter.
– Keep the soil consistently moist, but not waterlogged.
– Provide adequate sunlight and protect the onions from extreme heat or cold.
– Regularly fertilize the onions with a balanced fertilizer.
– Monitor for pests and diseases, and take appropriate measures to control them.
Harvesting exhibition onions is a gratifying experience for any gardener. These onions are usually ready for harvest when their tops begin to yellow and flop over. Carefully dig them out of the ground, being mindful not to damage the bulbs.
Exhibition onions are a rewarding crop to grow, as they offer both aesthetic appeal and delicious flavor. With the right care and attention, you can enjoy a bountiful harvest of these impressive onions.
Benefits of Growing Exhibition Onions
Growing exhibition onions can be a rewarding and enjoyable experience for gardeners of all skill levels. These specialty onions have several benefits that make them an attractive option for home gardeners and expert growers alike.
1. Impressive Size
- Exhibition onions are known for their impressive size compared to regular onions.
- These onions can grow to be much larger than average, sometimes reaching weights of over 2 pounds.
- Their impressive size makes exhibition onions a great choice for showing off at gardening competitions or impressing friends and family.
2. Unique Appearance
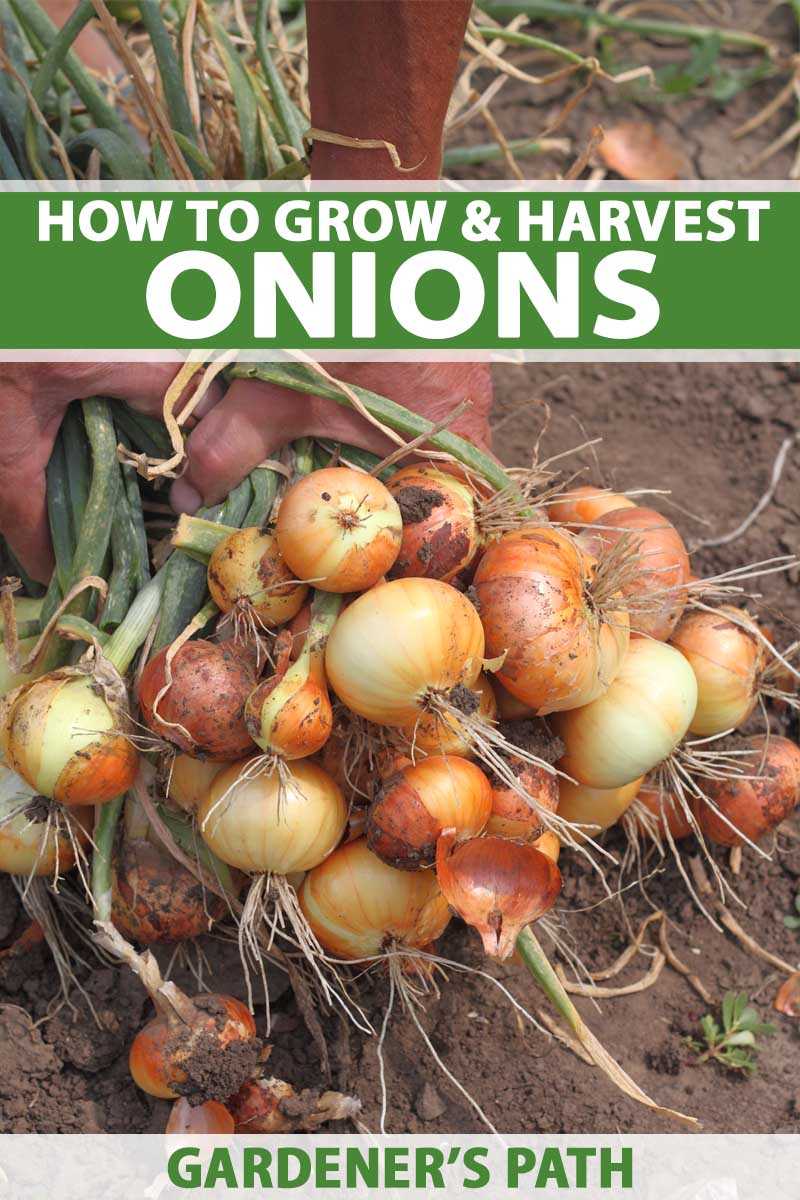
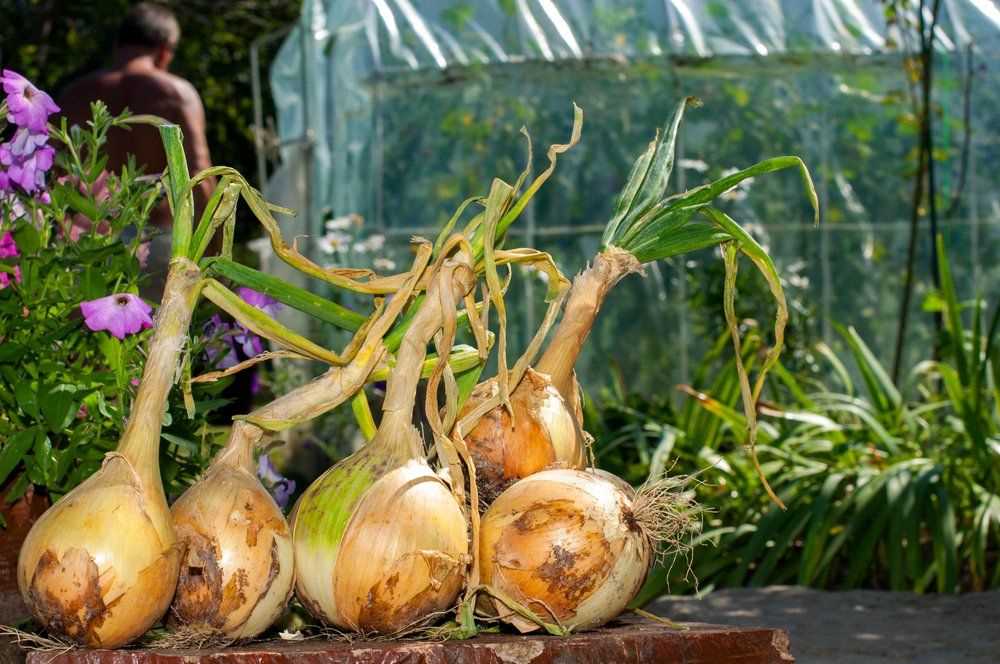
- Exhibition onions often have a unique and eye-catching appearance.
- They may have a distinct shape or color that sets them apart from regular onions.
- This unique appearance can make them a fun and visually appealing addition to your garden or kitchen.
3. Challenge for Gardeners
- Growing exhibition onions can be a challenge, which can be appealing to gardeners who are looking to expand their skills.
- These onions require specific cultivation techniques and attention to detail to achieve their impressive size and quality.
- Successfully growing exhibition onions can be a rewarding accomplishment and a source of pride for gardeners.
4. Great Taste
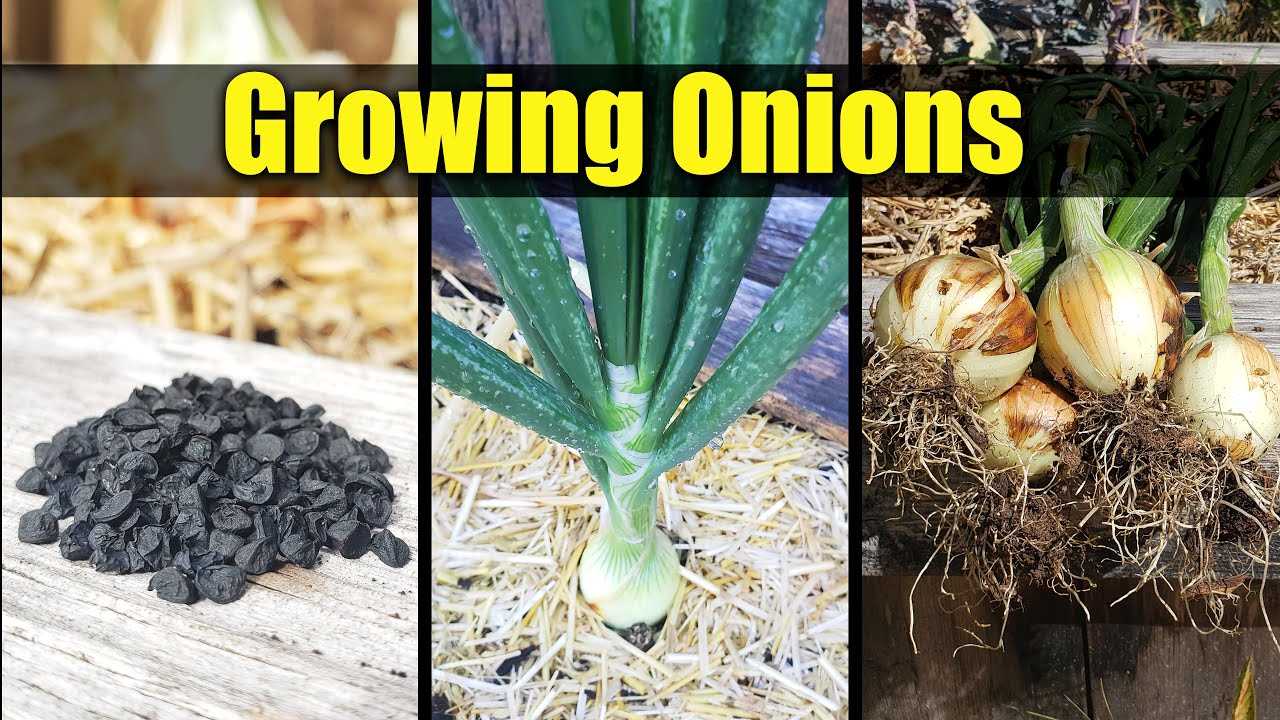
- Despite their large size and unique appearance, exhibition onions still offer a delicious taste.
- They have a mild and sweet flavor that makes them versatile in various culinary dishes.
- Whether you use them in salads, soups, or stir-fries, exhibition onions can add a flavorful touch to your meals.
5. Long Shelf Life
- Exhibition onions tend to have a longer shelf life compared to regular onions.
- This means you can enjoy their freshness and flavor for a longer period.
- Properly stored exhibition onions can last several months, allowing you to savor their taste well beyond harvest time.
In conclusion, growing exhibition onions can bring various benefits to gardeners. From their impressive size and unique appearance to the challenge they present and the great taste they offer, these onions are a fantastic addition to any garden or kitchen.
Choosing the Right Variety of Exhibition Onions
When it comes to growing exhibition onions, choosing the right variety is crucial. Different varieties have different characteristics, such as size, shape, color, and flavor, which can greatly impact the success of your exhibition.
Variety Selection
There are several factors to consider when selecting the variety of onions for your exhibition:
- Growing Conditions: Some onion varieties are better suited for specific growing conditions. Consider the climate, soil type, and available sunlight in your area when choosing a variety.
- Size and Shape: Exhibition onions are typically larger in size and have a distinctive shape. Look for varieties that naturally grow large bulbs and have a uniform shape.
- Color: Onions come in a variety of colors, including white, yellow, red, and purple. Consider the desired color for your exhibition and choose a variety that matches.
- Flavor: The flavor of onions can range from mild to strong. Consider the desired flavor profile for your exhibition and select a variety accordingly.
- Storage: If you plan on storing your exhibition onions after harvesting, choose a variety that has good storage qualities and a long shelf life.
Popular Exhibition Onion Varieties
Here are some popular exhibition onion varieties that are commonly grown and showcased in exhibitions:
| Variety | Characteristics |
|---|---|
| ‘Ailsa Craig’ | Large, globe-shaped bulbs with a mild flavor |
| ‘Kelsae’ | One of the largest exhibition onions, sweet flavor |
| ‘Giant Exhibition’ | Large bulbs, suitable for exhibition and storage |
| ‘Hercules’ | Good storage qualities, strong flavor |
| ‘Rupert’ | Medium-sized exhibition onion with a rich, red color |
These varieties have been bred specifically for exhibition purposes and are known for their impressive size, shape, and flavor.
Remember to take into account your own preferences and growing conditions when choosing the right variety of exhibition onions. Experimenting with different varieties can also be a fun way to discover new flavors and techniques for growing onions.
Selecting a Suitable Location for Growing Exhibition Onions
Growing exhibition onions requires careful consideration of the location where they will be planted. The right location can significantly impact the health and yield of your onions. Here are some factors to consider when selecting a suitable location for growing exhibition onions:
1. Sunlight
Exhibition onions require full sun for at least 6-8 hours a day. Ensure that the chosen location receives ample sunlight throughout the day, especially during the growing season. Lack of sunlight can result in weak onion growth and smaller bulb sizes.
2. Soil Quality
The soil should be well-draining and rich in organic matter. Onions prefer loose, loamy soil with good drainage to prevent waterlogged conditions that can lead to root rot. Conduct a soil test to determine the pH level and amend the soil accordingly to reach a pH level of 6.0-6.8.
3. Air Circulation
Adequate air circulation is essential to prevent the build-up of moisture around the onion plants, which can promote fungal diseases. Choose a location that is not surrounded by tall trees or other structures that may hinder air movement.
4. Temperature
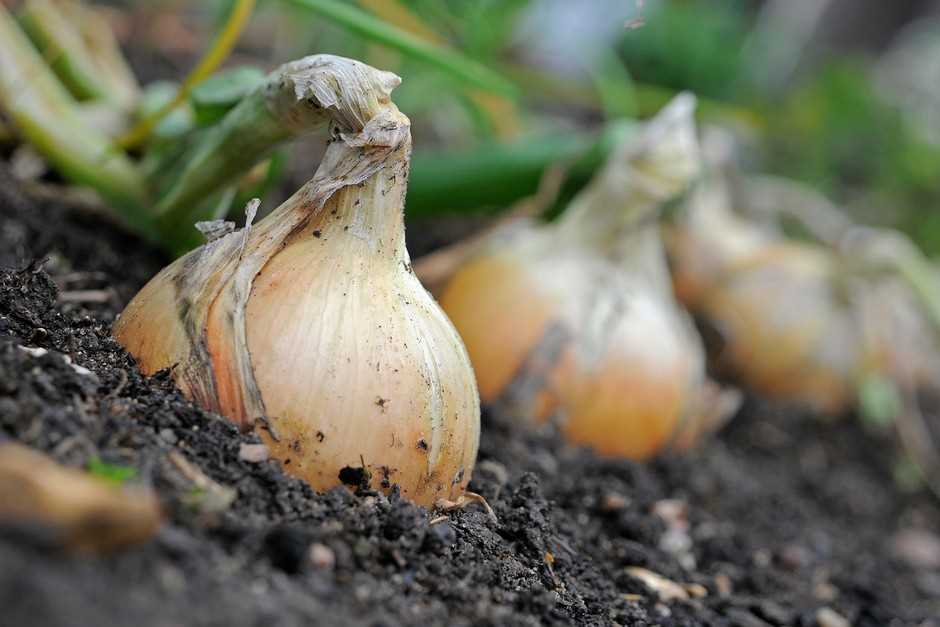
Exhibition onions thrive in cool weather, so choose a location where the temperature remains between 50°F (10°C) and 75°F (24°C) during the growing season. Avoid areas that experience extreme temperature fluctuations or prolonged periods of heat.
5. Water Availability
Ensure that the chosen location has easy access to a water source. Exhibition onions require regular watering to keep the soil consistently moist, but not waterlogged. Consider installing an irrigation system or having a water source nearby for convenient watering.
6. Space
Provide enough space for the exhibition onions to grow. The plants should have sufficient room for their roots and foliage to spread without crowding each other. Adequate spacing allows for better nutrient absorption and minimizes competition for resources.
7. Protection from Pests
Consider the potential presence of pests in the chosen location. Onions are susceptible to various pests, including onion flies and thrips. Choose a location where the risk of pests is minimal, or take appropriate measures to protect the plants, such as using row covers or organic pest control methods.
By carefully selecting a suitable location for growing exhibition onions, you can create optimal conditions for their growth and maximize your chances of producing high-quality onions.
Soil Preparation for Exhibition Onions
Creating the right soil conditions is crucial for growing exhibition onions. By providing the appropriate nutrients and structure, you can set your onions up for success and achieve impressive growth.
1. Soil pH
Exhibition onions prefer a slightly acidic soil pH range between 6.2 and 6.8. Test your soil’s pH and make adjustments if necessary. Add lime to raise the pH or sulfur to lower it.
2. Soil Structure
Onions require loose and well-draining soil to grow properly. Improve the structure of your soil by adding organic matter such as compost, well-rotted manure, or leaf mold. Incorporate the organic matter into the top 6 to 8 inches of soil using a garden fork or tiller.
3. Nutrients
Exhibition onions require ample nutrients to develop their bulbs. Before planting, apply a balanced fertilizer that is high in phosphorus and potassium. Follow the manufacturer’s instructions for application rates and timing.
Recommended Fertilizer Ratio: 10-10-10 or 12-12-12
- 10-10-10 fertilizer contains 10% nitrogen, 10% phosphorus, and 10% potassium
- 12-12-12 fertilizer contains 12% nitrogen, 12% phosphorus, and 12% potassium
These balanced fertilizers provide a good base of nutrients for onions.
4. Soil Moisture
Onions need consistent moisture, but they do not tolerate waterlogged conditions. Ensure that your soil has good drainage to prevent water from pooling around the roots. Monitor the soil moisture regularly and water when the top inch of soil feels dry to the touch.
5. Weed Control
Weeds can compete with onions for nutrients and moisture. Keep the onion beds weed-free to provide the best growing conditions. Use mulch or manually remove weeds as needed.
6. Soil Mulching
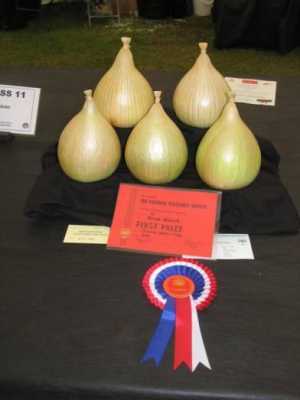
Mulching can help retain soil moisture, suppress weeds, and regulate soil temperature. Apply a layer of organic mulch, such as straw or wood chips, around the onion plants once they have established.
7. Crop Rotation
To prevent the build-up of soil-borne diseases and pests, practice crop rotation. Avoid planting onions in the same spot for consecutive years. Rotate them with other vegetable crops to maintain the health of the soil.
8. Regular Soil Testing
Regular soil testing is essential to monitor the nutrient levels and pH of your soil. Test the soil before planting onions and follow up with periodic tests throughout the growing season. Adjust the fertilization and pH accordingly based on the test results.
9. Soil Improvement Over Time
Remember that soil improvement is an ongoing process. Continually incorporating organic matter, following crop rotation, and monitoring soil health will lead to better growing conditions for exhibition onions year after year.
Planting Exhibition Onions: Step-by-Step Guide
1. Choose the right variety
Before planting exhibition onions, it is important to choose the right variety. Look for varieties that are known for their large size and uniform shape. Some popular exhibition onion varieties include ‘Ailsa Craig’, ‘Kelsae’, and ‘Giant Exhibition’.
2. Prepare the soil
Exhibition onions require well-draining soil with a pH level between 6.0 and 7.0. Start by clearing the planting area of any weeds or debris. Then, loosen the soil to a depth of at least 12 inches using a garden fork or tiller. Remove any large stones or clumps of soil.
3. Add organic matter
To improve the soil’s fertility and drainage, add organic matter such as well-rotted manure or compost. Spread a layer of organic matter over the planting area and work it into the soil using a garden fork or tiller. Aim for a thickness of about 2-3 inches.
4. Create planting furrows
Use a garden hoe or a small shovel to create furrows in the prepared soil. The furrows should be about 1 inch deep and spaced about 12 inches apart. Make sure the furrows are straight and evenly spaced.
5. Plant the onion sets
When planting exhibition onions, use sets rather than seeds. Onion sets are small bulbs that have been partially grown. Place the onion sets in the furrows, spacing them about 4-6 inches apart. Make sure the pointed end is facing up and the rounded end is facing down.
6. Cover the onion sets
After placing the onion sets in the furrows, cover them with soil. Gently press the soil around the bulbs to ensure they are securely planted. The tops of the onion sets should be at or slightly below the soil level.
7. Water the onion sets
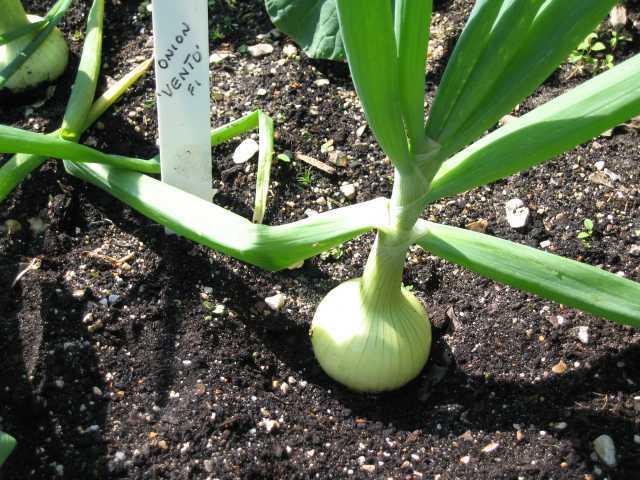
After planting the onion sets, water the area thoroughly to help settle the soil and provide moisture to the bulbs. Be careful not to overwater, as this can lead to rotting. Aim to keep the soil consistently moist, but not waterlogged.
8. Mulch the planting area
To help retain soil moisture and suppress weed growth, apply a layer of organic mulch around the onion plants. This can be straw, dried leaves, or wood chips. Spread the mulch in a layer about 2-3 inches thick, taking care not to cover the tops of the onion sets.
9. Provide regular care
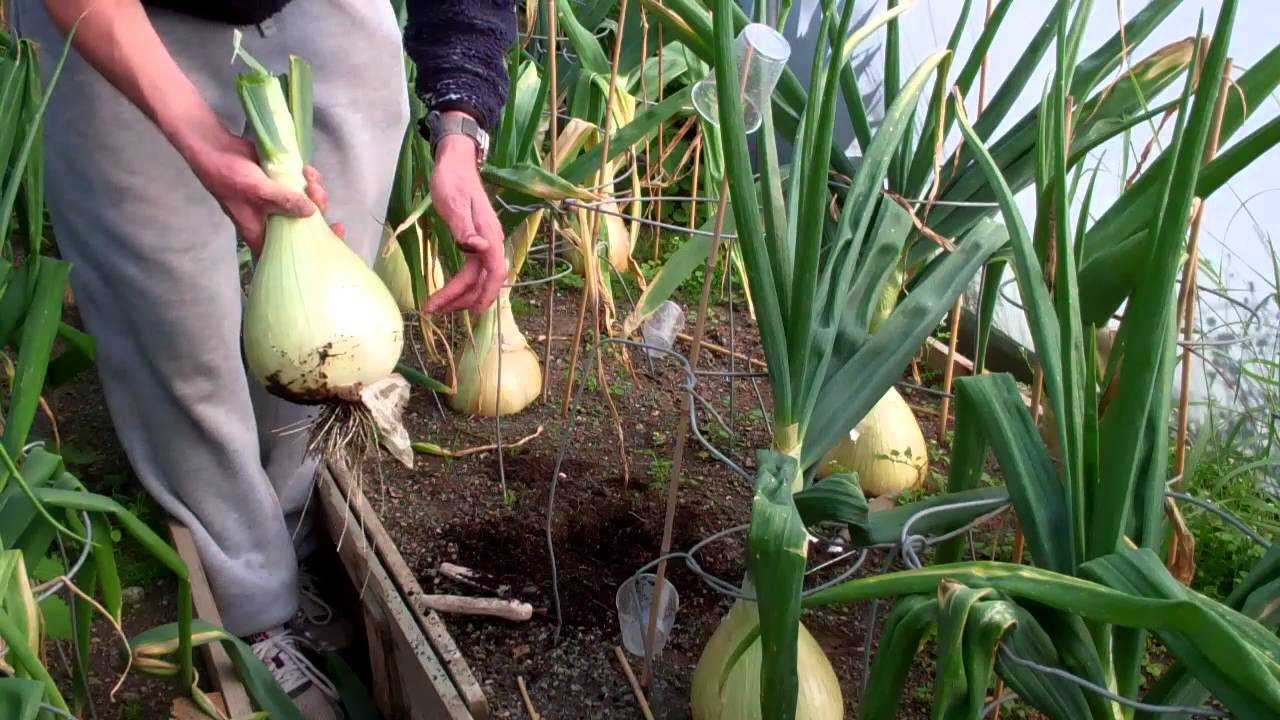
Throughout the growing season, provide regular care for your exhibition onions. This includes watering when needed, weeding the area around the plants, and adding fertilizer as necessary. Be sure to follow any specific care instructions for the variety of onions you are growing.
10. Harvesting
Exhibition onions are typically harvested when the foliage starts to turn yellow and fall over. Carefully lift the onions from the soil using a garden fork or trowel. Allow the onions to cure and dry in a well-ventilated area for several weeks before storing them.
| 1. | Plant onions in a sunny location to promote growth and bulb development. |
| 2. | Space onion sets properly to allow room for bulb expansion. |
| 3. | Monitor soil moisture regularly and water as needed, approximately 1 inch per week. |
| 4. | Avoid planting onions in areas that are prone to waterlogging or heavy clay soils. |
| 5. | Consider using raised beds or containers if your soil is not suitable for growing onions. |
Watering and Care for Exhibition Onions
Proper watering and care are essential for growing exhibition onions to their full potential. Here are some tips to help you keep your onions healthy and thriving:
1. Watering
Onions need regular watering to ensure proper growth and bulb development. However, it’s important to strike a balance and avoid overwatering, which can lead to rotting and disease.
- Water the onions deeply once a week, providing enough water to moisten the soil to a depth of at least 6 inches.
- Onions prefer consistent moisture, so make sure the soil doesn’t dry out completely between watering sessions.
- Avoid watering too frequently, as this can cause the onions to become waterlogged and prone to diseases.
- It’s best to water early in the morning or late in the evening to reduce evaporation and ensure the water reaches the roots.
2. Soil and Mulching
Proper soil preparation and mulching can help retain moisture and maintain temperature stability, promoting healthier onion growth.
- Before planting your onions, prepare the soil by adding organic matter such as compost or well-rotted manure to improve drainage and fertility.
- After planting the onions, apply a layer of mulch, such as straw or wood chips, around the plants. This will help retain moisture, suppress weed growth, and regulate soil temperature.
- Monitor the soil regularly and ensure it remains moist but not waterlogged.
3. Fertilization
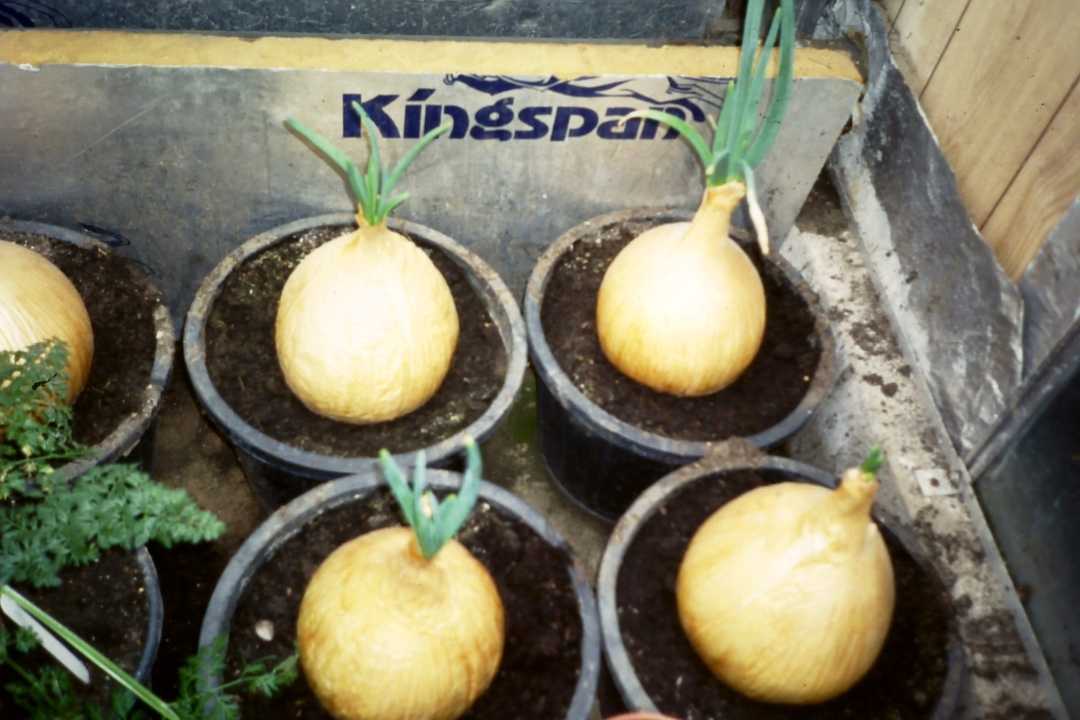
Regular fertilization is crucial for supplying the necessary nutrients to your exhibition onions.
- Before planting, incorporate a balanced slow-release fertilizer into the soil according to the package instructions.
- Additionally, apply a nitrogen-rich fertilizer every few weeks during the growing season to promote leafy growth. Avoid over-fertilizing, as excessive nitrogen can delay bulb formation.
- Monitor the onions for any signs of nutrient deficiencies, such as yellowing leaves, and address them promptly with appropriate fertilization.
4. Pest and Disease Control
Protecting your exhibition onions from pests and diseases is vital for their success.
- Keep a close eye on your onions and promptly address any signs of pests, such as onion flies or thrips. Use appropriate organic pest control methods or consult a professional for assistance.
- Practice crop rotation to reduce the risk of soil-borne diseases. Avoid planting onions in the same spot or a location where other members of the Allium family have grown in recent years.
- Sanitize your garden tools and equipment regularly to prevent the spread of diseases.
By following these watering and care tips, you can increase your chances of growing healthy and impressive exhibition onions.
Harvesting Exhibition Onions: Tips and Techniques
Harvesting exhibition onions is an exciting and rewarding process. These large onions are often grown for competitions or displays, and they require special care and attention to reach their full potential. Here are some tips and techniques to help you harvest your exhibition onions successfully.
1. Timing is Key
Knowing when to harvest your exhibition onions is crucial. You want to wait until the onions have fully matured and the tops start to dry out and fall over. This usually occurs in late summer or early fall, depending on your growing region.
2. Prepare the Onions
Prior to harvesting, gently lift the soil around the onions to loosen them from the ground. Be careful not to damage the bulbs or roots. If the soil is dry, water the area around the onions a day or two before harvesting to make it easier to lift them.
3. Lift and Cure
Use a garden fork or a hand trowel to carefully lift the onions out of the ground. Avoid pulling them by the tops, as this can cause damage. Once lifted, gently remove any excess soil clinging to the bulbs. Do not wash the onions as this can remove their protective layer.
After harvesting, it’s important to cure the onions to ensure they store well. Lay the onions in a well-ventilated area, such as a shed or garage, and allow them to dry for 2-3 weeks. This curing process helps to toughen the outer layers of the bulbs, improving their storage capability.
4. Storage
Once your exhibition onions have cured, it’s time to store them properly. Choose a cool, dry, and well-ventilated location, such as a basement or pantry. Avoid storing onions near potatoes or fruits, as they release gases that can cause spoilage.
To maximize storage life, store onions in mesh bags or wooden crates that allow for air circulation. Avoid storing onions in plastic bags or airtight containers, as this can lead to excess moisture and rot.
5. Enjoy Your Harvest
After all the hard work and dedication, it’s time to enjoy the fruits of your labor. Exhibition onions are known for their size and flavor, making them perfect for cooking or showcasing in your kitchen. Enjoy the satisfaction of growing your own impressive onions and share your success with others.
Remember, growing exhibition onions takes time and patience. By following these tips and techniques, you’ll be on your way to harvesting and storing beautiful, prize-winning onions.
Storing and Using Exhibition Onions
Once you have harvested your exhibition onions, it is important to store them properly to ensure they stay fresh and flavorful for as long as possible.
Storing Exhibition Onions
Exhibition onions should be cured before being stored. Curing involves drying the onions in a well-ventilated area for a period of time, typically a couple of weeks. This helps to toughen the outer skins and extend their shelf life.
After curing, you can store your exhibition onions in a cool, dark, and dry place. A cellar, basement, or pantry would be ideal. Make sure the temperature is cool, around 40-50 degrees Fahrenheit (4-10 degrees Celsius), and there is good air circulation to prevent the onions from rotting.
You can store your onions in a mesh bag, a well-ventilated crate, or simply spread them out on a shelf. Just make sure they are not touching each other, as this can cause them to spoil more quickly.
Using Exhibition Onions
Exhibition onions are known for their intense flavor and are great for adding a punch of taste to your favorite dishes. Here are a few ways you can use your exhibition onions:
- Raw: Slice or dice your exhibition onions and add them to salads, sandwiches, or salsas for a crisp and tangy flavor.
- Sautéed: Cook your exhibition onions in a little bit of olive oil or butter until they become translucent and slightly caramelized. They make a delicious topping for burgers, steaks, or even as a base for soups and stews.
- Pickled: Preserve your exhibition onions by pickling them in vinegar, sugar, and spices. They make a great addition to charcuterie boards, sandwiches, or as a tangy topping for tacos and burgers.
- Grilled: Slice your exhibition onions into thick rounds and grill them until they are soft and slightly charred. They make a perfect side dish for grilled meats and vegetables.
Remember, exhibition onions have a strong flavor, so use them sparingly if you prefer a milder taste.
Tips for Long-Term Storage
Here are a few additional tips to ensure your exhibition onions last for an extended period of time:
- Avoid moisture: Keep your exhibition onions away from any moisture, as it can cause them to rot. Make sure they are completely dry before storing.
- Check regularly: Regularly inspect your stored onions for any signs of rot or spoilage. Remove any onions that are soft or have mold, as they can contaminate the others.
- Separate by size: If you have onions of different sizes, consider storing them separately. Larger onions tend to release more moisture, which can affect the smaller onions.
By following these storage tips and using your exhibition onions in various recipes, you can enjoy their delicious flavor long after the harvest season is over.
“Question-Answer”
How do I start growing onions?
To start growing onions, you need to choose the right variety for your climate and soil conditions. You can either grow them from seeds or sets. Prepare the soil by removing any weeds and improving its fertility. Plant the seeds or sets in well-drained soil, making sure to space them properly. Maintain a consistent level of moisture and provide regular fertilization.
What are the different types of onions I can grow?
There are several types of onions you can grow, including red onions, yellow onions, white onions, and sweet onions. Each type has its own distinct flavor and culinary uses. Some popular varieties are Walla Walla, Vidalia, and Texas 1015. It’s important to choose a variety that is suitable for your growing conditions and desired taste.
When is the best time to harvest onions?
The best time to harvest onions is when the foliage turns yellow and starts to die back. This usually occurs in late summer or early fall, depending on when you planted them. By this time, the onions would have reached their maximum size and have developed a thick neck. Avoid leaving them in the ground for too long, as they may rot or go to seed.
How do I know if my onions are ready to be harvested?
You can tell if your onions are ready to be harvested by gently pushing back the soil around the base of the plants. If the bulbs have reached a good size and the necks feel firm, they are ready to be harvested. The foliage should also be yellow and starting to dry out. It’s important to harvest them at the right time to ensure they store well and have good flavor.
What is the best way to cure and store onions?
The best way to cure and store onions is by allowing them to dry out in a warm, well-ventilated area for a couple of weeks. Lay the harvested onions in a single layer on a clean, dry surface, such as a wire rack or a slatted shelf. Make sure they are not touching each other. Once they are fully cured, remove any loose or dry outer skins, and store them in a cool, dry place with good air circulation.


