- Why Cress-Salad?
- Benefits of Growing Cress-Salad
- How to Start Growing Cress-Salad?
- 1. Choose the Right Container
- 2. Prepare the Soil
- 3. Sow the Seeds
- 4. Water and Care
- Method 1: Using Seed Trays
- Materials Needed:
- Step-by-Step Instructions:
- Choosing the Right Seed Trays
- Size
- Material
- Drainage
- Depth
- Number of Compartments
- Reusable vs. Disposable
- Planting and Watering Cress-Salad Seeds
- 1. Prepare the soil
- 2. Sowing the seeds
- 3. Watering
- 4. Thin out the seedlings
- 5. Protecting from pests
- 6. Harvesting
- Method 2: Growing in Containers
- Choosing the Container
- Preparing the Container
- Planting the Cress-Salad Seeds
- Caring for the Cress-Salad Plants
- Selecting the Best Containers for Cress-Salad
- 1. Seed trays or flats:
- 2. Planters or pots:
- 3. Hanging baskets:
- 4. Window boxes:
- Planting and Maintaining Cress-Salad in Containers
- 1. Choosing the right container
- 2. Preparing the soil
- 3. Sowing the seeds
- 4. Care and maintenance
- Method 3: Cultivating in a Garden
- “Question-Answer”
- What is the best time to plant cress seeds on the window?
- How often should I water the cress seeds on the window?
- Can I use any type of soil to grow cress-salad on the window?
- “Video” Cooking Tips : How to Prepare Watercress
Are you looking to add some fresh and nutritious greens to your diet? Look no further than cress! Cress is a type of leafy green vegetable that is packed with vitamins and minerals, making it a great addition to salads, sandwiches, and more. And the best part? You can easily grow your own cress salad right on your windowsill! In this article, we will explore four different ways to grow cress and enjoy its health benefits.
1. Soil Method: The easiest way to grow cress is by using soil. Start by filling a small pot with potting soil, leaving about an inch of space at the top. Sprinkle cress seeds evenly over the soil, then cover them with a thin layer of soil. Water the pot gently and place it in a sunny spot, such as a windowsill. Keep the soil moist but not overly wet, and within a few days, you should see the cress sprouting.
Pro tip: To keep a constant supply of fresh cress, sow new seeds every two weeks.
2. Cotton Wool Method: If you don’t have access to soil, you can still enjoy fresh cress with the cotton wool method. Take a shallow dish and line it with damp cotton wool. Place cress seeds evenly on top of the cotton wool and gently press them down. Keep the cotton wool moist by spraying it with water every day. After about a week, you can start harvesting the cress by simply snipping off the leaves with scissors.
Pro tip: To speed up the germination process, cover the dish with a plastic wrap to create a mini greenhouse effect.
3. Tissue Method: Another no-soil option is the tissue method. Take a piece of tissue paper and fold it in half. Dampen the tissue paper with water and place it in a shallow dish. Sprinkle the cress seeds evenly on top of the tissue paper and fold it over to cover the seeds. Keep the tissue paper moist by spraying it with water every day. In just a few days, you will have a thick mat of cress that you can cut and enjoy.
Pro tip: For a continuous harvest, repeat the tissue method with new pieces of tissue paper every week.
4. Sprouts Method: If you want to enjoy cress in its sprout form, try the sprouts method. Soak cress seeds in water for about 8 hours, then drain them well. Place the soaked seeds in a clean jar and cover the opening with a piece of cheesecloth or a mesh lid. Rinse the seeds with water twice a day and keep the jar tilted at an angle to allow for proper drainage. After about 5-7 days, your cress sprouts will be ready to eat.
Pro tip: Store leftover cress sprouts in the refrigerator in a sealed container to keep them fresh.
By growing cress salad on your windowsill, you can have a constant supply of fresh and nutritious greens right at your fingertips. Whether you choose the soil, cotton wool, tissue, or sprouts method, you’ll be able to enjoy the health benefits of cress in no time. So why not give it a try and start growing your own vitamin greens today?
Why Cress-Salad?
Cress-salad is not just a delicious addition to your diet, it is also packed with essential vitamins and nutrients that are beneficial for your overall health. Including cress-salad in your meals can contribute to a well-balanced diet and provide numerous health benefits.
- Vitamin-rich: Cress-salad is known for its high vitamin content, particularly vitamin A and vitamin C. These vitamins are crucial for maintaining a healthy immune system, promoting good vision, and supporting cell growth and repair.
- Antioxidant properties: Cress-salad is rich in antioxidants that help protect the body against oxidative stress and free radicals. Antioxidants play a key role in reducing the risk of chronic diseases such as heart disease and certain types of cancer.
- Mineral boost: Cress-salad contains minerals such as calcium, iron, and potassium, which are essential for maintaining strong bones, aiding in blood clotting, and regulating blood pressure.
- Low in calories, high in fiber: Cress-salad is a low-calorie food that is also high in fiber. This makes it a great choice for weight management and promoting digestive health.
Overall, cress-salad is a nutritious and versatile ingredient that can be enjoyed in various dishes. Its rich vitamin and mineral content, along with its antioxidant properties, make it a valuable addition to a healthy diet.
Benefits of Growing Cress-Salad
- Nutritional Value: Cress salad is a highly nutritious green that is packed with vitamins and minerals. It is especially rich in vitamins A, C, and K, as well as calcium, iron, and potassium.
- Antioxidant-Rich: Cress salad is an excellent source of antioxidants, which help protect the body from damage caused by free radicals. These antioxidants can help reduce inflammation, support a healthy immune system, and may even help prevent chronic diseases.
- Easy to Grow: Cress salad is a relatively easy plant to grow, making it an excellent choice for beginners or those with limited gardening space. It grows quickly and can be harvested in as little as two weeks after planting.
- Cost-Effective: Growing cress salad at home can be a cost-effective way to enjoy fresh greens. The seeds are inexpensive, and the plant doesn’t require much space or special equipment.
- High Yield: Despite its small size, cress salad can provide a high yield of leaves, allowing you to enjoy multiple harvests from just a few plants. This makes it a great option for those who want to maximize their homegrown greens.
- Versatile Use: Cress salad can be used in a variety of dishes, making it a versatile addition to any kitchen. It can be added to salads, sandwiches, soups, and even used as a garnish.
- Fresh Flavor: Cress salad has a fresh and peppery flavor that adds a unique taste to dishes. Its crisp texture and spicy undertones make it a favorite among many food enthusiasts.
How to Start Growing Cress-Salad?
Growing cress-salad is a great way to add fresh and nutritious greens to your meals. Whether you have a backyard or only a windowsill, you can easily grow cress-salad at home. Follow these simple steps to get started:
1. Choose the Right Container
You can use either a seed tray or a shallow container to grow cress-salad. Make sure the container has drainage holes at the bottom to prevent waterlogging. If you’re using a seed tray, you can cover it with a clear plastic lid or a plastic wrap to create a greenhouse effect.
2. Prepare the Soil
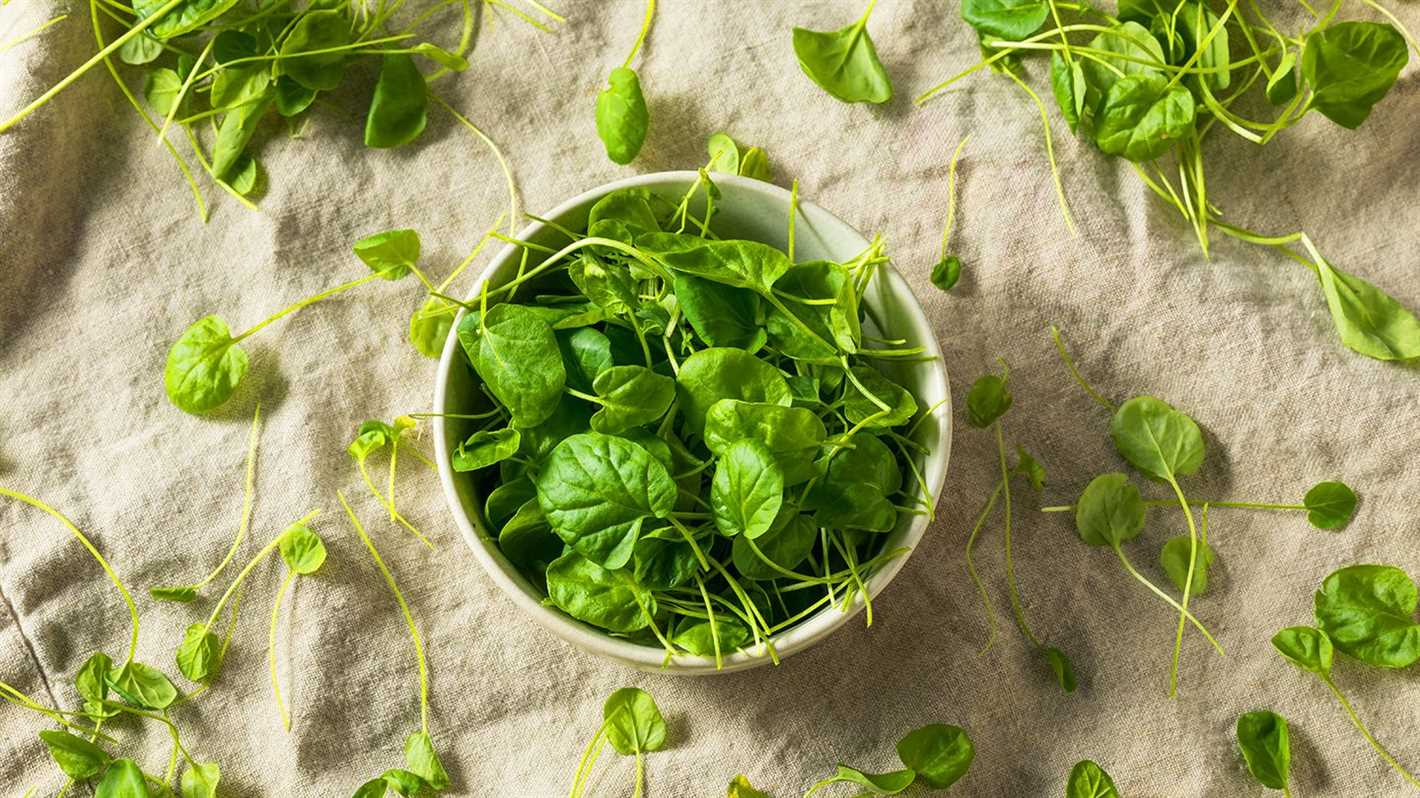
Fill the container with a lightweight potting mix or seed-starting mix. These mixes provide good drainage and aeration for the cress-salad seeds to grow. Moisten the soil lightly before sowing the seeds.
3. Sow the Seeds
Spread the cress-salad seeds evenly over the soil surface. Gently press them into the soil, but don’t bury them too deep. Cress-salad seeds need light to germinate, so they should be sown close to the surface.
4. Water and Care
Keep the soil consistently moist by watering gently with a spray bottle or a watering can with a fine rose attachment. Avoid overwatering, as it can cause the seeds to rot. Place the container in a well-lit area, but away from direct sunlight. Cress-salad prefers cool temperatures around 60-70°F (15-21°C).
After about 7-10 days, the cress-salad should be ready to harvest. It’s best to harvest when the shoots are about 2 inches tall. Simply cut the leaves with scissors, leaving about an inch of growth to encourage regrowth. Rinse the harvested cress-salad thoroughly before using it in your salads or sandwiches.
Remember to continue watering and caring for your cress-salad to ensure a continuous harvest. Enjoy the fresh, vitamin-packed greens straight from your own garden!
Method 1: Using Seed Trays
If you want to grow cress-salad on your window sill, using seed trays is a great and simple method to get started. This method involves using small trays and is suitable for growing cress indoors. Here’s how you can do it:
Materials Needed:
- Seed tray or shallow container
- Organic cress seeds
- Good quality potting soil or compost
- Watering can or spray bottle
- Plastic wrap or glass lid
Step-by-Step Instructions:
- Fill the seed tray or shallow container with potting soil or compost. Make sure it is moist but not soaking wet.
- Scatter the cress seeds evenly on the soil surface. You can sow them more thickly than other seeds as cress doesn’t require much space to grow.
- Gently press the seeds into the soil using your fingers or the back of a spoon to ensure good soil contact.
- Water the seeds gently using a watering can or spray bottle. Be careful not to overwater, as too much water can cause the seeds to rot.
- Cover the seed tray with plastic wrap or a glass lid to create a mini greenhouse effect. This will help retain moisture and create a warm environment for germination.
- Place the tray in a place that receives indirect sunlight, such as a windowsill. Cress prefers cooler temperatures of around 60-70°F (15-20°C).
- Check the moisture level of the soil regularly and water as needed to keep it moist. Avoid letting the soil dry out completely.
- After about 7-10 days, the cress should have sprouted and reached a size of about 2-4 inches (5-10 cm).
- Remove the plastic wrap or glass lid and continue to grow the cress in indirect sunlight, watering as needed.
- Once the cress has reached the desired size, you can start harvesting it by cutting the leaves just above the soil level.
Using seed trays is a simple and effective way to grow cress-salad on your window sill. It allows you to enjoy fresh, vitamin-rich greens right at home. Give it a try and enjoy the satisfaction of growing your own food!
Choosing the Right Seed Trays
When it comes to growing cress-salad or any other vitamin greens on your window sill, choosing the right seed trays is important. The size and material of the seed trays can significantly affect the germination and growth of your greens. Here are some factors to consider when selecting seed trays:
Size
The size of the seed trays depends on the space available on your window sill and the amount of cress-salad or vitamin greens you want to grow. Ideally, choose seed trays that are large enough to hold a sufficient quantity of seeds for the desired harvest. Make sure the trays fit well on your window sill and allow enough space for the plants to grow.
Material
Seed trays can be made of different materials, such as plastic, clay, or biodegradable materials. Plastic trays are lightweight, durable, and easy to clean, but they may not be environmentally friendly. Clay trays provide better breathability for the roots but can be heavier and more prone to breakage. Biodegradable trays are a more sustainable option but need to be replaced after each use. Choose a material that suits your preference and gardening goals.
Drainage
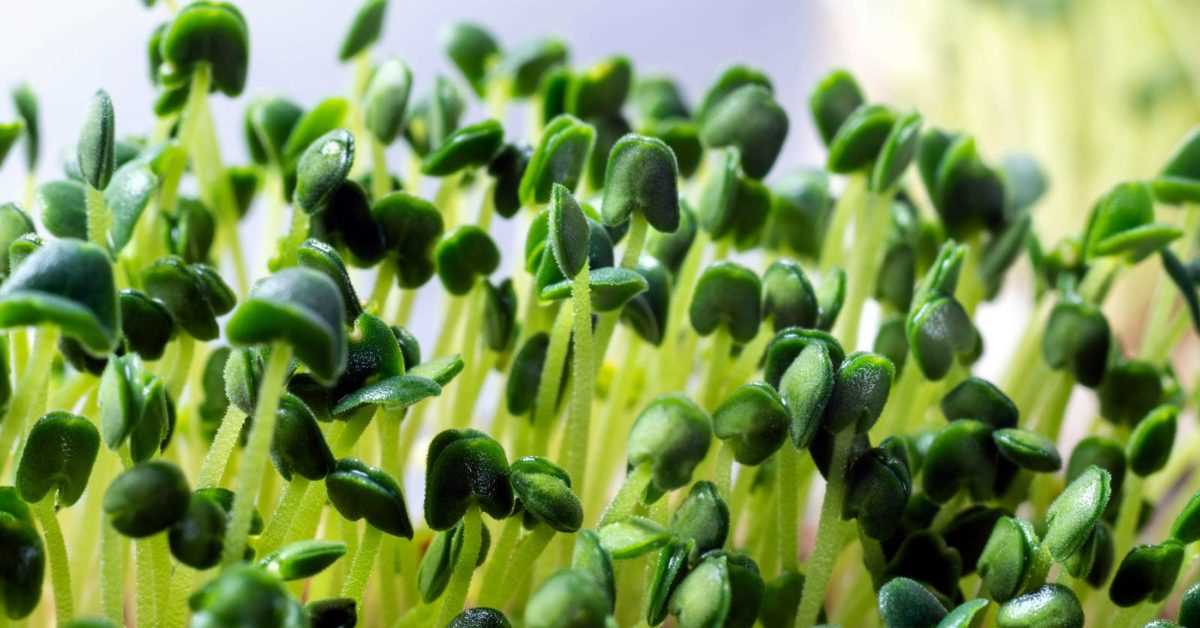
Good drainage is essential for the healthy growth of cress-salad and other vitamin greens. Ensure that the seed trays you choose have drainage holes at the bottom to prevent waterlogging and promote proper air circulation. If the trays you have do not have drainage holes, you can easily poke them with a sharp object to create adequate drainage.
Depth
The depth of the seed trays should be sufficient for the roots to grow comfortably. Shallow trays may restrict root development and affect the overall health of the plants. Consider using trays that are at least 1-2 inches deep to allow ample room for the roots to spread out.
Number of Compartments
If you plan to grow different varieties of cress-salad or vitamin greens, choosing seed trays with multiple compartments can be beneficial. This allows you to separate the different varieties and easily identify them as they grow. It also helps in managing the growth and harvest of individual plants.
Reusable vs. Disposable
Decide whether you prefer reusable or disposable seed trays. Reusable trays can be cleaned and used for multiple growing seasons, saving you money in the long run. Disposable trays, on the other hand, offer convenience as you can simply discard them after use without the need for cleaning or storage.
Remember to consider these factors when choosing the right seed trays for growing cress-salad or any other vitamin greens on your window sill. Find trays that suit your needs and provide the best environment for your plants to thrive.
Planting and Watering Cress-Salad Seeds
1. Prepare the soil
Start by preparing the soil for planting cress-salad seeds. Choose a location with partial shade and well-drained soil. Loosen the soil with a garden fork or rake to create a fine and crumbly texture.
Tip: Adding compost or well-rotted manure to the soil can improve its fertility and drainage.
2. Sowing the seeds
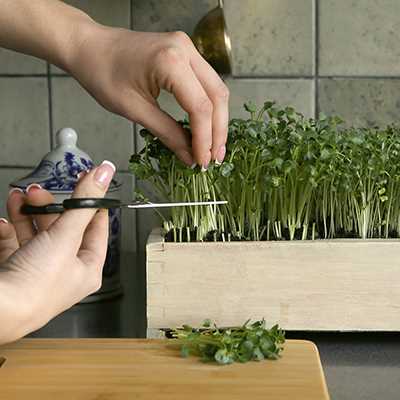
Spread the cress-salad seeds evenly over the prepared soil. Aim to sow the seeds about 3 inches apart to give each plant enough space to grow. Gently press the seeds into the soil, ensuring good seed-to-soil contact.
Tip: If you want a continuous harvest, sow a new batch of seeds every 2-3 weeks.
3. Watering
Water the soil immediately after sowing the seeds. Use a watering can with a fine rose attachment or a gentle sprayer on a hose to avoid displacing the seeds. Keep the soil consistently moist but not waterlogged. Watering once or twice a day, depending on the weather, is usually sufficient.
Tip: Cress-salad seeds germinate quickly, usually within 7-10 days. During this time, ensure that the soil stays moist to facilitate germination.
4. Thin out the seedlings
Once the cress-salad seedlings start to emerge, thin them out to give the remaining plants more space to grow. Space the seedlings at least 2 inches apart to allow for proper airflow and sunlight penetration.
Tip: The thinnings can be used as tasty microgreens in salads or sandwiches.
5. Protecting from pests
Watch out for common pests like slugs, snails, and aphids. Use organic pest control methods such as handpicking or applying natural repellents to protect your cress-salad plants.
Tip: Surrounding your cress-salad patch with a barrier or using companion plants like marigolds can also deter pests.
6. Harvesting
Your cress-salad plants will be ready for harvesting in about 3-4 weeks after sowing. Snip off the young leaves just above the soil surface. As you harvest, new leaves will continue to grow, allowing for multiple harvests.
Tip: Harvest the cress-salad leaves in the morning when they are crisp and fresh.
Follow these steps to successfully plant and grow cress-salad seeds. With regular watering, proper spacing of seedlings, and protection from pests, you’ll be able to enjoy a healthy harvest of vitamin greens!
Method 2: Growing in Containers
Growing cress-salad in containers is a convenient and space-saving way to enjoy fresh vitamin greens. Whether you have a small balcony, a patio, or even just a sunny windowsill, you can successfully grow cress-salad in containers. Follow these simple steps to get started:
Choosing the Container
When selecting a container for growing cress-salad, there are a few key points to consider:
- Size: Choose a container that is at least 6 inches deep to provide enough space for the roots to grow.
- Drainage: Ensure that the container has drainage holes at the bottom to prevent waterlogging.
- Material: Opt for lightweight and durable materials such as plastic, clay, or ceramic.
Preparing the Container
Before planting the cress-salad seeds, prepare the container by following these steps:
- Clean the container thoroughly with mild soap and water to remove any dirt or debris.
- Fill the container with a well-draining potting mix, leaving about an inch of space at the top.
- Moisten the potting mix by gently watering it until it is evenly moist, but not soaked.
Planting the Cress-Salad Seeds
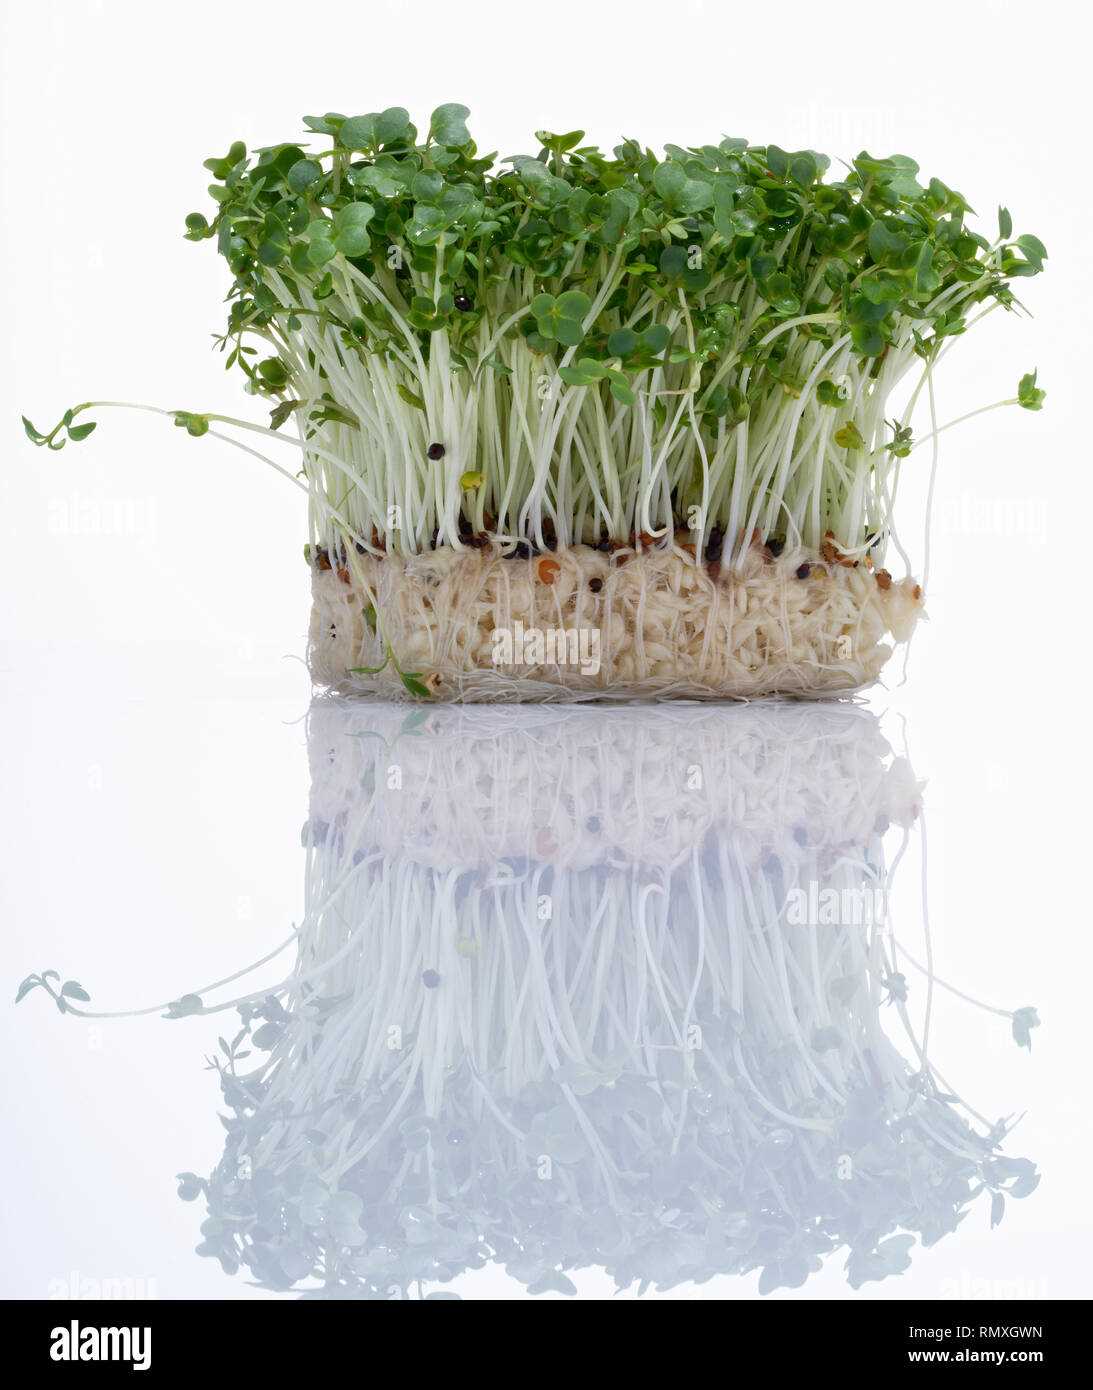
Once the container is ready, it’s time to plant the cress-salad seeds:
- Sprinkle the cress-salad seeds evenly over the surface of the potting mix.
- Press the seeds gently into the soil, ensuring good seed-to-soil contact.
- Lightly sprinkle a thin layer of potting mix over the seeds to cover them.
Caring for the Cress-Salad Plants
Proper care is essential for the healthy growth of cress-salad plants in containers:
- Water the plants regularly, keeping the soil consistently moist, but not waterlogged.
- Place the container in a sunny location where the plants can receive at least 4-6 hours of direct sunlight per day.
- Fertilize the plants with a balanced liquid fertilizer once every two weeks.
- Monitor the plants for any signs of pests or diseases and take appropriate action if necessary.
With these simple steps, you can easily grow cress-salad in containers and enjoy the fresh taste of vitamin greens right at your fingertips!
Selecting the Best Containers for Cress-Salad
When it comes to growing cress-salad, choosing the right containers is essential. The containers you select will influence the growth and health of your cress, so it’s important to make the right choice. Here are four types of containers that work well for growing cress-salad:
1. Seed trays or flats:
Seed trays or flats are shallow, rectangular containers that are ideal for growing cress-salad. They provide enough space for the cress to spread out and grow, and can easily accommodate multiple rows of cress seeds. Seed trays or flats are usually made of plastic and come with drainage holes to prevent waterlogging. They are convenient for starting many cress plants at once.
2. Planters or pots:
Planters or pots are another great choice for growing cress-salad. They come in various sizes and shapes, allowing you to choose the one that best fits your available space. Planters or pots made of terracotta or ceramic are especially popular as they provide good drainage and allow the soil to breathe. Make sure to select planters or pots that are deep enough to accommodate the roots of the cress plants.
3. Hanging baskets:
If you have limited space, hanging baskets can be a creative solution for growing cress-salad. These containers are suspended from hooks or brackets, allowing you to maximize vertical space. Hanging baskets made of wire or plastic with ample drainage are ideal. They can be hung near a window or on a balcony railing, providing optimal sunlight for the cress to thrive.
4. Window boxes:
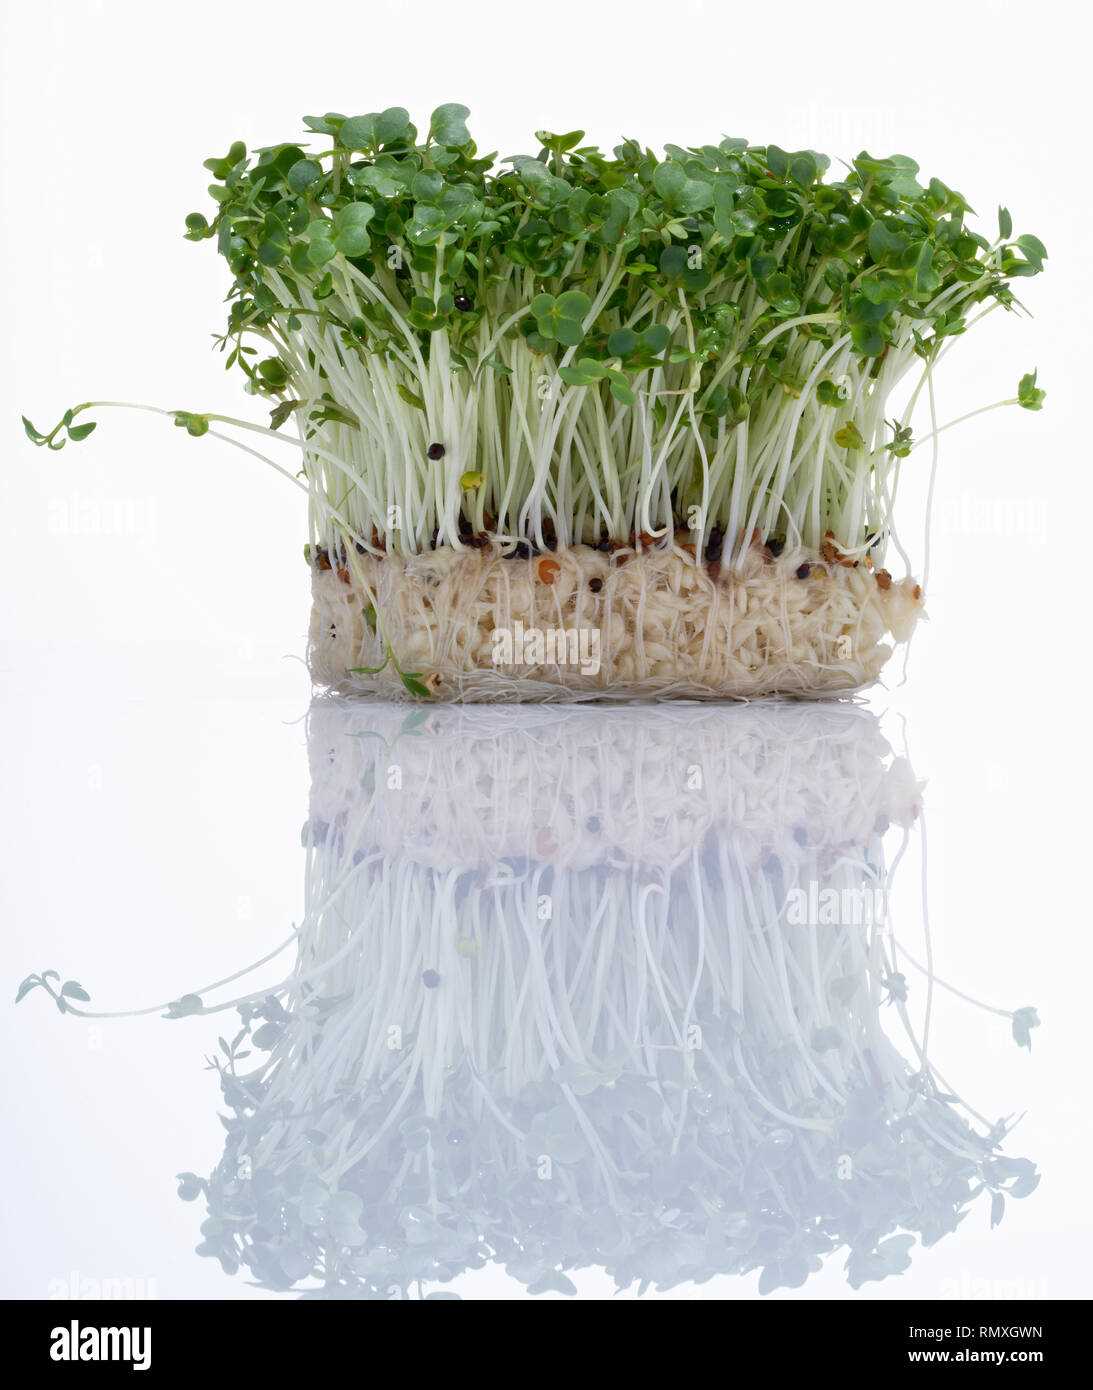
Window boxes are long, narrow containers that fit perfectly on window sills or ledges. They are a popular choice for growing cress-salad as they allow you to take advantage of the natural light and heat from the sun. Window boxes made of plastic or wood with drainage holes are recommended. Just make sure they are securely attached to the window frame to prevent accidents.
Whichever container you choose, make sure it has adequate drainage to prevent water accumulation, as excess moisture can lead to rot or fungal diseases. Additionally, consider the weight and portability of the container, especially if you plan to move it around to catch the best sunlight. With the right container, you’ll be well on your way to growing vitamin-rich cress-salad at home!
Planting and Maintaining Cress-Salad in Containers
Cress-salad is a versatile and nutritious green that can be easily grown in containers. Whether you have limited space or simply want to enjoy fresh greens right from your windowsill, planting cress-salad in containers is a convenient and rewarding option. Here are some tips to help you get started:
1. Choosing the right container
When growing cress-salad in containers, it is important to choose a container that is at least 6 inches deep and has drainage holes. This will ensure that excess water can drain out and prevent the roots from sitting in soggy soil. Options include pots, window boxes, or even repurposed containers such as old buckets or baskets.
2. Preparing the soil
Cress-salad prefers well-draining soil that is rich in organic matter. To prepare the soil, mix equal parts of potting soil and compost or well-rotted manure. This will provide the plants with the necessary nutrients for healthy growth. Fill the container with the prepared soil, leaving about an inch of space at the top.
3. Sowing the seeds
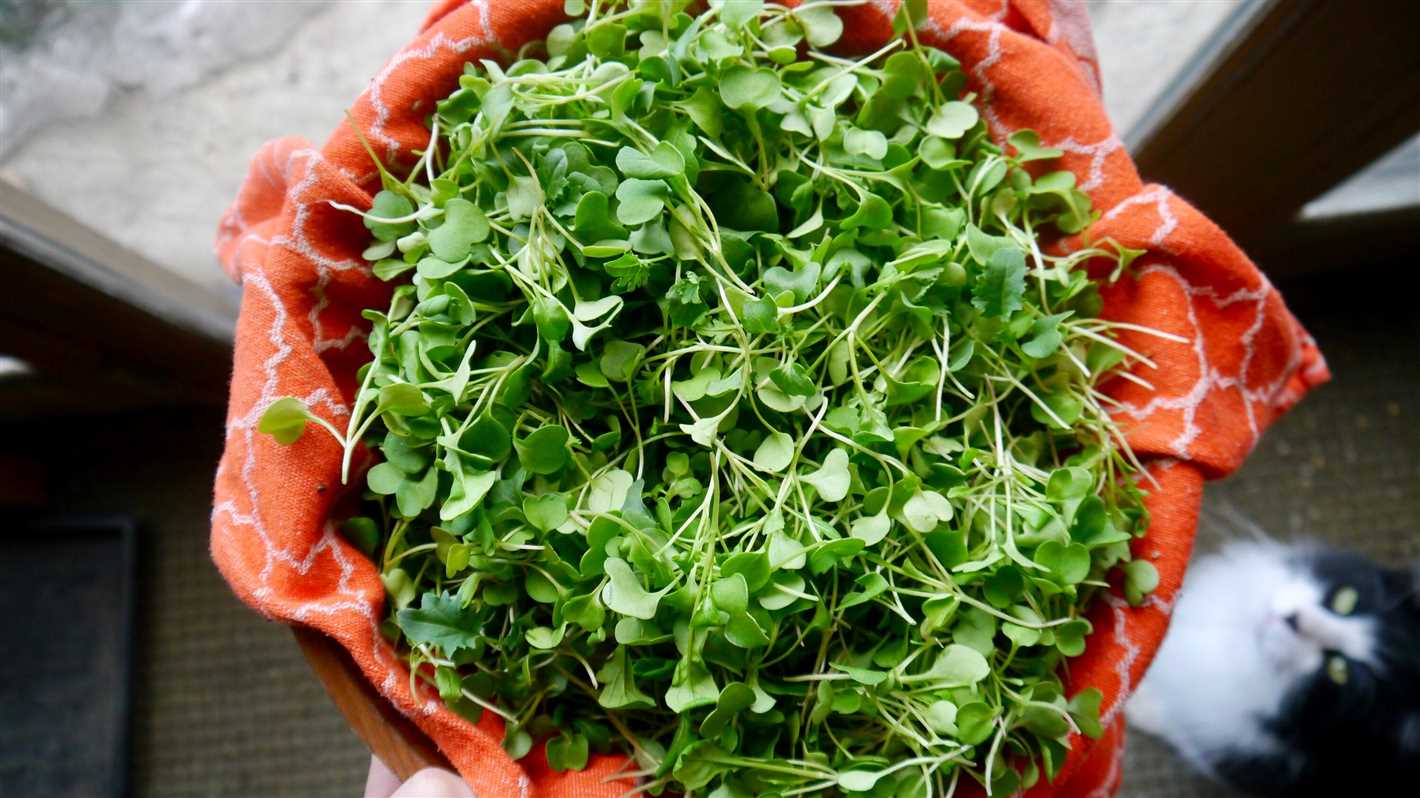
Once the container is ready, sprinkle cress-salad seeds evenly across the soil surface. Press the seeds gently into the soil, but do not cover them completely as they require light to germinate. Water the soil lightly to moisten it, taking care not to wash away the seeds.
4. Care and maintenance
- Water the cress-salad regularly to keep the soil moist. Avoid overwatering, as this can lead to root rot.
- Place the container in a location that receives at least 4-6 hours of direct sunlight each day. Cress-salad is a sun-loving plant and requires adequate light for optimal growth.
- Monitor the moisture level of the soil and water whenever it feels dry to the touch.
- Harvest the cress-salad leaves when they reach a height of about 2-3 inches. Cut the leaves close to the base of the plant, leaving some leaves to continue growing for future harvests.
By following these simple steps, you can enjoy a continuous supply of fresh and vitamin-packed cress-salad right from your own container garden. Experiment with different varieties and enjoy the delicious taste of homegrown greens!
Method 3: Cultivating in a Garden
Growing cress-salad in a garden is another great way to enjoy these vitamin-packed greens. Here’s how you can do it:
- Select a suitable spot: Choose a spot in your garden that receives at least 4-6 hours of direct sunlight. Cress-salad thrives in well-draining soil, so make sure the chosen spot has good drainage.
- Prepare the soil: Loosen up the soil in the garden bed and remove any weeds or rocks. You can mix in some organic compost or well-rotted manure to enrich the soil and provide nutrients for the cress-salad.
- Sow the seeds: Scatter the cress-salad seeds evenly over the prepared soil. You can sow them in rows or sprinkle them all over to create a dense bed of greens.
- Water the seeds: After sowing the seeds, water the garden bed gently to make sure the soil is moist but not waterlogged. Cress-salad prefers consistent moisture throughout its growing period.
- Monitor and care: Keep an eye on the garden bed and water regularly to ensure the soil remains moist. Cress-salad grows relatively fast, and you can expect to see sprouts within a week or so.
- Thin out the seedlings: Once the seedlings are about an inch tall, thin them out so that there is enough space between each plant. This will allow them to grow more vigorously and prevent overcrowding.
- Harvest: You can start harvesting the cress-salad leaves once they are around 2-3 inches long. Simply cut the leaves close to the base, and new leaves will continue to grow from the center of the plant.
By following these steps, you can enjoy a bountiful harvest of fresh cress-salad right from your own garden. It’s a rewarding and cost-effective way to incorporate vitamin greens into your diet!
“Question-Answer”
What is the best time to plant cress seeds on the window?
The best time to plant cress seeds on your window depends on your climate and the variety of cress you are growing. In general, cress grows best in cool weather and can tolerate light frosts. If you live in a colder climate, it is best to plant cress seeds in early spring or late fall. For warmer climates, planting in late fall or early winter is recommended. However, cress can be grown indoors year-round, so you can plant seeds on your window whenever you want.
How often should I water the cress seeds on the window?
Cress seeds require consistent moisture to germinate and grow properly. It is important to keep the soil consistently moist but not overly saturated. You should water the cress seeds lightly every day or every other day, depending on the humidity levels in your home. The soil should never become completely dry, as this can hinder the germination process. After the cress seeds have sprouted, you can reduce the frequency of watering slightly, but still ensure that the soil remains moist.
Can I use any type of soil to grow cress-salad on the window?
While cress seeds can grow in various types of soil, it is best to use a well-draining potting soil for optimal growth. Avoid using heavy, compacted soils that retain too much water, as this can lead to root rot. You can find potting soil specifically formulated for seed starting at gardening stores. This type of soil provides the right balance of nutrients and moisture retention for successful cress growth.


