- Step 1: Prepare the Soil
- Amend the Soil for Healthy Courgette Plants
- Step 2: Start Seeds Indoors
- 1. Choose the Right Time
- 2. Select a Suitable Container
- 3. Prepare the Soil Mix
- 4. Sow the Seeds
- 5. Provide Optimal Conditions
- 6. Support Germination
- 7. Wait for Germination
- Giving Your Courgette Plants a Head Start
- 1. Choose the Right Variety
- 2. Start Seeds Indoors
- 3. Provide Adequate Sunlight
- 4. Prepare the Soil
- 5. Plant with Proper Spacing
- 6. Water and Mulch
- 7. Monitor for Pests and Diseases
- Step 3: Transplant Seedlings
- Moving Your Courgette Plants to the Garden
- Step 4: Provide Adequate Water
- Keeping Your Courgette Plants Hydrated
- 1. Water consistently
- 2. Time your watering
- 3. Mulch around the plants
- 4. Monitor soil moisture
- 5. Use a drip irrigation system
- 6. Avoid overwatering
- 7. Adjust watering during different growth stages
- Step 5: Apply Organic Fertilizer
- Nourishing Your Courgette Plants Naturally
- 1. Compost
- 2. Mulch
- 3. Organic Fertilizers
- 4. Companion Planting
- 5. Crop Rotation
- 6. Watering
- 7. Weeding
- “Question-Answer”
- When is the best time to plant courgettes?
- What is the ideal growing temperature for courgettes?
- What is the recommended spacing between courgette plants?
- How often should courgettes be watered?
- What is the best way to deal with pests on courgette plants?
- “Video” 10 Frost Resistant Vegetables to Grow in Winter
Growing courgettes can be a delightful and rewarding experience. These versatile vegetables are not only easy to cultivate, but they also produce an abundant harvest throughout the growing season. Whether you’re a seasoned gardener or a beginner, these expert tips will help you achieve a super crop of courgettes from spring to frost.
Step 1: Choosing the right variety
Before you start planting your courgettes, it’s essential to choose the right variety for your garden. Consider factors such as the size of the plant, the length of the growing season, and your climate. Popular varieties include the green courgette, yellow courgette, and Romanesco courgette. Each has its own unique flavor and characteristics.
Step 2: Preparing the soil
Prepare your soil well in advance by adding organic matter and ensuring good drainage. Courgettes thrive in rich, fertile soil. To improve the soil’s fertility, add compost or well-rotted manure a few weeks before planting. This will provide your courgette plants with the necessary nutrients for healthy growth.
Step 3: Planting the seeds
Once the danger of frost has passed, sow the courgette seeds directly into the prepared soil. Plant the seeds in small groups, spacing them about 2 feet apart to allow for adequate airflow and future growth. Be sure to water the seeds well after planting, and keep the soil consistently moist throughout the growing season.
Step 4: Providing proper support
Courgette plants can become heavy and cumbersome as they grow, so providing proper support is crucial. Use stakes or trellises to keep the plants upright and prevent them from sprawling on the ground. This will help optimize airflow, reduce the risk of disease, and make harvesting easier.
Step 5: Regular watering and feeding
Courgettes have high water requirements, especially during hot summer months. Water your plants regularly, aiming to keep the soil moist but not waterlogged. Additionally, feed your courgette plants with a balanced organic fertilizer every two to three weeks to promote healthy and vigorous growth.
Step 6: Pest and disease control
To ensure your courgette plants remain healthy and productive, it’s crucial to stay on top of pest and disease control. Regularly inspect your plants for signs of aphids, slugs, and powdery mildew. Use natural or organic pest control methods whenever possible to minimize the use of chemicals.
Step 7: Harvesting and storage
As your courgette plants produce an abundant harvest, it’s important to regularly harvest the courgettes when they are still small and tender. Leaving them on the plant for too long can result in oversized, tough fruits. Store harvested courgettes in a cool, dark place or refrigerate them if necessary. Enjoy the fruits of your labor in a variety of delicious recipes!
By following these seven steps, you’ll be well on your way to a super crop of courgettes that will last from spring to frost. With a little care and attention, you’ll be harvesting an abundance of these delicious vegetables all season long.
Step 1: Prepare the Soil
Before planting your courgettes, it’s important to prepare the soil properly. This will provide them with the necessary nutrients and conditions to grow to their full potential. Follow these steps to prepare the soil for your courgettes:
- Choose a sunny location: Courgettes thrive in full sun, so find a spot in your garden that receives at least 6 hours of direct sunlight every day.
- Clear the area: Remove any weeds, rocks, or debris from the planting area. This will prevent competition for nutrients and ensure that the courgette plants have enough space to grow.
- Loosen the soil: Use a garden fork or spade to gently loosen the soil to a depth of about 12 inches. This will improve drainage and allow the courgette roots to penetrate easily.
- Amend the soil: Add organic matter, such as compost or well-rotted manure, to the soil. This will improve its structure, fertility, and moisture-retaining capacity. Spread a 2-3 inch layer of organic matter over the top of the loosened soil and mix it in thoroughly.
- Test the soil pH: Courgettes prefer a slightly acidic to neutral soil pH level of 6.0-7.0. Use a soil testing kit to determine the pH level of your soil. If it’s too acidic (below 6.0), add lime to raise the pH. If it’s too alkaline (above 7.0), add sulfur or peat moss to lower the pH.
- Provide drainage: Ensure that the planting area has good drainage to prevent waterlogging. If the soil is heavy clay or compacted, consider adding sand or perlite to improve drainage.
- Level the soil: Use a rake to level the soil surface after all the amendments have been added. This will provide a smooth surface for planting and irrigation.
By preparing the soil properly, you’ll give your courgettes the best possible start and increase your chances of a super crop from spring to frost.
Amend the Soil for Healthy Courgette Plants
One of the most important steps you can take to ensure healthy courgette plants is to amend the soil in which they will be grown. The right soil composition can provide the necessary nutrients and drainage for optimal growth.
Here are some important tips for amending the soil:
- Test the soil: Before planting your courgettes, it’s a good idea to test the soil pH and nutrient levels. This can help you determine what amendments may be necessary.
- Adjust the pH: Courgettes prefer slightly acidic soil with a pH between 6.0 and 6.8. If your soil is too acidic, adding lime can help raise the pH. If it’s too alkaline, sulfur or peat moss can help lower the pH.
- Add organic matter: Incorporating organic matter into the soil can improve its structure and nutrient content. Compost, well-rotted manure, or aged leaf mold are all excellent choices to enrich the soil.
- Provide drainage: Courgettes require well-draining soil to prevent waterlogged roots. If your soil has poor drainage, you can add organic matter or coarse sand to improve it.
- Consider nutrient deficiencies: Courgettes have specific nutrient needs, such as nitrogen, phosphorus, and potassium. If your soil test reveals any deficiencies, you can add organic fertilizers or amendments, such as bone meal or seaweed extract, to correct them.
By amending the soil properly, you can create an ideal growing environment for your courgette plants. This will ensure they have the nutrients they need to thrive and produce a super crop from spring to frost.
Step 2: Start Seeds Indoors
Starting your courgette seeds indoors is a great way to get a head start on the growing season. Follow these steps to ensure healthy and strong seedlings that will thrive when transplanted outdoors:
1. Choose the Right Time
Start your courgette seeds indoors about 4-6 weeks before your last expected frost date. This will give your seedlings enough time to grow strong before being transplanted outside.
2. Select a Suitable Container
Use clean seed trays or individual pots with drainage holes to plant your courgette seeds. These containers should be at least 2-3 inches deep to accommodate the growing roots.
3. Prepare the Soil Mix
Create a well-draining soil mix by combining equal parts of compost, peat moss, and vermiculite or perlite. Fill the containers with this mixture, leaving about 1/2 inch of space at the top.
4. Sow the Seeds
Plant 2-3 courgette seeds per container, placing them about 1 inch deep into the soil. Gently cover the seeds with the soil mix and mist them with water to keep the soil moist.
5. Provide Optimal Conditions
Place your seed trays or pots in a warm area with a temperature of around 18-24°C (65-75°F). Keep the soil consistently moist, but not waterlogged, by misting it regularly.
6. Support Germination
To enhance germination, cover the containers with a plastic wrap or place them inside a propagator. This will create a warm and humid environment that encourages seed sprouting.
7. Wait for Germination
Be patient and wait for the seeds to germinate. This can take anywhere from 5 to 10 days. Once the seedlings emerge, remove the plastic wrap and provide them with bright light for at least 12-14 hours a day.
By following these steps, you will have healthy and robust courgette seedlings ready for transplanting outdoors once the danger of frost has passed.
Giving Your Courgette Plants a Head Start
Starting your courgette plants off on the right foot can make a big difference in the success of your crop. Here are some tips to give your courgette plants a head start:
1. Choose the Right Variety
There are many different varieties of courgettes available, so it’s important to choose one that is suitable for your climate and growing conditions. Look for varieties that have good resistance to common pests and diseases in your area.
2. Start Seeds Indoors
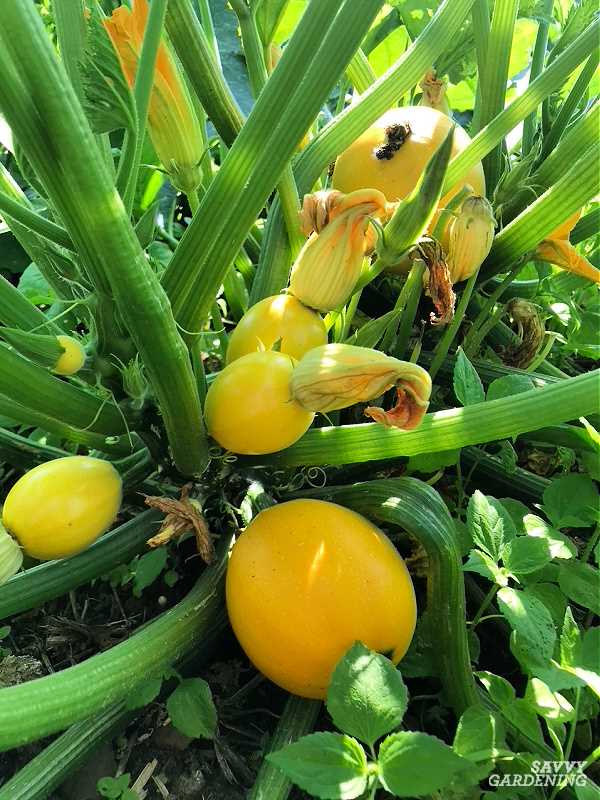
To get a head start on the growing season, you can start your courgette seeds indoors. Plant the seeds in trays or pots filled with seed compost and keep them in a warm, sunny spot. Once the seedlings have grown a few inches tall, they can be transplanted into the garden.
3. Provide Adequate Sunlight
Courgette plants need plenty of sunlight to thrive, so choose a sunny spot in your garden to plant them. Aim for at least 6-8 hours of direct sunlight per day for optimal growth.
4. Prepare the Soil
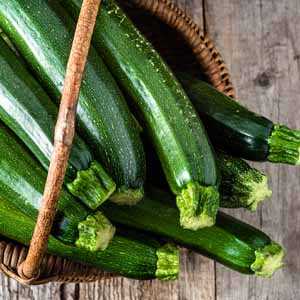
Before planting your courgette plants, prepare the soil by removing any weeds and adding compost or well-rotted manure. Courgettes thrive in rich, well-draining soil.
5. Plant with Proper Spacing
When planting your courgette seedlings, make sure to space them properly to allow for good air circulation and prevent overcrowding. The exact spacing will depend on the variety you are planting, so be sure to check the seed packet for specific instructions.
6. Water and Mulch
Courgette plants need consistent moisture to grow well, so water them regularly, especially during dry spells. Mulching around the base of the plants can help to retain moisture and suppress weeds.
7. Monitor for Pests and Diseases
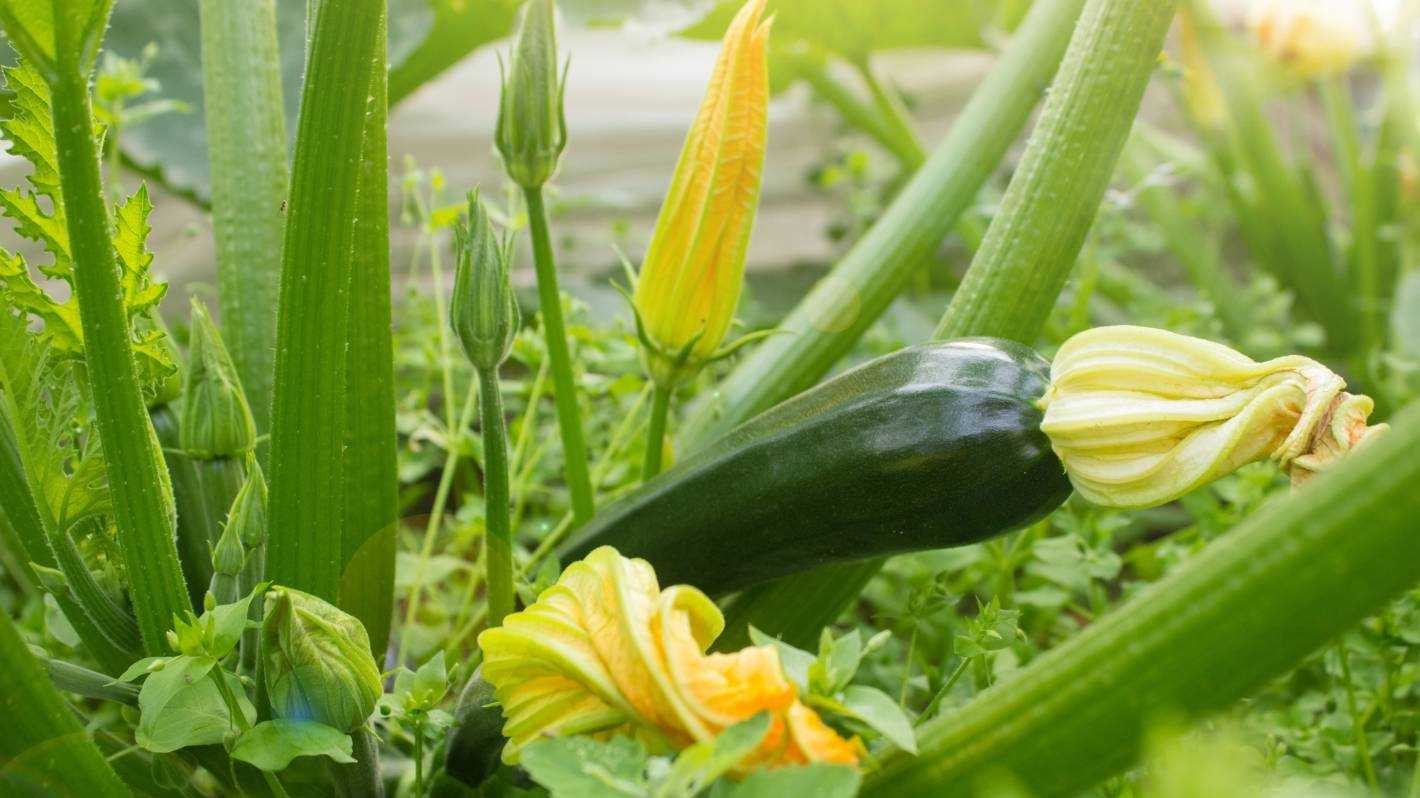
Keep an eye out for common pests and diseases that can affect your courgette plants, such as aphids, slugs, and powdery mildew. Regularly inspect your plants and take action at the first sign of trouble.
By following these tips, you can give your courgette plants a head start and increase your chances of a bountiful crop.
Step 3: Transplant Seedlings
Once your courgette seedlings have grown their first true leaves, it’s time to transplant them into larger pots or directly into your garden bed. Transplanting can help promote healthy root development and allow the plants to establish themselves in their final growing location.
Here are the steps to transplant your courgette seedlings:
- Prepare the planting area: Choose a sunny spot in your garden with well-draining soil. Dig a hole that is deep enough to accommodate the root ball of the seedling.
- Amend the soil: If your soil is clayey or heavy, add some organic matter such as compost or well-rotted manure to improve drainage and fertility.
- Water the seedlings: Give your seedlings a thorough watering before transplanting to help ensure they stay hydrated during the process.
- Remove the seedlings from their containers: Gently tap the bottom of the container to loosen the plant and carefully lift it out, trying not to damage the roots.
- Plant the seedlings: Place the root ball of the seedling into the prepared hole, ensuring that the soil level around the seedling is the same as it was in the container. Press the soil gently around the base of the seedling to secure it.
- Water the transplanted seedlings: After planting, give the transplanted seedlings a deep watering to help settle the soil and provide them with moisture.
- Mulch around the seedlings: Apply a layer of organic mulch, such as straw or wood chips, around the base of the seedlings to help conserve moisture, suppress weeds, and maintain an even soil temperature.
Transplanting your courgette seedlings properly can help ensure their successful growth and development. Remember to water them regularly and keep an eye out for any signs of pests or diseases.
Moving Your Courgette Plants to the Garden
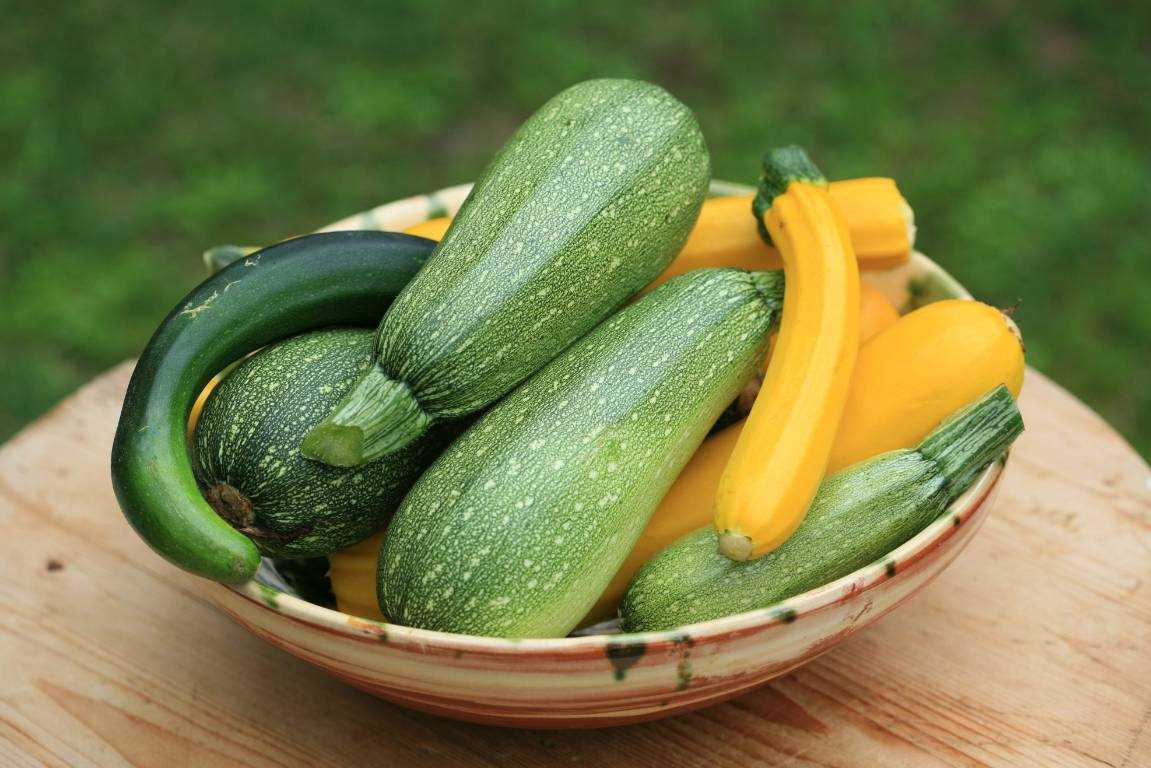
Once your courgette plants have reached a height of around 10-15 centimeters, it’s time to move them from their nursery pots to the garden. Transplanting your courgette plants will give them more space to grow and ensure they receive sufficient sunlight and nutrients. Here are the steps to successfully move your courgette plants to the garden:
- Choose the right location: Find a sunny spot in your garden that receives at least 6-8 hours of direct sunlight per day. Courgette plants thrive in warm and well-drained soil.
- Prepare the soil: Dig a hole that is twice the size of the nursery pot and loosen the soil at the bottom. Add compost or well-rotted manure to improve the soil’s fertility.
- Water the plants: Give your courgette plants a thorough watering a few hours before transplanting. This will help the roots stay hydrated and make it easier to remove them from the pots.
- Remove the plants from their pots: Gently tap the sides of the nursery pot to loosen the soil and carefully remove the plant. Be cautious not to damage the roots.
- Plant the courgette plants: Place the plant in the prepared hole and fill it with soil, firming it gently around the base of the plant. Make sure the plant is at the same depth as it was in the pot.
- Water the plants again: Give your newly transplanted courgette plants a good watering to help settle the soil and remove any air pockets around the roots.
- Mulch and protect: Apply a layer of mulch, such as straw or wood chips, around the base of the plants to retain moisture and suppress weeds. Use a plant cover or cloche to protect the plants from cold temperatures if needed.
By following these steps, you can successfully move your courgette plants to the garden and provide them with the optimal growing conditions they need to produce a super crop of courgettes from spring to frost.
Step 4: Provide Adequate Water
Proper watering is crucial for the successful growth of your courgettes. These plants have a high water demand, especially during the hot summer months. Here are some tips to ensure they receive adequate moisture:
- Water deeply: Make sure to water the plants deeply, so the water reaches the roots. Shallow watering can lead to weak, shallow roots.
- Water consistently: Courgettes need a steady supply of water to thrive. Water them consistently to prevent the soil from drying out.
- Avoid overwatering: While courgettes require regular watering, it is important not to overdo it. Overwatering can lead to root rot and other fungal diseases.
- Water at the base: Water the plants at the base instead of overhead. This helps prevent the leaves from getting wet, which can lead to fungal diseases.
- Use mulch: Applying a layer of organic mulch around the plants can help retain moisture in the soil and reduce the frequency of watering.
- Water in the morning: It is best to water courgettes in the morning, allowing the leaves to dry out during the day. Watering in the evening can promote fungal growth.
- Monitor soil moisture: Regularly check the moisture level of the soil by sticking your finger about an inch into the ground. If it feels dry, it’s time to water.
By providing your courgettes with the right amount of water, you can ensure healthy growth and a bountiful harvest.
Keeping Your Courgette Plants Hydrated
Proper hydration is essential for the health and productivity of your courgette plants. Without sufficient water, the plants can become stressed and may not produce as many fruits.
1. Water consistently
Watering your courgette plants consistently is crucial. Courgettes require regular, deep watering to ensure the roots receive enough moisture. It is recommended to water the plants deeply once or twice a week, depending on the weather conditions. Avoid shallow watering, as it can lead to shallow root growth and make the plants more susceptible to drought stress.
2. Time your watering
The best time to water your courgette plants is early in the morning or late in the evening. During these times, the temperature is cooler, and there is less evaporation, allowing your plants to absorb the water more effectively. Avoid watering during the hottest part of the day, as the water can evaporate quickly and may not reach the roots.
3. Mulch around the plants
Applying a layer of mulch around your courgette plants can help retain moisture in the soil. Mulch acts as a barrier, reducing evaporation and keeping the soil cooler. Organic mulches like straw or wood chips are ideal for courgette plants as they can also provide some nutrients as they break down.
4. Monitor soil moisture
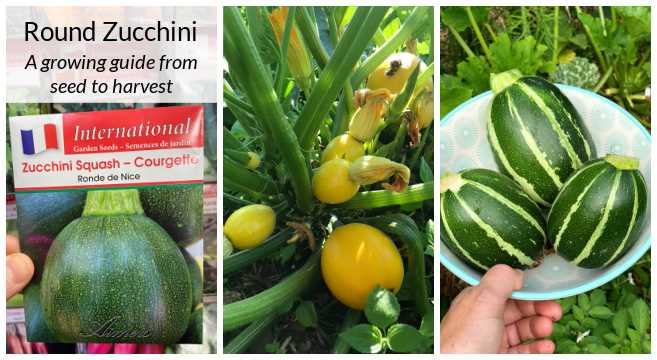
Regularly check the soil moisture levels around your courgette plants. Stick your finger into the soil to a depth of about an inch to determine if it is time to water. If the soil feels dry at that depth, it’s a sign that you need to water your plants.
5. Use a drip irrigation system
A drip irrigation system can be a convenient and efficient way to water your courgette plants. With a drip system, water is delivered directly to the roots, minimizing wastage and reducing the risk of foliar diseases. Consider installing a timer to ensure consistent and timely watering.
6. Avoid overwatering
While it’s important to water your courgette plants regularly, be cautious not to overwater them. Overwatering can lead to root rot and other fungal diseases. Make sure the soil has adequate drainage to prevent waterlogged conditions. If the plants’ leaves start turning yellow or become wilted, it may be a sign of overwatering.
7. Adjust watering during different growth stages
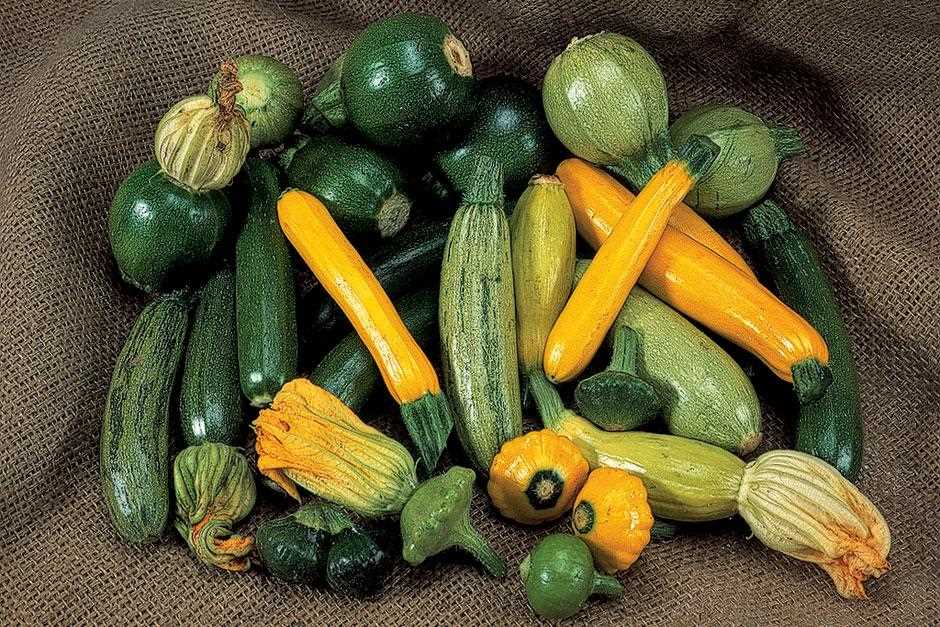
During different growth stages, courgette plants have varying water requirements. When the plants are young and establishing their roots, they need more watering. As they grow and start producing fruits, their water needs may decrease slightly. Be mindful of these changes and adjust your watering schedule accordingly.
By following these tips and keeping your courgette plants hydrated, you can ensure healthy growth and a bountiful harvest throughout the growing season.
Step 5: Apply Organic Fertilizer
To ensure a super crop of courgettes, it’s important to provide your plants with the nutrients they need. Using organic fertilizers is a great way to nourish your courgettes while avoiding harmful chemicals. Here are some tips on how to apply organic fertilizer:
- Choose the right fertilizer: Look for organic fertilizers that are specifically formulated for vegetables or fruit-bearing plants. These fertilizers usually contain a balanced blend of essential nutrients such as nitrogen, phosphorus, and potassium.
- Follow the instructions: Read the instructions on the fertilizer packaging carefully and follow the recommended dosage for courgettes. Applying too much fertilizer can burn the plants and harm their growth.
- Apply during planting: It’s best to mix the organic fertilizer into the soil before planting your courgette seeds or seedlings. This will ensure that the nutrients are available to the plants from the beginning.
- Side-dress during the growing season: As the courgette plants grow, they will benefit from additional nutrients. Side-dressing with organic fertilizer is a common practice in vegetable gardening. Simply sprinkle the fertilizer around the base of the plants, being careful not to touch the leaves.
- Water after fertilizing: After applying the organic fertilizer, water the plants thoroughly. This will help the nutrients to penetrate the soil and reach the root zone where they are needed most.
- Mulch to conserve nutrients: Applying a layer of organic mulch around the base of the courgette plants can help conserve moisture and nutrients in the soil. This will reduce the need for frequent fertilization.
By following these steps, you can ensure that your courgette plants receive the necessary nutrients for healthy growth and abundant harvest. Remember, organic fertilizers not only nourish the plants but also improve soil health in the long run.
Nourishing Your Courgette Plants Naturally
Your courgette plants need proper nourishment to grow healthy and produce a super crop. While chemical fertilizers can do the job, there are natural ways to provide your plants with the nutrients they need. Here are some tips on nourishing your courgette plants naturally:
1. Compost
Compost is a great natural fertilizer for courgette plants. It is rich in organic matter and provides a slow-release of nutrients. Add compost to the soil before planting your courgette seeds or around existing plants. This will improve soil fertility, retain moisture, and encourage beneficial soil organisms.
2. Mulch
Mulching around your courgette plants can help retain moisture, regulate soil temperature, and suppress weed growth. Use organic mulches such as straw, leaf litter, or wood chips. As the mulch breaks down, it will release nutrients into the soil, providing a continuous source of nourishment for your plants.
3. Organic Fertilizers
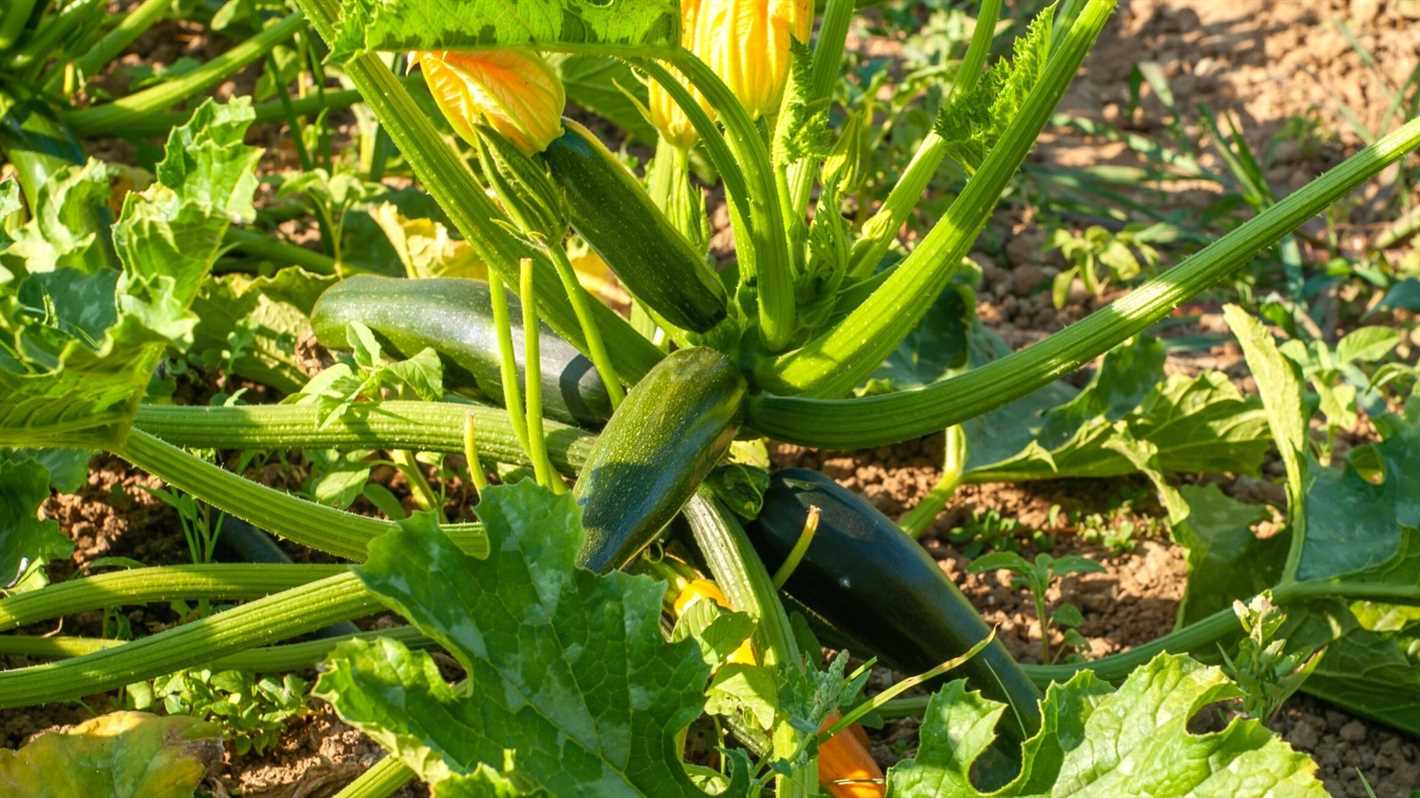
If you need to supplement the nutrient levels in your soil, opt for organic fertilizers. Look for fertilizers made from natural sources, such as fish emulsion, bone meal, or seaweed extract. These organic fertilizers provide a rich source of nutrients without the harmful effects of synthetic fertilizers.
4. Companion Planting
Planting certain herbs, flowers, or vegetables next to your courgette plants can provide natural pest control and nutrient absorption. Companion plants like marigold, nasturtium, or herbs like basil, dill, or mint can attract beneficial insects and improve soil fertility, which in turn benefits your courgette plants.
5. Crop Rotation
Rotate your courgette plants with other vegetables in your garden each year to prevent nutrient depletion and reduce the risk of disease and pest problems. This allows the soil to replenish its nutrient levels naturally and reduces the likelihood of pests and diseases that can affect courgette plants.
6. Watering
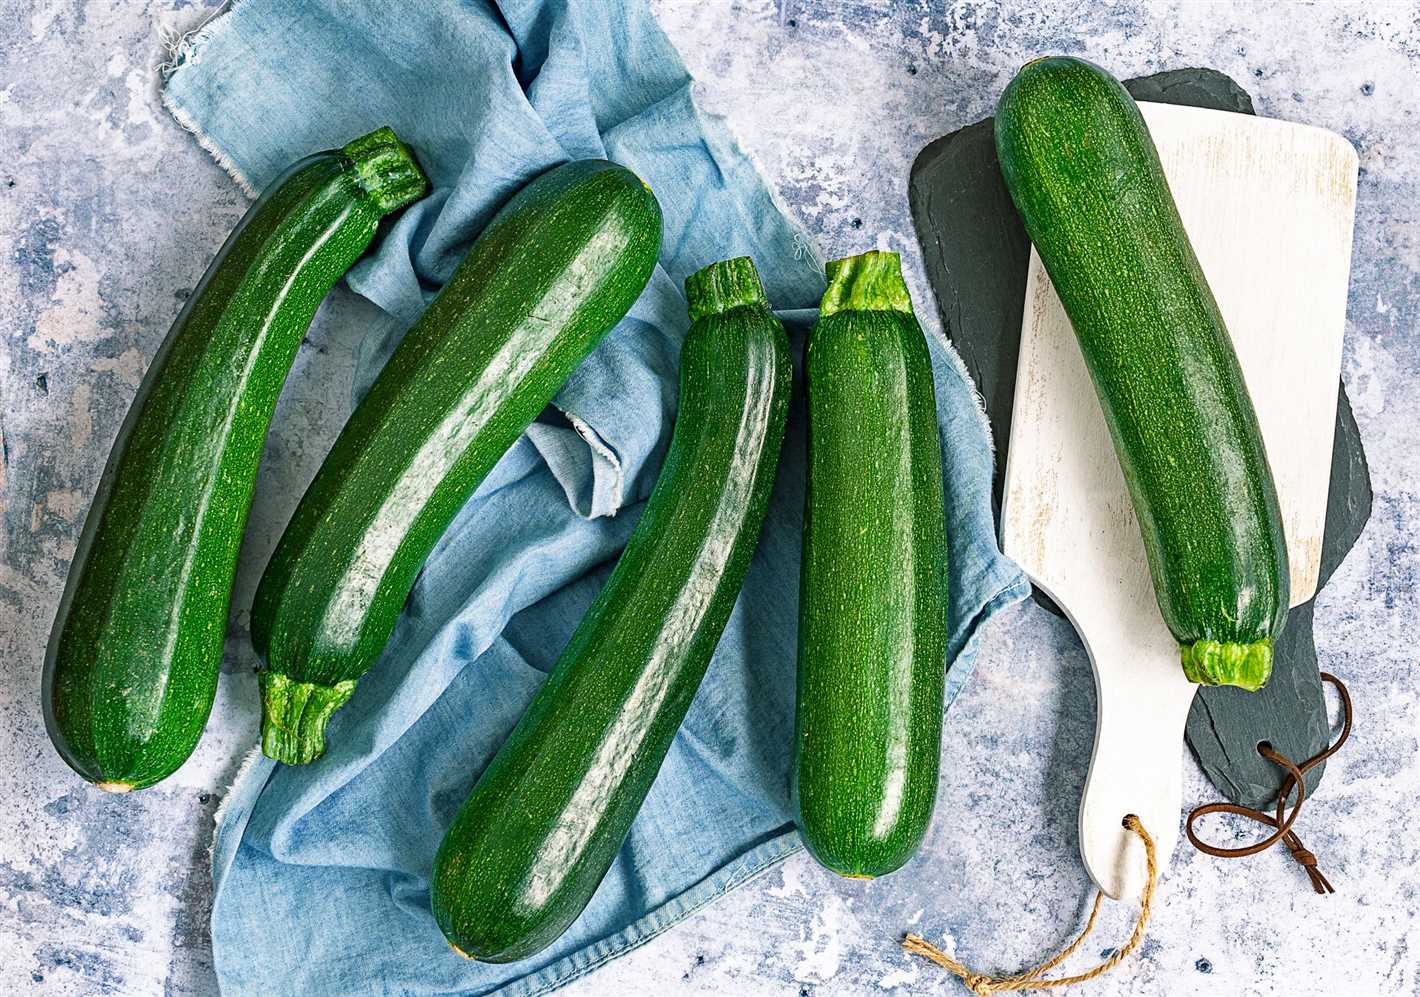
Proper watering is essential for the growth of your courgette plants. Water deeply and regularly, making sure the soil is evenly moist. Avoid overwatering, as it can lead to root rot and other diseases. Additionally, using rainwater or collected greywater is a more sustainable option compared to tap water.
7. Weeding
Regular weeding is important to ensure that your courgette plants are not competing with other plants for nutrients. Weeds can take away vital nutrients from your plants, so make sure to remove them regularly. Mulching can also help suppress weed growth.
By nourishing your courgette plants naturally, you not only promote their health but also contribute to a more sustainable gardening practice. These natural methods not only provide the necessary nutrients but also support the overall ecosystem of your garden.
“Question-Answer”
When is the best time to plant courgettes?
The best time to plant courgettes is in the spring, after the last frost.
What is the ideal growing temperature for courgettes?
The ideal growing temperature for courgettes is between 18°C and 24°C.
What is the recommended spacing between courgette plants?
It is recommended to space courgette plants about 90cm apart.
How often should courgettes be watered?
Courgettes should be watered regularly, about once or twice a week, depending on the weather conditions.
What is the best way to deal with pests on courgette plants?
The best way to deal with pests on courgette plants is to use natural insecticides or handpick them off the plants.


