- Choosing the Right Variety
- 1. Watercress (Nasturtium officinale):
- 2. Garden Cress (Lepidium sativum):
- 3. Upland Cress (Barbarea verna):
- Preparing the Soil
- 1. Choose a Well-Draining Soil
- 2. Loosen the Soil
- 3. Add Organic Matter
- 4. Test Soil pH
- 5. Remove Weeds
- 6. Level the Soil
- Planting and Spacing
- Choose a Suitable Location
- Prepare the Soil
- Sow the Seeds
- Watering
- Thinning and Spacing
- Successive Planting
- Harvesting
- Pest and Disease Control
- Summary
- Watering and Fertilizing
- Watering
- Fertilizing
- Sunlight and Temperature
- Harvesting and Storage
- Pests and Diseases
- Pests
- Diseases
- Culinary Uses and Benefits
- 1. Salads:
- 2. Sandwiches and Wraps:
- 3. Soups and Stews:
- 4. Stir-Fries and Sauteed Dishes:
- 5. Nutritional Benefits:
- “Question-Answer”
- What is cress salad?
- How do I grow cress in my vegetable garden?
- Can I grow cress at home without a garden?
- How long does it take for cress to grow?
- What are some tips for growing cress?
- “Video” Maximize Harvesting Lettuce With The Cut and Come Again Method
Cress salad is a popular and versatile leafy green that can be easily grown in both vegetable gardens and at home. With its delicate texture and slightly peppery flavor, cress is perfect for adding a burst of freshness to any dish. Whether you’re a seasoned gardener or new to growing your own food, cress is a great choice for those looking to add more nutritious greens to their diet.
If you’re considering growing cress in your vegetable garden, there are a few important tips and techniques to keep in mind. Cress thrives in cool weather and can be sown directly into the ground as soon as the soil can be worked in the spring. It prefers well-drained soil and can be grown in both full sun and partial shade. To promote continuous growth, it’s recommended to sow cress seeds every two weeks throughout the growing season.
For those who don’t have access to a vegetable garden, cress can easily be grown at home. It requires minimal space and can even be grown indoors on a sunny windowsill. All you need is a shallow container filled with quality potting soil, and cress seeds can be sown directly into the soil surface. Regular watering is important to keep the soil evenly moist, and within a week or two, you’ll start to see tiny cress seedlings emerge.
Once your cress is ready to harvest, you can simply trim off the outer leaves or cut the entire plant at its base. Cress can be enjoyed fresh in salads, sandwiches, and soups, or added as a garnish to elevate the flavor of your favorite dishes. Its versatility and ease of growth make cress a fantastic addition to any vegetable garden or home garden, providing a fresh, nutritious boost to your meals throughout the growing season.
Choosing the Right Variety
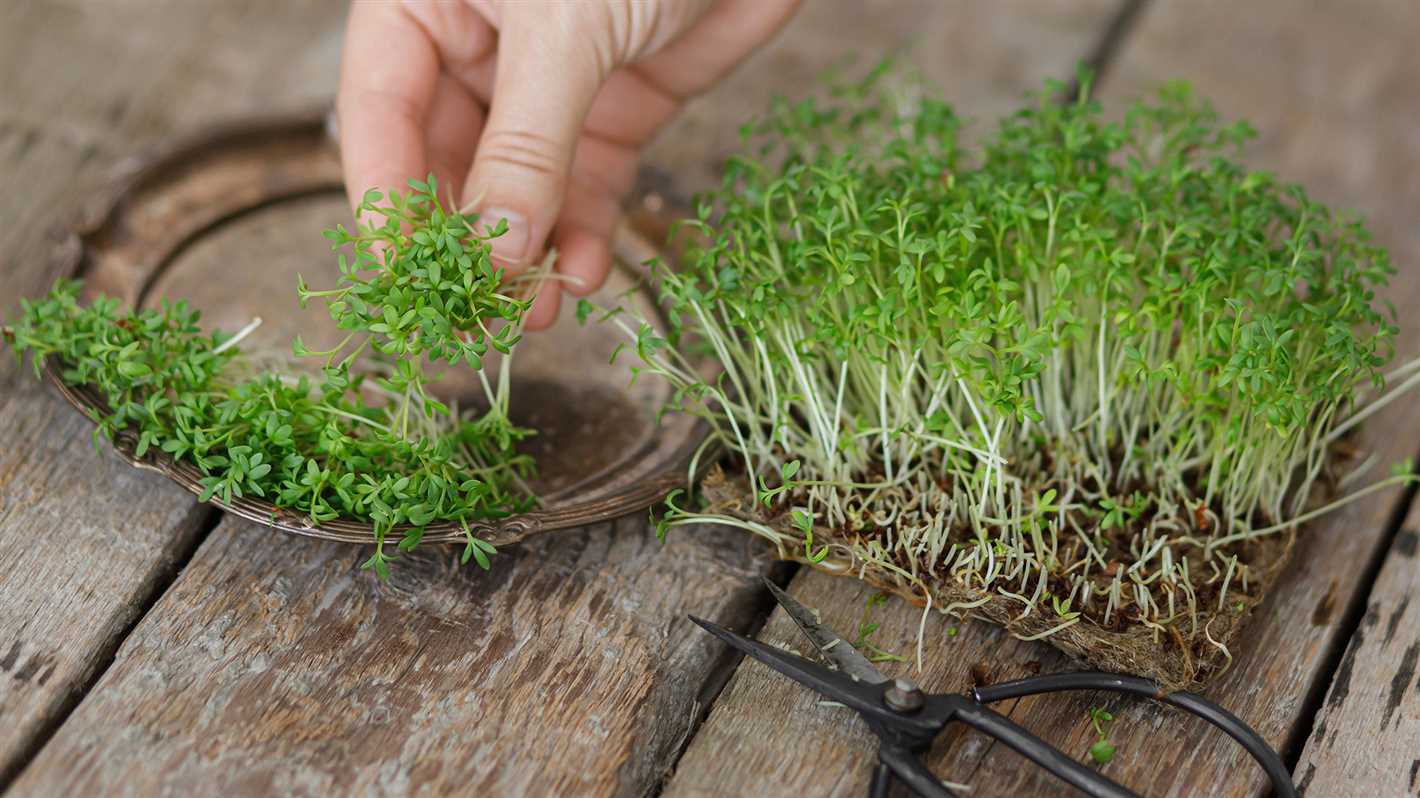
When it comes to growing cress salad, choosing the right variety is essential for a successful harvest. There are numerous types of cress available, each with their own unique flavors and characteristics. Here are some popular cress varieties to consider:
1. Watercress (Nasturtium officinale):
Watercress is a well-known variety of cress that is known for its bold and peppery flavor. It thrives in moist soil and is often grown in aquatic environments. This variety is rich in vitamins A, C, and K, as well as iron and calcium.
2. Garden Cress (Lepidium sativum):
Garden cress is a versatile variety that can be grown both indoors and outdoors. It has a milder flavor compared to watercress and is often used in salads, sandwiches, and garnishes. This variety is packed with essential nutrients, including vitamins A, C, and E.
3. Upland Cress (Barbarea verna):
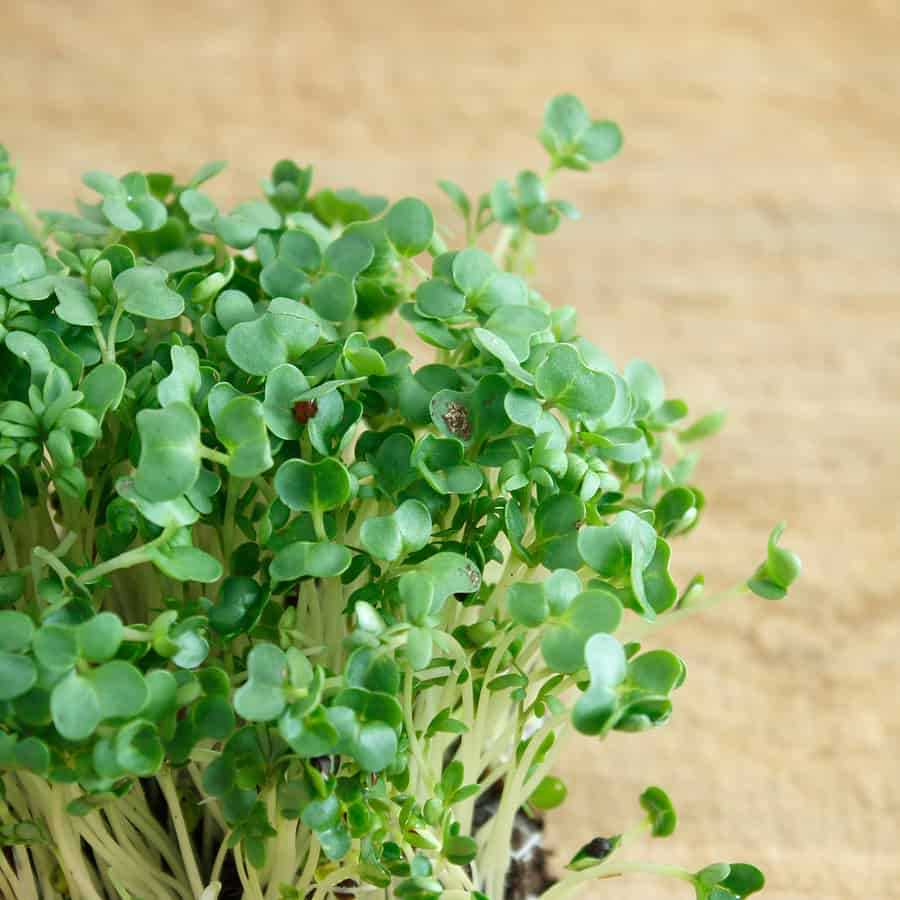
Upland cress, also known as winter cress or early yellowrocket, is a hardy variety that can withstand colder temperatures. It has a tangy and slightly bitter flavor and is often used in stir-fries, soups, and salads. Upland cress is an excellent source of vitamin C and antioxidants.
When choosing a cress variety, consider your taste preferences and growing conditions. Some varieties may require specific growing conditions, such as access to water or shade, so make sure to research the requirements of each variety before making a selection.
Additionally, consider the intended use of your cress salad. If you plan to use it in salads or as a garnish, milder varieties like garden cress may be more suitable. If you prefer a bolder and more peppery flavor, watercress or upland cress may be the better choice.
Overall, choosing the right variety of cress is crucial for a successful and flavorful harvest. Experiment with different varieties to find your favorite and enjoy the unique flavors and nutritional benefits that cress has to offer.
Preparing the Soil
Before planting cress in your vegetable garden or at home, it’s essential to prepare the soil properly. Here are some tips to ensure the soil is in optimal condition for growing healthy cress:
1. Choose a Well-Draining Soil
Cress prefers well-draining soil that is rich in organic matter. It’s important to choose a soil mix that contains a good balance of nutrients and has good drainage. Avoid heavy clay soils that retain water, as this can lead to root rot and other diseases.
2. Loosen the Soil
Before planting cress seeds or seedlings, loosen the soil to improve aeration and allow the roots to penetrate easily. Use a garden fork or a tiller to break up any compacted soil and remove any large stones or debris from the planting area.
3. Add Organic Matter
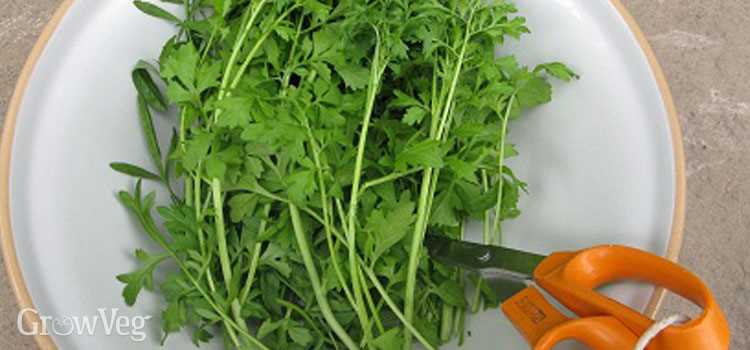
Incorporating organic matter into the soil is beneficial for cress growth. Adding compost, well-rotted manure, or leaf mold will improve soil structure, fertility, and water-holding capacity. Spread a layer of organic matter over the planting area and mix it into the top few inches of soil.
4. Test Soil pH
It’s important to check the pH level of the soil before planting cress. Cress prefers slightly acidic to neutral soil, with a pH level between 6.0 and 7.0. Use a soil pH test kit to determine the pH level and make any necessary adjustments by adding lime to raise pH or sulfur to lower pH.
5. Remove Weeds
Prior to planting cress, remove any weeds or grass from the planting area. Weeds compete with cress for nutrients, water, and sunlight, and can hinder its growth. Use a garden hoe or hand tools to remove weeds, ensuring that the soil is clear and ready for planting.
6. Level the Soil
After preparing the soil, make sure it is leveled and smooth. Use a rake to remove any remaining clumps or bumps in the soil. A level surface will ensure even growth and make it easier to plant and maintain your cress.
By following these soil preparation techniques, you’ll create an ideal environment for growing cress. Healthy soil will provide the necessary nutrients for cress to thrive and result in a bountiful harvest of tasty and nutritious greens.
Planting and Spacing
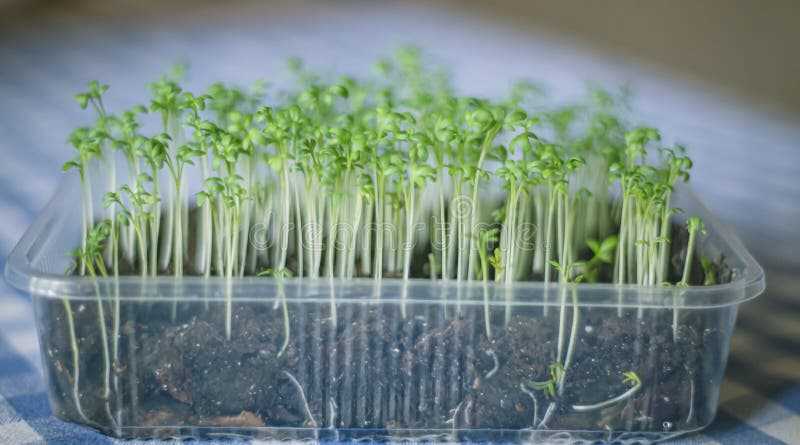
When it comes to planting cress, there are a few key things to keep in mind. Cress is a fast-growing plant and can be directly sown into the garden or container. Here are some tips and techniques for planting and spacing cress:
Choose a Suitable Location
Cress prefers full sun to partial shade, so choose a location that receives at least 6 hours of sunlight per day. The soil should be well-draining and rich in organic matter.
Prepare the Soil
Before planting, prepare the soil by removing any weeds and breaking up clumps. You can also amend the soil with compost or well-rotted manure to improve its fertility and drainage.
Sow the Seeds
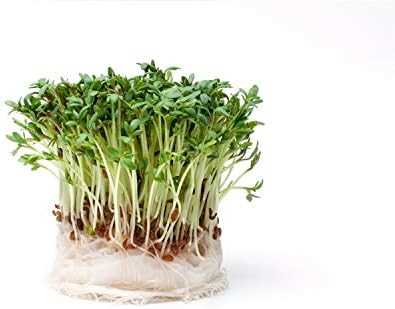
When sowing cress seeds, scatter them evenly over the soil surface. You can sow them in rows or simply broadcast them. Cress seeds are very tiny, so be careful not to sow them too thickly.
Watering
After sowing the seeds, water the soil gently to ensure good seed-to-soil contact. Keep the soil consistently moist throughout the germination and growing period. Avoid overwatering, as it can lead to fungal diseases.
Thinning and Spacing
Once the cress seedlings have emerged and developed their first true leaves, thin them out to avoid overcrowding. Leave about 2-3 inches of space between each plant to ensure they have enough room to grow and receive adequate air circulation.
Successive Planting

To have a continuous harvest of cress, consider successive planting. Sow new seeds every 2-3 weeks to ensure a regular supply of fresh leaves. This way, you can enjoy cress throughout the growing season.
Harvesting
Cress can be harvested when the leaves are young and tender, usually around 2-3 weeks after planting. Use sharp scissors or a knife to cut the leaves just above the soil surface. Harvesting cress regularly will promote the growth of new leaves.
Pest and Disease Control
Cress is generally a healthy plant, but it can be susceptible to some pests like aphids and flea beetles. Regularly check your plants for any signs of infestation and take appropriate measures to control them. Applying organic insecticidal soap or using companion plants like marigold can help deter pests.
Summary
Planting and spacing cress properly is essential for a successful harvest. Choose a suitable location, prepare the soil, sow the seeds, and provide adequate water and spacing. By following these tips and techniques, you can enjoy a bountiful supply of fresh cress throughout the growing season.
Watering and Fertilizing
Watering and fertilizing are crucial for the healthy growth of cress salad. Here are some tips and techniques to ensure optimal watering and fertilizing:
Watering
- Water the cress plants regularly, keeping the soil consistently moist but not waterlogged.
- Check the moisture level of the soil by sticking your finger about one inch into the soil. If it feels dry, it’s time to water.
- Water the plants early in the morning or late in the afternoon to avoid evaporation due to heat.
- Avoid overhead watering, as it can promote the development of fungal diseases. Instead, use a watering can or a drip irrigation system to directly water the soil.
- Ensure the water reaches the roots by watering slowly and deeply. This encourages the plants to develop a strong root system.
Fertilizing
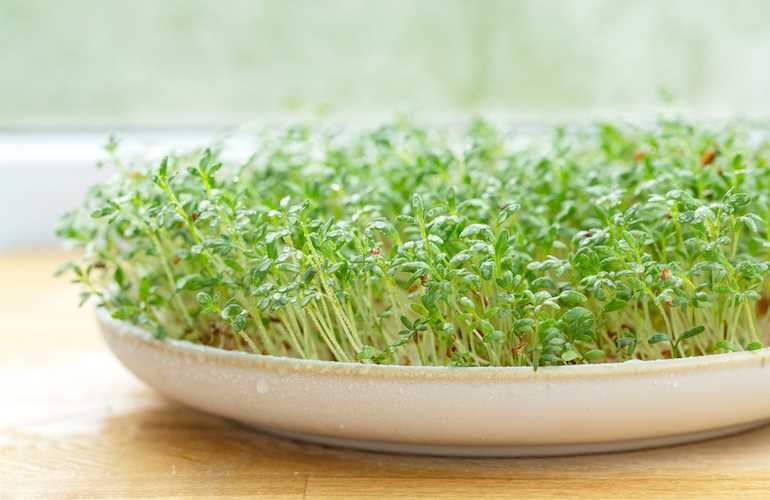
- Use a well-balanced, water-soluble fertilizer to provide essential nutrients to the cress plants.
- Follow the instructions on the fertilizer packaging for the appropriate dilution and application rate.
- Fertilize the plants every two weeks during the growing season.
- Apply the fertilizer to the soil around the base of the plants, avoiding direct contact with the leaves.
- Water the plants immediately after applying the fertilizer to help it penetrate the soil and reach the roots.
By following these watering and fertilizing practices, you can ensure that your cress salad plants receive the necessary moisture and nutrients for healthy growth.
Sunlight and Temperature
Proper sunlight and temperature are important factors for the successful growth of cress salad. The ideal conditions for cress salad include:
- Sunlight: Cress salad requires at least 4-6 hours of direct sunlight per day. It is best to plant it in an area that receives full sun or partial shade.
- Temperature: Cress salad prefers cooler temperatures between 50°F (10°C) to 70°F (21°C). It can tolerate light frost but may not thrive in extremely hot weather.
Here are some tips for providing the right sunlight and temperature conditions for your cress salad:
- Choose a location in your garden that receives ample sunlight throughout the day. If you are growing cress salad indoors, place it near a window where it can get sufficient sunlight.
- Monitor the temperature in your garden or indoor space. If the temperature exceeds 70°F (21°C), consider providing shade for your cress salad to protect it from excessive heat.
- During colder months or if you live in a region with harsh winters, you can grow cress salad indoors using grow lights or in a greenhouse to maintain the required temperature.
- Water your cress salad regularly and make sure the soil is well-drained to prevent waterlogging. Excessive moisture coupled with high temperatures can lead to the development of fungal diseases.
| Sunlight | Temperature |
|---|---|
| 4-6 hours of direct sunlight per day | Cooler temperatures between 50°F (10°C) to 70°F (21°C) |
| Plant in full sun or partial shade | Can tolerate light frost but not extreme heat |
By providing the right amount of sunlight and maintaining the optimal temperature, you can ensure the healthy growth and yield of your cress salad plants.
Harvesting and Storage
When it comes to harvesting cress, timing is crucial. Cress can be harvested once it reaches a height of about 1-2 inches. At this stage, the leaves are tender and have a mild flavor.
To harvest cress, simply cut the leaves with a sharp pair of scissors or snip them off at the base of the stem. Avoid pulling the entire plant out of the soil, as this can damage the roots and prevent regrowth.
It’s best to harvest cress in the morning when the leaves are at their freshest. Avoid harvesting cress during hot afternoons, as the leaves may wilt quickly.
After harvesting, cress can be stored in the refrigerator for up to a week. To maximize freshness and shelf life, follow these tips:
- Remove any damaged or wilted leaves before storing.
- Place the cress in a plastic bag or airtight container to maintain moisture.
- Store the cress in the crisper drawer of the refrigerator, away from fruits and vegetables that produce ethylene gas, which can cause the cress to spoil more quickly.
It’s important to note that cress is best enjoyed fresh, as it tends to lose flavor and texture over time. Therefore, it’s recommended to harvest cress as needed, rather than storing large quantities.
Pests and Diseases
Like any other garden plant, cress salad can be vulnerable to a variety of pests and diseases. Here are some common issues to watch out for:
Pests
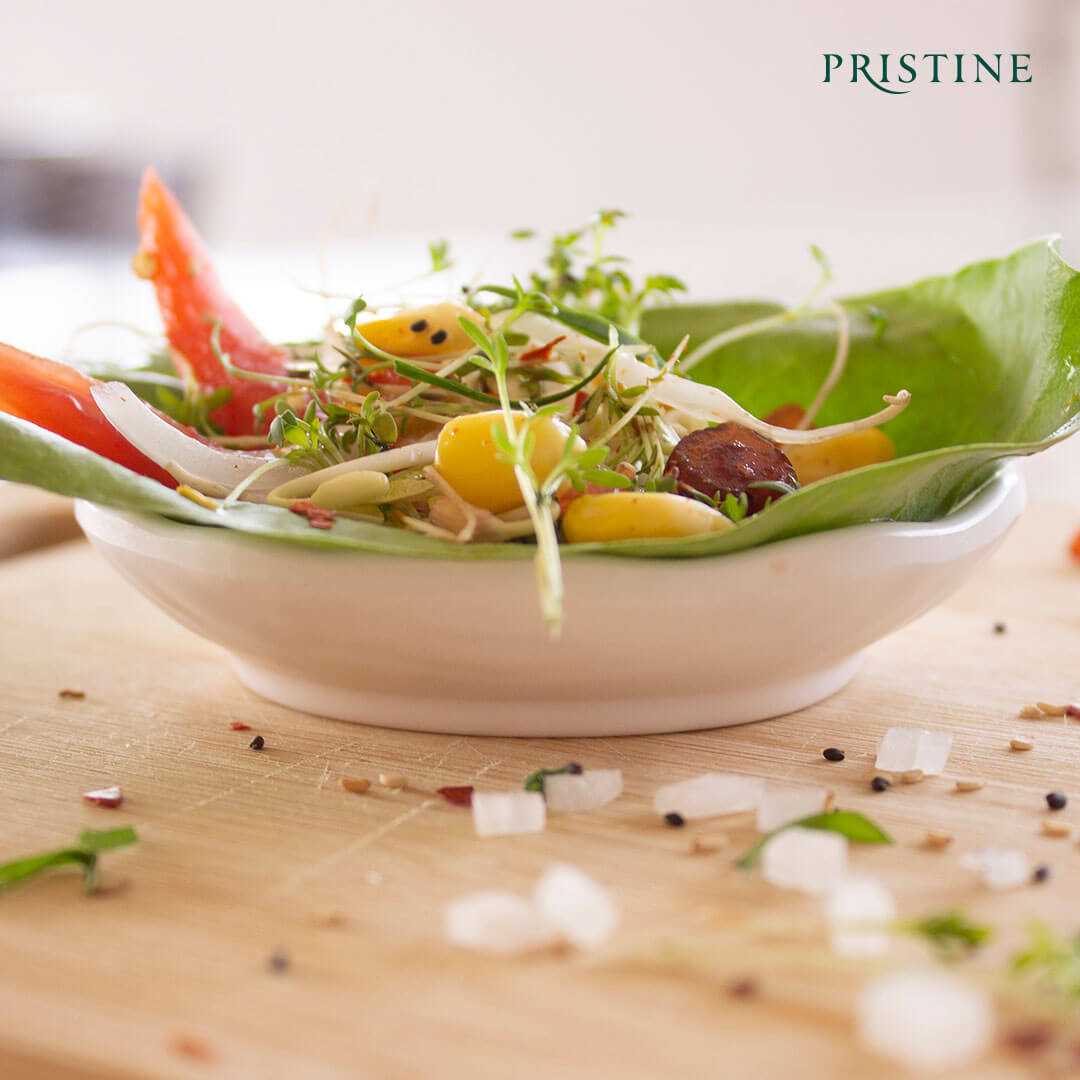
- Aphids: These small, soft-bodied insects can quickly multiply and cause damage to cress salad plants. Look for clusters of aphids on the leaves and stems. To control them, you can spray the plants with insecticidal soap or use beneficial insects like ladybugs to eat them.
- Cabbage loopers: These green caterpillars love to chew on cress salad leaves. Handpicking them off the plants is an effective control method. You can also use Bacillus thuringiensis (BT), a natural bacteria that kills caterpillars.
- Slugs and snails: These slimy creatures can feast on cress salad at night. To deter them, you can create barriers using copper tape or crushed eggshells around the plants. Beer traps also work by attracting and drowning them.
- Flea beetles: These tiny, jumping beetles can cause small holes in the leaves of cress salad. You can protect your plants by covering them with floating row covers or applying diatomaceous earth, a natural powder that kills insects.
Diseases
- Downy mildew: This fungal disease appears as yellow or brown spots on the leaves of cress salad. It thrives in humid conditions. To prevent the spread of downy mildew, water the plants at the base and avoid wetting the leaves. Fungicides can also be used for control.
- Clubroot: A soil-borne disease that causes stunted growth and deformed roots. To prevent clubroot, practice crop rotation and avoid planting cress salad in the same location for consecutive years. Proper drainage and soil pH adjustments can also help control the disease.
- Black rot: This bacterial disease causes blackened veins and watery lesions on cress salad leaves. To prevent black rot, maintain proper spacing between plants to promote air circulation. Remove and destroy infected plants to prevent the spread of the disease.
- Powdery mildew: A fungal disease that appears as a white, powdery coating on the leaves of cress salad. It is more common in dry and humid conditions. To control powdery mildew, ensure proper air circulation, avoid overhead watering, and apply fungicides if necessary.
By being vigilant and taking preventative measures, you can minimize the impact of pests and diseases on your cress salad plants. Regularly inspect your plants for any signs of damage or infection, and take appropriate actions to protect your crop.
Culinary Uses and Benefits
Cress is a versatile leafy vegetable that adds a unique flavor and texture to a variety of dishes. Here are some culinary uses and benefits of cress:
1. Salads:
- Cress can be used as a key ingredient in salads, providing a peppery and tangy flavor.
- Its tender, crisp leaves make it a great addition to mixed green salads or as a garnish.
- You can mix cress with lettuce, spinach, or arugula for a refreshing and nutritious salad.
2. Sandwiches and Wraps:
- Add cress to sandwiches and wraps to enhance the taste and provide a crunchy texture.
- It pairs well with various fillings, such as chicken, turkey, or smoked salmon.
- The peppery flavor of cress can balance out the richness of other ingredients.
3. Soups and Stews:
- Cook cress leaves in soups and stews to infuse them with a mild, piquant taste.
- It works well in vegetable soups, lentil soups, and creamy potato soups.
- Cress can be added toward the end of the cooking process to retain its vibrant green color and fresh flavor.
4. Stir-Fries and Sauteed Dishes:
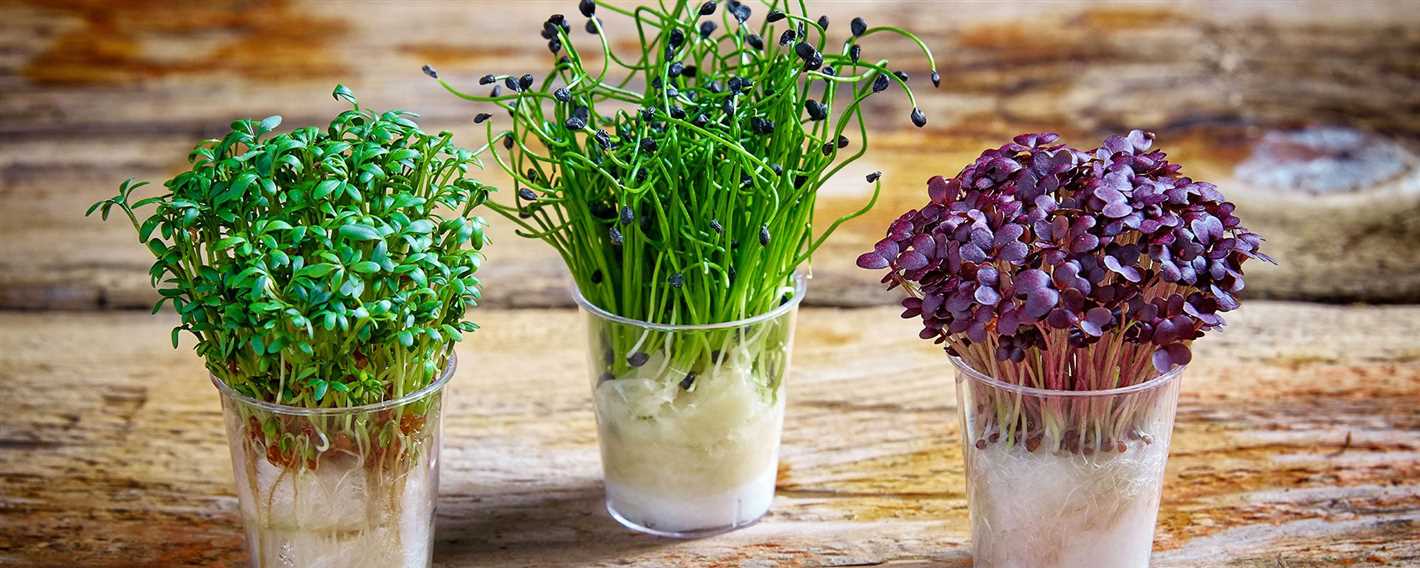
- Toss cress into stir-fries or saute it with other greens for a quick and healthy side dish.
- Its peppery flavor can complement the savory flavors of garlic, ginger, and soy sauce.
- Cress cooks quickly, so add it toward the end to prevent wilting.
5. Nutritional Benefits:
Aside from its culinary uses, cress offers several health benefits:
- Cress is an excellent source of vitamins A, C, and K, as well as folate, calcium, and iron.
- It is low in calories and rich in antioxidants that can support a healthy immune system.
- The peppery taste of cress comes from compounds that may have anti-inflammatory and cancer-fighting properties.
- By including cress in your diet, you can boost your intake of essential nutrients and add variety to your meals.
“Question-Answer”
What is cress salad?
Cress salad refers to a type of salad made with cress, which is a leafy green vegetable that has a peppery taste. It is often used as a garnish or added to salads for extra flavor.
How do I grow cress in my vegetable garden?
To grow cress in your vegetable garden, you will need to prepare the soil by loosening it and removing any weeds. Then, you can sow the cress seeds directly into the soil, covering them lightly with a thin layer of soil. Water the seeds regularly and provide them with enough sunlight. The cress should start to sprout within a few days and can be harvested when the leaves are fully grown.
Can I grow cress at home without a garden?
Yes, you can easily grow cress at home without a garden. Cress can be grown in pots or containers, as long as you provide them with enough sunlight. You can use a potting mix or even paper towel to grow the cress seeds. Simply sprinkle the seeds on the surface, lightly press them into the soil, and water them regularly. Within a few days, the cress should start to sprout and can be harvested when the leaves are fully grown.
How long does it take for cress to grow?
Cress has a quick germination and growth period. It typically takes about 5 to 7 days for cress seeds to sprout, and the leaves will be fully grown within 2 to 3 weeks. You can start harvesting the cress when the leaves have reached the desired size.
What are some tips for growing cress?
Some tips for growing cress include keeping the soil consistently moist but not waterlogged, providing enough sunlight for the plants, and avoiding overcrowding. It is also important to harvest the cress regularly to encourage new growth and prevent the plants from going to seed. Additionally, you can consider using organic fertilizers or compost to enrich the soil and promote healthy growth.


