- Choosing the Right Varieties
- 1. Size
- 2. Color
- 3. Maturity Time
- 4. Purpose
- 5. Disease Resistance
- 6. Climate Adaptability
- Preparing the Soil for Turnip Seeds
- 1. Choose a well-draining location
- 2. Clear the area
- 3. Loosen the soil
- 4. Amend the soil
- 5. Add organic matter
- 6. Level the soil
- 7. Consider a cover crop
- Sowing Turnip Seeds
- 1. Choosing the Right Time
- 2. Preparing the Soil
- 3. Sowing the Seeds
- 4. Watering and Care
- 5. Harvesting
- Caring for Turnip Seedlings
- 1. Watering
- 2. Thinning
- 3. Fertilizing
- 4. Protecting from pests
- 5. Mulching
- 6. Pruning and maintenance
- Thinning Turnip Plants
- Watering and Fertilizing Turnips
- Watering
- Fertilizing
- Managing Pests and Diseases
- Harvesting and Storing Turnips
- Harvesting:
- Storing:
- “Question-Answer”
- What are some different varieties of turnips that I can grow from seeds?
- Can I grow turnips from seeds in any type of soil?
- How deep should I plant turnip seeds?
- Do turnips require a lot of sunlight to grow?
- How often should I water turnip plants?
- When can I harvest turnips that I’ve grown from seeds?
- “Video” 5 Fast Growing Veggies You Can Harvest in Under 1 Month
If you’re looking to grow your own delicious turnips in your vegetable garden, you’ve come to the right place. In this comprehensive guide, we will walk you through everything you need to know about growing turnips from seeds.
Turnips are a versatile and nutritious root vegetable that are easy to grow from seeds. They come in a variety of sizes, shapes, and colors, making them a great addition to any garden. Whether you’re a seasoned gardener or just starting out, growing turnips can be a rewarding experience.
Choosing the right turnip variety is an important first step. Some popular varieties include Purple Top, Tokyo Cross, and White Globe. Each variety has its own unique flavor and characteristics, so it’s worth experimenting to find your favorite.
Once you have selected your turnip seeds, it’s time to prepare your garden bed. Turnips thrive in well-drained soil that has been enriched with compost or organic matter. They prefer full sun but can tolerate partial shade. You can sow turnip seeds directly into the garden bed, about half an inch deep and one inch apart. Keep the soil consistently moist until the seeds germinate.
As your turnips grow, you can thin them out to allow for proper spacing. This will ensure that each turnip has enough room to develop fully. Regular watering and occasional fertilization will help your turnips reach their full potential.
Harvesting your turnips is a simple process. Depending on the variety, turnips can be harvested when they are about the size of a tennis ball or larger. Gently pull them out of the ground, taking care not to damage the roots. Use a sharp knife to remove the greens, leaving about an inch of stem attached to the turnip. Store your harvested turnips in a cool, dark place.
With a little time and effort, you can enjoy a bountiful harvest of turnips from your vegetable garden. Whether you plan to use them in soups, salads, or roasted dishes, homegrown turnips are sure to enhance any meal.
Remember, growing turnips from seeds is a rewarding and enjoyable experience. With the right variety selection and proper care, you can have a successful turnip harvest in your own backyard.
Choosing the Right Varieties
When it comes to growing turnips from seeds in your vegetable garden, choosing the right varieties is an important decision. There are many different types of turnips, each with their own unique characteristics and flavors. Here are some factors to consider when selecting turnip varieties:
1. Size
Turnips come in a variety of sizes, ranging from small golf ball-sized roots to large, bulbous varieties. The size of the turnip you choose will depend on your personal preference and intended use. Smaller varieties tend to be more tender and sweet, while larger turnips can be more robust and earthy in flavor.
2. Color
While most people associate turnips with the traditional white variety, there are actually several different colors to choose from. In addition to white turnips, you can also find yellow, purple, and even red varieties. Each color has its own unique flavor profile and can add visual interest to your garden and meals.
3. Maturity Time
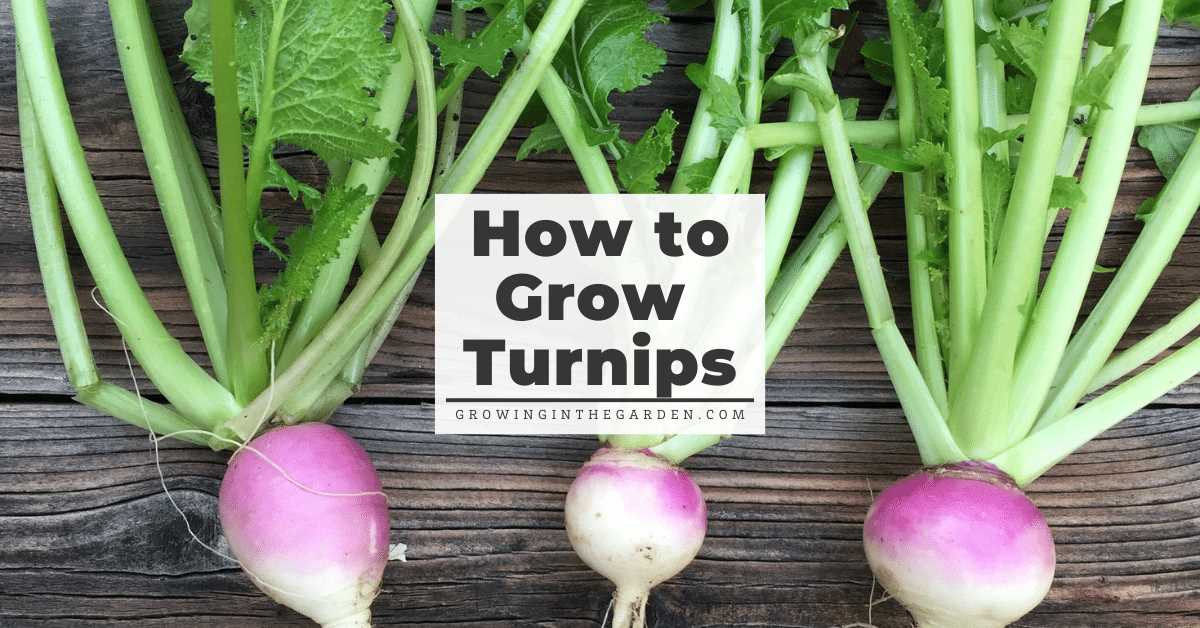
Turnips can have varying maturity times, with some varieties ready to harvest in as little as 30 days from sowing, while others may take up to 60 days or longer. Consider how quickly you want to harvest your turnips and choose a variety that matches your desired timeline.
4. Purpose
Are you planning to eat your turnips raw in salads, pickle them, or cook them in soups and stews? Different turnip varieties have different textures and flavors that make them better suited for specific purposes. For example, tender baby turnips are great for eating raw, while larger, more robust turnips are better for cooking.
5. Disease Resistance
Some turnip varieties are bred to be more resistant to common diseases and pests, while others may be more susceptible. If you live in an area with known issues, such as clubroot or root maggots, choosing a disease-resistant variety can help ensure the success of your turnip crop.
6. Climate Adaptability
Consider your local climate and growing conditions when selecting turnip varieties. Some turnips are more cold tolerant and can be grown in cooler climates and planted as a fall or early spring crop, while others prefer warmer temperatures and are better suited for summer or late spring planting.
By considering these factors, you can choose the right turnip varieties that will thrive in your vegetable garden and meet your specific needs and preferences.
Preparing the Soil for Turnip Seeds
Before planting turnip seeds in your vegetable garden, it is important to prepare the soil to provide the best conditions for seed germination and plant growth. Here are some steps to follow for preparing the soil:
1. Choose a well-draining location
Turnips thrive in well-draining soil, so choose a location in your garden that doesn’t hold water. Avoid low-lying areas that may become waterlogged, as this can lead to root rot or other diseases.
2. Clear the area
Remove any weeds or debris from the area where you plan to plant your turnip seeds. Weeds can compete with the turnip plants for nutrients and water, so it’s important to ensure a clean planting area.
3. Loosen the soil
Using a garden fork or shovel, loosen the soil in the planting area to a depth of about 8-10 inches. This will help the turnip roots grow easily and prevent compacted soil.
4. Amend the soil
Turnips prefer slightly acidic soil with a pH between 5.8 and 6.5. Conduct a soil test to determine the pH of your soil and amend it accordingly. If the pH is too high, you can add sulfur or composted pine needles to lower it. If the pH is too low, you can add lime or wood ash to raise it.
5. Add organic matter
Mix in well-rotted compost or aged manure into the soil to improve its fertility and structure. Organic matter helps retain moisture and provides nutrients for the turnip plants.
6. Level the soil
Rake the soil to level it out and create a smooth surface for planting. This will help ensure an even distribution of water and nutrients to the turnip seeds.
7. Consider a cover crop
If your soil is lacking in nutrients or organic matter, consider planting a cover crop like clover or vetch in the fall before planting turnip seeds. These cover crops will add organic matter to the soil and improve its fertility.
By following these steps to prepare the soil for turnip seeds, you will create optimal growing conditions for your turnip plants and increase your chances of a successful harvest.
Sowing Turnip Seeds
When it comes to sowing turnip seeds, there are a few important factors to consider. Here are some tips to help you get started:
1. Choosing the Right Time
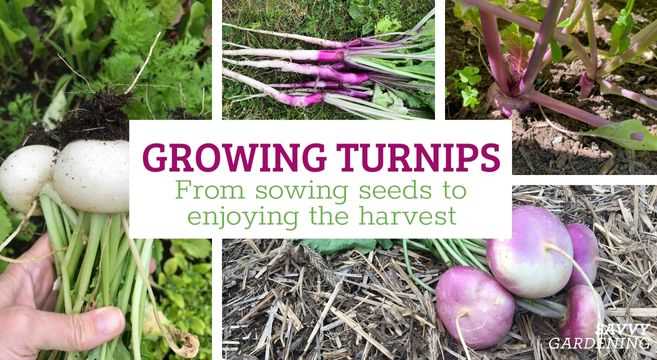
Turnips are a cool-season crop, so it’s important to sow the seeds at the right time. The best time to plant turnip seeds is in early spring or fall, as they prefer cooler temperatures. Avoid sowing them in the heat of summer, as this can cause the plants to bolt and become bitter.
2. Preparing the Soil
Turnips prefer well-drained soil that is rich in organic matter. Before sowing the seeds, make sure to prepare the soil by removing any weeds and loosening it with a garden fork. Add compost or aged manure to improve the soil’s fertility.
3. Sowing the Seeds
When sowing turnip seeds, it’s best to do so directly in the garden as they do not transplant well. Follow these steps:
- Make furrows in the prepared soil, with a depth of about 1/2 inch.
- Space the furrows about 6 to 12 inches apart, depending on the variety of turnip you’re planting.
- Sow the seeds thinly along the furrows, aiming for a spacing of about 1 inch between seeds.
- Cover the seeds with a thin layer of soil and gently firm it down.
4. Watering and Care
After sowing the seeds, it’s important to keep the soil consistently moist to ensure germination. Water the area lightly using a gentle spray or a watering can. Avoid overwatering, as this can lead to rotting of the seeds.
Once the turnip seedlings emerge, thin them out to provide enough space for each plant to grow. This will help prevent overcrowding and competition for resources. When the seedlings are about 2 inches tall, thin them to a spacing of 3 to 6 inches apart.
5. Harvesting
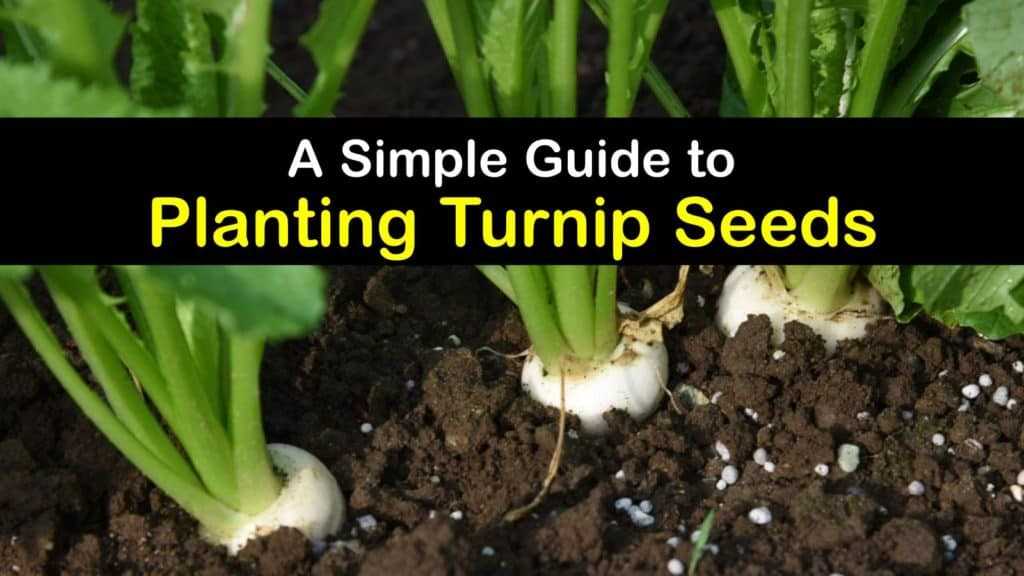
Depending on the variety, turnips can be harvested in as little as 30 days for baby turnips, or up to several months for larger turnips. Harvest them when the roots are about 2 to 3 inches in diameter, before they become woody and tough.
Remember to enjoy the fresh taste of your homegrown turnips and experiment with different recipes to fully appreciate their flavor!
| Variety | Description |
|---|---|
| Purple Top White Globe | A popular variety with purple tops and white bottoms. It has a mild flavor and is great for both fresh eating and cooking. |
| Hakurei | A Japanese variety known for its tender and sweet roots. It has a creamy white color and is often eaten raw in salads. |
| Scarlet Queen | This variety has beautiful red skin and crisp white flesh. It has a sweet and slightly spicy flavor. |
Caring for Turnip Seedlings
After germination, turnip seedlings require careful attention and care to ensure their healthy growth. Here are a few tips for caring for your turnip seedlings:
1. Watering
Turnip seedlings need consistent moisture to thrive. Water them regularly, keeping the soil evenly moist but not waterlogged. Avoid overwatering, as it can lead to root rot.
2. Thinning
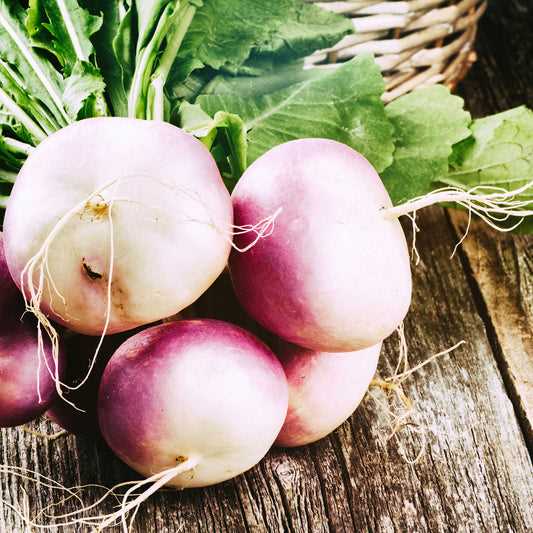
Once the seedlings have grown a few leaves, thin them out to provide enough space for the remaining plants to grow. The ideal spacing between turnip seedlings is about 4-6 inches apart.
3. Fertilizing
Turnip seedlings can benefit from a balanced fertilizer application. Apply a slow-release fertilizer according to the package instructions, or use organic options such as compost or well-rotted manure. Be careful not to over-fertilize, as it can cause excessive leaf growth at the expense of bulb formation.
4. Protecting from pests
Keep an eye out for common pests that may attack turnip seedlings, such as flea beetles or cabbage worms. Use row covers or physical barriers to protect the plants until they are more mature. If necessary, employ organic pest control methods to minimize damage.
5. Mulching
Applying a layer of organic mulch around the turnip seedlings can help retain moisture, suppress weed growth, and regulate soil temperature. Use straw, wood chips, or other suitable materials for mulching, making sure to keep it away from the base of the seedlings to avoid rot.
6. Pruning and maintenance
Remove any yellowing or damaged leaves from the turnip seedlings to promote healthy growth. Keep the area around the plants free from weeds and regularly monitor for any signs of disease or nutrient deficiencies.
By following these care tips, you can ensure that your turnip seedlings develop into healthy, productive plants that will yield a bountiful harvest.
Thinning Turnip Plants
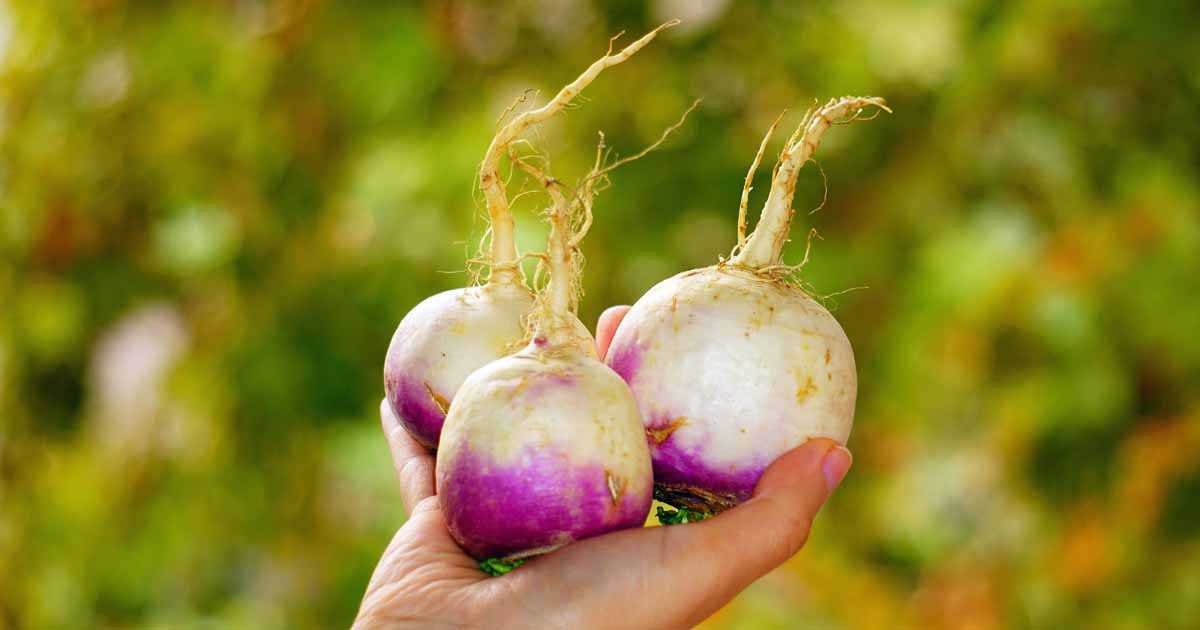
Thinning turnip plants is an important step in ensuring the healthy growth of your turnip crop. It involves removing excess plants to create the ideal spacing between the remaining plants. Thinning is typically done a few weeks after germination, when the plants have developed their first true leaves.
Why Should You Thin Turnip Plants?
Thinning is necessary to give the remaining plants enough space to grow and develop properly. If turnip plants are not thinned, they can become overcrowded, leading to stunted growth and competition for nutrients and sunlight. Thinning also helps to prevent diseases and allows for better air circulation, reducing the risk of mold and rot.
How to Thin Turnip Plants
- Choose the strongest plants: Look for plants that have healthy growth and vibrant foliage. These are the plants that are most likely to produce a good harvest.
- Identify the appropriate spacing: Check the seed packet or plant label to determine the recommended spacing for your turnip plants. This will vary depending on the variety of turnip you are growing.
- Carefully remove excess plants: Gently pull out the excess plants, being careful not to disturb the roots of the remaining plants. You can also use scissors to cut the plants at ground level.
- Space out the remaining plants: Once you have removed the excess plants, ensure that there is enough space between the remaining plants to allow for their full growth. Make sure they are at the recommended distance from each other.
What to Do with Thinned Turnip Plants?
Don’t let the thinned turnip plants go to waste! They can still be used in various ways:
- Transplant them: If the thinned plants are healthy, you can transplant them to another area of your garden or give them to friends or neighbors.
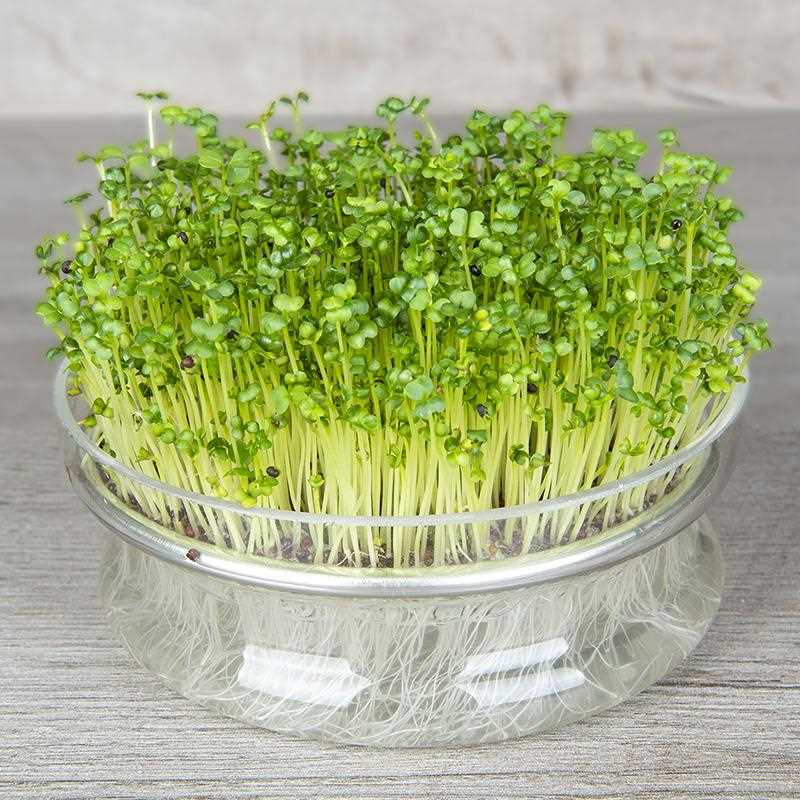
- Use them for microgreens: Thinned turnip plants can be harvested at the baby greens stage and used as microgreens. These tender greens are flavorful and can be added to salads and sandwiches.
- Compost them: If you don’t have any use for the thinned plants, you can simply add them to your compost pile. They will break down and contribute to the organic matter in your compost.
Tips for Thinning Turnip Plants
- Thinning is easiest when the soil is slightly moist. If the soil is dry, water it lightly before thinning.
- Be gentle when removing the excess plants to avoid damaging the roots of the remaining plants.
- Thinning should be done in the early morning or late afternoon when the temperatures are cooler, to minimize stress on the plants.
- If you are unsure about how many plants to thin, start with removing a few and observe the remaining plants for a few days. If they seem to be thriving, you can thin more if needed.
- Regularly monitor the remaining turnip plants after thinning to ensure they continue to grow healthily.
Thinning turnip plants may seem like a daunting task, but it is an important step in ensuring a bumper crop of delicious turnips. By providing adequate space for each plant to grow and thrive, you are setting the stage for a successful harvest.
Watering and Fertilizing Turnips
Proper watering and fertilizing are essential for the healthy and vigorous growth of turnips. Here are some tips to help you ensure that your turnip plants receive adequate moisture and nutrients:
Watering
- Turnips need a consistent supply of water to thrive, especially during dry spells. Aim to provide about 1 inch of water per week, either through rainfall or irrigation.
- Water deeply and infrequently to encourage deep root growth. Shallow watering can result in shallow roots and weak plants.
- Consider using drip irrigation or a soaker hose to deliver water directly to the soil around the plants. This helps prevent wetting the foliage, which can lead to disease.
- Monitor the soil moisture regularly by sticking your finger into the soil up to your knuckle. If it feels dry at that depth, it’s time to water.
- Water in the early morning or late evening to reduce evaporation and allow the plants to dry before nightfall, which can minimize disease problems.
Fertilizing
- Turnips are not heavy feeders, but they still benefit from a nutrient-rich soil. Before planting, incorporate well-rotted compost or aged manure into the soil to improve its fertility.
- It’s a good idea to have your soil tested to determine its nutrient content and pH level. Based on the results, you can adjust the fertilizer application accordingly.
- An even balance of nitrogen, phosphorus, and potassium is important for turnip growth. A general-purpose fertilizer with an NPK ratio of 10-10-10 or 14-14-14 can be applied at planting time, following the instructions on the package.
- Avoid excessive nitrogen fertilization, as it can promote lush foliage growth at the expense of root development.
- Side-dress the turnips with a nitrogen-rich fertilizer, such as blood meal or fish emulsion, when they reach the half-grown stage. Apply according to the package instructions.
- Always water the plants after fertilizing to help the nutrients reach the roots.
By providing adequate water and nutrients, you can ensure that your turnips will grow well and produce a bountiful harvest. Remember to monitor the plants regularly and make adjustments as needed.
Managing Pests and Diseases
- Pests: Turnips can be affected by various pests, including flea beetles, root maggots, aphids, and caterpillars. Regularly inspect your plants for signs of pest infestation.
- Flea beetles: These small, jumping insects can cause significant damage to turnip leaves by creating numerous tiny holes. To control flea beetles, you can use floating row covers or apply organic insecticides approved for use on edible plants.
- Root maggots: These pests can damage the roots of turnip plants, leading to stunted growth and poor yield. To prevent root maggot infestation, you can use floating row covers or apply beneficial nematodes to the soil.
- Aphids: These tiny insects can suck sap from turnip leaves, causing them to wilt and become distorted. To control aphids, you can spray the plants with a strong jet of water or use insecticidal soap.
- Caterpillars: Certain caterpillar species, such as the cabbage worm, can feed on turnip leaves and cause significant damage. You can manually remove caterpillars from the plants or use organic insecticides specifically formulated for caterpillar control.
- Diseases: Turnip plants can be susceptible to various diseases, including clubroot, powdery mildew, and downy mildew. Proper management can help prevent and control these diseases.
- Clubroot: This fungal disease can cause swollen and deformed roots, leading to stunted growth and reduced yield. To prevent clubroot, practice crop rotation and avoid planting turnips in areas where cruciferous crops have been grown in the past.
- Powdery mildew: This fungal disease appears as a white powdery coating on the leaves of turnip plants. To manage powdery mildew, ensure good air circulation around the plants, avoid overhead watering, and apply fungicides if necessary.
- Downy mildew: This fungal disease can cause yellow or brown patches on turnip leaves, eventually leading to their death. To control downy mildew, remove infected plants, practice crop rotation, and apply appropriate fungicides.
By regularly monitoring your turnip plants and implementing proper pest and disease management strategies, you can help ensure a healthy and productive crop.
Harvesting and Storing Turnips
Harvesting turnips is an exciting part of growing these versatile root vegetables. Here are some tips on when and how to harvest and store turnips:
Harvesting:
- Turnips are typically ready to be harvested around 35-60 days after sowing, depending on the variety.
- Inspect the turnip tops to determine their size and if they have reached maturity. Mature turnips will have a bulbous root that is firm and smooth.
- To harvest turnips, gently loosen the soil around the base of the plant using a garden fork or trowel.
- Grasp the turnip tops and pull them gently from the ground, taking care not to damage the roots.
- Remove any excess soil from the roots, but avoid washing the turnips as moisture can promote rotting during storage.
Storing:
- Trim off the greens, leaving about 1 inch of stem attached to the turnip. This helps to prevent moisture loss and prolongs their shelf life.
- Store turnips in a cool, dark place with a temperature range of 32-40°F (0-4°C). A root cellar, basement, or refrigerator are all suitable storage locations.
- Place turnips in a container, such as a mesh bag or a ventilated plastic bag, to allow air circulation.
- Check the stored turnips regularly and remove any that show signs of rotting or decay to prevent the spread of spoilage.
- When stored properly, turnips can last for several weeks to a couple of months.
By following these guidelines, you can enjoy freshly harvested turnips well into the winter months.
“Question-Answer”
What are some different varieties of turnips that I can grow from seeds?
There are several different varieties of turnips that you can grow from seeds, including Purple Top White Globe, Tokyo Cross, Golden Ball, Scarlet Queen, and Seven Top.
Can I grow turnips from seeds in any type of soil?
While turnips can tolerate a range of soil types, they prefer well-drained, loamy soil. It’s important to prepare the soil before planting by adding organic matter, such as compost, to improve its texture and fertility.
How deep should I plant turnip seeds?
Turnip seeds should be planted about 1/4 to 1/2 inch deep in the soil. It’s important to space the seeds about 2-4 inches apart to allow enough room for the plants to grow.
Do turnips require a lot of sunlight to grow?
Turnips prefer full sunlight, but they can tolerate partial shade. However, to ensure optimal growth and yield, it’s best to plant them in a location that receives at least 6-8 hours of direct sunlight per day.
How often should I water turnip plants?
Turnip plants require regular watering, especially during dry spells. It’s important to keep the soil consistently moist but not soggy. Aim to water them about 1-2 inches per week, depending on weather conditions.
When can I harvest turnips that I’ve grown from seeds?
Turnips can typically be harvested 35-60 days after planting, depending on the variety. The roots should be firm and about 2-3 inches in diameter for optimal flavor and texture. Don’t wait too long to harvest, as turnips can become woody and bitter if left in the ground for too long.


