- Choosing the right onion variety for indoor gardening
- Consider these factors when choosing your onion variety:
- Popular onion varieties for indoor gardening:
- Preparing the containers and soil for indoor onion growth
- 1. Choosing the right containers
- 2. Selecting the appropriate soil
- Soilless Mix:
- Soil-Based Mix:
- 3. Preparing the containers and soil
- 4. Watering the soil
- Planting onion seeds for soilless indoor cultivation
- Materials needed:
- Step 1: Prepare the seed tray
- Step 2: Plant the onion seeds
- Step 3: Provide the right conditions
- Step 4: Care for seedlings
- Step 5: Transplanting and harvesting
- Providing the ideal conditions for onion growth indoors
- Watering and fertilizing onion feathers in a soilless setup
- Watering:
- Fertilizing:
- Pruning and harvesting onion greens in a soilless setup
- Planting onion bulbs for indoor cultivation in soil
- Caring for onion bulbs and harvesting onion feathers in a soil setup
- 1. Watering
- 2. Fertilizing
- 3. Pruning
- 4. Thinning
- 5. Harvesting onion feathers
- 6. Harvesting mature bulbs
- “Question-Answer”
- What are the benefits of growing onion feathers indoors?
- What are the different methods of growing onion feathers indoors?
- What are the necessary conditions for growing onion feathers indoors?
- Can I use onion sets or onion seeds for growing onion feathers indoors?
- How long does it take to grow onion feathers indoors?
- “Video” Onion 101: A Beginner’s Guide to Growing Onions and Spring Onions from Seed for Large Harvests
Are you a fan of fresh herbs and vegetables but lack the outdoor space to grow them? Look no further! In this article, we will guide you through the process of growing onion feathers indoors, both with and without soil. Whether you have a sunny windowsill or a small balcony, you can enjoy the satisfaction of harvesting your own flavorful onion greens.
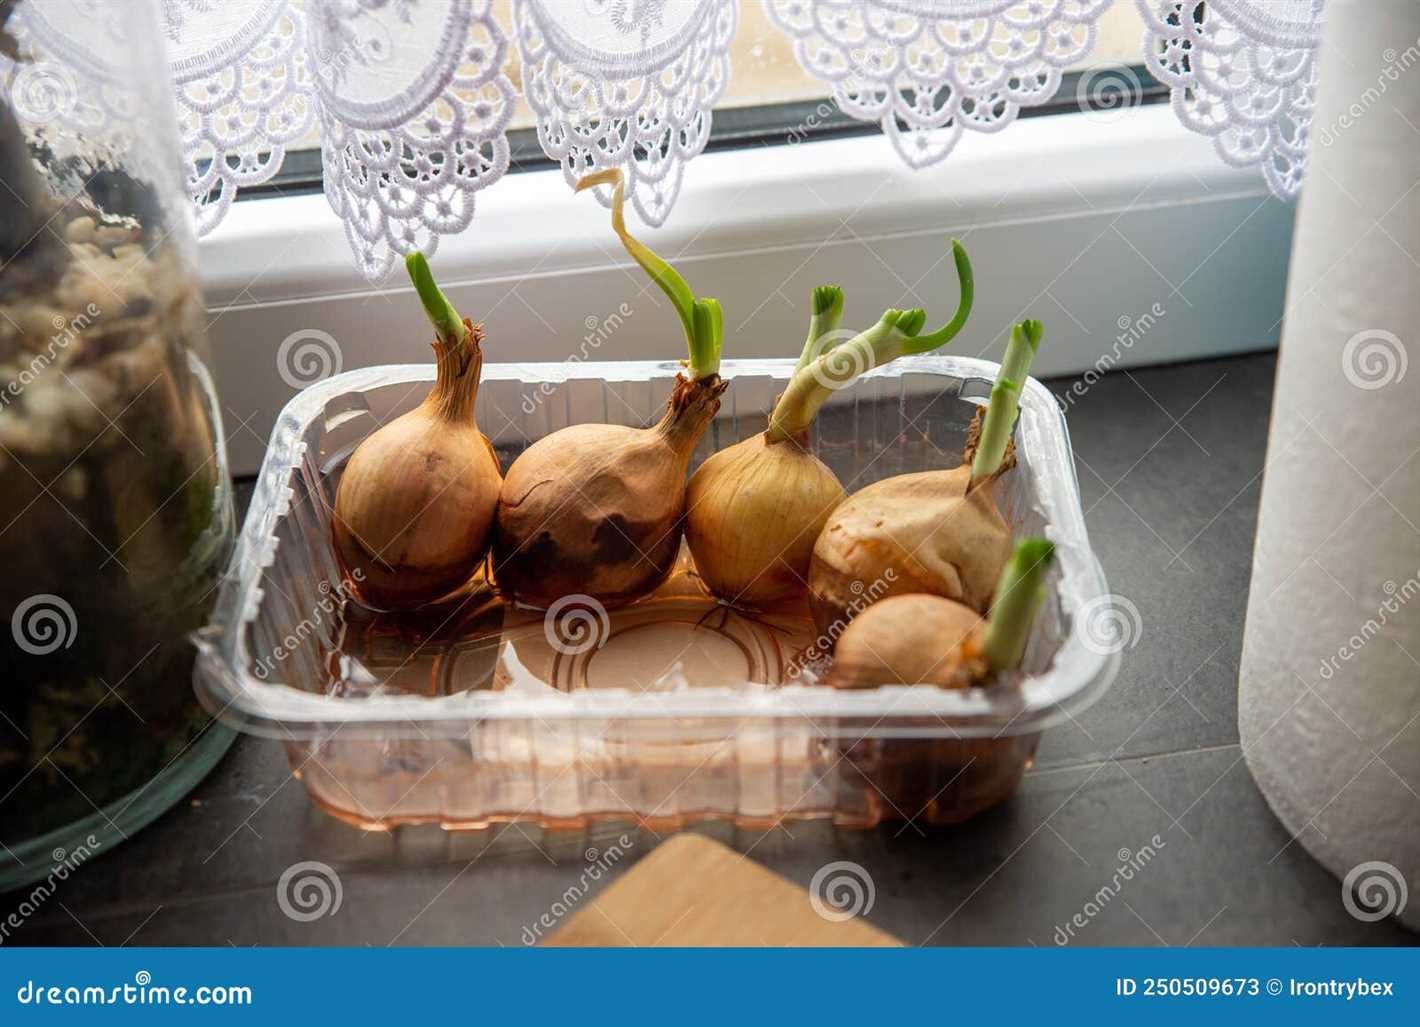
First, let’s explore growing onion feathers soilless. This method is ideal for those who prefer a cleaner and more controlled environment. To get started, you will need onion sets or bulbs, a container with drainage holes, and a growing medium such as peat moss or perlite. Fill the container with the growing medium, leaving about an inch of space at the top.
Next, plant the onion sets or bulbs about an inch apart, making sure that the pointed end is facing up. Gently press them into the growing medium, making sure they are secure. Place the container in a sunny spot, preferably near a window, where the onion feathers will receive at least six hours of sunlight per day.
Choosing the right onion variety for indoor gardening
When it comes to growing onions indoors, selecting the right variety is crucial for a successful harvest. Certain onion varieties are more suitable for indoor gardening due to their growth habits and adaptability to growing in containers.
Consider these factors when choosing your onion variety:
- Size: Determine the size of onions you prefer. Some varieties produce smaller bulbs, while others grow larger.
- Day length: Onions can be categorized as short-day, long-day, or intermediate-day varieties. Short-day onions require less daylight to bulb, making them suitable for indoor gardening. Long-day onions need more daylight and are better suited for outdoor growing. Intermediate-day onions fall between the two.
- Growth habit: Pay attention to the growth habit of the onion variety. Some onions, known as bunching onions or scallions, do not form bulbs and are harvested as green onions. Other varieties develop bulbs and are harvested as mature onions.
- Indoor space limitations: Consider the available space in your indoor garden. If you have limited space, choose a compact variety that doesn’t require a large pot or grow vertically.
- Flavor: Different onion varieties have distinct flavors. Some are milder and sweeter, while others are stronger and more pungent. Select a variety that suits your taste preferences.
Popular onion varieties for indoor gardening:
| Variety | Size | Day length | Growth Habit | Flavor |
|---|---|---|---|---|
| White Lisbon | Small | Short-day | Bunching onion | Mild |
| Red Baron | Medium | Intermediate-day | Bulbing onion | Strong |
| Ailsa Craig | Large | Long-day | Bulbing onion | Sweet |
These are just a few examples of onion varieties that can thrive in indoor gardening setups. Remember to consider your specific growing conditions and preferences when making your selection. With the right onion variety, you’ll be well on your way to cultivating a bountiful harvest of delicious onions right in your own home.
Preparing the containers and soil for indoor onion growth
Before you start growing onion feathers indoors, it is important to prepare the containers and soil properly to provide the best environment for the onion bulbs to grow and thrive. Here are the steps to follow:
1. Choosing the right containers
When selecting containers for indoor onion growth, opt for ones that are deep enough to accommodate the root systems of the onion bulbs. Consider using containers that are at least 6 inches deep and have adequate drainage holes at the bottom to prevent waterlogging.
2. Selecting the appropriate soil
Selecting the right soil is crucial for the success of your indoor onion growing project. You have two options: soilless or soil-based mix.
Soilless Mix:
A soilless mix provides excellent drainage and prevents the onion bulbs from becoming waterlogged. You can prepare a soilless mix by combining equal parts of peat moss, perlite, and vermiculite.
Soil-Based Mix:

If you prefer using a soil-based mix, choose a well-draining potting mix with a good nutrient content. Mixing equal parts of garden soil, compost, and sand can create a suitable soil-based mix for your indoor onion plants.
3. Preparing the containers and soil

- Clean the containers thoroughly with soap and water to remove any dirt or contaminants.
- Add a layer of drainage material, such as small rocks or broken pottery, at the bottom of the containers to ensure proper water drainage.
- Fill the containers with the chosen soil mix, leaving about an inch of space below the rim to prevent the soil from overflowing when watering.
- Level the soil surface and gently press it down to create a firm planting surface.
4. Watering the soil
Before planting the onion bulbs, moisten the soil evenly by gently watering it. Ensure that the excess water can flow out through the drainage holes to prevent waterlogging.
Follow these steps to prepare the containers and soil for indoor onion growth, and you will be on your way to being a successful indoor onion gardener!
Planting onion seeds for soilless indoor cultivation
Growing onions indoors without soil is a great way to have fresh, flavorful onion feathers year-round. Follow these steps to successfully plant onion seeds for soilless indoor cultivation.
Materials needed:
- Onion seeds
- Seed tray or container with holes for drainage
- Seed starting mix or hydroponic medium
- Water
- Grow lights or sunny window
- Misting bottle
Step 1: Prepare the seed tray
- Choose a seed tray or container that has drainage holes.
- Add seed starting mix or hydroponic medium that is suitable for onion growth.
- Moisten the mix with water, making sure it is evenly damp but not soaking wet.
Step 2: Plant the onion seeds
- Sow the onion seeds evenly across the surface of the seed tray, following the recommended spacing on the seed packet.
- Press the seeds gently into the soil or hydroponic medium, ensuring good seed-to-medium contact.
- Cover the seeds with a thin layer of the seed starting mix or hydroponic medium.
Step 3: Provide the right conditions
- Place the seed tray in a warm location where it will receive adequate light.
- If using grow lights, position them according to the manufacturer’s instructions and keep them on for 12-14 hours per day.
- Monitor the moisture level of the seed tray and mist the surface with water when it begins to dry out.
Step 4: Care for seedlings
- As the onion seeds germinate and seedlings emerge, continue to provide adequate light and mist the surface as needed.
- Thin out the seedlings if they become overcrowded, allowing only the strongest to grow.
Step 5: Transplanting and harvesting
- Once the onion seedlings have developed a few leaves and are strong enough, they can be transplanted into larger containers or the garden.
- Harvest the onion feathers when they have reached the desired size, cutting them close to the base.
By following these steps, you can successfully plant onion seeds for soilless indoor cultivation and enjoy a fresh supply of onion feathers throughout the year.
Providing the ideal conditions for onion growth indoors
When growing onions indoors, it is important to create the ideal conditions for their growth. By providing the right environment, you can ensure that your onion feathers thrive and produce a plentiful harvest. Here are some key factors to consider:
- Light: Onions require at least 14-16 hours of light per day to grow properly. Place your onion containers near a south-facing window or use grow lights to provide sufficient light.
- Temperature: Onions prefer cool temperatures for optimal growth. Keep the temperature around 60-75°F (15-24°C) during the day and slightly cooler at night.
- Air circulation: Good air circulation is essential to prevent disease and promote healthy growth. Use a fan to keep the air moving around your onion plants.
- Humidity: Onions prefer a humidity level of around 50-70%. If the air in your home is dry, you can increase humidity by placing a tray of water near your onion containers or using a humidifier.
- Watering: Onions need consistent moisture, but they don’t like to be waterlogged. Water your onion containers when the top inch of soil feels dry, and be careful not to overwater.
By providing the ideal conditions for your onion plants, you can ensure that they grow strong and healthy. Remember to monitor their progress regularly and make any necessary adjustments to create the best environment for their growth.
Watering and fertilizing onion feathers in a soilless setup
Watering and fertilizing are essential for the growth and development of onion feathers in a soilless setup. Here are some key tips to ensure proper watering and fertilization:
Watering:

- Ensure the onion feathers receive adequate moisture by regularly watering them. Check the moisture level in the growing medium with a moisture meter or by inserting your finger into the medium. If it feels dry, it’s time to water.
- Use a watering can or a spray bottle to gently water the onion feathers. Avoid overwatering, as it can lead to root rot and other problems. Aim to keep the growing medium evenly moist, but not waterlogged.
- Water the onion feathers from the base to prevent the foliage from getting wet, as this can encourage disease and fungal growth. Watering from the bottom also allows the roots to take up water more efficiently.
Fertilizing:
- Provide onion feathers with a balanced liquid fertilizer specifically formulated for leafy greens or vegetables. Follow the manufacturer’s instructions for dilution and application rates.
- Fertilize the onion feathers every two to three weeks to ensure they receive the necessary nutrients for healthy growth. Over-fertilization can harm the plants, so be cautious not to exceed the recommended dosage.
- Alternatively, you can use organic fertilizers like compost tea or fish emulsion, which are gentle on the plants and provide additional micronutrients.
Remember to monitor the growth and health of the onion feathers regularly. Adjust the watering and fertilization schedule as needed based on the plant’s requirements and the environmental conditions in your indoor setup.
Pruning and harvesting onion greens in a soilless setup
Pruning and harvesting onion greens in a soilless setup is a straightforward process that can be done with minimal effort. Here are the steps to follow:
- Identify mature onion greens: Look for onion greens that have reached a sufficient height and have developed a vibrant green color.
- Gently loosen the roots: Carefully lift the onion plant from the soilless medium, being cautious not to damage the roots.
- Trim the greens: Use a sharp pair of scissors or pruning shears to cut the desired length of the onion greens. It is recommended to leave at least a few inches of the greens intact to allow for regrowth.
- Repeat the process: As the onion plant continues to grow, repeat the pruning and harvesting process whenever the greens have reached the desired length.
It is important to note that onion greens can be harvested multiple times from the same plant, allowing for a continuous supply of fresh greens. However, it is essential to avoid harvesting all the greens at once to ensure the plant can continue to grow and produce more greens.
| Benefits |
|---|
| Space-saving: Growing onion greens in a soilless setup allows you to maximize limited space, making it ideal for indoor gardening. |
| Year-round availability: With a controlled indoor environment, you can grow onion greens consistently throughout the year. |
| No soil maintenance: Soilless setups eliminate the need for regular soil monitoring and maintenance, reducing the risk of pests and diseases. |
| Quick and convenient: Pruning and harvesting onion greens in a soilless setup is a quick and effortless process, allowing you to enjoy fresh greens whenever you need them. |
| Cost-effective: Growing onion greens indoors can save you money on store-bought greens and reduce food waste. |
Overall, pruning and harvesting onion greens in a soilless setup is a rewarding and practical way to enjoy fresh greens throughout the year. Whether you have limited outdoor space or simply want to have a fresh supply of greens at your fingertips, this method is worth trying.
Planting onion bulbs for indoor cultivation in soil
Indoor cultivation of onion bulbs in soil can be a rewarding experience for gardening enthusiasts. Here is a step-by-step guide for planting onion bulbs in soil for indoor cultivation:
- Select the right onion bulb variety: Choose a variety of onion bulb that is suitable for indoor cultivation. Some popular choices include scallions, green onions, and bunching onions.
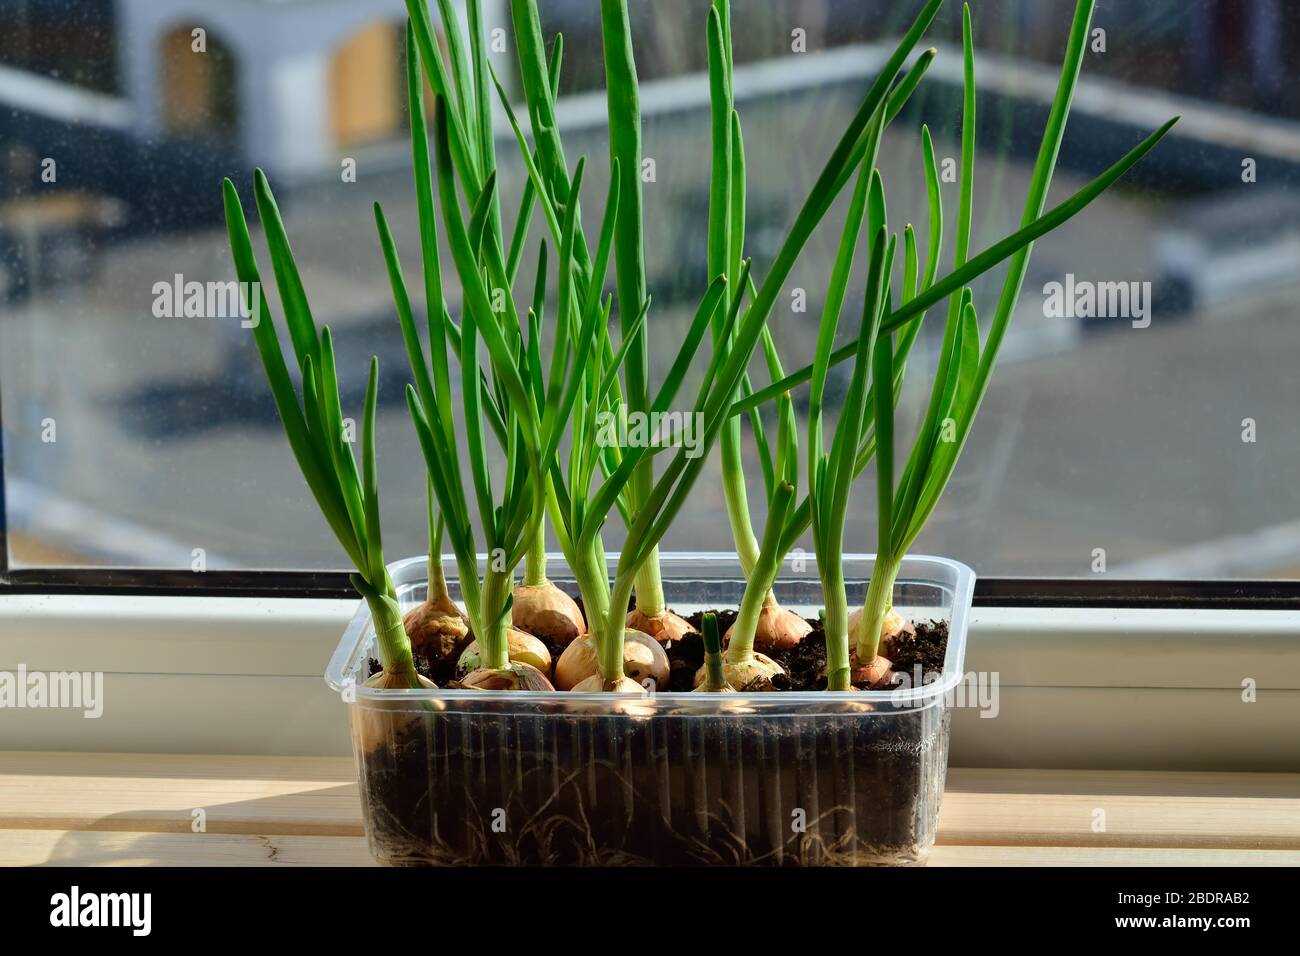
- Prepare the pot and soil: Fill a pot with a well-draining potting mix. Ensure that the pot has drainage holes at the bottom to prevent waterlogging. The soil should be loose and fertile.
- Plant the onion bulbs: Make small holes in the soil, spaced about 1 inch apart. Place the onion bulbs into the holes, with the pointed end facing up. Cover the bulbs with soil, leaving the tips exposed.
- Water the bulbs: After planting, water the bulbs thoroughly until the soil is evenly moist. Avoid overwatering, as this can lead to rotting of the bulbs.
- Provide proper lighting: Onion bulbs require bright, indirect light for proper growth. Place the pot in a location where it receives at least 6-8 hours of sunlight per day. If sunlight is insufficient, consider using artificial grow lights.
- Maintain optimal temperature and humidity: Onion bulbs prefer temperatures between 55-75°F (13-24°C). Ensure that the indoor environment is well-ventilated and maintains a moderate level of humidity.
- Monitor and water regularly: Check the soil moisture regularly and water the bulbs when the top inch of soil feels dry. Avoid letting the soil completely dry out between waterings.
- Fertilize appropriately: Once the onion bulbs start growing, you can fertilize them with a balanced liquid fertilizer. Follow the instructions on the fertilizer package for the correct dosage and frequency.
- Harvesting: Onion bulbs can be harvested when the green leaves have reached the desired size. Gently pull the whole plant out of the soil, or snip off the green leaves as needed.
By following these steps, you can successfully plant onion bulbs in soil for indoor cultivation and enjoy a fresh supply of homegrown onions.
Caring for onion bulbs and harvesting onion feathers in a soil setup
1. Watering
Onion bulbs in a soil setup require regular watering to keep the soil moist but not waterlogged. The soil should be kept evenly moist throughout the growing season. Water the plants deeply but infrequently, allowing the top inch of soil to dry out before watering again. Overwatering can lead to root rot and other diseases, so it’s important to strike the right balance.
2. Fertilizing

Fertilizing onion bulbs helps provide them with the necessary nutrients for healthy growth. Use a balanced fertilizer with equal amounts of nitrogen, phosphorus, and potassium. Apply the fertilizer according to the package instructions, typically every 4-6 weeks. Avoid over-fertilizing, as this can lead to excessive foliage growth at the expense of bulb development.
3. Pruning
Pruning the onion plants can help promote bulb development. As the plants grow, remove any dead or yellowing leaves to improve air circulation and prevent the spread of diseases. Additionally, you can trim the top leaves when they reach a height of 8-10 inches to encourage the formation of larger bulbs.
4. Thinning
Thinning the onion seedlings is crucial to ensure proper bulb development. Once the seedlings are a few inches tall, thin them out to allow sufficient space between each plant. Aim for a spacing of 4-6 inches between the plants to give them room to grow and develop healthy bulbs.
5. Harvesting onion feathers
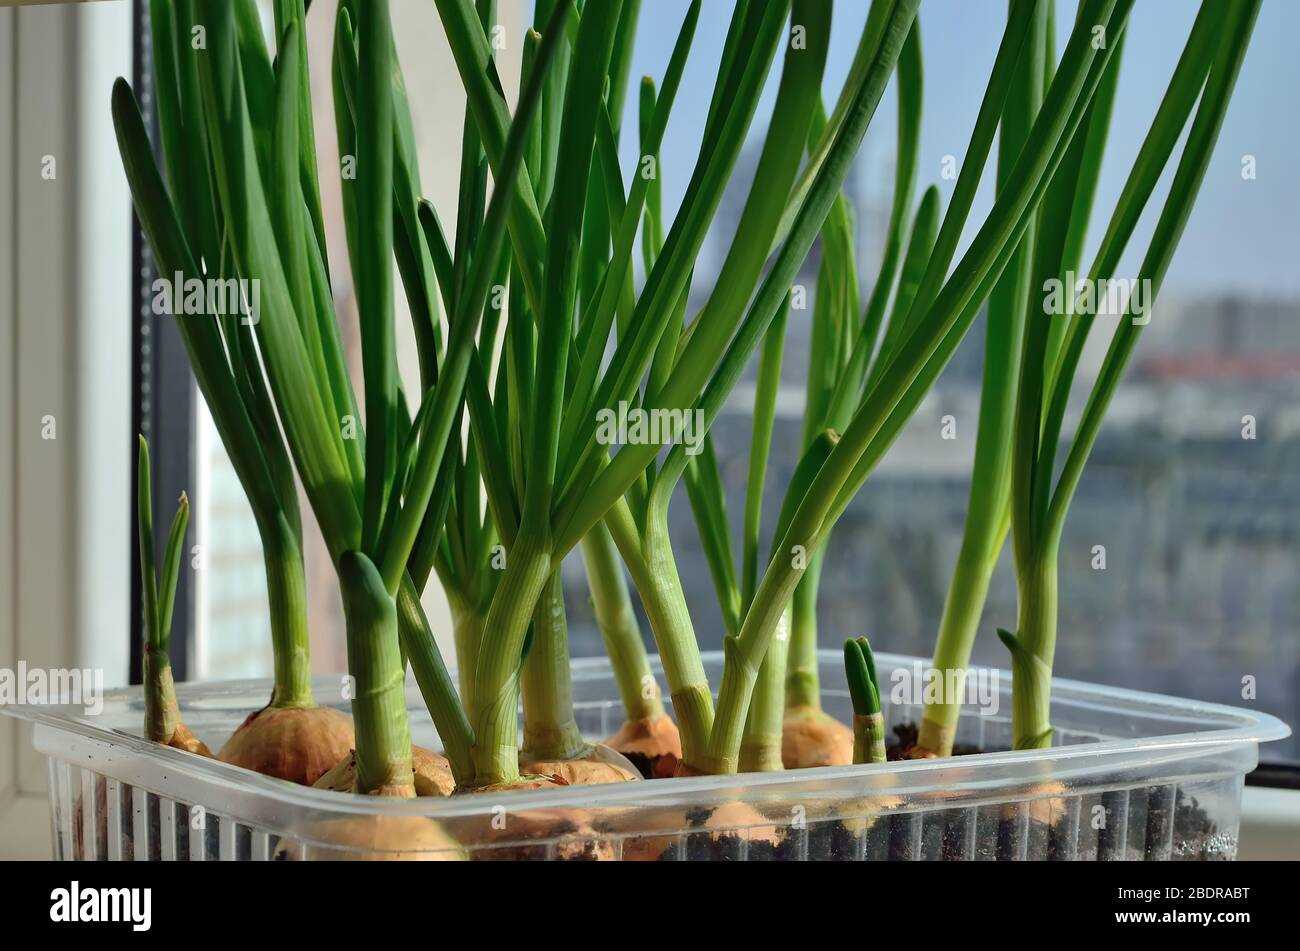
Onion feathers, also known as scallions or green onions, can be harvested at any stage of growth. To harvest, grab the onion at the base and gently pull it out of the soil. Alternatively, you can use a sharp knife or scissors to cut the onion just above the soil surface. Harvesting the green feathers regularly will promote continuous growth and provide you with a fresh supply of flavorful onions.
6. Harvesting mature bulbs

To harvest mature onion bulbs, wait until most of the leaves have turned yellow and fallen over. Gently loosen the soil around the bulb using a garden fork or trowel, being careful not to damage the bulb. Lift the bulb out of the soil and lay it in a sunny, well-ventilated area to dry for a few days. Once the outer skins are dry and papery, you can remove them and store the bulbs in a cool, dry place for long-term storage.
“Question-Answer”
What are the benefits of growing onion feathers indoors?
Growing onion feathers indoors has several benefits. First, it allows you to have fresh and flavorful onions throughout the year, regardless of the season. Second, it saves space in your garden, especially if you have limited outdoor space. Third, it gives you more control over the growing conditions, such as temperature, humidity, and light, which can result in healthier and more vigorous plants.
What are the different methods of growing onion feathers indoors?
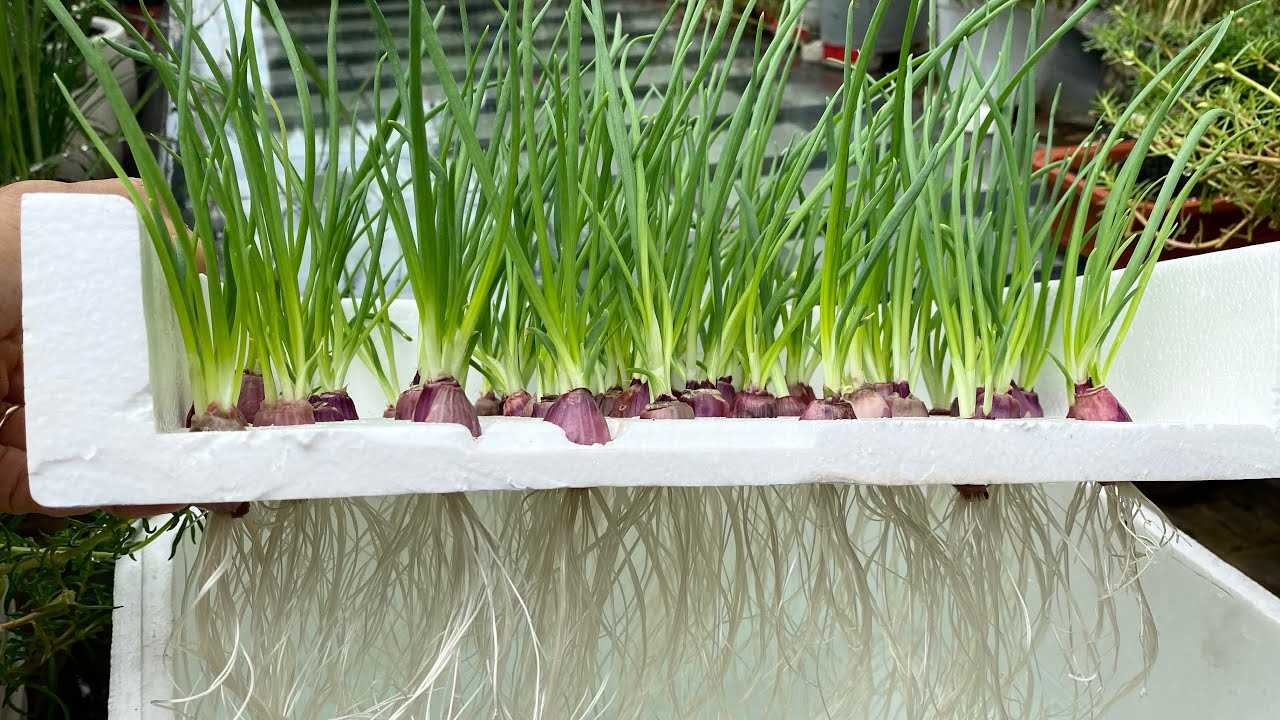
There are two main methods of growing onion feathers indoors: soilless and with soil. In the soilless method, you use a hydroponic growing system, where the plants are grown in a nutrient-rich water solution. This method allows for faster growth and higher yields, but it requires more specialized equipment and knowledge. On the other hand, growing with soil is a more traditional method, where you use pots or containers filled with potting mix or compost. This method is simpler and more accessible to beginners.
What are the necessary conditions for growing onion feathers indoors?
To grow onion feathers indoors, you will need to provide the plants with the right conditions. First, they need a suitable growing medium, such as potting mix or a hydroponic solution. Second, they require sufficient light, ideally around 12-14 hours of bright light per day. You can achieve this by placing them near a south-facing window or using grow lights. Third, the temperature should be between 60-75°F (15-24°C), and the humidity should be around 50-70%. Lastly, regular watering and proper air circulation are crucial for healthy growth.
Can I use onion sets or onion seeds for growing onion feathers indoors?
While you can technically use onion sets or onion seeds for growing onion feathers indoors, it is generally not recommended. Onion sets are small onion bulbs that are usually used for outdoor planting, and they may not adapt well to indoor conditions. Onion seeds, on the other hand, require a longer growing period before they can be harvested as feathers. It is usually easier and more reliable to start with onion transplants or young onion plants, which are more suited for indoor growing and will produce feathers faster.
How long does it take to grow onion feathers indoors?
The time it takes to grow onion feathers indoors can vary depending on several factors, such as the onion variety, growing conditions, and the stage at which you start. On average, it can take around 8-12 weeks from the time you transplant or start the onion plants until they produce feathers. However, some varieties may take longer, while others may be ready to harvest sooner. It is important to follow the specific instructions for your chosen onion variety and monitor the plants’ growth and development regularly.


