- Understanding Courgettes
- Varieties
- Growing Requirements
- Planting
- Harvesting
- Common Pests and Diseases
- Benefits of Growing Courgettes in a Bucket
- Timing for Fertilising
- Methods of Fertilising
- 1. Pre-Planting Fertiliser
- 2. Liquid Fertiliser
- 3. Foliar Feeding
- 4. Slow-Release Fertiliser
- 5. Compost Tea
- 6. Combination of Methods
- Choosing the Right Ingredients
- 1. Organic Compost
- 2. Worm Castings
- 3. Balanced Fertilizer
- 4. Epsom Salt
- 5. Natural Mulch
- 6. Slow-Release Fertilizer Pellets
- Application Techniques
- Tips for Maintaining Healthy Courgette Plants
- “Question-Answer”
- When is the best time to start fertilising zucchini plants grown in a bucket?
- What are some methods for fertilising zucchini plants in a bucket?
- Can I use homemade compost to fertilise my zucchini plants in a bucket?
- How often should I fertilise my zucchini plants in a bucket?
- What nutrients do zucchini plants need when grown in a bucket?
- Are there any organic fertilisers that are suitable for zucchini plants in a bucket?
- “Video” How To Grow Zucchinis In Containers
Growing courgettes in a bucket can be a convenient and space-saving way to enjoy fresh home-grown vegetables. However, to ensure healthy and productive plants, it is important to provide them with the proper nourishment. Fertilising courgettes at the right time, using effective methods, and selecting the right ingredients can make a significant difference in their growth and yield.
Timing is crucial when it comes to fertilising courgettes. It is generally recommended to start applying fertiliser a few weeks after planting, once the plants have established their root systems. This allows the roots to absorb the nutrients more efficiently, promoting stronger growth and development. Additionally, regular fertilisation throughout the growing season is essential to support continuous production and prevent nutrient deficiencies.
When choosing a fertilisation method for courgettes in a bucket, there are a few approaches that can be effective. One option is to use a slow-release fertiliser, which gradually releases nutrients over an extended period of time. This can be particularly beneficial for plants grown in containers, as it helps avoid the risk of over-fertilisation and provides a steady supply of nutrients. Another method is liquid fertilisation, where a water-soluble fertiliser is diluted and applied directly to the plant roots. This allows for quicker nutrient absorption and can be particularly useful during periods of rapid growth.
In terms of ingredients, it is important to select a fertiliser that provides the necessary nutrients for courgette plants. Nitrogen, phosphorus, and potassium (NPK) are commonly found in many fertilisers and play different roles in plant growth. Nitrogen promotes leaf and stem development, phosphorus supports root growth and flower formation, while potassium aids in overall plant health and disease resistance. Additionally, micronutrients like iron, magnesium, and zinc are also important for healthy courgette plants. It is advisable to choose a balanced fertiliser that contains a mix of these nutrients.
In conclusion, fertilising courgettes grown in a bucket requires careful timing, proper methods, and the right selection of ingredients. By providing the plants with the necessary nutrients at the right time, using effective fertilisation methods, and choosing a balanced fertiliser, gardeners can ensure healthy and productive plants with a bountiful harvest of courgettes.
Understanding Courgettes
Courgettes, also known as zucchini, are a popular summer squash that is easy to grow and highly versatile in the kitchen. They belong to the Cucurbitaceae family, which includes other gourds and melons. Courgette plants have a compact growth habit and produce cylindrical fruits with a mild, slightly sweet flavor.
Varieties
There are several varieties of courgettes available, each offering its own unique characteristics. Some popular varieties include:
- Green Courgettes: The most common variety, these have a dark green skin and firm flesh.
- Yellow Courgettes: These courgettes have a bright yellow skin and are slightly sweeter than the green variety.
- Round Courgettes: As the name suggests, these courgettes have a round shape and are often used for stuffing.
Growing Requirements
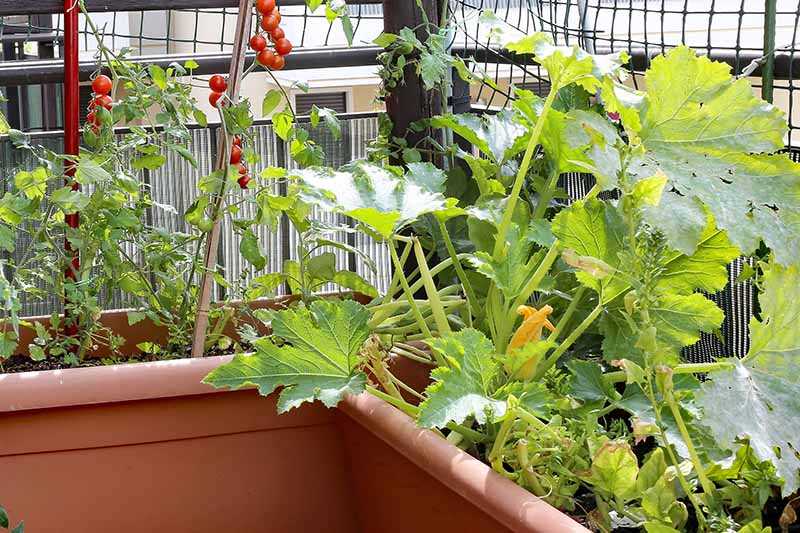
Courgettes thrive in warm climates and require full sun to grow properly. They prefer well-drained soil that is rich in organic matter. It is important to keep the soil consistently moist, but not waterlogged, as this can lead to root rot. Courgettes are sensitive to frost and should be planted after the danger of frost has passed.
Planting
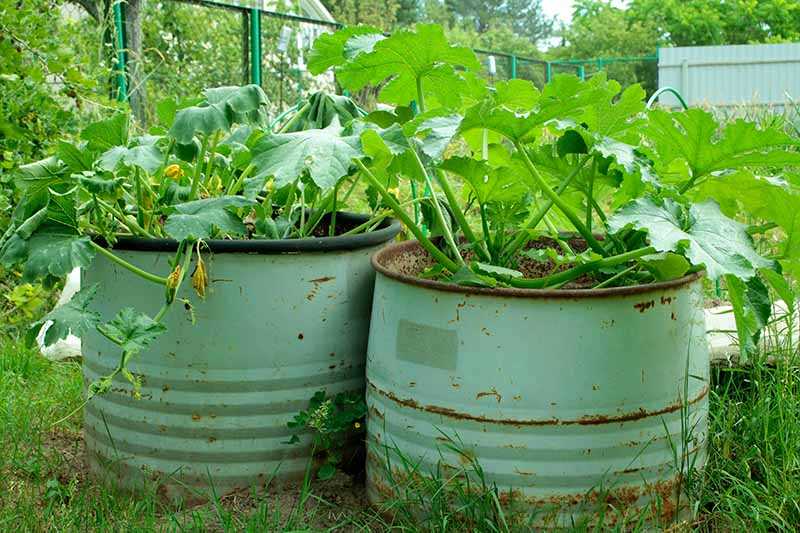
Courgettes can be grown directly in the ground or in containers, such as buckets. When planting in a bucket, make sure it has drainage holes to prevent waterlogging. Plant one courgette per bucket, placing the seedling in the center and covering the roots with soil. Space the buckets at least 2 feet apart to allow for proper growth and airflow.
Harvesting
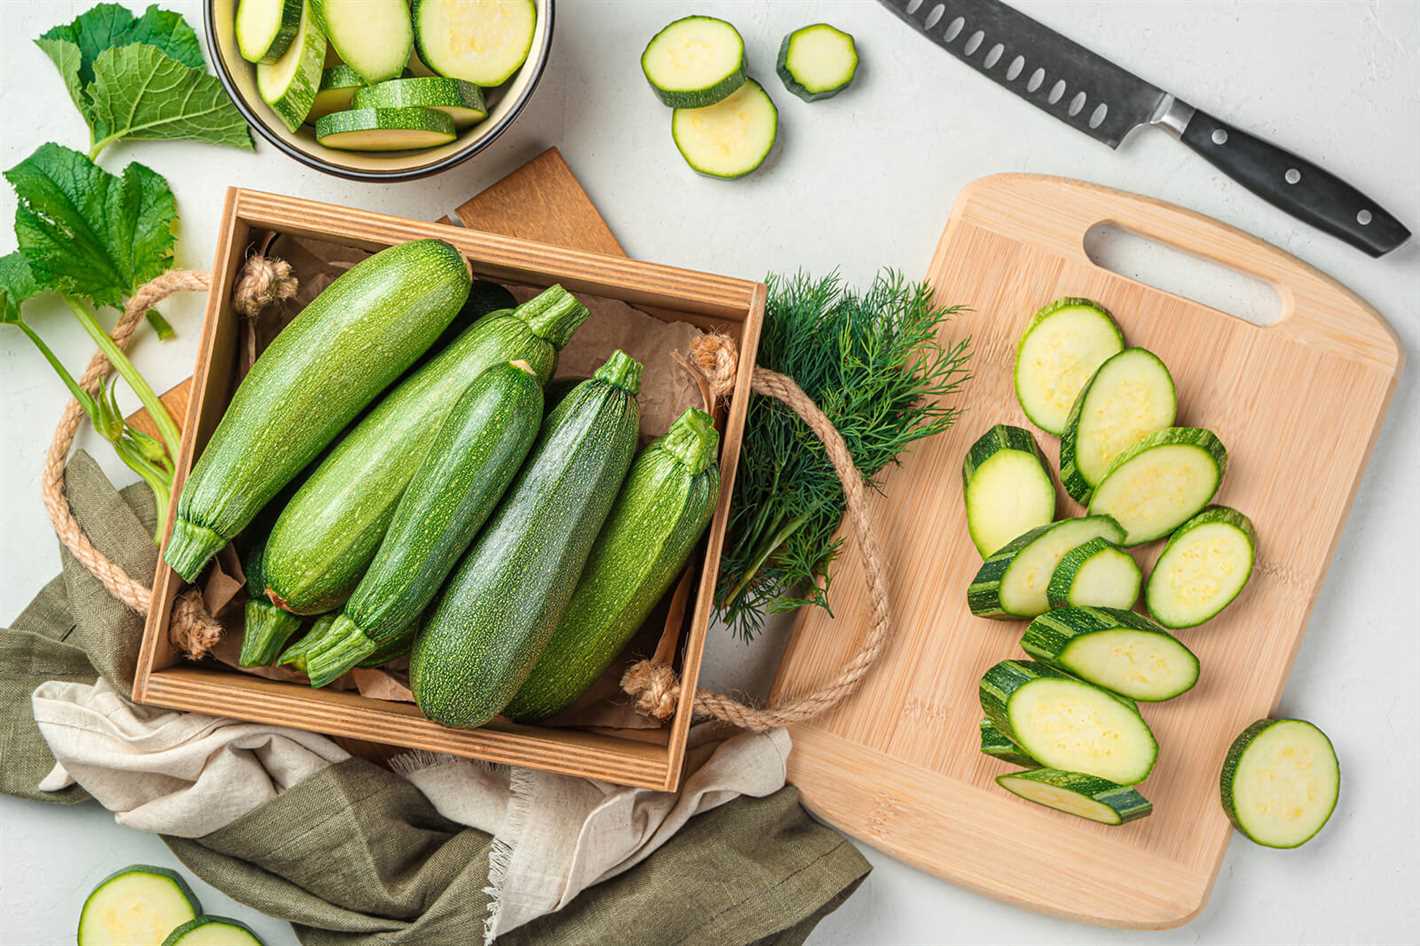
Courgettes are typically ready for harvest in about 45-55 days from planting. The fruits should be harvested when they are small to medium-sized, about 6-8 inches in length. Overgrown courgettes can be tough and have a bitter taste. Use a sharp knife or pruners to cut the fruits from the plant, being careful not to damage the plant itself.
Common Pests and Diseases
Courgette plants are susceptible to a few common pests and diseases, including:
- Aphids: These small insects can suck the sap from the leaves and cause stunted growth. They can be controlled by spraying the plants with a strong jet of water or using insecticidal soap.
- Powdery Mildew: A fungal disease that appears as a white powdery coating on the leaves. It can be prevented by ensuring good air circulation and avoiding overhead watering.
- Squash Vine Borer: The larvae of this moth can bore into the stems of the plant, causing wilting and eventually death. Infested stems should be cut open, and the larvae removed.
By understanding the basics of courgette cultivation, you can ensure a successful and bountiful harvest of this delicious summer squash. Whether enjoyed fresh in salads or cooked in a variety of dishes, courgettes are a versatile and nutritious addition to any garden.
Benefits of Growing Courgettes in a Bucket
There are several benefits to growing courgettes in a bucket. This method is particularly popular among urban gardeners or those with limited outdoor space. Here are some of the advantages:
- Space-saving: Growing courgettes in a bucket allows you to maximize your available space. By using containers, you can easily grow courgettes on a patio, balcony, or even a small rooftop.
- Portability: Buckets are easily movable, allowing you to adjust the position of your courgette plants based on sunlight or other environmental factors. This flexibility is especially beneficial if you live in an area with limited sunlight or if you need to protect your plants from extreme weather conditions.
- Control over soil composition: When you grow courgettes in a bucket, you have complete control over the soil composition. This means you can tailor the soil to suit the specific needs of your courgette plants, ensuring optimal growth and productivity.
- Reduced risk of pests and diseases: Growing courgettes in a bucket can help minimize the risk of pests and diseases. By keeping your plants in containers, you can create a barrier that makes it harder for pests to reach your plants. Additionally, container gardening allows for better airflow, which can prevent the buildup of moisture and reduce the risk of fungal diseases.
- Ease of maintenance: Bucket gardening makes it easier to care for your courgette plants. With containers, you have greater control over watering, fertilizing, and pruning. This enables you to provide the ideal growing conditions for your plants without the hassle of maintaining a large garden.
Growing courgettes in a bucket is a practical and rewarding way to enjoy fresh and homegrown produce, even in a limited space. With the benefits mentioned above, it’s no wonder that many gardeners choose this method for cultivating courgettes.
Timing for Fertilising
Applying fertiliser at the correct time is crucial for the healthy growth and development of courgettes grown in a bucket. Here are some key points to consider when determining the timing for fertilising your plants:
- Early Stage: During the first two weeks after transplanting the seedlings into the bucket, it is important to provide a good base of nutrients. This can be accomplished by incorporating a slow-release fertiliser into the soil mix before planting.
- Growth Stage: Once the plants have established their roots and started growing, it is time to begin regular fertilisation. Typically, this will be around 2-3 weeks after transplanting. Start with a balanced fertiliser to provide essential nutrients like nitrogen, phosphorus, and potassium.
- Flowering Stage: As the courgette plants start to produce flowers, it is important to switch to a fertiliser that is higher in phosphorus. Phosphorus promotes flower and fruit development, ensuring a good crop of courgettes. Apply the fertiliser according to the manufacturer’s instructions.
- Ongoing Maintenance: Throughout the growing season, continue to fertilise the courgette plants on a regular basis. This can be done every 2-4 weeks, depending on the specific fertiliser used. Monitor the plants for any signs of nutrient deficiencies and adjust the fertilisation schedule as needed.
Remember to always water the plants thoroughly before applying fertiliser to prevent burning the roots. Additionally, follow the recommended dosage and application instructions provided by the fertiliser manufacturer.
Methods of Fertilising
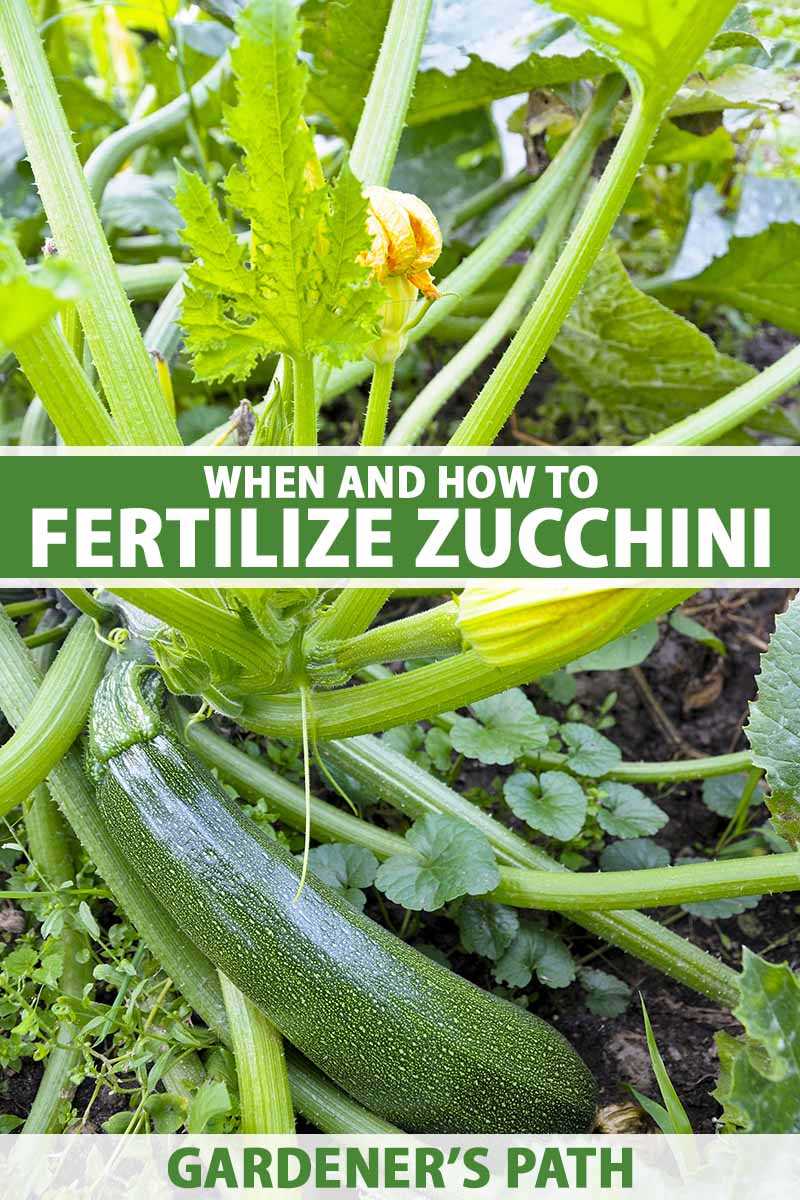
There are several methods for fertilising courgettes grown in a bucket. Each method has its own advantages and may be better suited for different situations.
1. Pre-Planting Fertiliser
One method is to add fertiliser to the soil before planting the courgette seeds or seedlings. This allows the nutrients to be readily available for the plants as they grow. Organic fertilisers, such as compost or well-rotted manure, can be mixed into the soil to provide a slow release of nutrients. Inorganic fertilisers, such as a balanced granular fertiliser, can also be used according to the manufacturer’s instructions.
2. Liquid Fertiliser

Another method is to apply liquid fertiliser directly to the soil around the base of the courgette plants. Liquid fertilisers can be made from compost or manure by soaking them in water for a few days and then straining to remove any solids. Alternatively, commercial liquid fertilisers can be used, following the instructions on the packaging.
3. Foliar Feeding
Foliar feeding involves spraying a liquid fertiliser directly onto the leaves of the courgette plants. This method allows the plants to quickly absorb the nutrients through their stomata. However, care should be taken to avoid spraying the flowers or developing fruit, as this could cause damage. Foliar feeding is best done early in the morning or late in the evening, when the stomata are open and the plants are less likely to be stressed by heat.
4. Slow-Release Fertiliser
A fourth method is to use slow-release fertilisers that gradually release nutrients over a longer period of time. These fertilisers are typically in the form of pellets or granules that can be placed on the surface of the soil or mixed into the planting hole. Slow-release fertilisers are convenient for those who prefer to fertilise less frequently or are looking for a low-maintenance option.
5. Compost Tea
Compost tea is a liquid fertiliser made by steeping compost or vermicompost in water. The resulting liquid contains nutrients that can be applied to the soil or used as a foliar spray. To make compost tea, place a handful of compost or vermicompost in a large bucket of water and let it steep for a few days. Strain the liquid before applying it to the plants.
6. Combination of Methods
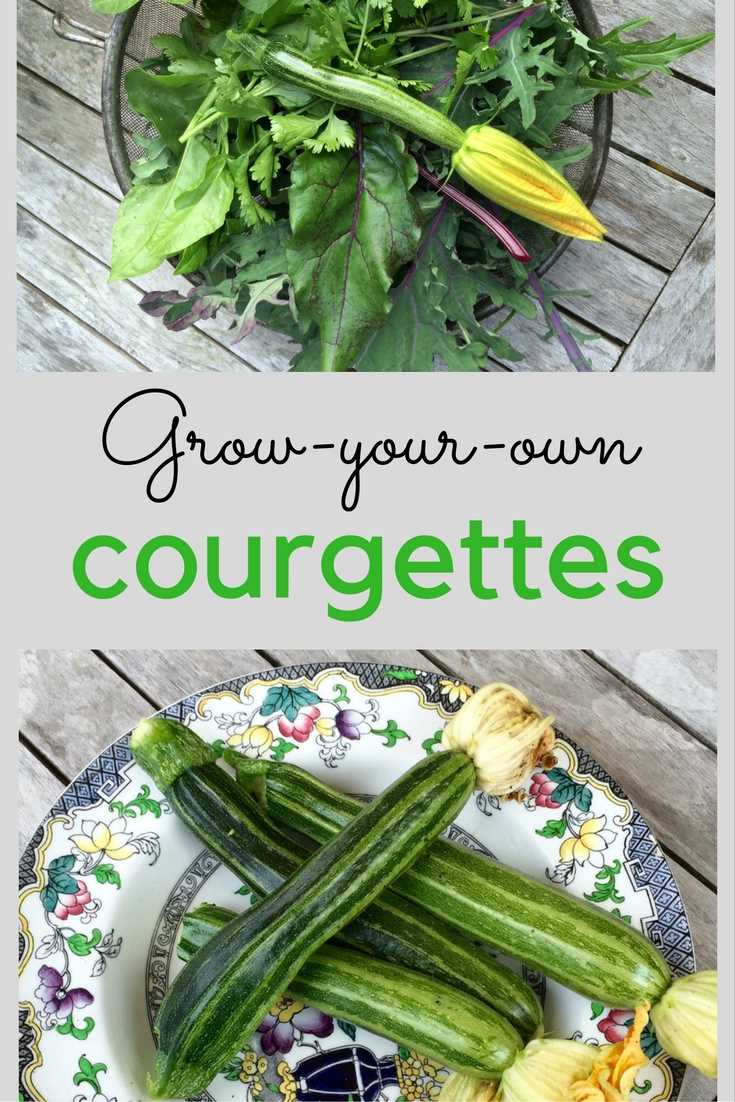
For optimal results, a combination of these fertilising methods can be used. For example, applying pre-planting fertiliser and periodically supplementing with liquid fertiliser or foliar feeding can provide a balanced and continuous supply of nutrients to the courgette plants.
It’s important to note that the amount and frequency of fertiliser application will depend on various factors such as soil quality, weather conditions, and plant growth stage. It’s recommended to regularly monitor the plant’s health and adjust the fertilising routine as needed.
Choosing the Right Ingredients
When fertilising courgettes grown in a bucket, it is important to choose the right ingredients to provide the necessary nutrients for healthy plant growth. Here are some key ingredients to consider:
1. Organic Compost
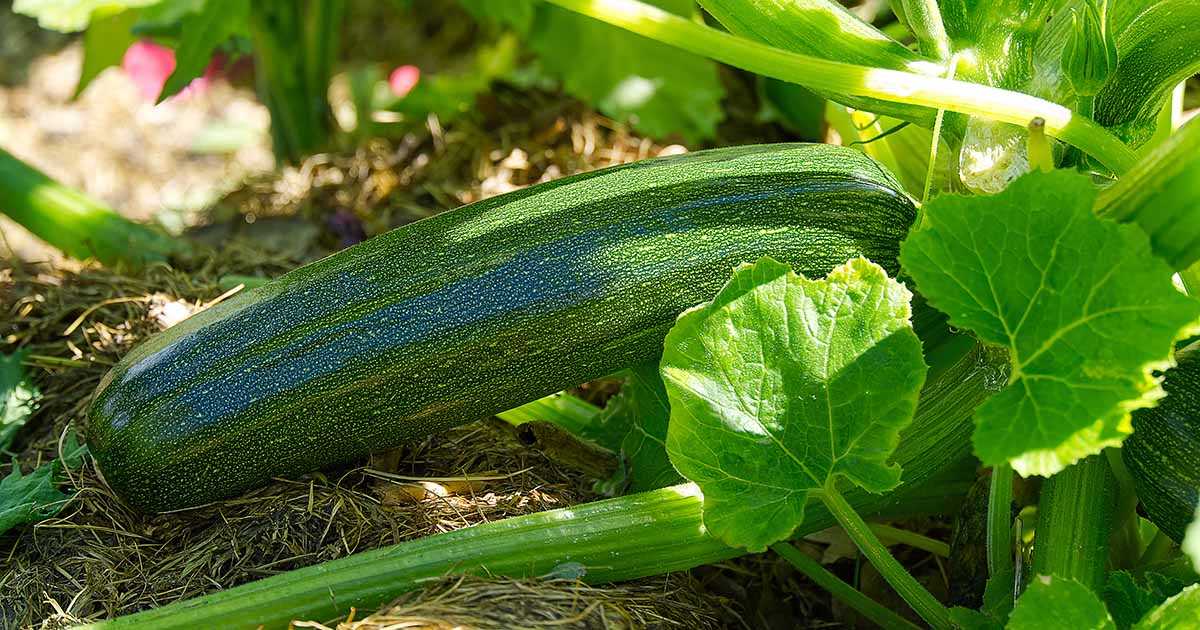
Organic compost is an essential ingredient for fertilising courgettes. It provides a rich source of nutrients, improves soil structure, and enhances water retention. Be sure to choose compost that is well-rotted and free from chemical additives.
2. Worm Castings
Worm castings, also known as vermicompost, are an excellent natural fertilizer for courgettes. They are rich in nutrients, microorganisms, and beneficial enzymes that promote plant growth. You can either buy worm castings or make your own using a worm bin.
3. Balanced Fertilizer
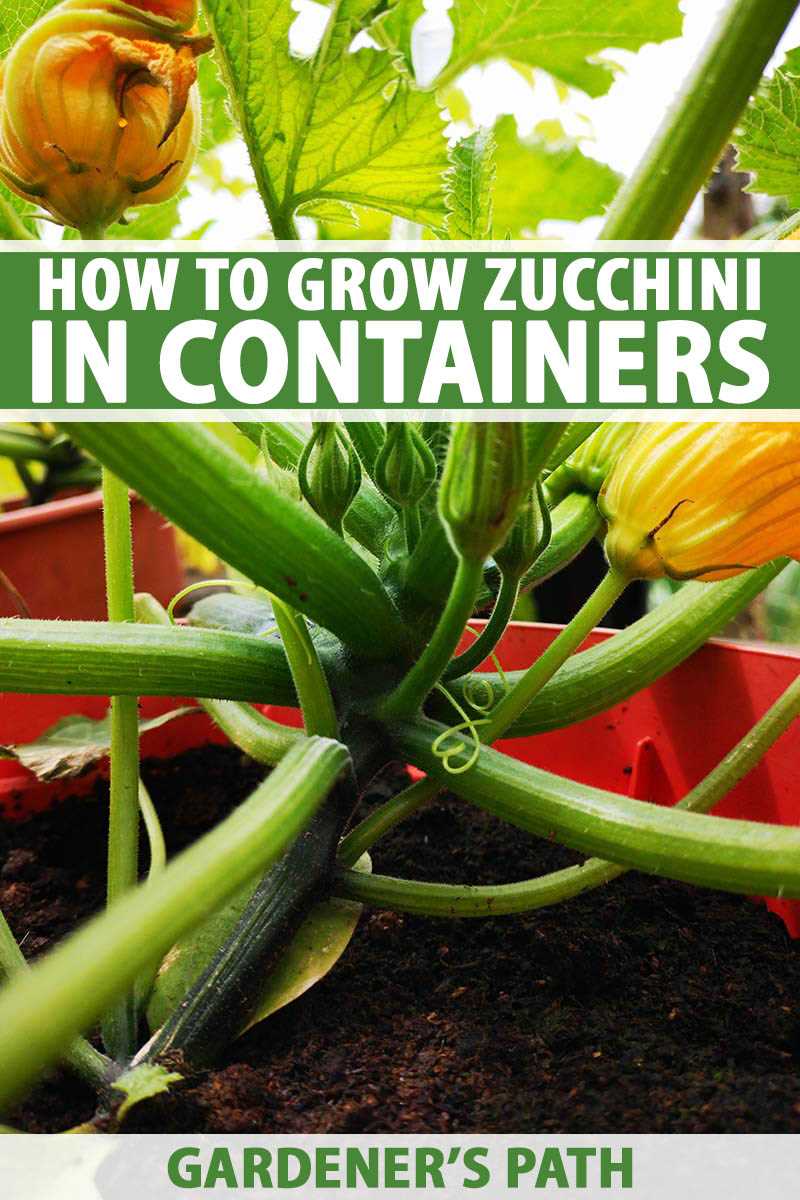
A balanced fertilizer containing essential nutrients like nitrogen, phosphorus, and potassium is important for courgette plants. Look for a fertilizer with an NPK ratio of around 10-10-10 or 14-14-14 to ensure your plants receive a good balance of nutrients.
4. Epsom Salt
In addition to the basic nutrients, courgettes benefit from the addition of Epsom salt, which provides magnesium and sulfur. This helps with chlorophyll production, improves nutrient uptake, and enhances overall plant health. Be sure to use Epsom salt in moderation as excessive amounts can have negative effects.
5. Natural Mulch
Using natural mulch, such as straw or wood chips, around your courgette plants can help retain moisture, suppress weeds, and add organic matter to the soil as it breaks down. This can provide additional nutrients and improve overall soil fertility.
6. Slow-Release Fertilizer Pellets
If you prefer a convenient and long-lasting fertilization method, consider using slow-release fertilizer pellets. These pellets slowly release nutrients over time, ensuring a steady supply of nourishment for your courgette plants.
Remember to follow the manufacturer’s instructions when using any fertilizers and adjust the quantity based on your specific plants’ needs. With the right ingredients, you can provide your courgettes with the nutrients they need to thrive and produce a bountiful harvest.
Application Techniques
There are several application techniques that can be used to fertilise courgettes grown in a bucket. These techniques include:
- Top-dressing: Apply the fertiliser directly to the top of the soil in the bucket. This can be done by sprinkling the fertiliser evenly over the soil surface.
- Side-dressing: Create a small trench or furrow along the side of the bucket and add the fertiliser to the trench. Cover it with soil and water thoroughly.
- Foliar application: Mix the fertiliser with water and apply it to the leaves of the courgette plant using a spray bottle or a garden sprayer. Ensure that all sides of the leaves are covered.
When applying the fertiliser, it is important to follow the recommended dosage provided on the packaging. Over-fertilising can lead to nutrient burn and damage to the plant. It is also advisable to wear gloves and protective clothing when handling fertilisers.
Additionally, it is recommended to apply the fertiliser in the early morning or late evening when the temperatures are cooler. This allows the courgette plant to absorb the nutrients more effectively.
Regularly monitor the growth and health of the courgette plant to determine if additional fertilisation is required. Yellowing leaves or slow growth may indicate a nutrient deficiency, while excessive foliage growth with few fruit may indicate an excess of nitrogen and lack of phosphorus.
Remember to always water the plant after fertilisation to help the nutrients penetrate the root zone. Proper watering techniques can enhance the effectiveness of the applied fertilizer.
By using these application techniques and monitoring the plant’s needs, you can ensure that your courgettes grown in a bucket receive the necessary nutrients for optimal growth and yield.
Tips for Maintaining Healthy Courgette Plants
Proper care and maintenance are essential for keeping your courgette plants healthy and productive. Here are some tips to help you maintain healthy courgette plants:
- Provide Adequate Sunlight: Courgette plants thrive in full sunlight, so make sure to choose a sunny spot for planting. Aim for at least 6-8 hours of direct sunlight per day.
- Water Consistently: Courgette plants require consistent moisture to grow properly. Water deeply once a week, ensuring the soil is evenly moist. Avoid overwatering, as it can lead to root problems.
- Use Organic Fertilizers: Incorporate organic fertilizers into the soil before planting or as a top dressing during the growing season. Organic fertilizers such as compost or well-rotted manure provide a slow release of nutrients and improve soil health.
- Practice Crop Rotation: To prevent the build-up of pests and diseases, rotate your courgette plants with other unrelated crops each year. This helps break the pest and disease cycle and maintains healthy soil.
- Monitor Pests and Diseases: Keep a close eye on your courgette plants for any signs of pests or diseases. Common pests include aphids, slugs, and powdery mildew. Use organic pest control methods or consider using beneficial insects to control pests.
- Support Growing Plants: Courgette plants can become quite large and heavy, so it’s important to provide support as they grow. Use stakes or trellises to keep the plants upright and prevent them from sprawling on the ground.
- Harvest Regularly: Harvest courgettes regularly to promote continuous production. Overripe courgettes can drain energy from the plant and reduce overall yield. Harvest when the courgettes are small to medium-sized for the best flavor and texture.
By following these tips, you can maintain healthy courgette plants and enjoy a bountiful harvest throughout the growing season.
“Question-Answer”
When is the best time to start fertilising zucchini plants grown in a bucket?
The best time to start fertilising zucchini plants grown in a bucket is after the plants have developed their second set of true leaves, usually around two to four weeks after germination.
What are some methods for fertilising zucchini plants in a bucket?
There are several methods for fertilising zucchini plants in a bucket. You can use a water-soluble balanced fertiliser, such as a 10-10-10, and apply it according to the instructions on the package. Another method is to top-dress the soil with compost, making sure not to touch the plant stems. Additionally, you can use organic fertilisers like fish emulsion or seaweed extract.
Can I use homemade compost to fertilise my zucchini plants in a bucket?
Yes, you can use homemade compost to fertilise your zucchini plants in a bucket. Compost is a great source of nutrients for plants and can be added as a top dressing to the soil around the plants. Make sure that the compost is well-aged and crumbly before using it.
How often should I fertilise my zucchini plants in a bucket?
Zucchini plants in a bucket should be fertilised every two to three weeks throughout the growing season. It is important not to over-fertilise, as this can lead to excessive vegetative growth and reduced fruit production. Follow the instructions on the fertiliser package for the recommended application rate.
What nutrients do zucchini plants need when grown in a bucket?
Zucchini plants need a variety of nutrients when grown in a bucket. The three primary macronutrients are nitrogen, phosphorus, and potassium. Nitrogen promotes leafy growth, phosphorus supports root development and fruit production, and potassium aids in overall plant health. In addition to these macronutrients, zucchini plants also require smaller amounts of micronutrients like calcium, magnesium, and iron.
Are there any organic fertilisers that are suitable for zucchini plants in a bucket?
Yes, there are several organic fertilisers that are suitable for zucchini plants in a bucket. Fish emulsion is a popular choice, as it is a good source of nitrogen and other nutrients. Seaweed extract is another organic option that provides a range of micronutrients. Additionally, compost and compost tea can be used to supply organic matter and nutrients to the plants.


