- Benefits of Growing Dill
- Choosing the Right Location
- Preparing the Soil for Dill
- Step 1: Choose the Right Location
- Step 2: Clear the Area
- Step 3: Loosen the Soil
- Step 4: Amend the Soil
- Step 5: Test the pH Level
- Step 6: Level the Soil
- Step 7: Water the Soil
- Planting Dill Seeds or Seedlings
- Planting Dill Seeds
- Using Dill Seedlings
- Caring for Dill Plants
- Planting
- Watering
- Fertilizing
- Support
- Pruning
- Pests and Diseases
- Harvesting
- Winter Care
- Harvesting Dill
- Using Dill in the Kitchen
- Salads and Dressings
- Seafood
- Infused Water and Beverages
- Pickles and Preserves
- Herb Butter and Cream Cheese Spreads
- Flavor Enhancer
- Troubleshooting Common Dill Problems
- 1. Yellowing Leaves
- 2. Bolting
- 3. Pests
- 4. Powdery Mildew
- 5. Stunted Growth
- 6. Lack of Aroma
- “Question-Answer”
- What are the benefits of growing dill on your windowsill?
- Can dill be grown in a vegetable garden?
- What type of soil is best for growing dill?
- How often should dill be watered?
- What pests should I be aware of when growing dill?
- Can dill be grown indoors in pots?
- “Video” 5 Tips to Grow Big Bushy Basil Plants
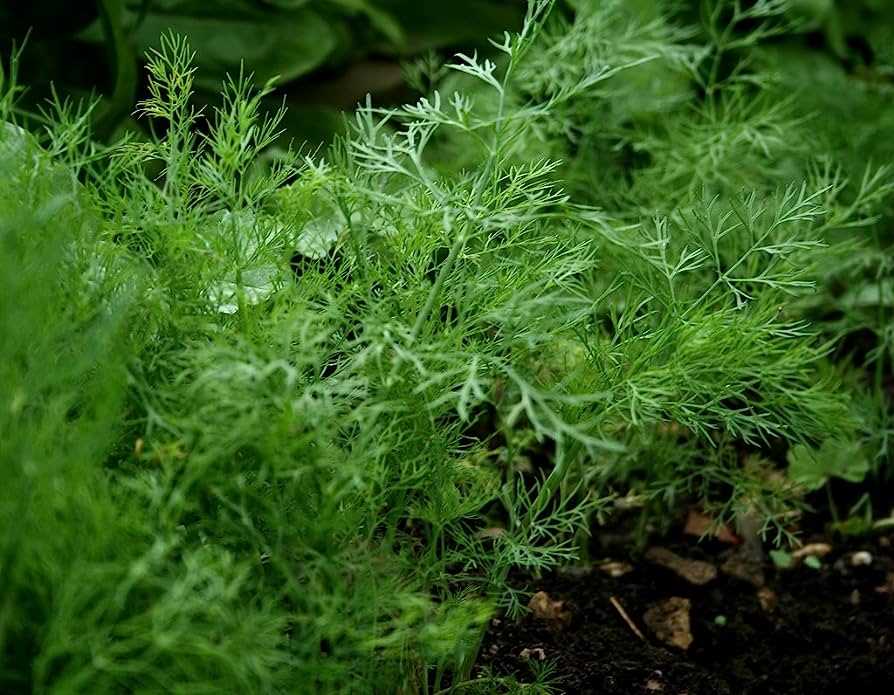
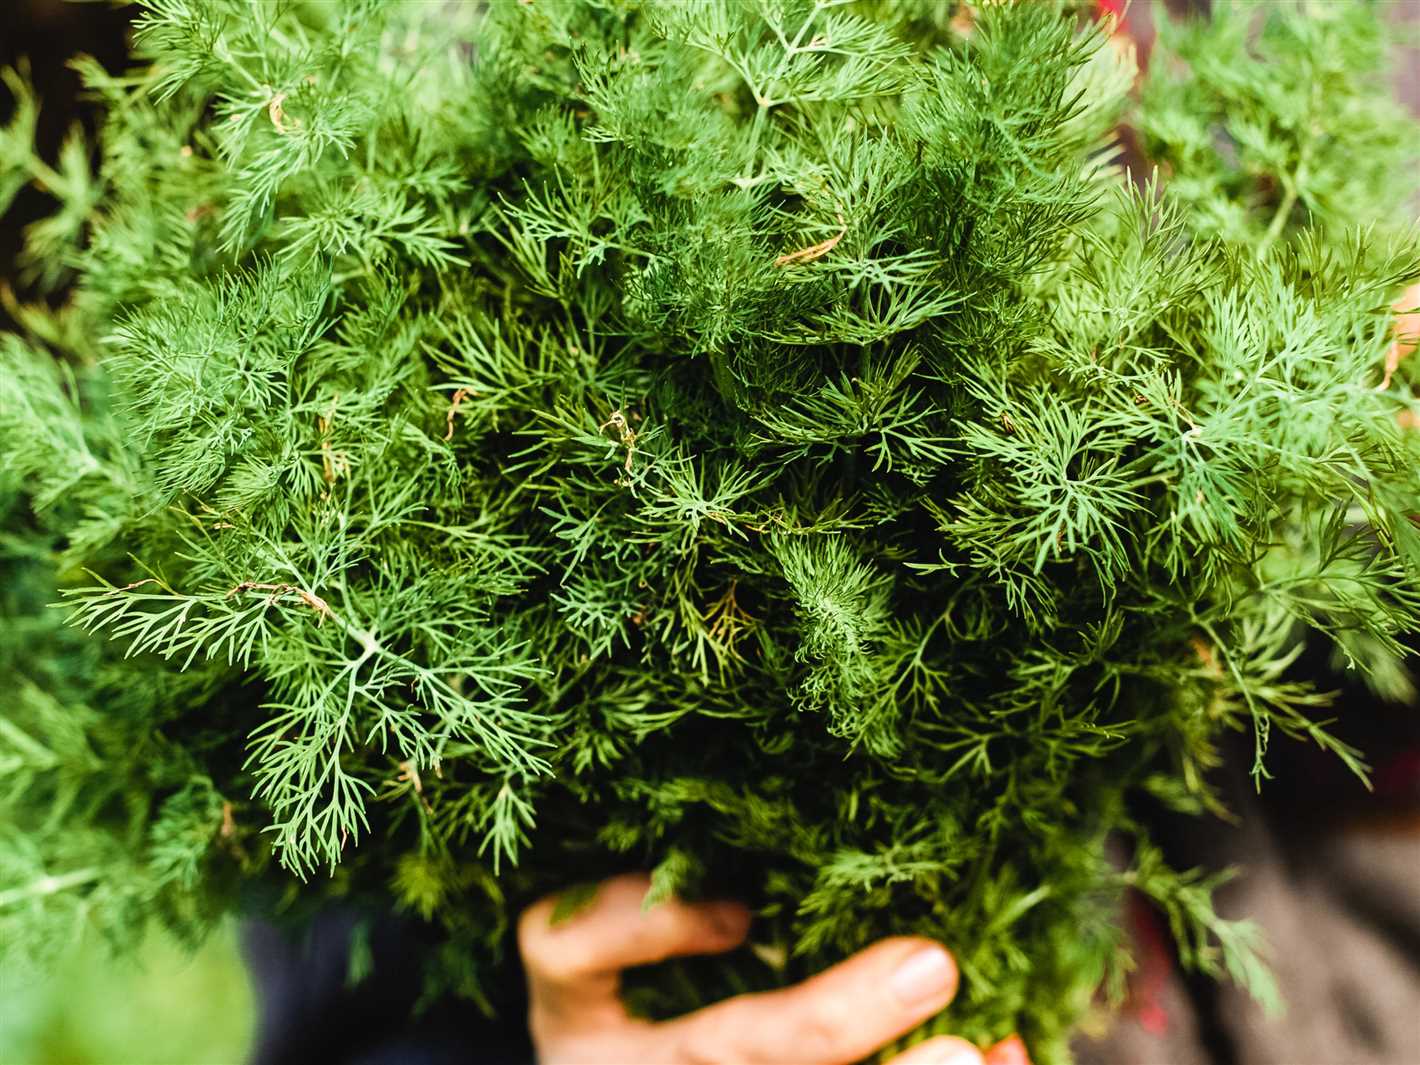
Dill is a versatile herb that is known for its distinct flavor and aroma. It is a popular choice for both culinary and medicinal purposes, and can be easily grown in your own garden or on your windowsill. Whether you want to add some fresh dill to your recipes or use it for its health benefits, learning how to grow dill is a must for any garden enthusiast.
Growing dill on your windowsill is a great way to have a fresh supply of this herb all year round. Dill plants require a sunny spot with at least 6-8 hours of direct sunlight per day. You can grow dill in pots or containers with well-draining soil, making it a suitable option for small spaces. Remember to water the plants regularly, but be careful not to over-water as dill does not like excessive moisture.
If you have a vegetable garden, growing dill alongside your other crops can provide numerous benefits. Dill is a natural pest repellent and can help protect your vegetables from harmful insects. Additionally, dill attracts beneficial insects like bees and butterflies, which are essential for pollination. This will encourage a healthy and thriving garden ecosystem. To grow dill in your vegetable garden, prepare the soil by adding compost or organic matter to provide the plant with essential nutrients.
In conclusion, dill is a versatile herb that can be easily grown on your windowsill or in your vegetable garden. Whether you are a culinary enthusiast or a garden lover, learning how to grow dill is a rewarding experience. So why not give it a try and enjoy the fresh and aromatic flavor of dill in your recipes?
Benefits of Growing Dill
Growing dill in your garden or on your windowsill can provide you with a variety of benefits. Here are some of the main advantages of growing dill:
- Enhances flavor: Dill is known for its unique and refreshing flavor, which can greatly enhance the taste of various dishes. By growing your own dill, you can have a fresh supply of this herb on hand to brighten up your meals.
- Attracts beneficial insects: Dill plants produce small yellow flowers that attract beneficial insects, such as bees and butterflies, to your garden. These insects are important for pollination and can help improve the overall health of your garden.
- Repels pests: While dill attracts beneficial insects, it also repels some common garden pests. The strong aroma of dill can deter pests like aphids, spider mites, and cabbage loopers, making it a natural and chemical-free pest control option.
- Provides medicinal benefits: Dill has been used in traditional medicine for centuries due to its various health benefits. It is believed to have anti-inflammatory properties, aid digestion, and provide relief from menstrual cramps. Adding dill to your diet can contribute to your overall well-being.
- Easy to grow: Dill is a relatively easy herb to grow, making it suitable for both beginner and experienced gardeners. It thrives in well-drained soil and requires minimal maintenance. With regular watering and adequate sunlight, you can enjoy a consistent supply of dill throughout the growing season.
In conclusion, growing dill can enhance the flavor of your meals, attract beneficial insects, repel pests, provide medicinal benefits, and be an easy addition to your garden. Consider growing dill to enjoy these advantages and elevate your gardening experience.
Choosing the Right Location

When it comes to growing dill, choosing the right location is essential for its success. Dill requires a sunny spot that receives at least 6 hours of direct sunlight every day. This herb thrives in full sun and will not grow well in shady areas.
Additionally, it is important to choose a location with well-draining soil. Dill is susceptible to root rot, so it is crucial to avoid waterlogged soil that can lead to the plant’s demise. Sandy or loamy soil that drains well is ideal for growing dill.
In terms of temperature, dill is a hardy herb that can tolerate a wide range of conditions. However, it prefers moderate temperatures between 60-70°F (15-21°C) for optimal growth. It is important to avoid extreme heat or cold as it can cause the dill plants to become stressed and struggle to grow.
Another factor to consider when choosing the right location for growing dill is the proximity to other plants. Dill is known to attract beneficial insects such as ladybugs, lacewings, and hoverflies, which help control pests in the garden. Planting dill near other vegetable plants can help enhance their growth and protect them from harmful pests.
In summary, when selecting a location for growing dill, keep the following factors in mind:
- Choose a sunny spot with at least 6 hours of direct sunlight daily
- Ensure the soil is well-draining to avoid root rot
- Maintain moderate temperatures between 60-70°F (15-21°C)
- Consider planting dill near other vegetable plants to attract beneficial insects
Preparing the Soil for Dill
Dill is an herb that thrives in well-drained soil with a pH level between 5.5 and 6.5. Before planting dill, it is important to prepare the soil to create a favorable environment for this herb to grow and flourish.
Step 1: Choose the Right Location
Select a sunny location in your garden or find a spot near a south-facing window if you plan to grow dill indoors. Dill requires at least 6 hours of direct sunlight daily to grow properly.
Step 2: Clear the Area
Remove any weeds, rocks, or debris from the chosen area to provide a clean space for planting. Dill doesn’t compete well with other plants, so eliminating any potential obstacles will give it a better chance to thrive.
Step 3: Loosen the Soil
Use a garden fork, a tiller, or a shovel to loosen the soil to a depth of about 12 inches. This will allow the roots of the dill plant to penetrate easily and ensure good aeration and drainage.
Step 4: Amend the Soil
If your soil is heavy or clay-like, consider adding organic matter such as compost or well-rotted manure to improve its texture and fertility. Work the organic matter into the soil to a depth of at least 6 inches.
Step 5: Test the pH Level
It is essential to have the right pH level for dill to thrive. Use a soil testing kit to determine the pH level of your soil and make adjustments if necessary. If the pH level is too low, add lime to raise it. If the pH level is too high, add sulfur or peat moss to lower it.
Step 6: Level the Soil
Rake the soil surface to create a smooth and level bed for planting. This will ensure that water is distributed evenly and prevent any water pooling around the dill plants.
Step 7: Water the Soil
Moisten the soil thoroughly before planting the dill seeds or transplants. This will help the young dill plants establish their roots in the soil more quickly.
By following these steps to prepare the soil for dill, you will create an ideal environment for this herb to grow and flourish in your windowsill or vegetable garden.
Planting Dill Seeds or Seedlings
To grow dill in your windowsill or vegetable garden, you have two options: planting dill seeds or using seedlings. Both methods are relatively simple and can yield successful results.
Planting Dill Seeds
If you choose to start from seeds, follow these steps:
- Prepare the soil: Ensure that the soil is well-drained and fertile. Dill prefers slightly acidic to neutral soil with a pH of 5.5 to 7.0.
- Sow the seeds: Scatter the dill seeds over the prepared soil, spacing them about 12 to 18 inches apart. Cover the seeds lightly with soil, around 1/4 inch deep.
- Water and maintain moisture: Gently water the soil after sowing the seeds, ensuring that the soil remains consistently moist during the germination period.
- Provide adequate sunlight: Place the container or the pots in a sunny spot where the dill plants can receive at least 6 hours of direct sunlight per day.
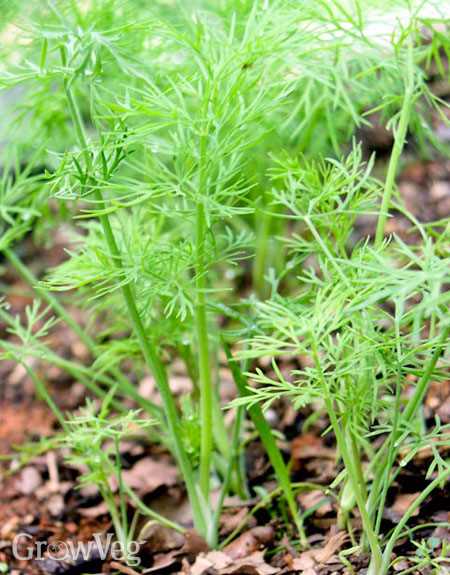
- Thin out the seedlings: Once the dill seedlings have emerged and grown to a height of about 2 inches, thin them out by removing the weakest plants, leaving the strongest ones with sufficient space to grow.
Using Dill Seedlings
If you prefer to use seedlings or transplants, here is what you need to do:
- Prepare the soil: Similar to planting from seeds, make sure the soil is well-drained and fertile, with a pH level of 5.5 to 7.0.
- Obtain seedlings: Purchase dill seedlings from a nursery or start your own indoors using peat pots or seed trays.
- Transplant the seedlings: Dig holes in the soil that are deep enough to accommodate the root system of the seedlings. Space them about 12 to 18 inches apart.
- Water and maintain moisture: After transplanting the dill seedlings, water them thoroughly to help establish the roots. Maintain moist soil throughout the growing season.
- Provide adequate sunlight: Place the containers or pots in a location where the dill plants can receive full sun exposure for at least 6 hours each day.
Remember, dill is a hardy herb that does well with minimal care. By following these planting methods, you can enjoy a bountiful harvest of fresh dill leaves and seeds to enhance the flavor of your culinary dishes.
Caring for Dill Plants
Dill plants are relatively easy to care for and can be grown both on your windowsill and in your vegetable garden. Here are some tips to help you care for your dill plants:
Planting
- Choose a sunny location with well-draining soil.
- Sow dill seeds directly into the soil or in pots.
- Plant the seeds about ¼ inch deep and 18 inches apart.
Watering

- Water the dill plants regularly to keep the soil moist, but not waterlogged.
- Avoid overhead watering as it can cause fungal diseases.
- Allow the top inch of the soil to dry out between waterings.
Fertilizing
- Use a balanced fertilizer once a month during the growing season.
- Avoid over-fertilizing, as it can lead to weak growth and decreased oil production.
Support
- When the dill plants reach a height of around 12 inches, they may need support.
- Use stakes or tomato cages to prevent them from falling over.
Pruning
- Pinch off any flowers that appear to encourage the growth of foliage.
- Removing the flowers will help in prolonging the plant’s life and flavor.
Pests and Diseases
- Monitor your dill plants for pests like aphids and caterpillars.
- If infestation occurs, use organic pest control methods or insecticidal soap.
Harvesting
- Start harvesting the dill leaves when the plant is about 8-10 inches tall.
- Cut the leaves from the outer parts of the plant, leaving the center intact for continuous growth.
- Store the harvested dill leaves in a plastic bag in the refrigerator for up to a week.
Winter Care
- If you plan to grow dill year-round, move your potted plants indoors before the first frost.
- Place them in a cool and well-lit area, such as near a south-facing window.
- Reduce watering during the winter months, as the plants will not grow as actively.
By following these care instructions, you can enjoy fresh dill throughout the growing season. Whether you’re using it in cooking or for its medicinal properties, dill is a versatile and rewarding herb to grow.
Harvesting Dill
Dill is ready to be harvested when the plant has reached a height of about 12-18 inches and has developed several pairs of leaves. Here are some tips for harvesting dill:
- Choose the right time: Dill leaves are most flavorful just before the plant produces flowers. It’s best to harvest dill in the morning before the sun gets too hot.
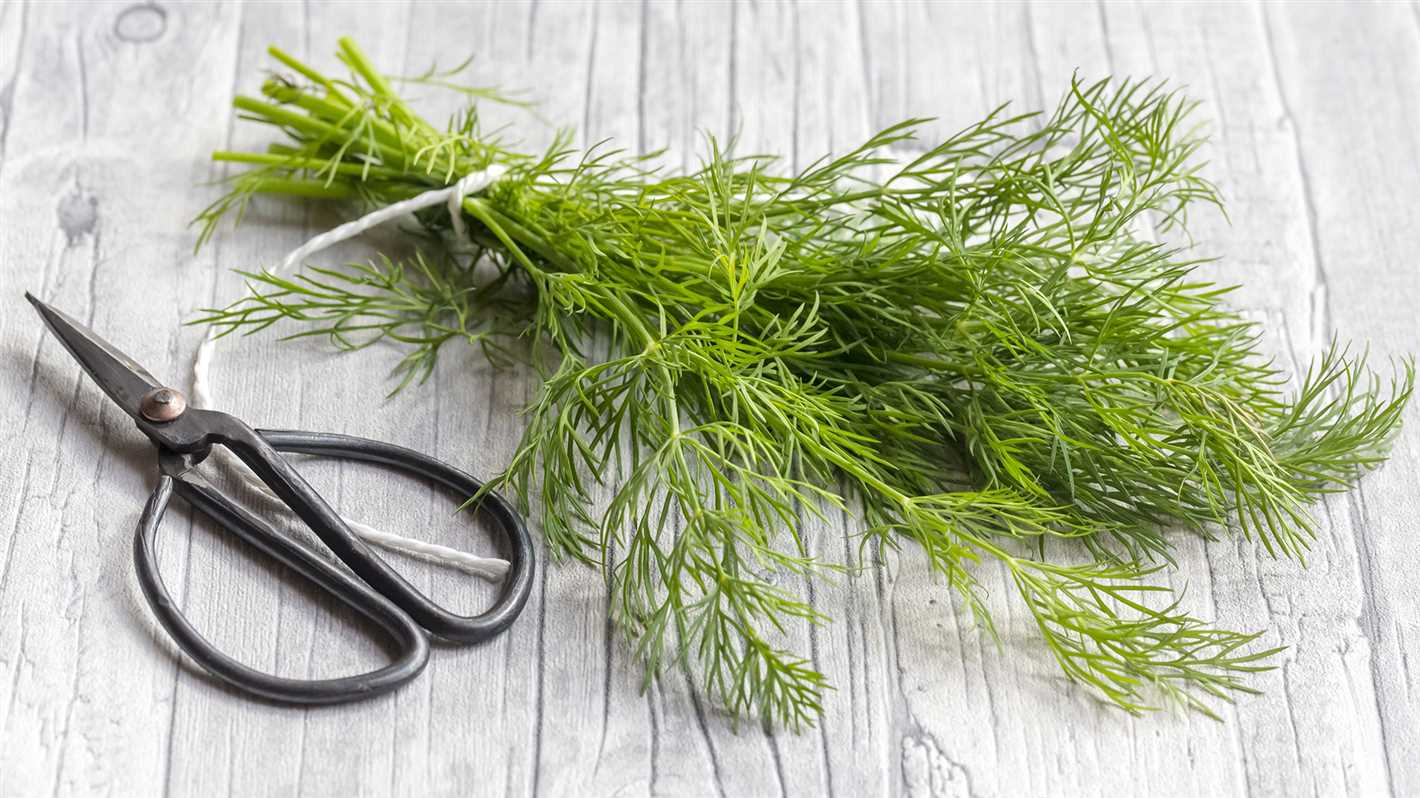
- Use sharp scissors or garden shears to cut the dill leaves: Snip off the leaves close to the stem, leaving about an inch or so of stem attached. Cutting the leaves this way will encourage the plant to continue growing and produce more leaves for future harvests.
- Harvest the seeds, if desired: Dill seeds can be collected for culinary or replanting purposes. Allow the dill flowers to fully mature, then cut the flower stalks and place them upside down in a paper bag. Hang the bag in a warm, dry place for a week or two. The seeds will fall from the flowers and collect at the bottom of the bag.
- Store harvested dill: To store freshly harvested dill leaves, place them in a plastic bag with a damp paper towel to help retain moisture. Store the bag in the refrigerator and use the dill within a week. Dill seeds can be stored in a cool, dry place in an airtight container for up to a year.
Remember to always harvest dill responsibly, leaving some leaves on the plant to allow for continued growth and future harvests. Enjoy using your freshly harvested dill in various culinary dishes!
Using Dill in the Kitchen
If you’ve grown dill in your windowsill or vegetable garden, you’ll love experimenting with all the ways you can use it in the kitchen. Dill has a refreshing and tangy flavor that adds a burst of freshness to any dish. Here are some ideas for incorporating dill into your culinary creations:
Salads and Dressings
Dill is a great addition to salads, adding a touch of herbaceousness and brightness. Chop some dill leaves and sprinkle them over your favorite greens, cucumber, tomato, and feta cheese for a Greek-inspired salad. You can also make a refreshing dill dressing by combining mayonnaise, yogurt, lemon juice, and chopped dill. This dressing pairs well with a variety of salads, from potato to coleslaw.
Seafood
Dill and seafood are a match made in culinary heaven. Whip up a simple sauce by combining chopped dill, sour cream, lemon juice, and a pinch of salt and pepper. This sauce is perfect for serving with grilled or baked fish, shrimp, or crab cakes. You can also infuse olive oil with dill and use it to cook fish, creating a delicate and flavorful dish.
Infused Water and Beverages
Take advantage of dill’s refreshing flavor by infusing it into water or other beverages. Simply add some fresh dill sprigs to a pitcher of water and let it steep for a few hours. The result is a subtly flavored and hydrating drink. If you’re feeling more adventurous, muddle some dill with lime and sugar, then add soda water and ice for a refreshing dill mojito-inspired mocktail.
Pickles and Preserves
Dill is a staple ingredient in pickling and preserving. Use fresh dill sprigs in your homemade pickles, whether you’re making dill pickles, pickled beets, or pickled green beans. The dill adds a distinct flavor and enhances the overall briny taste. Preserve dill in vinegar or oil to enjoy its flavor year-round.
Herb Butter and Cream Cheese Spreads

Take your butter or cream cheese to the next level by adding dill. Combine softened butter or cream cheese with chopped dill, garlic, lemon zest, and a pinch of salt and pepper. Mix well and let it chill in the refrigerator before using it on toast, bagels, or sandwiches. This herb-infused spread adds a burst of flavor to any meal.
Flavor Enhancer
Dill can be used as a flavor enhancer in many dishes. Add chopped dill to your scrambled eggs, omelets, or frittatas for a fresh and zesty kick. Sprinkle some dill over roasted vegetables, such as carrots or potatoes, before baking them for added flavor. You can also use dill as a garnish for soups and stews, adding a pop of green and a hint of freshness.
These are just a few of the many ways you can use dill in the kitchen. Get creative and experiment with different combinations to discover your favorite dill-infused dishes. Enjoy the unique flavor and aroma of dill as you explore its culinary potential!
Troubleshooting Common Dill Problems
1. Yellowing Leaves
If you notice that the leaves of your dill plant are turning yellow, it could be due to overwatering. Dill prefers well-drained soil, so make sure you are not watering it too frequently. Allow the soil to dry out slightly between waterings. Additionally, yellowing leaves could also be a sign of nutrient deficiency. Consider applying a balanced fertilizer to provide the necessary nutrients for healthy growth.
2. Bolting
Bolting is when the dill plant starts to produce flowers and go to seed prematurely. This often occurs when the plant is exposed to high temperatures or long hours of sunlight. To prevent bolting, try providing some shade to the plant during the hottest part of the day or consider growing dill in a partially shaded area.
3. Pests
Dill can be susceptible to certain pests, including aphids, caterpillars, and spider mites. Inspect your plants regularly for signs of pest infestation, such as distorted leaves, webbing, or holes. If you notice any pests, you can try using insecticidal soap or neem oil to control them. Alternatively, you can introduce beneficial insects like ladybugs or lacewings to help control pest populations.
4. Powdery Mildew
Powdery mildew is a fungal disease that can affect dill plants. It appears as a white powdery coating on the leaves and stems. To prevent powdery mildew, make sure your dill plants have good air circulation and avoid overhead watering. If powdery mildew does occur, you can try removing and disposing of the affected plant parts and treating the remaining plant with a fungicide labeled for powdery mildew control.
5. Stunted Growth
If your dill plants are not growing as expected and appear stunted, it could be due to overcrowding. Dill plants need space to grow and spread their roots. Make sure to provide adequate spacing between plants to allow for proper growth. Additionally, stunted growth can also be a result of nutrient deficiency, so consider fertilizing your plants with a balanced fertilizer.
6. Lack of Aroma

If your dill plant lacks the strong aroma typically associated with dill, it could be due to stress. Dill plants can become stressed if they are not receiving enough sunlight or if they are experiencing extreme temperatures. Make sure your plants are getting at least 6-8 hours of direct sunlight per day and protect them from extreme heat or cold. Providing the proper conditions will help promote the development of aromatic oils in the foliage.
Overall, by being aware of these common dill problems and taking proactive measures, you can ensure the health and success of your dill plants. Happy growing!
“Question-Answer”
What are the benefits of growing dill on your windowsill?
Growing dill on your windowsill allows you to have fresh herbs year-round, even in the colder months when it may be difficult to grow plants outside. Additionally, having dill readily available on your windowsill can save you money and trips to the grocery store.
Can dill be grown in a vegetable garden?
Yes, dill can be grown in a vegetable garden. It is actually a great addition to a vegetable garden as it attracts beneficial insects, such as bees and butterflies, which can help with pollination.
What type of soil is best for growing dill?
Dill prefers well-draining soil that is rich in organic matter. A sandy loam or loamy soil is ideal for growing dill.
How often should dill be watered?
Dill should be watered regularly but not excessively. The soil should be kept moist but not soggy. It is important to let the soil dry out slightly between waterings to prevent root rot.
What pests should I be aware of when growing dill?
When growing dill, you may encounter aphids, caterpillars, and spider mites. Regularly inspecting your plants and taking appropriate measures, such as using organic pest control methods, can help keep these pests under control.
Can dill be grown indoors in pots?
Yes, dill can be grown indoors in pots. It can be grown in a sunny window or under grow lights. Just make sure to choose a pot with good drainage and water the plant regularly.


