- DIY Heated Container for Seedlings
- Materials Needed
- Instructions
- Additional Tips
- Benefits of Using a Heated Container for Seedlings
- Materials Needed for DIY Heated Container
- Step-by-Step Guide to Building a DIY Heated Container
- Materials Needed
- Instructions
- Tips for Successful Seed Germination
- 1. Choose high-quality seeds
- 2. Provide the right temperature
- 3. Use a well-draining soil mixture
- 4. Don’t bury seeds too deep
- 5. Keep the soil consistently moist
- 6. Provide adequate light
- 7. Be patient
- 8. Keep track of your progress
- 9. Protect seedlings from pests and diseases
- 10. Harden off seedlings before transplanting
- Best Seeds to Germinate in a Heated Container
- Common Mistakes to Avoid when Using a Heated Container
- “Question-Answer”
- Why is it important to accelerate seed germination?
- How does a heated container help in speeding up seed germination?
- What materials do I need to build a DIY heated container for seedlings?
- Can I use any type of plastic storage container for this project?
- Do I need to water the seedlings differently when using a heated container?
- Are there any precautions I need to take when using a heated container for seedlings?
- “Video” Fast & Easy Seed Germination: How to Start Seedlings from Paper Towel Method (Container vs Baggie)
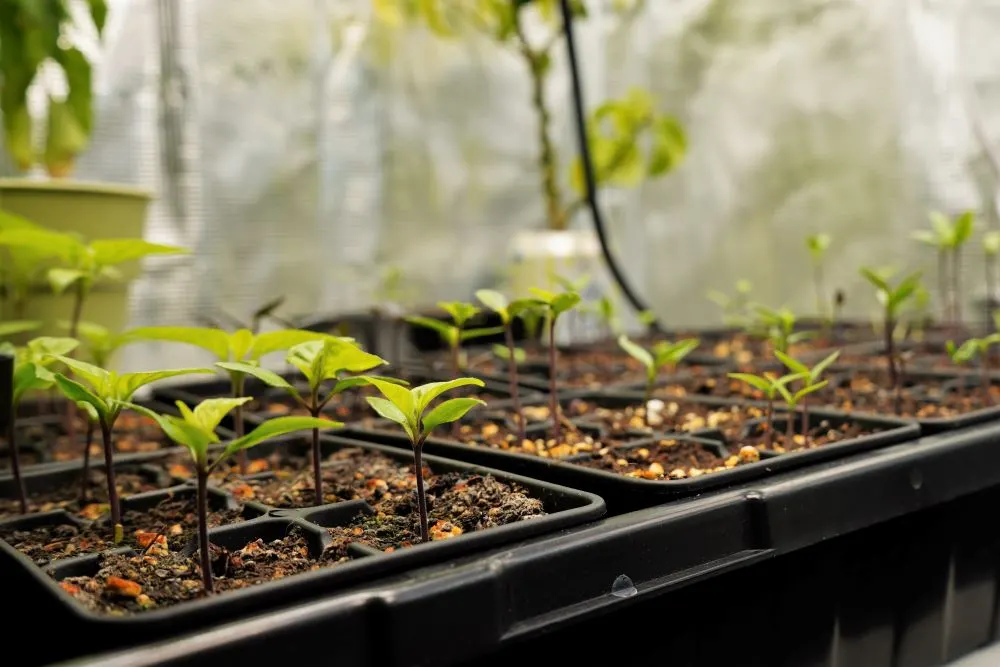
Spring is just around the corner, and avid gardeners are eagerly preparing for the upcoming planting season. One crucial step in the process is germinating seeds, but this can sometimes be a slow and delicate process. However, with a DIY heated container, you can accelerate seed germination and ensure healthy and robust seedlings.
Creating your own heated container for seedlings is a cost-effective and efficient way to provide the optimal environment for germination. By providing warmth to the seeds, you can shorten the germination period and encourage faster growth. This DIY project is perfect for both beginners and experienced gardeners looking to kickstart their seedlings.
Using materials readily available at your local hardware store, you can create a heated container that mimics the natural warmth of the sun. By utilizing insulation, heating elements, and a thermostat, you can regulate the temperature and create a stable and ideal environment for your seeds. With this DIY project, you have full control over the germination process, ensuring better success rates and healthier plants.
So, if you’re looking to get a head start on your gardening this year, consider creating a DIY heated container for your seedlings. With this simple and affordable project, you can accelerate seed germination, providing you with a bountiful and thriving garden in no time.
DIY Heated Container for Seedlings
One way to accelerate seed germination and improve the success rate of your seedlings is by providing them with a warm environment. In this article, we will guide you on how to create your own DIY heated container for seedlings.
Materials Needed
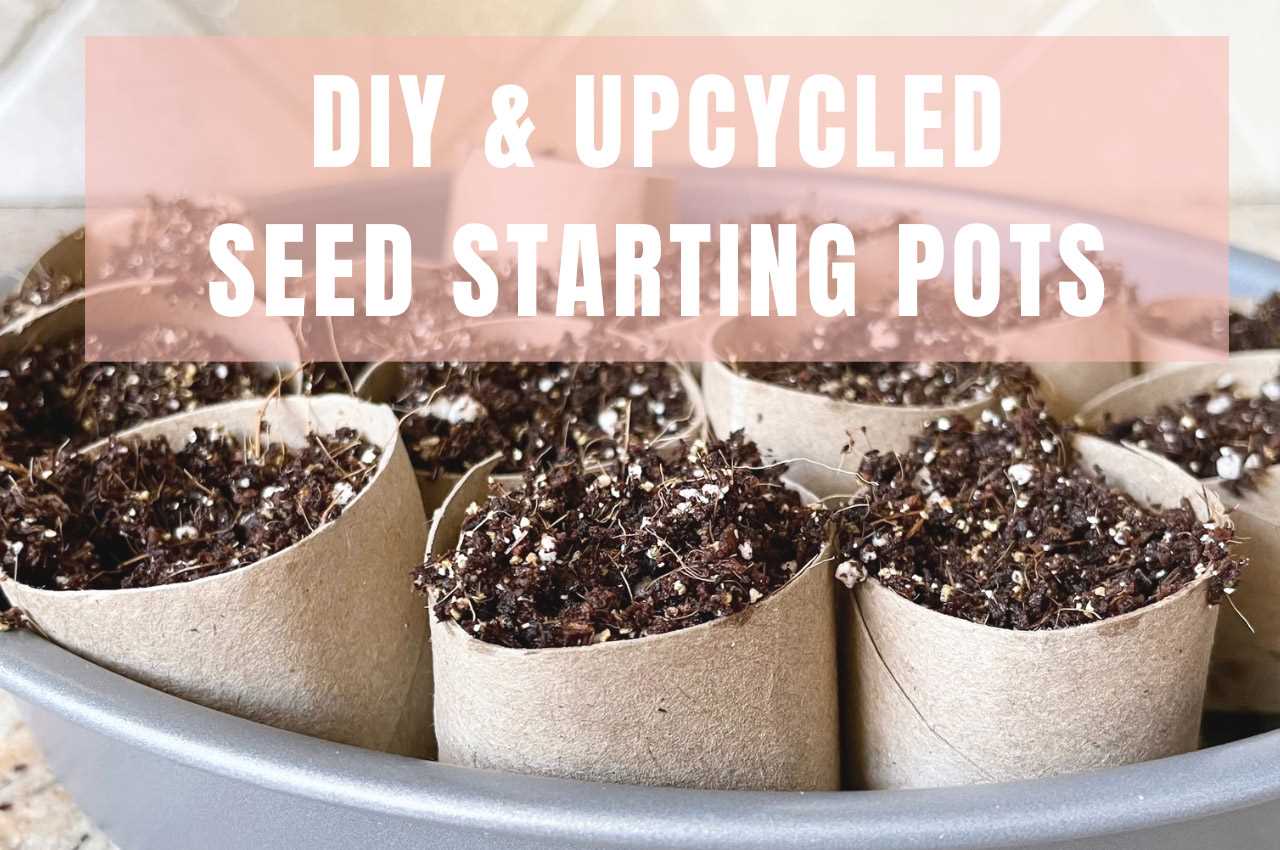

- A plastic storage container with a lid
- A seedling heat mat
- A thermometer
- A power source
- Planting trays or pots
- Seeds
- Seed starting mix
- Watering can or spray bottle
Instructions
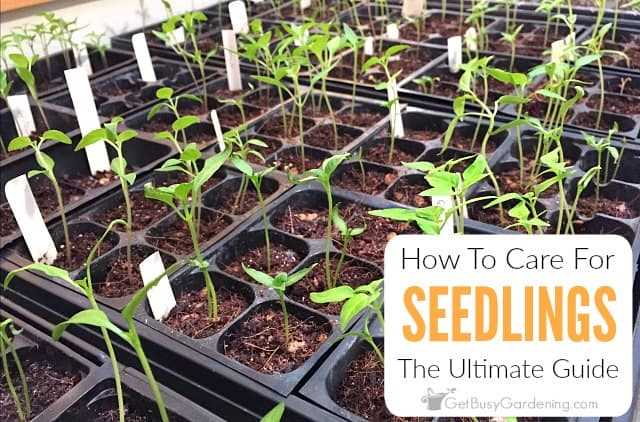

- Start by placing the seedling heat mat on a stable and flat surface. This will provide a consistent heat source for your seedlings.
- Place the plastic storage container on top of the heat mat.
- Fill the container with a layer of seed starting mix. Make sure to leave some space at the top for planting your seeds.
- Moisten the seed starting mix with water using a watering can or spray bottle. The mix should be damp but not soaking wet.
- Sow your seeds according to the instructions on the seed packet. Make sure to space them properly to allow for proper growth.
- Cover the container with the lid to create a mini greenhouse effect.
- Plug the seedling heat mat into a power source and set it to the desired temperature. Use the thermometer to monitor the temperature inside the container.
- Check the moisture level of the seed starting mix regularly and water if necessary.
- Once your seedlings have sprouted, remove the lid of the container to promote air circulation.
Additional Tips

- Choose a seedling heat mat that is appropriate for the size of your container.
- Monitor the temperature inside the container to prevent overheating and ensure optimal seed germination.
- Place a tray or saucer under the container to catch any excess water.
- Rotate the container periodically to ensure even heat distribution.
- Transplant your seedlings into larger pots or the garden once they have developed strong roots and several sets of true leaves.
By creating your own DIY heated container for seedlings, you can give your seeds the warm and controlled environment they need for successful germination. Happy gardening!
Benefits of Using a Heated Container for Seedlings
- Accelerated Seed Germination: Using a heated container for seedlings can significantly speed up the germination process. The consistent warmth provided by the heated container helps to create optimal conditions for the seeds to sprout quickly.
- Higher Success Rate: By providing a warm environment for seed germination, the heated container increases the chances of successful seedling growth. This is particularly beneficial for seeds that require higher temperatures to germinate, such as tropical plants or heat-loving vegetables.
- Extended Growing Window: The use of a heated container allows gardeners to start seeds earlier in the season, giving the seedlings a head start. This can prolong the growing window and provide a longer harvesting period for certain crops.
- Consistent Temperature Control: A heated container for seedlings provides a consistent and controlled temperature, which is crucial for successful germination. This eliminates temperature fluctuations that may occur in the surrounding environment, ensuring optimal conditions for the seeds.
- Flexibility in Planting: With a heated container, gardeners have the flexibility to start seeds indoors or in a controlled environment, regardless of the outside weather conditions. This allows for greater control over the seedling growth process and the ability to start plants earlier in the year.
- Cost-effective: Creating a DIY heated container for seedlings can be a cost-effective alternative to purchasing commercial seedling heat mats or heating systems. Many household items can be repurposed to serve as heated containers, reducing the need for additional equipment.
In summary, using a heated container for seedlings offers several benefits including accelerated seed germination, higher success rates, extended growing windows, consistent temperature control, flexibility in planting, and cost-effectiveness. Incorporating a heated container into your seedling growing process can help you achieve healthier, stronger, and more productive plants.
Materials Needed for DIY Heated Container
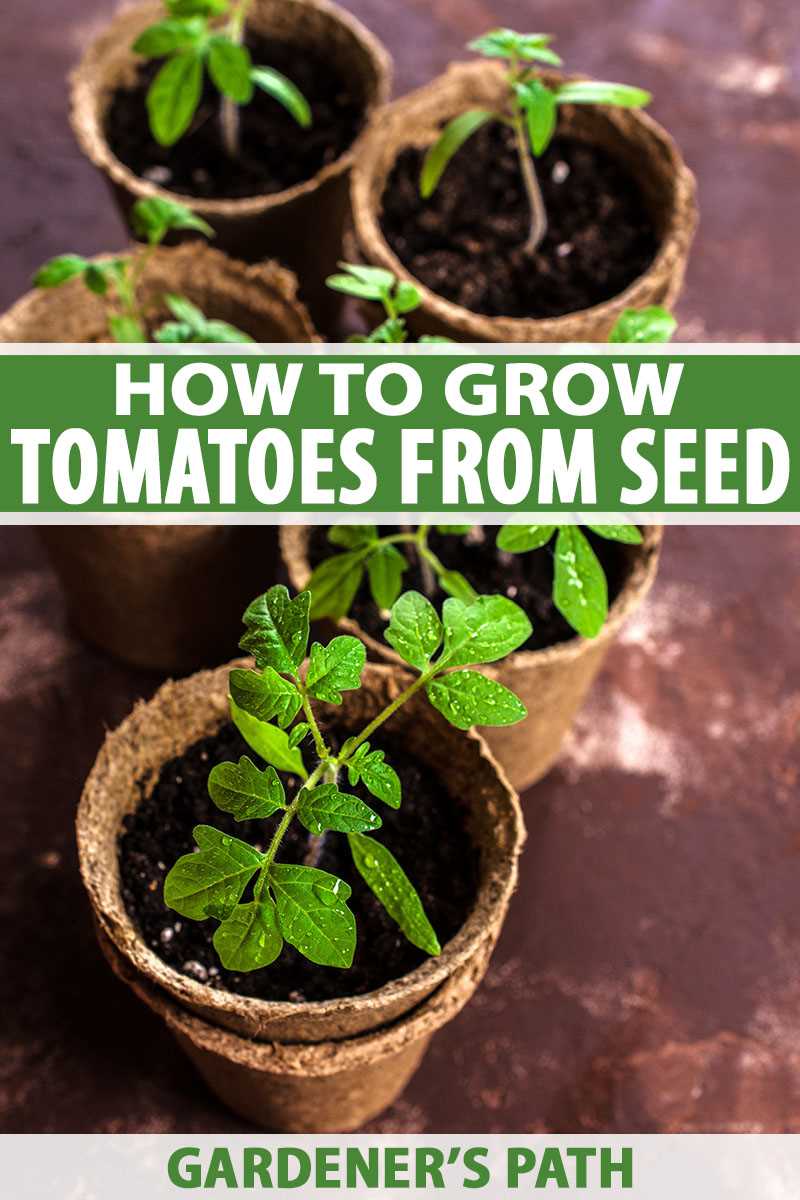

- Insulated container: This will serve as the base for the heated container. A container made of Styrofoam or a similar material will work well.
- Heating element: You will need a heating element, such as a heat mat or a heating cable, to provide the necessary warmth for seed germination.
- Thermostat: A thermostat is necessary to regulate the temperature of the container. It will ensure that the heating element doesn’t get too hot or too cold.
- Temperature probe: A temperature probe is used to measure the temperature inside the container. It will help you monitor the heat levels and make adjustments if necessary.
- Power source: You will need a power source to plug in the heating element and thermostat. Make sure you have access to an electrical outlet or extension cord.
- Seeds: Of course, you will need seeds to start your seedlings. Choose the seeds that you want to germinate and grow in your DIY heated container.
- Potting soil: Good quality potting soil is essential for successful seed germination. Make sure you have enough soil to fill your containers.
- Containers: You will need containers to plant your seeds. These can be seedling trays, individual pots, or any other suitable containers.
- Dome or plastic wrap: A dome or plastic wrap can be used to create a mini greenhouse effect and retain heat inside the container.
- Labels: It’s important to label your containers to keep track of the different types of seeds you are germinating. Use plant labels or any other suitable method.
- Watering can or spray bottle: You will need a watering can or a spray bottle to provide moisture to the seeds and keep the soil moist during germination.
Once you have gathered all the necessary materials, you’ll be ready to assemble your DIY heated container and start the germination process for your seeds.
Step-by-Step Guide to Building a DIY Heated Container
Materials Needed
- Cardboard box
- Aluminum foil
- Plastic wrap
- Heat source (e.g. heating pad, heat mat)
- Thermometer
- Seedling trays or pots
- Seed starting mix
- Seeds
- Watering can or spray bottle
Instructions
- Choose a cardboard box large enough to hold your seedling trays or pots. Make sure it has a lid that can be closed tightly.
- Cut a hole in one side of the box where you will place the heat source. The hole should be large enough for the heat source to fit through snugly.
- Cover the inside of the box with aluminum foil to reflect heat and maximize warmth.
- Line the bottom of the box with plastic wrap to make it waterproof.
- Place the heat source (heating pad or heat mat) inside the box, making sure the cord is accessible through the hole you made earlier.
- Set the temperature on the heat source to the desired level for seed germination. It is recommended to keep it between 70-75°F (21-24°C).
- Place the thermometer inside the box to monitor the temperature and make adjustments if necessary.
- Fill your seedling trays or pots with seed starting mix, leaving a small space at the top for watering.
- Plant your seeds according to the guidelines on the seed packet.
- Water the soil lightly using a watering can or spray bottle, being careful not to oversaturate it.
- Cover the box with its lid to create a warm and humid environment for the seeds.
- Check the temperature regularly to ensure it stays within the appropriate range for seed germination.
- Monitor the moisture level of the soil and water as needed to keep it slightly moist but not wet.
- Once the seeds have germinated and seedlings have emerged, remove the lid and continue to care for them according to their specific needs (e.g. provide adequate light, water, and nutrients).
By following these steps, you can create a DIY heated container for seedlings that will help accelerate the germination process and promote healthy growth. Remember to always adjust the temperature and moisture levels as needed to provide optimal conditions for your seeds.
Tips for Successful Seed Germination
1. Choose high-quality seeds
Starting with good quality seeds is essential for successful germination. Look for seeds that are fresh, as older seeds may have lower germination rates. Choose seeds from reputable suppliers that have been properly stored to ensure viability.
2. Provide the right temperature
Seeds have specific temperature requirements for germination. Research the ideal temperature range for the seeds you are planting and provide an environment that meets these requirements. Using a heated container or seedling heat mat can help maintain a consistent temperature.
3. Use a well-draining soil mixture
Good drainage is crucial for seed germination. Use a well-draining soil mixture that allows excess water to flow away from the seeds. This helps prevent rot and provides oxygen to the germinating seeds.
4. Don’t bury seeds too deep
Most seeds need to be planted at a shallow depth for successful germination. Follow the seed packet instructions for the correct planting depth. As a general rule, seeds should be planted at a depth equal to about twice their diameter.
5. Keep the soil consistently moist
Seeds need moisture to germinate, so it’s important to keep the soil consistently moist but not waterlogged. Water the soil gently to avoid displacing the seeds or causing compaction. Consider using a spray bottle for watering seedlings.
6. Provide adequate light
Light is essential for seed germination. Some seeds require light to germinate, while others need darkness. Check the seed packet instructions for specific light requirements and provide the necessary conditions. Consider using a grow light if you don’t have access to sufficient natural light.
7. Be patient
Germination can take time, so be patient and avoid the temptation to dig up the seeds to check on their progress. Different seeds have different germination times, ranging from a few days to several weeks. Give the seeds the time they need to sprout and develop.
8. Keep track of your progress
It’s helpful to keep a journal or record of the seeds you planted, including the date of planting and any observations you make along the way. This can help you learn from your experiences and make improvements for future seed germination.
9. Protect seedlings from pests and diseases
Seedlings are vulnerable to pests and diseases, so take steps to protect them. Keep the growing area clean, monitor for any signs of pests or diseases, and take appropriate action if necessary. Avoid overwatering, as damp conditions can attract pests.
10. Harden off seedlings before transplanting
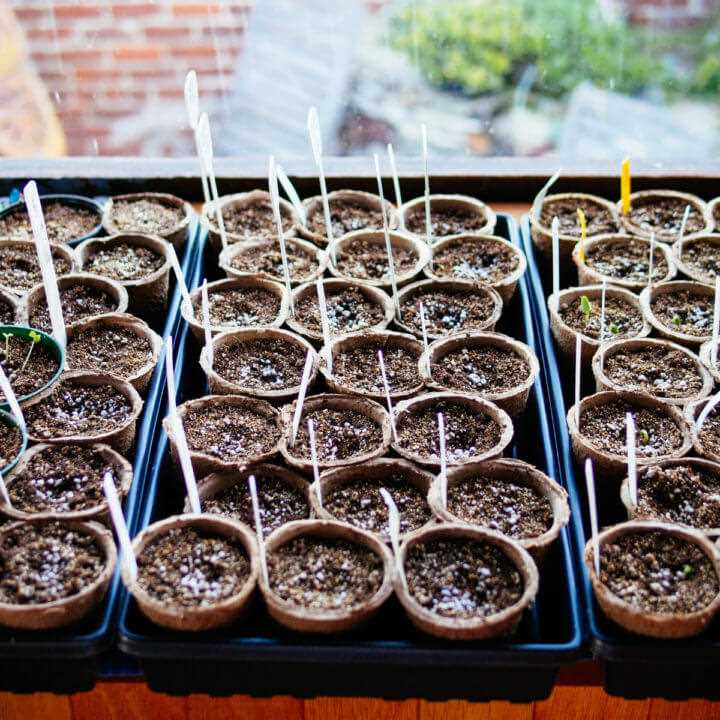

Seedlings need to be gradually acclimated to outdoor conditions before being transplanted into the garden. This process, known as hardening off, helps prevent transplant shock and allows the seedlings to adjust to changes in temperature, wind, and sunlight. Start by exposing the seedlings to outdoor conditions for short periods of time and gradually increase the duration over several days.
| Seed Type | Temperature Range (°F) |
|---|---|
| Lettuce | 50-75 |
| Tomato | 70-90 |
| Carrot | 55-75 |
| Pepper | 70-85 |
| Zucchini | 70-90 |
Best Seeds to Germinate in a Heated Container
Germinating seeds in a heated container can significantly speed up the germination process, giving your plants a head start and increasing your chances of success. While many types of seeds can benefit from a heated container, some are more suited to this method than others. Here are some of the best seeds to germinate in a heated container:
- Tomatoes: Tomatoes require warm soil to germinate, making them a perfect candidate for a heated container. The warmth provided by the container will help the seeds germinate quickly and establish strong root systems.
- Peppers: Like tomatoes, peppers also thrive in warm soil conditions. Using a heated container can give pepper seeds the heat they need to germinate faster and produce vigorous plants.
- Eggplants: Eggplants prefer warm soil temperatures for germination. By using a heated container, you can create the ideal conditions for eggplant seeds to sprout and grow into healthy seedlings.
- Cucumbers: Cucumber seeds need warm soil to germinate successfully. Providing them with a heated container can help speed up the germination process and give your cucumber plants a head start.
- Squash: Both summer squash and winter squash varieties can benefit from germinating in a heated container. The warmth will help the seeds germinate faster, leading to stronger plants.
It’s important to note that while these seeds are well-suited for germinating in a heated container, other seeds can also benefit from this method. It’s always a good idea to research the specific germination requirements of the seeds you’re planning to use and determine if a heated container would be beneficial.
By choosing the best seeds to germinate in a heated container, you can enhance the germination process and increase your chances of success in growing healthy and productive plants.
Common Mistakes to Avoid when Using a Heated Container
- Leaving the seedlings in the heated container for too long: It is important to transfer seedlings to a regular container or garden bed once they have sprouted and developed their first set of true leaves. Keeping them in the heated container for too long can cause overcrowding and hinder proper growth.
- Not monitoring temperature closely: While a heated container can provide the necessary warmth, it is crucial to regularly check the temperature to ensure it remains within the ideal range for seed germination. High temperatures can lead to seedling stress or even death, while low temperatures may slow down or prevent germination.
- Overwatering the seedlings: Seedlings in a heated container still require adequate moisture, but it is important not to overwater them. Excessive moisture can lead to root rot or fungal diseases. It is best to water the seedlings when the top inch of soil feels dry.
- Using low-quality or inappropriate soil mix: The soil mix used for seedlings should be well-draining, sterile, and nutrient-rich. Using low-quality soil or one that doesn’t meet these requirements can lead to poor germination, weak seedlings, or increased susceptibility to diseases and pests.
- Not providing adequate light: While a heated container provides warmth for seed germination, it does not necessarily provide sufficient light for healthy growth. Once the seedlings have sprouted, they should be placed under a source of bright, indirect light or a grow light to promote strong and vigorous growth.
- Not hardening off the seedlings: Before transplanting seedlings into the garden, it is important to gradually expose them to outdoor conditions over a period of time. This process, known as hardening off, helps seedlings acclimate to temperature fluctuations, wind, and sun exposure. Skipping this step can lead to transplant shock and poor survival rate.
“Question-Answer”
Why is it important to accelerate seed germination?
Accelerating seed germination is important because it allows you to start growing plants earlier in the season, giving them a longer growing period and increasing your overall yield.
How does a heated container help in speeding up seed germination?
A heated container provides a warm and consistent environment for seedlings, which helps to activate the growth process and stimulate seed germination.
What materials do I need to build a DIY heated container for seedlings?
To build a DIY heated container for seedlings, you will need a plastic storage container, a heat mat or cables, a thermostat, a thermometer, and some insulation material such as styrofoam or bubble wrap.
Can I use any type of plastic storage container for this project?
It is recommended to use a clear plastic storage container for this project, as it allows light to pass through and provides visibility for monitoring the temperature and moisture levels inside the container.
Do I need to water the seedlings differently when using a heated container?
When using a heated container, it is important to monitor the moisture levels regularly and adjust the watering accordingly. The increased warmth may cause the soil to dry out faster, so you may need to water more frequently.
Are there any precautions I need to take when using a heated container for seedlings?
Yes, there are a few precautions to keep in mind. Make sure not to overheat the container, as excessive heat can damage the seeds or seedlings. It is also important to monitor the temperature regularly and adjust the settings accordingly. Finally, be cautious with water and electricity, as they should not come into contact with each other.


