- Choosing the Right Soil
- Preparing the Planting Area
- Step 1: Choose a Suitable Location
- Step 2: Clear the Area
- Step 3: Loosen the Soil
- Step 4: Amend the Soil
- Step 5: Level the Soil
- Step 6: Mark Planting Rows
- Step 7: Water the Planting Area
- Creating Seed Furrows
- Materials Needed
- Step-by-Step Guide
- Sowing the Viola Seeds
- Step 1: Prepare the Soil
- Step 2: Choose the Right Time
- Step 3: Sow the Seeds
- Step 4: Cover and Water
- Step 5: Provide Proper Care
- Step 6: Transplant or Harden Off
- Step 7: Enjoy Your Violas
- Proper Watering Techniques
- 1. Watering Schedule
- 2. Watering Method
- 3. Watering Depth
- 4. Avoid Overwatering
- 5. Watering Time
- 6. Mulching
- Protecting the Seeds
- 1. Storing the Seeds:
- 2. Preparing the Seedbed:
- 3. Using a Seed Starting Mix:
- 4. Sowing the Seeds:
- 5. Watering Carefully:
- 6. Providing Shade:
- 7. Monitoring for Pests and Diseases:
- Monitoring and Maintaining
- Transplanting the Seedlings
- “Question-Answer”
- What is the best method for sowing small seeds like Viola?
- How deep should small seeds like Viola be planted?
- Is it necessary to cover small seeds after sowing?
- What is the ideal temperature for sowing small seeds like Viola?
- How often should I water small seeds after sowing?
- How long does it take for small seeds like Viola to germinate?
- “Video” How To Sow Viola And Pansy Seeds / Planting Violas
Viola, also known as pansy, is a beautiful and popular flowering plant that can bring color and cheer to any garden or landscape. As a small-seeded plant, sowing Viola seeds can be a delicate and challenging task. However, with the right method and careful attention, you can ensure successful germination and growth of these lovely flowers. In this step-by-step guide, we will walk you through an efficient method of sowing Viola seeds that will yield impressive results.
Step 1: Prepare your planting area
Before sowing Viola seeds, it is important to prepare the planting area properly. Choose a location that receives partial shade to full sun, as Viola plants thrive in these conditions. Ensure that the soil is well-draining and rich in organic matter. Remove any weeds or debris from the area and gently loosen the soil with a garden fork or rake.
Step 2: Soak the seeds
Viola seeds have a hard outer shell that can hinder germination. To soften the seed coat and promote quicker germination, it is recommended to soak the seeds in water for 24 hours before sowing. This will help to break down the seed coat and improve the chances of successful germination.
Step 3: Sow the seeds
After soaking the seeds, it’s time to sow them. Create small furrows in the soil using a garden trowel or your finger, making sure to space them about 6 inches apart. Gently place the seeds in the furrows, spacing them about 1 inch apart. Cover the seeds with a thin layer of soil, approximately 1/4 inch deep. Pat the soil lightly to ensure good contact between the seeds and the soil.
Step 4: Water and provide care
Once the seeds are sown, it is important to provide adequate water and care for successful germination and growth. Water the newly planted seeds gently, making sure not to wash them away. Keep the soil consistently moist but not soggy. Provide protection from extreme temperatures, such as frost or excessive heat, by covering the planted area with a breathable cloth or garden fabric.
Step 5: Transplant or thin the seedlings
After the seeds have germinated and the seedlings have grown their first set of true leaves, you can consider transplanting them to their final growing location. Alternatively, if the seedlings are overcrowded, you can carefully thin them by spacing them further apart, usually about 6-8 inches. This will ensure that each plant has sufficient space to grow.
By following this efficient method of sowing Viola seeds and providing proper care, you can enjoy a stunning display of colorful and vibrant flowers in your garden or landscape. Whether you choose to grow Viola in containers, beds, or borders, these small-seeded plants will surely bring beauty and joy to your outdoor space.
Remember to observe your Viola plants closely and make any necessary adjustments in care as needed. With patience and dedication, you will be rewarded with a bountiful and stunning Viola garden for all to admire.
Choosing the Right Soil
Choosing the right soil is crucial for the successful sowing of small seeds like viola. Here are some key factors to consider when selecting the soil for planting:
- Texture: The soil should have a fine texture, allowing for easy penetration and germination of small seeds. Avoid using soils with large particles or clumps, as this can hinder seed growth.
- Drainage: Good drainage is essential to prevent waterlogging and root rot. Ensure the soil has adequate drainage properties, allowing excess water to drain away quickly.
- Nutrient Content: Violas thrive in nutrient-rich soil. Prior to sowing, consider amending the soil with organic matter or a balanced fertilizer to provide adequate nutrients for the seeds to grow healthy and strong.
- pH Level: Violas prefer slightly acidic to neutral soil, with a pH range of 6.0 to 7.0. Test the pH level of the soil and make adjustments if necessary using lime to raise pH or sulfur to lower pH.
- Moisture Retention: The soil should have the ability to retain moisture without becoming waterlogged. A moisture-retentive soil will help keep the seeds hydrated during germination.
It is recommended to use a high-quality potting mix or a well-draining garden soil that meets the above criteria. Avoid using heavy clay soils or sandy soils, as they may not provide the optimal growing conditions for viola seeds.
Preparing the Planting Area
Before sowing small seeds such as Viola, it is important to properly prepare the planting area. This ensures optimal growing conditions for the seeds and increases the chances of successful germination and establishment.
Step 1: Choose a Suitable Location
Select a location that receives partial sun to full shade. Violas prefer cool temperatures, so avoid areas that receive prolonged direct sunlight, especially during the hottest parts of the day.
Step 2: Clear the Area

Remove any existing weeds, grass, or debris from the planting area. Weeds can compete with the young seedlings for nutrients and moisture, so it is essential to create a weed-free environment.
Step 3: Loosen the Soil
Using a garden fork or a tiller, loosen the soil in the planting area to a depth of at least 6 inches. This helps improve drainage and aeration, making it easier for the tiny Viola seeds to establish roots.
Step 4: Amend the Soil
If the soil in your planting area is heavy clay or lacks organic matter, it is beneficial to amend it with compost or well-rotted manure. Mix in a 2-3 inch layer of organic matter and thoroughly incorporate it into the soil.
Step 5: Level the Soil
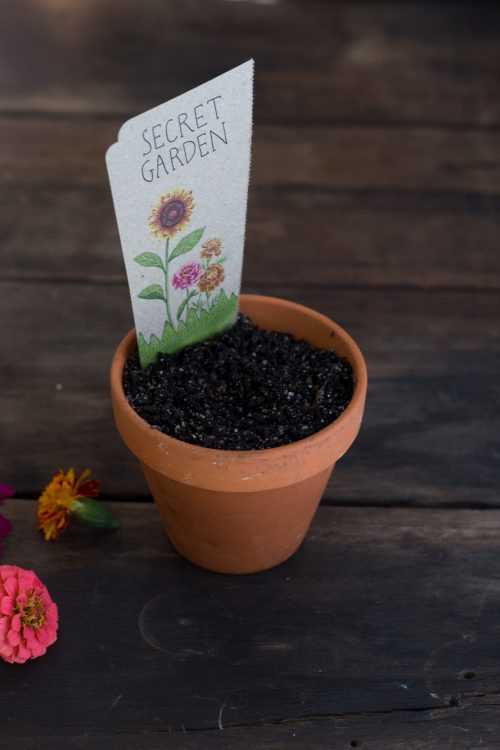
Rake the soil surface to create a smooth and level planting bed. This helps ensure uniform moisture levels and allows for even seed distribution.
Step 6: Mark Planting Rows
Using a garden marker or sticks, mark out the rows where you will be sowing the Viola seeds. This helps maintain organization and makes it easier to keep track of the seedlings as they grow.
Step 7: Water the Planting Area
Before sowing the seeds, thoroughly water the planting area to ensure the soil is moist. This helps in the germination process and promotes initial root development.
Creating Seed Furrows
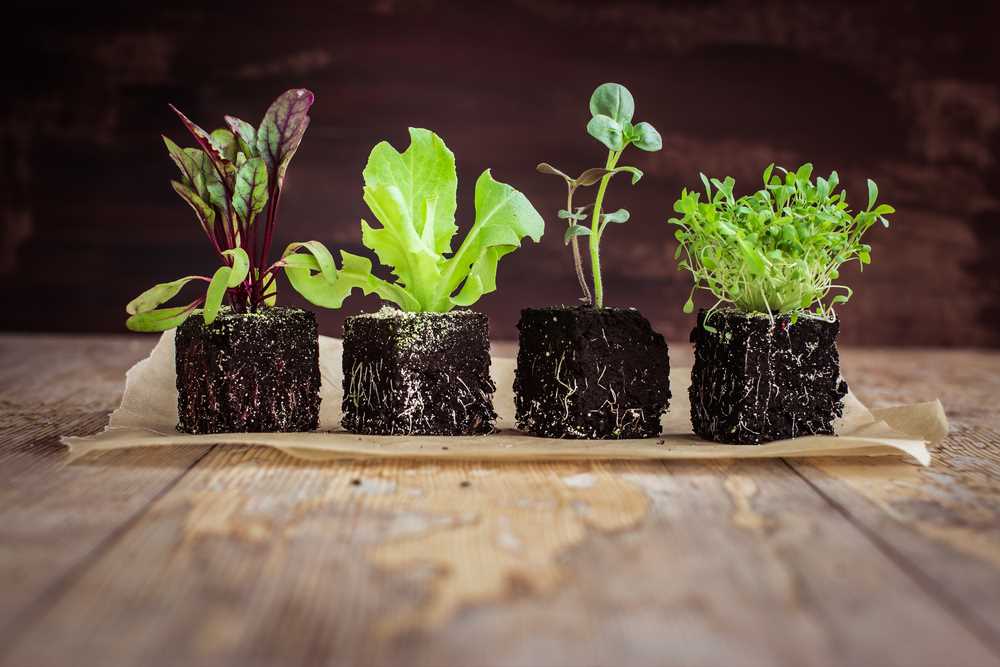
Once you have selected the area where you want to sow your Viola seeds, it’s important to prepare the soil properly to ensure proper germination and growth. Creating seed furrows is an efficient method of planting small seeds like Viola, as it helps to ensure an even distribution and spacing of the seeds.
Materials Needed
- Garden rake or hoe
- Measuring tape or ruler
Step-by-Step Guide
- First, use the garden rake or hoe to remove any weeds or debris from the area where you will be sowing the seeds. This will create a clean and smooth surface for planting.
- Next, use the measuring tape or ruler to determine the spacing between the seed furrows. The recommended spacing for Viola seeds is typically around 6 inches (15 cm), but you can adjust this spacing based on personal preference or the specific requirements of the Viola variety you are planting.
- Using the garden rake or hoe, carefully create shallow furrows in the soil. The furrows should be about 1/4 inch (0.6 cm) deep. Make sure to space the furrows evenly according to the measurements taken in the previous step.
- If you are planting multiple rows of Viola seeds, make sure to leave enough space between the rows to allow for proper growth and prevent overcrowding. The recommended spacing between rows is typically around 12 inches (30 cm), but this can also be adjusted based on personal preference or the specific requirements of the Viola variety.
- Once the furrows are created, you can sprinkle the Viola seeds directly into the furrows. Make sure to follow the recommended seed spacing provided by the seed packet or the specific requirements of the Viola variety.
- After sowing the seeds, use the garden rake or hoe to gently cover the seeds with soil. The soil should just cover the seeds, but be careful not to cover them too deeply, as this may inhibit germination.
- Finally, water the newly planted seeds gently to provide moisture for germination. Be careful not to overwater, as excessive moisture can lead to rotting or other issues. Maintain proper moisture levels throughout the germination and growth period to ensure healthy development.
By following these steps and creating seed furrows, you can ensure an efficient and effective method of sowing small Viola seeds. This will help promote even seed distribution and spacing, leading to healthy germination and growth of your Viola plants.
Sowing the Viola Seeds
Step 1: Prepare the Soil
Start by preparing the soil in your garden or flower bed. Violas prefer well-drained soil that is rich in organic matter. Remove any weeds or debris from the area and loosen the soil with a garden fork or tiller.
Step 2: Choose the Right Time
Viola seeds can be sown indoors or directly in the garden. If starting indoors, sow the seeds 8-10 weeks before the last frost date. If sowing directly, wait until the soil has warmed up and there is no more risk of frost.
Step 3: Sow the Seeds
Make small holes or furrows in the soil, about 1/4 inch deep. Space the holes or furrows 6-8 inches apart to allow the viola plants to have enough room to grow. Place one seed in each hole or evenly scatter the seeds along the furrow.
Step 4: Cover and Water
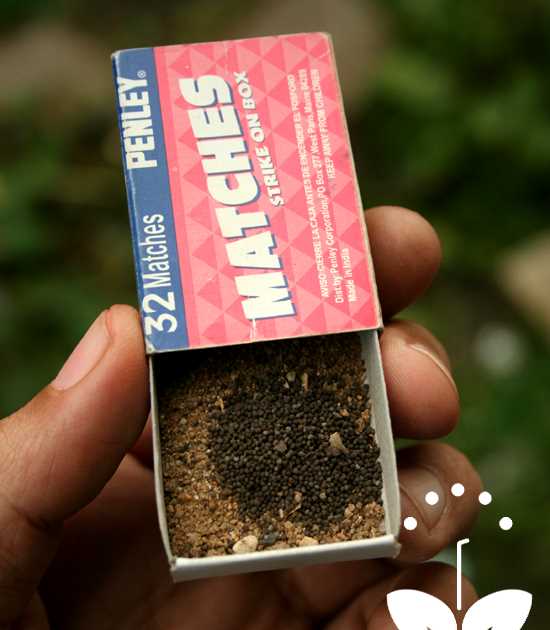
Lightly cover the seeds with soil or vermiculite. Gently water the area to moisten the soil, being careful not to wash away the seeds. Keep the soil consistently moist but not waterlogged throughout the germination process.
Step 5: Provide Proper Care
Once the viola seedlings have emerged, thin them out if they are too crowded. Keep the strongest seedlings, spacing them about 6-8 inches apart. Water the plants regularly, providing about 1 inch of water per week. Apply a balanced fertilizer according to package instructions to support healthy growth.
Step 6: Transplant or Harden Off
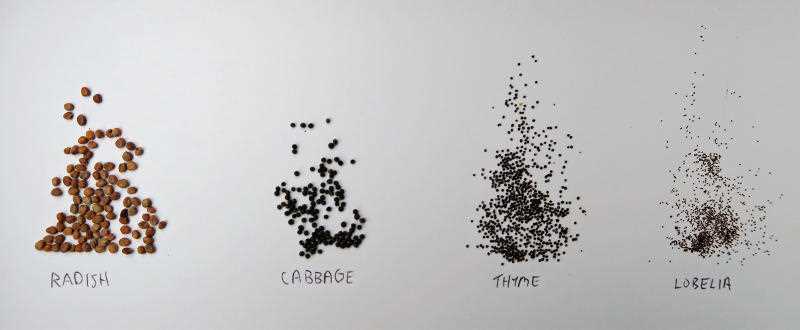
When the viola seedlings have grown to a height of about 3 inches, they can be transplanted into the garden or flower bed. Alternatively, you can harden off the seedlings by gradually exposing them to outdoor conditions over a period of 7-10 days.
Step 7: Enjoy Your Violas
Once the viola plants are established, they will continue to bloom throughout the growing season, adding beauty to your garden or flower bed. Regular deadheading will help prolong the blooming period. Sit back, relax, and enjoy your vibrant violas!
Proper Watering Techniques
The proper watering technique is essential for the successful growth of viola plants. Watering the plants correctly will ensure that the seeds have enough moisture to germinate and that the plants receive the necessary hydration throughout their growth cycle. Follow these steps to water your viola plants effectively:
1. Watering Schedule
Establish a regular watering schedule for your viola plants. It is important to water them consistently, especially during dry periods, to prevent the soil from drying out completely. Aim to water the plants once or twice a week, depending on the weather conditions and the moisture level of the soil.
2. Watering Method
When watering viola plants, it is best to use a gentle watering method that ensures even moisture distribution. Avoid using a heavy stream of water, as it may dislodge the seeds or young plants. Instead, use a watering can with a fine rose attachment or a hose with a gentle spray nozzle to provide a soft, steady flow of water.
3. Watering Depth
Ensure that the water penetrates the soil to a sufficient depth. Aim to water the plants until the top 1 to 2 inches of soil are moist. This will encourage the roots to grow deeper into the soil in search of water, resulting in stronger and more resilient plants.
4. Avoid Overwatering
Avoid overwatering the viola plants, as it can lead to root rot or fungal diseases. Before watering, always check the moisture level of the soil by inserting your finger into the soil up to the first joint. If it feels moist, wait a day or two before watering again. If it feels dry, proceed with watering.
5. Watering Time
Water your viola plants early in the morning or late in the evening to minimize evaporation. This allows the plants to absorb the water more efficiently and reduces the risk of water droplets on the leaves causing sunburn or fungal issues.
6. Mulching
Consider applying a layer of organic mulch around the base of the viola plants. Mulching helps to retain soil moisture, reduces weed growth, and regulates soil temperature. Use materials such as compost, straw, or wood chips and spread them around the plants, leaving a small gap around the stem to prevent rot.
By following these proper watering techniques, you can ensure the healthy growth and vibrant blooms of your viola plants.
Protecting the Seeds
Protecting the seeds is an essential step in ensuring successful germination and a healthy crop of Viola flowers. Here are some measures you can take to safeguard your seeds:
1. Storing the Seeds:
After harvesting the seeds or buying them from a supplier, it’s crucial to store them properly. Place the seeds in airtight containers or resealable bags to protect them from moisture and pests. Store the containers in a cool, dry place away from direct sunlight.
2. Preparing the Seedbed:
Before sowing, prepare a well-draining and weed-free seedbed. Remove any existing weeds, rocks, or debris that may hinder the growth of the seedlings. Level the soil surface to ensure even moisture distribution.
3. Using a Seed Starting Mix:
For small seeds like Viola, using a seed starting mix can greatly improve germination rates. Seed starting mixes are typically lightweight, well-draining, and nutrient-rich, providing an ideal environment for the tiny seeds to establish roots and grow.
4. Sowing the Seeds:
When sowing the tiny Viola seeds, try to distribute them evenly across the seedbed. You can use a seed spreader or mix the seeds with a carrier like sand or vermiculite to help disperse them more evenly. Gently press the seeds into the seed starting mix, ensuring good contact with the soil without burying them too deep.
5. Watering Carefully:
Water the seedbed gently using a fine mist or a watering can with a rose attachment. Avoid using strong water pressure, as it may dislodge the tiny seeds or cause damage to the emerging seedlings. Keep the soil moist but not waterlogged to prevent rotting.
6. Providing Shade:
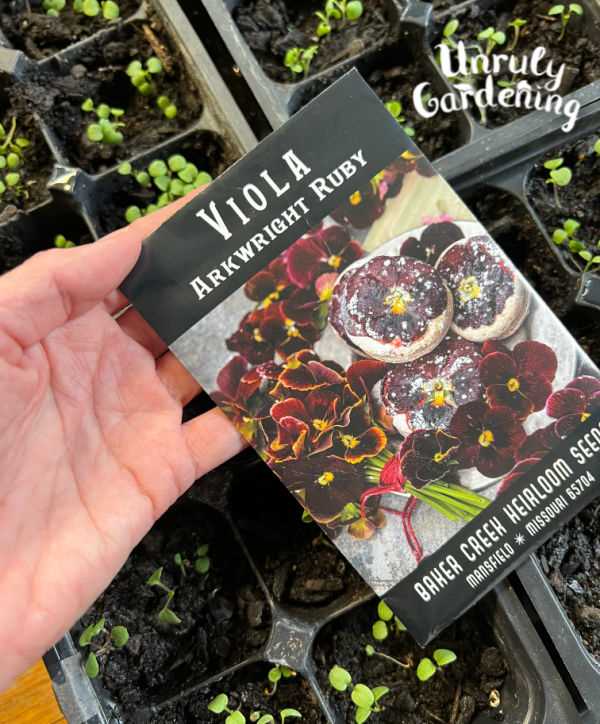
During the germination process, it is advisable to provide some shade to protect the seeds from direct sunlight. Direct sunlight can dry out the soil too quickly and overheat the delicate seedlings. Use a shade cloth or place the seedbed in a partially shaded area to create a favorable microclimate.
7. Monitoring for Pests and Diseases:
Keep an eye out for any signs of pests or diseases that may attack the seeds or seedlings. Common threats include slugs, snails, aphids, and fungal diseases. Take preventative measures such as applying organic pest control methods or removing infected plants promptly.
By following these steps to protect your Viola seeds, you can increase the chances of successful germination and cultivate healthy and vibrant Viola flowers.
Monitoring and Maintaining
Once you have planted your viola seeds, it is important to monitor and maintain the proper conditions for their growth. Here are some steps you can take to ensure the success of your viola plants:
- Watering: Viola seeds require consistent moisture to germinate and grow. Keep the soil evenly moist, but avoid overwatering, as it can lead to rotting.
- Light: Viola plants thrive in full sun to partial shade. Make sure they receive at least 4-6 hours of direct sunlight each day.
- Fertilizing: Apply a balanced, water-soluble fertilizer once a month to provide the necessary nutrients for healthy growth. Follow the package instructions for proper dilution and application.
- Weeding: Regularly inspect the area around the viola plants and remove any weeds that may compete for nutrients and space.
- Pest control: Watch out for common pests such as aphids or slugs. If necessary, use natural or organic pest control methods to protect your viola plants.
- Deadheading: Remove faded flowers by pinching them off at the base. This will encourage continuous blooming and prevent the plants from going to seed.
- Disease prevention: Keep an eye out for signs of disease, such as yellowing or wilting leaves. If necessary, treat the plants with appropriate fungicides or take steps to improve airflow and reduce humidity.
By monitoring and maintaining these factors, you can ensure the healthy growth and blooming of your viola plants. Enjoy the beauty and fragrance of these delightful flowers in your garden!
Transplanting the Seedlings
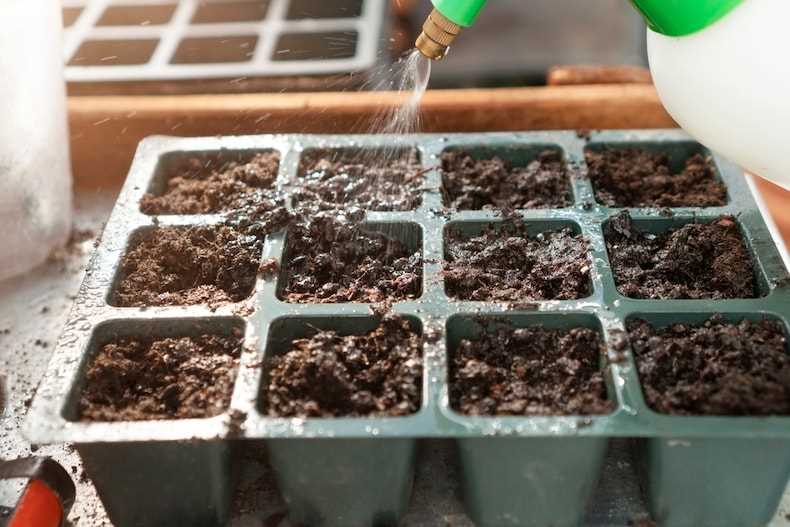
Once your viola seedlings have grown to a size where they have multiple sets of true leaves and are about 2-3 inches tall, they are ready to be transplanted. Transplanting the seedlings into individual pots or containers will give them more space to grow and allow for better air circulation, which will help prevent diseases.
Follow these steps to transplant your viola seedlings:
- Prepare your pots or containers by filling them with a well-draining potting mix. Make sure the pots have drainage holes at the bottom to allow excess water to escape.
- Gently loosen the soil around the base of the seedlings in the seed tray or cell tray to avoid damaging the roots.
- Using your hands or a small gardening trowel, carefully lift the seedlings out of the tray, holding them by the leaves or the root ball.
- Make a hole in the center of each pot or container large enough to accommodate the root ball of the seedling.
- Place the seedling into the hole, ensuring that the base of the stem is level with the surface of the soil in the pot.
- Gently press the soil around the seedling to secure it in place and eliminate any air pockets.
Remember to water your newly transplanted seedlings immediately after transplanting to help settle the soil and ensure good root-to-soil contact. Keep the soil consistently moist, but avoid overwatering, as this can lead to root rot or other issues.
After transplanting, the seedlings will need a period of adjustment in a protected area with indirect sunlight to prevent transplant shock. Gradually expose the seedlings to longer periods of direct sunlight over the course of a week or two, until they are acclimated and ready to be planted in their final outdoor location or larger containers.
“Question-Answer”
What is the best method for sowing small seeds like Viola?
The best method for sowing small seeds like Viola is to use the sprinkle method. This involves evenly spreading the seeds over the soil surface.
How deep should small seeds like Viola be planted?
Small seeds like Viola should be planted at a depth of about 1/8 to 1/4 inch. This depth allows for proper germination and ensures the seeds are not buried too deep.
Is it necessary to cover small seeds after sowing?
Yes, it is necessary to cover small seeds after sowing. This helps to protect the seeds from birds and other pests, as well as creates a moist environment for germination.
What is the ideal temperature for sowing small seeds like Viola?
The ideal temperature for sowing small seeds like Viola is around 60 to 70 degrees Fahrenheit. This temperature range provides optimal conditions for germination and seedling growth.
How often should I water small seeds after sowing?
Small seeds should be watered regularly after sowing to keep the soil moist. It is important to avoid over-watering, as this can lead to seed rot or other fungal diseases.
How long does it take for small seeds like Viola to germinate?
The germination time for small seeds like Viola can vary, but it typically takes around 7 to 14 days. Factors such as temperature and moisture levels can affect the germination time.


