- Grow Onions for Year-round Greens
- Step 1: Selecting the Right Onion Variety
- Step 2: Preparing the Growing Area
- Step 3: Planting the Onions
- Step 4: Maintaining the Onions
- Step 5: Harvesting the Greens
- Step 6: Regrowing the Onions
- Tips for Success
- Benefits of Growing Onions
- Choosing the Right Onion Bulbs
- 1. Type of Onion
- 2. Size and Quality
- 3. Storage Life
- 4. Organic or Conventional
- Preparing the Planting Containers
- Step 1: Choose the Right Containers
- Step 2: Clean and Sterilize the Containers
- Step 3: Fill the Containers with Sawdust
- Step 4: Add Nutrient-Rich Soil
- Step 5: Mix in Compost or Fertilizer
- Step 6: Water the Containers
- Step 7: Place the Containers in a Sunny Location
- Soil Mix and Seed Starting
- Soil Mix
- Seed Starting
- Planting Onions in Bags
- Materials Needed
- Steps to Planting Onions in Bags
- Tips for Success
- Care and Maintenance of Onion Greens
- 1. Watering
- 2. Fertilization
- 3. Weed Control
- 4. Disease and Pest Control
- 5. Harvesting
- 6. Storage
- Harvesting and Using Onion Greens
- Harvesting Onion Greens
- Using Onion Greens
- Conclusion
- Storing and Preserving Onion Greens
- 1. Refrigeration
- 2. Freezing
- 3. Dehydrating
- “Question-Answer”
- What are the benefits of growing onions for year-round greens?
- What do I need to grow onions for year-round greens?
- Can I use onion bulbs from the store or do I need to buy special ones?
- Do I need to plant the entire onion bulb or can I use just part of it?
- How often should I water the onion greens?
- How long does it take for onion greens to grow?
- “Video” Unbelievably High Yielding 2 In 1 Tomato And Potato Growing
When it comes to growing onions, most people think of the delicious bulbs that can be harvested and enjoyed in a variety of culinary dishes. But did you know that you can also grow onions for their greens all year round? By using a simple method that involves a bulb, a bag, and some sawdust, you can have a fresh supply of onion greens at your fingertips no matter the season.
The first step in growing onions for year-round greens is to choose the right type of onion bulb. Look for varieties that are specifically bred for their greens, as these tend to have a milder and more tender flavor compared to others. Once you have your bulbs, you’ll need to prepare a bag or container for planting. A breathable bag made from natural materials like burlap or cotton works best, as it allows for proper airflow and drainage.
Next, fill the bag about halfway with a mixture of sawdust and potting soil. The sawdust helps to retain moisture and provides a light, loose medium for the onions to grow in. Place the onion bulbs on top of the sawdust mixture, spacing them out evenly. Then, cover the bulbs with more sawdust and soil, making sure to leave about an inch of space between the top of the bag and the soil surface.
Now it’s time to water your onion greens. Be sure to water them regularly, keeping the sawdust and soil moist but not too wet. Within a few weeks, you should start to see the onion greens sprouting up through the sawdust. As they grow, you can harvest the greens by carefully clipping them off with scissors, leaving the bulb intact for future growth. With this method, you can have a continuous supply of fresh onion greens throughout the year, without the need for a garden or outdoor space.
Grow Onions for Year-round Greens
Onions are a versatile and essential ingredient in many dishes, and having a year-round supply of fresh green onions can be a game changer in the kitchen. With a few simple steps, you can grow your own onions for year-round greens!
Step 1: Selecting the Right Onion Variety
Not all onion varieties are suitable for growing greens. Look for varieties that are labeled as “green onions” or “scallions.” These varieties are specifically bred for their greens and will produce the best results.
Step 2: Preparing the Growing Area
Choose a sunny location in your garden or balcony for your onion greens. Prepare the soil by loosening it and removing any weeds or debris. Onions prefer well-draining soil, so adding compost or sand can improve the drainage.
Step 3: Planting the Onions
Plant the onion bulbs or sets in the prepared soil, following the recommended spacing on the seed packet. Gently press the bulbs into the soil, ensuring that the tops are slightly above the surface. Water the bulbs well after planting.
Step 4: Maintaining the Onions
Keep the soil evenly moist, but not waterlogged. Onions are relatively low-maintenance, but regular watering and occasional fertilizing can help promote healthy growth. Remove any weeds that may compete for nutrients and sunlight.
Step 5: Harvesting the Greens
You can begin harvesting the onion greens once they reach a height of around 6 inches. Use a pair of scissors to cut the greens close to the soil line. Leave the outer leaves intact to allow the plant to continue growing.
Step 6: Regrowing the Onions
After harvesting the greens, the onion bulbs will continue to grow. With proper care and maintenance, they can produce another batch of greens. Simply repeat the harvesting process as needed, allowing the bulbs to regrow in between.
Tips for Success
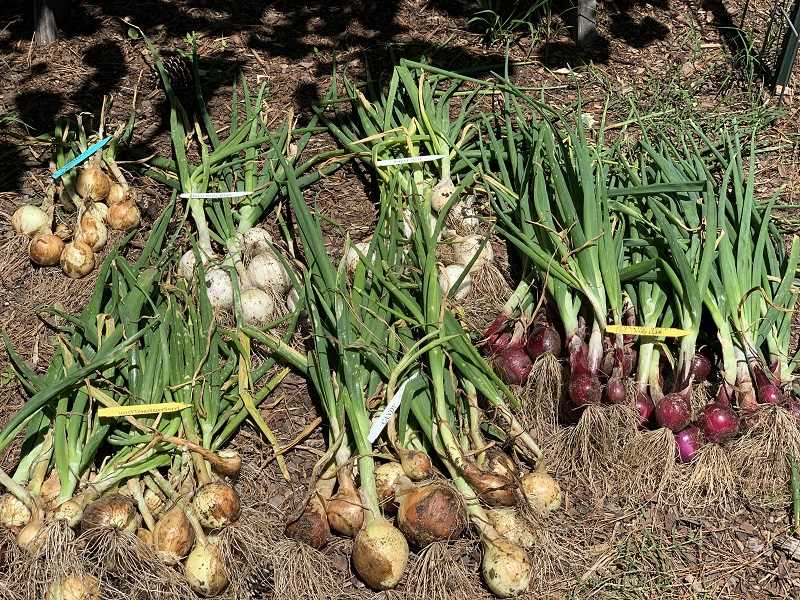
- Rotate your onion greens with other vegetables to prevent diseases and pests.
- Plant onions in succession to ensure a continuous supply of greens throughout the year.
- Consider growing onions in containers or raised beds if you have limited space.
- Experiment with different onion varieties to find the ones that grow best in your climate.
By following these steps, you can enjoy the freshness and flavor of homegrown onion greens all year long. Whether you use them in salads, stir-fries, or soups, you’ll be amazed at the difference that fresh onions can make in your dishes!
Benefits of Growing Onions
- Year-round supply of greens: Growing onions allows you to have a continuous supply of fresh greens throughout the year. This is especially beneficial in regions with limited growing seasons or during the winter when fresh produce may be scarce.
- Cost-effective: Growing onions can be a cost-effective way to add fresh greens to your diet. Onions are relatively inexpensive to grow from bulbs, and by using a bulb, bag, and sawdust method, you can maximize your yield without the need for a large garden or expensive equipment.
- Nutritional value: Onions are rich in vitamins A, C, and K, as well as folate and dietary fiber. By growing your own onions, you can ensure that you have access to these nutritious greens whenever you need them.
- Flavor enhancement: Onions have a strong, distinctive flavor that can enhance the taste of various dishes. By having a ready supply of fresh onions, you can easily add this flavor to your soups, stews, stir-fries, and other recipes.
- Easy to grow: Onions are relatively easy to grow, making them a suitable choice for both beginner and experienced gardeners. The bulb, bag, and sawdust method described in this article simplifies the growing process further, making it accessible to anyone with a small space and some basic gardening knowledge.
Overall, growing onions offers numerous benefits, including a year-round supply of greens, cost-effectiveness, nutritional value, flavor enhancement, and ease of cultivation. Whether you want to add more greens to your diet, save money on groceries, or simply enjoy the satisfaction of growing your own food, onions are a great option to consider.
Choosing the Right Onion Bulbs
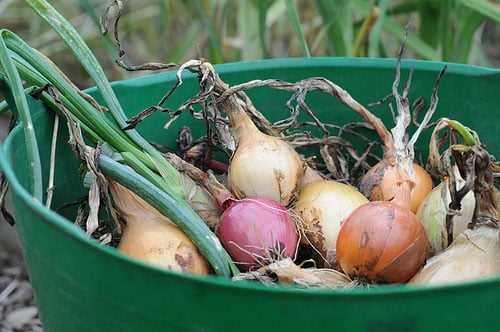
When it comes to choosing onion bulbs for growing year-round greens, it is important to select the right variety. Here are some factors to consider when choosing your onion bulbs:
1. Type of Onion
- There are three main types of onions: short-day onions, intermediate-day onions, and long-day onions.
- Short-day onions are best suited for warmer regions, as they require fewer daylight hours to bulb. They are typically sweeter in taste and have a shorter shelf life.
- Intermediate-day onions are a good choice for regions with moderate temperature ranges. They require slightly more daylight hours to bulb and have a medium shelf life.
- Long-day onions are suitable for cooler regions, as they require longer daylight hours to bulb. They have a strong flavor and a longer shelf life.
2. Size and Quality
- Choose onion bulbs that are firm and free from any signs of damage or disease.
- Look for bulbs that are at least 1 inch in diameter, as larger bulbs generally produce better greens.
- Avoid bulbs that have sprouted or show signs of rotting.
3. Storage Life
- Consider the storage life of the onion bulbs when selecting them for year-round greens.
- If you plan to store the bulbs for an extended period, choose varieties that have a longer storage life.
- Some onion varieties can be stored for several months without losing their quality.
4. Organic or Conventional
- Decide whether you want to grow organic onions or conventional onions.
- Organic onions are grown without the use of synthetic pesticides, herbicides, or fertilizers.
- Conventional onions may be treated with synthetic chemicals, which can affect their taste and nutritional value.
By considering these factors, you can choose the right onion bulbs for growing year-round greens and enjoy a fresh supply of onion greens throughout the year.
Preparing the Planting Containers
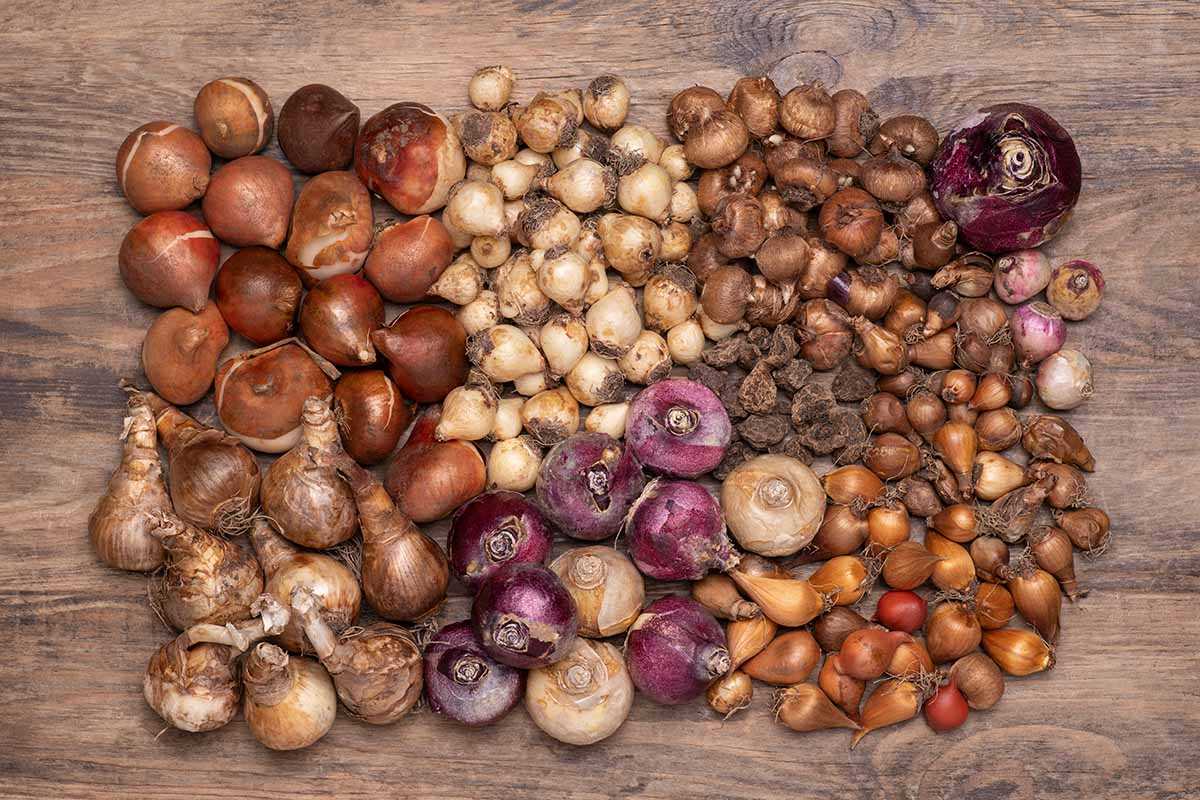
Before planting your onions, you need to prepare the containers that will hold them. Follow these steps to ensure the best growing conditions for your onions:
Step 1: Choose the Right Containers
When selecting containers for growing onions, opt for deep bags or buckets that are at least 12 inches deep. Make sure the containers have drainage holes at the bottom to prevent waterlogging.
Step 2: Clean and Sterilize the Containers
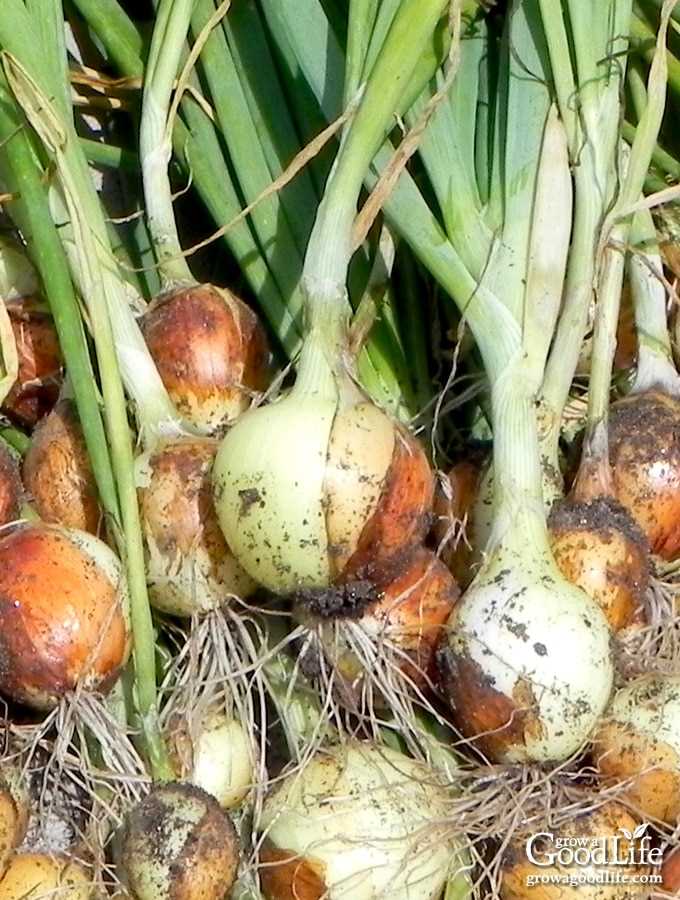
Before planting, clean the containers thoroughly to remove any dirt or debris. Then, sterilize them with a mixture of one part bleach to nine parts water. Rinse the containers well afterwards to remove any remaining bleach solution.
Step 3: Fill the Containers with Sawdust
Begin filling the containers with a layer of sawdust. This will provide a moisture-retaining base for the onions and help prevent the growth of weeds. Make sure to leave enough space at the top for planting the bulbs.
Step 4: Add Nutrient-Rich Soil
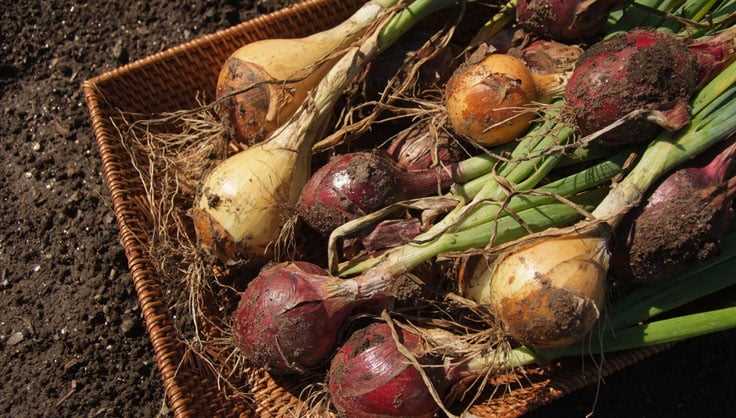
On top of the layer of sawdust, add nutrient-rich soil. This will provide the necessary nutrients for the onions to grow. Fill the containers almost to the top, leaving enough space for planting the onion bulbs.
Step 5: Mix in Compost or Fertilizer
To further enrich the soil, mix in compost or a slow-release fertilizer. This will provide a sustained source of nutrients for the onion plants throughout their growth cycle.
Step 6: Water the Containers
After filling the containers with soil and nutrients, water them thoroughly to ensure proper moisture levels. This will help the onions establish their roots and promote healthy growth.
Step 7: Place the Containers in a Sunny Location
Once the containers are prepared, place them in a sunny spot in your garden or on a sunny balcony. Onions thrive in full sun, so make sure they receive at least 6-8 hours of direct sunlight each day.
By following these steps, you will have well-prepared planting containers that will provide the optimal growing conditions for your onions.
Soil Mix and Seed Starting
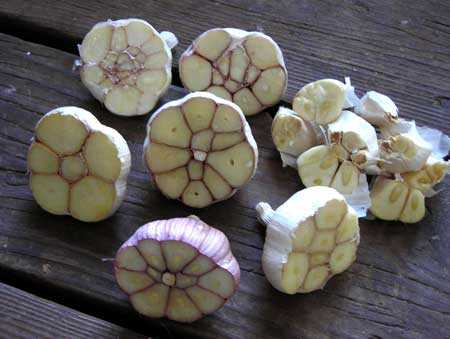
To successfully grow onions for year-round greens, it is important to start with the right soil mix and properly start the seeds.
Soil Mix
The soil mix for growing onions should be well-draining and rich in organic matter. Here is a suggested soil mix:
- 50% garden soil or compost
- 30% peat moss or coconut coir
- 20% perlite or vermiculite
Mix these ingredients together well before filling your growing containers or bags.
Seed Starting
To start the onion seeds for year-round greens, follow these steps:
- Fill your seed trays or small pots with the prepared soil mix.
- Sow the onion seeds thinly and evenly on the soil surface.
- Lightly cover the seeds with a thin layer of soil mix.
- Water the soil thoroughly, making sure it is evenly moist but not waterlogged.
- Place the trays or pots in a warm and well-lit area, such as a greenhouse or a sunny windowsill.
- Keep the soil consistently moist, but avoid overwatering.
- The onion seeds should germinate within 7-10 days.
- Once the seedlings have developed a strong root system and a few sets of true leaves, they can be transplanted into their final growing containers or bags.
By following these guidelines for soil mix and seed starting, you can ensure successful growth and continuous supply of fresh onion greens throughout the year.
Planting Onions in Bags
Planting onions in bags is a convenient and simple way to grow onions throughout the year. Whether you have a small backyard or live in an apartment with limited space, growing onions in bags allows you to enjoy fresh greens right at your fingertips.
Materials Needed
- Large bags or containers
- Onion bulbs
- High-quality potting soil
- Compost or organic fertilizer
- Watering can or hose
Steps to Planting Onions in Bags
- Choose large bags or containers that have drainage holes at the bottom. This will ensure proper drainage and prevent waterlogged soil.
- Fill the bags or containers with high-quality potting soil, leaving about 2-3 inches of space at the top for watering.
- Place onion bulbs on the soil surface, making sure they have enough space to grow without touching each other.
- Cover the bulbs with additional potting soil, leaving the tops of the bulbs exposed.
- Water the soil thoroughly until it is evenly moist.
- Place the bags or containers in a sunny location, preferably where they will receive at least 6 hours of sunlight per day.
- Water the onions regularly, keeping the soil evenly moist but not waterlogged.
- Fertilize the onions every 2-3 weeks with compost or organic fertilizer to provide them with the necessary nutrients for growth.
- Harvest the greens of the onions when they reach the desired size. You can either trim the greens with scissors or pull out the whole plant to use the bulb as well.
Tips for Success
- Choose onion varieties that are suitable for growing in containers. Look for varieties labeled as “compact” or “container-friendly”.
- Ensure proper drainage by placing a layer of gravel or small rocks at the bottom of the bags or containers before adding the soil.
- Water the onions regularly, but be careful not to overwater as this can lead to rot.
- Consider using a drip irrigation system or self-watering containers to maintain consistent moisture levels.
- Monitor the onions for signs of pests or diseases, such as yellowing leaves or bulb rot, and take appropriate measures to prevent or treat them.
By following these simple steps, you can easily grow onions in bags and enjoy fresh greens year-round. Planting onions in bags is a great way to maximize space and take advantage of the convenience of container gardening.
Care and Maintenance of Onion Greens
Growing onion greens is a simple and rewarding process, but they do require some care and maintenance to ensure healthy growth. Here are some tips to help you with the care and maintenance of your onion greens:
1. Watering
Onion greens require adequate watering to promote healthy growth. Keep the soil consistently moist, but not waterlogged. Water the greens regularly, especially during hot and dry weather. Avoid overwatering as it can lead to rotting of the bulbs.
2. Fertilization
Provide your onion greens with regular fertilization to promote healthy growth. Use a balanced fertilizer that is high in nitrogen. Apply the fertilizer according to the package instructions, usually every 3-4 weeks. Avoid over-fertilization as it can lead to excessive leaf growth and poor bulb development.
3. Weed Control
Maintain weed control around your onion greens to prevent competition for nutrients and water. Regularly remove any weeds that may be growing near your greens. You can also use mulch to help suppress weed growth.
4. Disease and Pest Control
Monitor your onion greens for signs of disease or pest infestation. Common diseases that can affect onion greens include fungal infections and rot. If you notice any signs of disease, remove the affected plants promptly to prevent the spread. Pests such as aphids and thrips can also attack onion greens. Use organic pest control methods or consult with a local garden center for appropriate insecticides.
5. Harvesting
You can start harvesting your onion greens when they reach a height of 6-8 inches. Use a sharp pair of scissors or garden shears to cut the greens just above the soil level. Harvesting regularly will promote continuous growth and ensure a steady supply of fresh greens. Avoid cutting more than one-third of the greens at a time to allow for regrowth.
6. Storage
If you have harvested more onion greens than you can use immediately, they can be stored in the refrigerator for up to a week. Wrap the greens in a damp paper towel and place them in a plastic bag. Store them in the vegetable drawer of your refrigerator to maintain freshness.
By following these care and maintenance tips, you can enjoy a continuous supply of fresh onion greens throughout the year. Experiment with different varieties to add variety to your meals and enjoy the benefits of homegrown greens.
Harvesting and Using Onion Greens
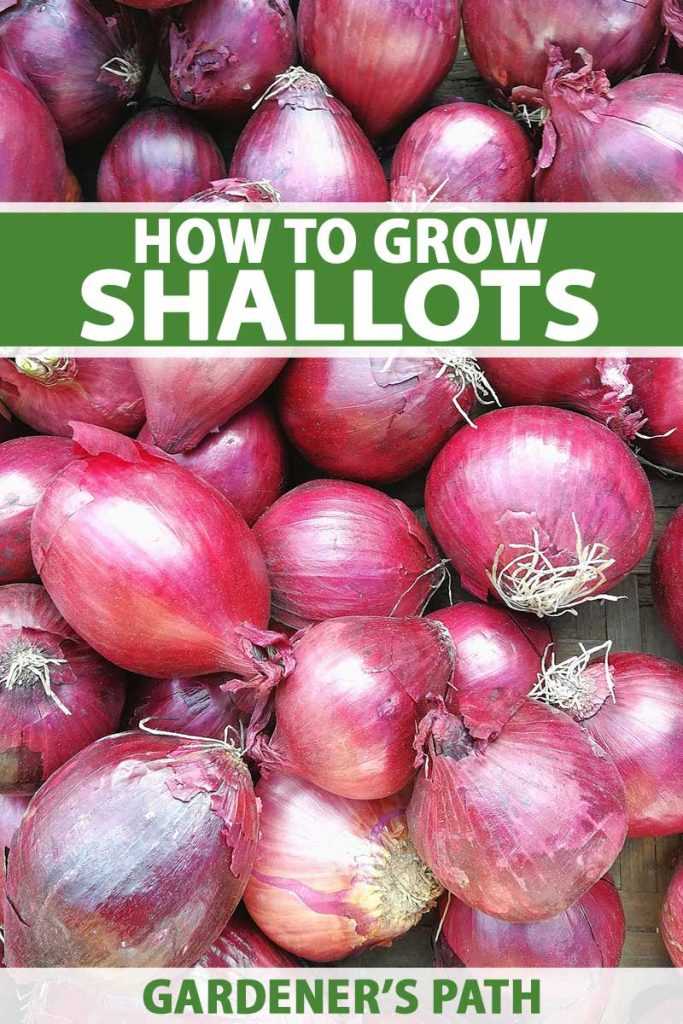
Onion greens are a versatile and flavorful addition to many dishes. They can be harvested at different stages of growth, depending on your preference.
Harvesting Onion Greens
When the onion bulbs have developed, you can start harvesting the greens. Simply cut the greens off near the base of the plant, leaving about an inch above the bulb. Harvesting the greens will not affect the growth of the bulb, allowing you to enjoy both the greens and the onion.
Alternatively, you can harvest onion greens when they are young and tender. To do this, pinch off the outermost leaves close to the base of the plant. This method allows for a continuous harvest as the plant continues to produce new greens.
Using Onion Greens
Onion greens can be used in a variety of ways in your cooking:
- Add chopped onion greens to salads for a fresh and oniony flavor.
- Sprinkle them over soups and stews as a garnish.
- Blend them into pesto or dressings for an extra burst of flavor.
- Use them as a topping for baked potatoes or roasted vegetables.
Onion greens can also be frozen for later use. To freeze them, wash and thoroughly dry the greens, then chop them into desired lengths. Place the chopped greens in an airtight container or freezer bag and store in the freezer. Frozen onion greens can be added directly to cooked dishes without defrosting.
Conclusion
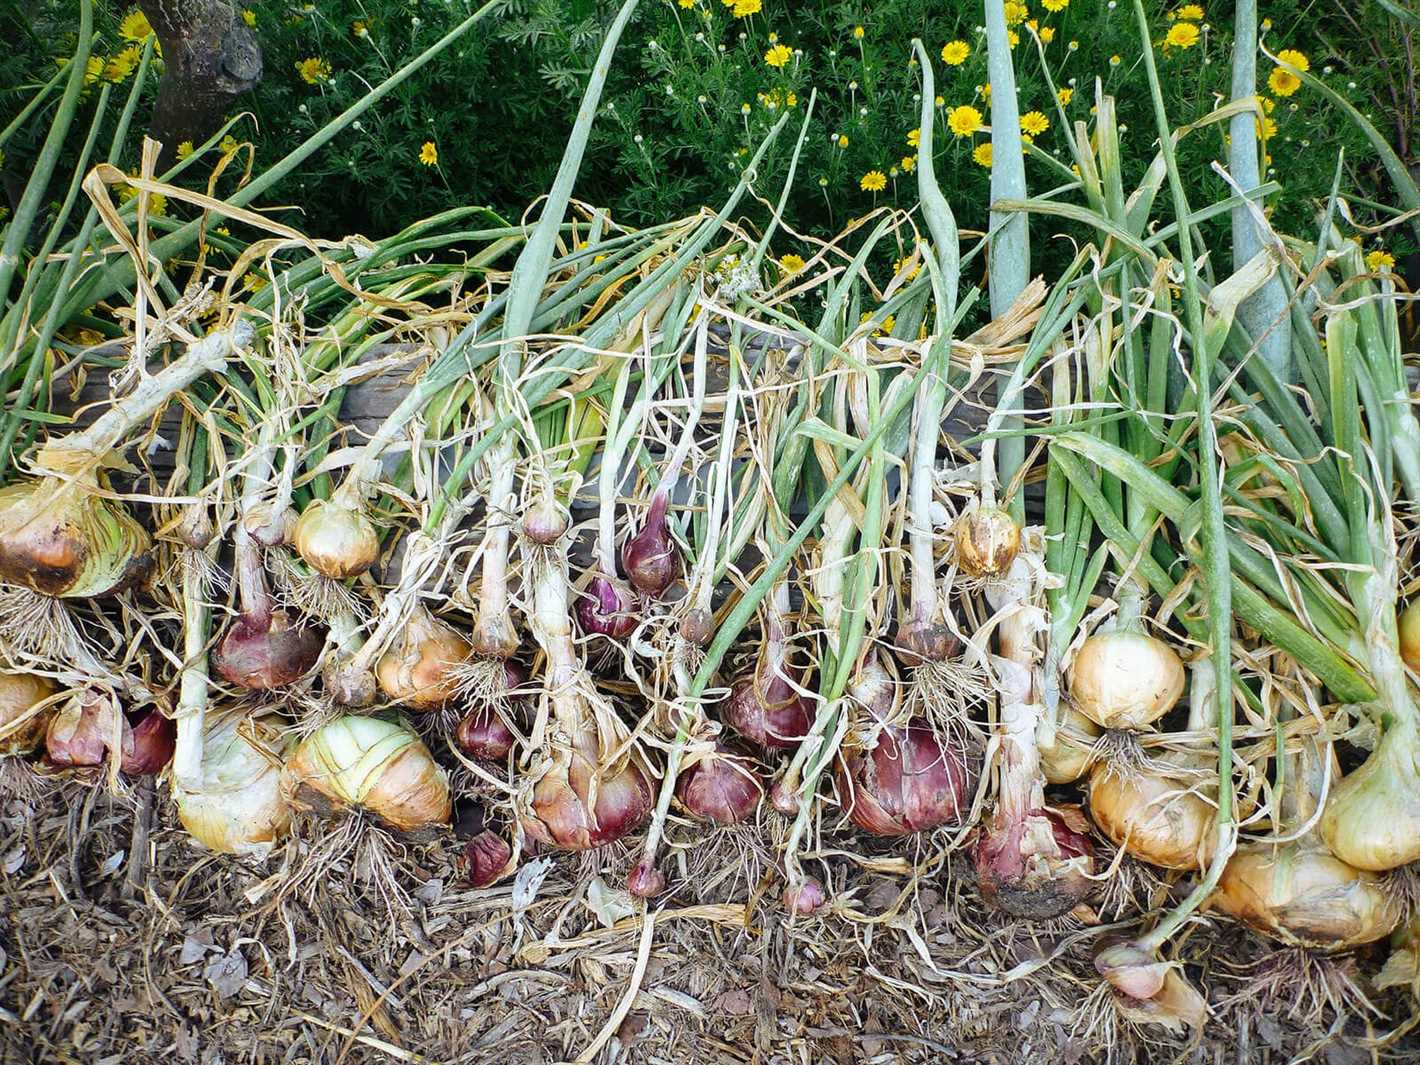
Harvesting and using onion greens is a great way to enjoy the flavor and freshness of onions year-round. Whether you prefer to harvest them when the bulbs have developed or when they are young and tender, onion greens can add a delicious touch to your culinary creations.
Storing and Preserving Onion Greens
Onion greens can be stored and preserved for future use, allowing you to enjoy their fresh flavor even when they are out of season. Here are some methods for storing and preserving onion greens:
1. Refrigeration
One of the easiest ways to store onion greens is by refrigerating them. Here’s how:
- Cut off the green tops of the onions, leaving about an inch of green stalk attached to the bulb.
- Wash the onion greens thoroughly to remove any dirt or debris.
- Wrap the greens loosely in a damp paper towel or place them in a perforated plastic bag.
- Store them in the refrigerator for up to one week.
2. Freezing
If you have a large amount of onion greens and want to preserve them for a longer period, freezing is a great option:
- Wash and chop the onion greens into desired lengths.
- Blanch them in boiling water for 1-2 minutes, then shock them in an ice bath to stop the cooking process.
- Drain the greens well and pat them dry.
- Place the greens in a freezer-safe bag or container, removing as much air as possible before sealing.
- Label the container with the date and store in the freezer for up to 6 months.
3. Dehydrating
Dehydrating onion greens is another method for long-term storage:
- Wash and pat dry the onion greens.
- Chop them into small pieces.
- Spread the greens in a single layer on a dehydrator tray or a parchment-lined baking sheet.
- Set the dehydrator to 125°F (52°C) or preheat the oven to its lowest temperature.
- Dehydrate the greens until they are completely dry and crispy, which may take around 6-8 hours.
- Store the dehydrated greens in an airtight container in a cool, dark place for up to 1 year.
By using these storage and preservation methods, you can have a supply of onion greens available year-round, adding fresh flavor to your meals whenever you need it. Experiment with these techniques and discover which one works best for you!
“Question-Answer”
What are the benefits of growing onions for year-round greens?
Growing onions for year-round greens provides a constant supply of fresh, nutritious greens that can be added to a variety of dishes. It also allows for self-sufficiency and reduces the need to rely on store-bought greens. Additionally, growing your own onions for greens can save money in the long run.
What do I need to grow onions for year-round greens?
To grow onions for year-round greens, you will need onion bulbs, a bag or container, and sawdust or compost. The bag or container should be deep enough to accommodate the onion bulbs and allow for root growth. Sawdust or compost will provide the necessary nutrients for the onions to grow.
Can I use onion bulbs from the store or do I need to buy special ones?
You can use onion bulbs from the store to grow year-round greens. However, it is important to choose bulbs that are firm and healthy-looking. Avoid bulbs that are soft or have any signs of mold or rot. Using organic onion bulbs is also a good idea to ensure you are not introducing any harmful pesticides or chemicals into your growing process.
Do I need to plant the entire onion bulb or can I use just part of it?
When growing onions for year-round greens, it is best to use the entire onion bulb. This will ensure that the greens have enough energy and nutrients to grow. Using just part of the bulb may result in weak or stunted growth.
How often should I water the onion greens?
Onion greens should be watered regularly to keep the soil moist but not waterlogged. Check the moisture level of the soil regularly by sticking your finger about an inch into the soil. If it feels dry, it’s time to water. In general, watering every 2-3 days should be sufficient, but this may vary depending on the climate and humidity.
How long does it take for onion greens to grow?
The time it takes for onion greens to grow can vary depending on various factors such as temperature and growing conditions. On average, onion greens can be ready to harvest within 3-4 weeks after planting. However, it is best to start harvesting the greens when they reach a height of around 6-8 inches. This will ensure that they are at their peak flavor and tenderness.


