- Why Choose Watermelons 27 kg?
- Large Size
- Sweet Flavor
- Disease Resistance
- High Yield
- Step 1: Selecting the Right Varieties
- Step 2: Preparing the Soil
- Step 3: Sowing Watermelon Seeds
- Step 4: Taking Care of Seedlings
- Step 5: Transplanting Seedlings
- Materials Needed:
- Instructions:
- Step 6: Providing Optimal Growing Conditions
- Soil Preparation and Fertilization
- Spacing
- Watering
- Temperature and Sunlight
- Weed Control
- Support and Pest Control
- Step 7: Caring for Watermelon Plants
- 1. Watering
- 2. Fertilizing
- 3. Mulching
- 4. Supporting
- 5. Pest and Disease Control
- 6. Pruning
- 7. Pollination
- 8. Weed Control
- 9. Monitoring and Harvesting
- Step 8: Harvesting Watermelons
- 1. Check for maturity
- 2. Prepare your tools
- 3. Cut the stem
- 4. Lift the watermelon
- 5. Inspect the watermelon
- 6. Store and enjoy your watermelons
- “Question-Answer”
- How do I grow watermelons from seedlings?
- What is the best time to sow watermelon seeds?
- Can I grow watermelons in containers?
- How long does it take for watermelon seedlings to develop?
- Are there any tips for getting larger watermelons?
- How do I know when watermelons are ready to harvest?
- “Video” How to grow Cucumbers vertically, extremely lots of fruit, Growing cucumbers
Watermelons are a delicious and refreshing fruit, perfect for summertime. If you’re interested in growing your own watermelons and achieving impressive results, this step-by-step guide will provide you with all the information you need. Whether you’re a seasoned gardener or a beginner, these instructions will ensure you have a successful harvest of watermelons weighing up to 27 kg!
First, it’s important to start with the right seeds. Choose a variety of watermelon that is known for producing large fruits, such as the “Carolina Cross” or “Black Diamond” varieties. These seeds can be purchased from gardening stores or online. Once you have your seeds, you can start the process of sowing them on seedlings.
Sow the watermelon seeds about a month before the last expected frost in your area. Fill seedling trays or pots with a good quality potting mix and plant 2-3 seeds in each container. Make sure to water the seeds regularly and keep the soil moist but not waterlogged. They should germinate within 7-10 days. Once the seedlings have grown two sets of true leaves, you can transplant them into the garden.
Choose a sunny location with well-draining soil for planting your watermelon seedlings. Prepare the soil by adding compost or well-rotted manure to improve its fertility. Dig holes that are about 60 cm in diameter and 30 cm deep, spacing them about 2 meters apart. Carefully remove the seedlings from their containers, taking care not to damage the roots, and place them in the holes. Cover the roots with soil and gently firm it around the base of the plants.
As your watermelon vines grow, they will need consistent watering. Water deeply once a week, or more often during hot and dry periods. Mulch the soil around the plants with straw or grass clippings to help retain moisture and prevent weed growth. Regularly monitor the plants for pests and diseases, and take appropriate action if necessary. Finally, when the watermelons reach maturity, which is typically 75-90 days after planting, they will be ready to harvest.
Why Choose Watermelons 27 kg?
Watermelons are one of the most popular and refreshing fruits to grow and eat during the summer months. Their sweet and juicy flesh is perfect for enjoying on a hot day or using in a variety of recipes. While there are many different varieties of watermelons available, the Watermelons 27 kg is a particularly attractive choice for several reasons.
Large Size
As the name suggests, Watermelons 27 kg are known for their large size. These watermelons can weigh up to 27 kilograms, making them ideal for sharing with family and friends at picnics or parties. Their impressive size makes them a centerpiece of any gathering and ensures that there will be plenty of delicious watermelon for everyone to enjoy.
Sweet Flavor
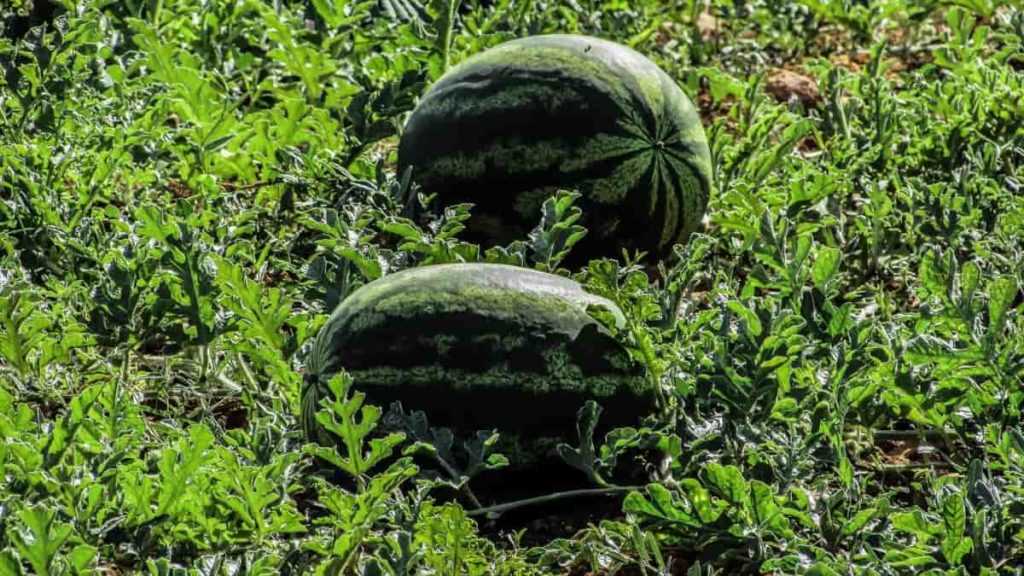
Watermelons 27 kg are not only big, but they also have an incredibly sweet flavor. Their flesh is juicy and bursting with natural sweetness, making them incredibly satisfying to eat. Whether you enjoy them on their own or use them in recipes like watermelon salad or agua fresca, the sweet flavor of these watermelons is sure to impress.
Disease Resistance
Watermelons 27 kg are bred to be resistant to a variety of common diseases that can affect watermelon plants. This means that they are more likely to thrive and produce a bountiful harvest, even in less than ideal growing conditions. Choosing Watermelons 27 kg gives gardeners peace of mind knowing that their plants have a higher chance of success.
High Yield
Another reason to choose Watermelons 27 kg is their high yield. These watermelons produce a large number of fruits per plant, ensuring that you will have an abundant supply of watermelons to enjoy throughout the summer. Whether you plan to share them with neighbors or sell them at a local market, the high yield of Watermelons 27 kg is sure to impress.
In conclusion, Watermelons 27 kg are an excellent choice for anyone looking to grow watermelons. Their large size, sweet flavor, disease resistance, and high yield make them a standout variety. Whether you are a seasoned gardener or just starting out, choosing Watermelons 27 kg is sure to result in a delicious and rewarding harvest.
Step 1: Selecting the Right Varieties
When growing watermelons, it is important to select the right varieties that will thrive in your growing area. Different varieties have different requirements in terms of climate, soil, and space. Here are a few factors to consider when choosing the right watermelon variety:
- Climate: Watermelons are warm-season crops and require a long growing season with hot temperatures to develop properly. Some varieties are more suitable for cooler climates, while others are better suited for hot and humid regions. Consider the average temperatures in your area before selecting a variety.
- Space: Watermelon plants require ample space to spread and grow. Some varieties have larger vines and need more room to expand, while others have smaller vines and can be grown in smaller spaces. Take into account the available space in your garden or growing area.
- Days to maturity: The days to maturity refers to the time it takes for the watermelon fruit to develop and be ready for harvest. This factor is important if you have a shorter growing season or want to stagger your harvest. Some varieties have a shorter maturation period, while others take longer to ripen.
- Taste and texture: Watermelons come in various colors, sizes, and flavors. Consider your preferences when it comes to taste and texture. Some varieties are sweeter, while others have a more refreshing taste. Take into account the size of the watermelon fruit as well, as some varieties produce smaller melons, while others yield larger ones.
Before purchasing watermelon seeds or seedlings, research different varieties and read product descriptions to find the most suitable options for your specific growing conditions and preferences.
Step 2: Preparing the Soil
Preparing the soil is an essential step in growing watermelons. A well-prepared soil provides a favorable environment for the seeds to germinate and the plants to thrive. Follow these steps to prepare the soil for your watermelon patch:
- Choose a sunny location: Watermelons require plenty of direct sunlight to grow properly. Select a spot in your garden that receives at least 6-8 hours of sunlight each day.
- Clear the area: Remove any weeds, grass, or other vegetation from the chosen spot. These plants can compete with watermelon plants for nutrients and water. It’s best to clear the area thoroughly to ensure the best possible growing conditions.
- Break up the soil: Use a garden fork or a rototiller to break up the soil. This will help improve drainage and loosen any compacted areas. Avoid working the soil when it is wet, as it can lead to soil compaction.
- Add compost or organic matter: Watermelons thrive in rich, well-draining soil. Incorporate compost or organic matter into the soil to improve its fertility and moisture-retention capabilities. Spread a 2-3 inch layer of compost or well-rotted manure over the soil surface and mix it in thoroughly.
- Test the soil pH: Watermelon plants prefer slightly acidic soil with a pH level between 6.0 and 6.8. Test the soil using a pH test kit, and if necessary, adjust the pH by adding lime to raise it or sulfur to lower it.
- Create raised beds or mounds: Watermelons benefit from well-drained soil. Consider creating raised beds or mounds to enhance drainage and prevent waterlogging. This can be especially helpful in areas with heavy clay soil.
- Level and smooth the soil surface: Use a rake to level and smooth the soil surface. This will make it easier to sow the watermelon seeds and promote uniform germination.
By following these steps to prepare the soil, you can create the ideal growing conditions for your watermelon plants. This will give them the best chance of producing healthy, juicy fruits that weigh up to 27 kg.
Step 3: Sowing Watermelon Seeds
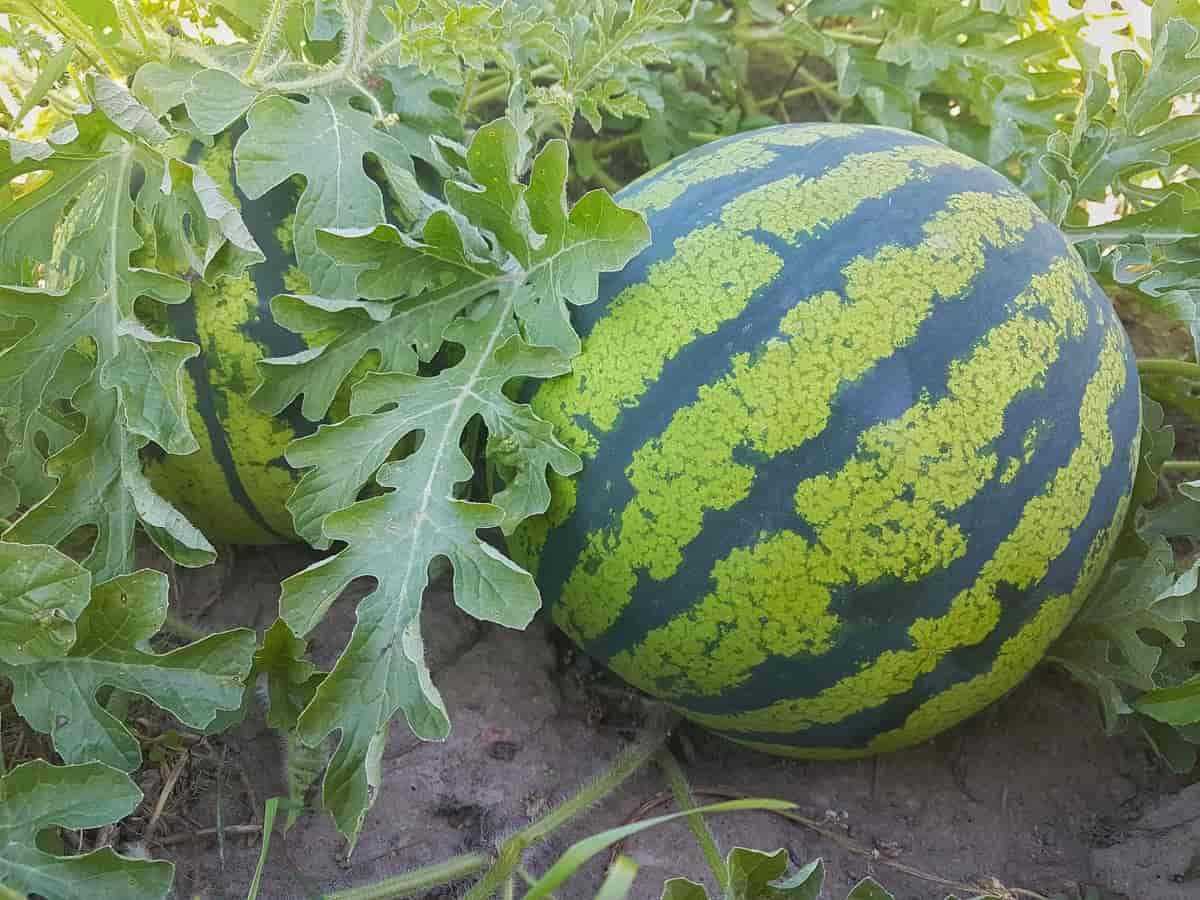
Once you have prepared the soil and created the ideal growing conditions for your watermelon plants, it’s time to sow the seeds. Here are the steps to sow watermelon seeds:
- Choose quality seeds: Select watermelon seeds from a reputable supplier to ensure good germination and healthy plants.
- Prepare seed starting trays: Fill seed starting trays with a well-draining and nutrient-rich potting mix. Make sure the trays have drainage holes to prevent waterlogging.
- Sow the seeds: Place 2-3 watermelon seeds in each cell of the seed starting trays. Plant the seeds about 1 inch deep into the soil and lightly cover them with the potting mix.
- Label the trays: Use labels or markers to identify the trays with the variety of watermelon seeds you have sown. This will help you keep track of their progress.
- Water the trays: Gently water the trays after sowing the seeds. Ensure that the soil is evenly moist but not waterlogged.
- Provide heat and light: Place the seed starting trays in a warm location with sufficient sunlight or use grow lights to provide the necessary warmth and light for germination.
- Monitor and care for the seedlings: Keep an eye on the trays and make sure the soil remains moist. As the seedlings emerge, thin them out to leave only the strongest one in each cell.
Sowing watermelon seeds is an exciting step in the growing process. With the right care and conditions, you’ll soon have healthy watermelon seedlings ready for transplanting into your garden.
Step 4: Taking Care of Seedlings
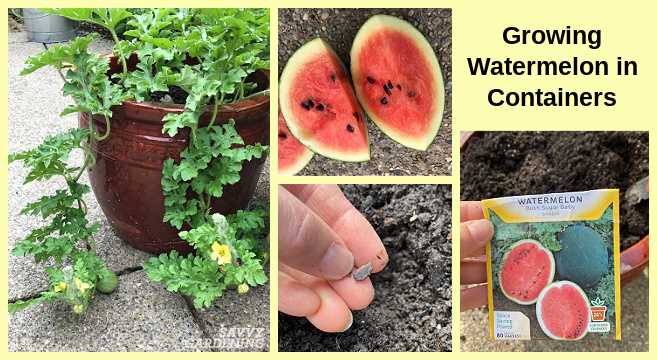
Once your watermelon seedlings have emerged, it’s important to provide them with proper care to ensure healthy growth. Here are the steps you need to follow:
- Watering: Watermelons require consistent watering to avoid drying out. Water the seedlings regularly, making sure the soil is evenly moist but not waterlogged. Avoid overwatering, as this can lead to root rot.
- Thinning: If you have multiple seedlings growing in one container, thin them out by removing the weakest ones. This will give the remaining seedlings enough space to develop properly.
- Temperature: Watermelons thrive in warm temperatures, so make sure to provide them with a warm environment. Maintain a temperature between 75-85°F (24-29°C) for optimal growth.
- Light: Watermelon seedlings need plenty of sunlight to grow strong and healthy. Place them in a location where they can receive at least 6-8 hours of direct sunlight each day. If growing indoors, you can use fluorescent lights or grow lights to provide the necessary light intensity.
- Fertilizing: After the seedlings have developed their first set of true leaves, you can start fertilizing. Use a balanced, water-soluble fertilizer and follow the manufacturer’s instructions for application rates. Fertilize every two weeks to provide the necessary nutrients for healthy growth.
- Support: As the seedlings grow, they may require support to prevent the vines from trailing on the ground. You can use trellises, stakes, or cages to support the vines and fruit.
- Pest and disease control: Keep an eye out for common pests and diseases that may affect watermelons, such as aphids, cucumber beetles, and powdery mildew. Use organic pest control methods or consult a professional if necessary.
By following these care instructions, you can ensure that your watermelon seedlings have the best chance for success and healthy growth.
Step 5: Transplanting Seedlings
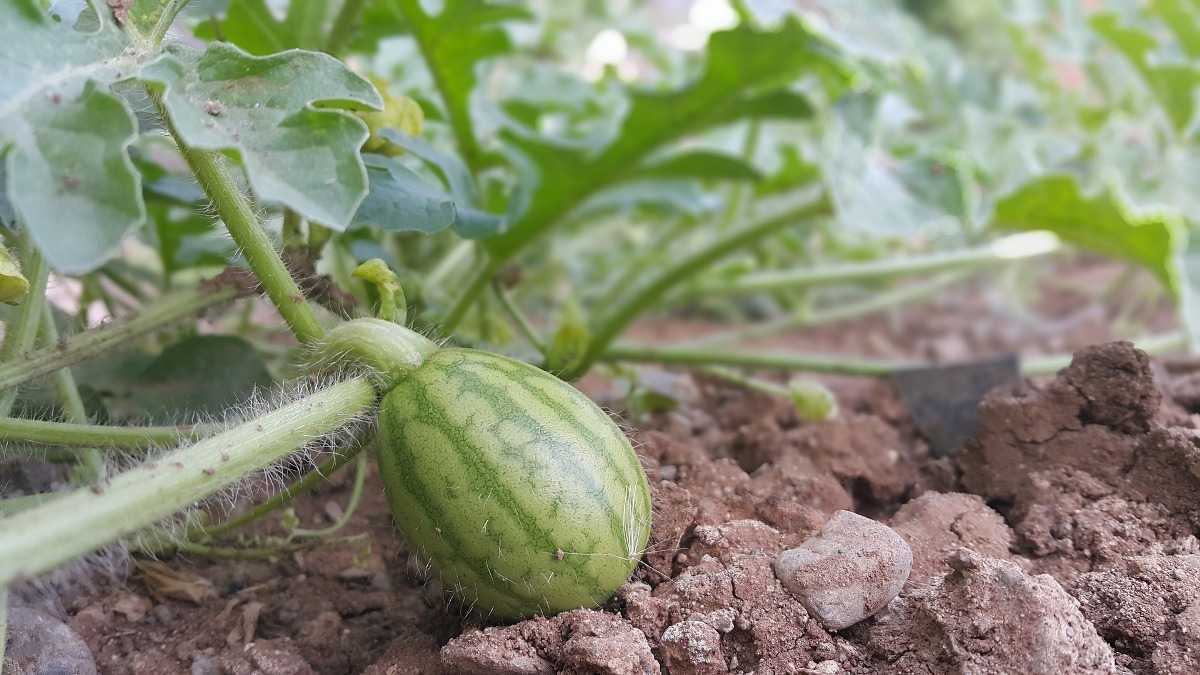
After nurturing your watermelon seedlings indoors, it is time to transplant them into the garden. Transplanting seedlings will allow them to continue growing and producing fruit.
Materials Needed:
- Trowel or small shovel
- Watering can or hose
- Compost or organic fertilizer
- Plant markers
Instructions:
- Choose a sunny spot in your garden for transplanting the seedlings.
- Prepare the soil by loosening it and removing any weeds or rocks.
- Mix in compost or organic fertilizer to enrich the soil with nutrients.
- Using a trowel or small shovel, dig holes that are slightly larger than the root ball of each seedling.
- Carefully remove the seedlings from their containers, being mindful not to damage their delicate roots.
- Place each seedling into a hole, making sure that the top of the root ball is level with the soil surface.
- Backfill the hole with soil, gently firming it around the base of the seedling.
- Water the newly planted seedlings thoroughly, ensuring that the soil is evenly moist.
- Place plant markers near each seedling to help you remember the variety and planting date.
- Continue to water the seedlings regularly, keeping the soil consistently moist but not waterlogged.
Transplanting seedlings can be a critical step in their growth, so be sure to handle them with care and provide them with proper care and attention as they continue to grow in the garden.
Step 6: Providing Optimal Growing Conditions
Watermelons require specific growing conditions in order to thrive and reach their full potential. It is important to provide these optimal conditions throughout the growing season to ensure a successful harvest.
Soil Preparation and Fertilization
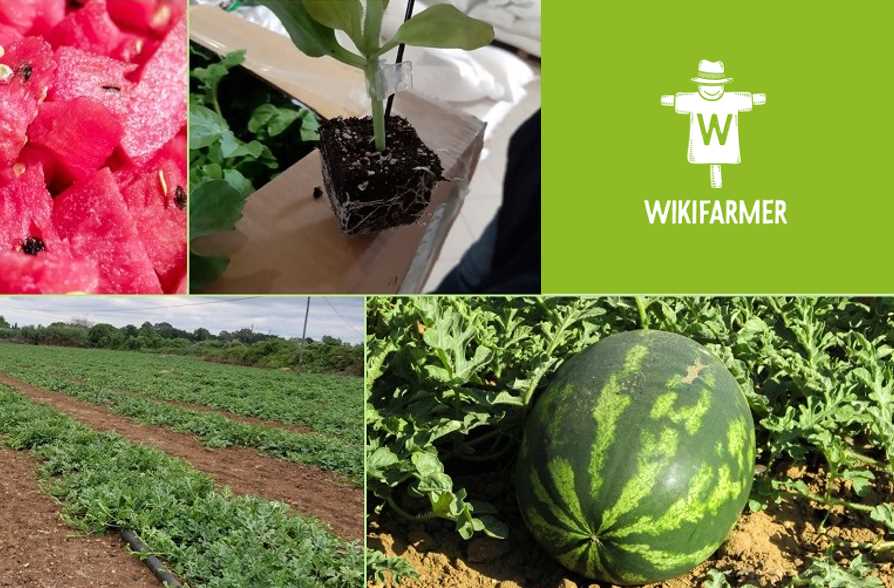
Watermelons prefer well-draining soil with a pH level between 6.0 and 6.8. Before planting, prepare the soil by adding organic matter such as compost or well-rotted manure. This will help improve the soil’s texture and nutrient content. Additionally, watermelons are heavy feeders, so it is recommended to apply a balanced fertilizer before planting.
Spacing
Watermelons need plenty of space to grow, both above and below ground. When planting seedlings, make sure to provide adequate spacing between plants to prevent overcrowding. A spacing of 3 to 4 feet between each plant is generally sufficient.
Watering
Watermelons have high water requirements, especially during hot and dry periods. It is important to provide consistent and deep watering to the plants throughout the growing season. Aim to keep the soil evenly moist, but be careful not to overwater as this can lead to root rot. Additionally, avoid wetting the foliage to prevent the development of fungal diseases.
Temperature and Sunlight
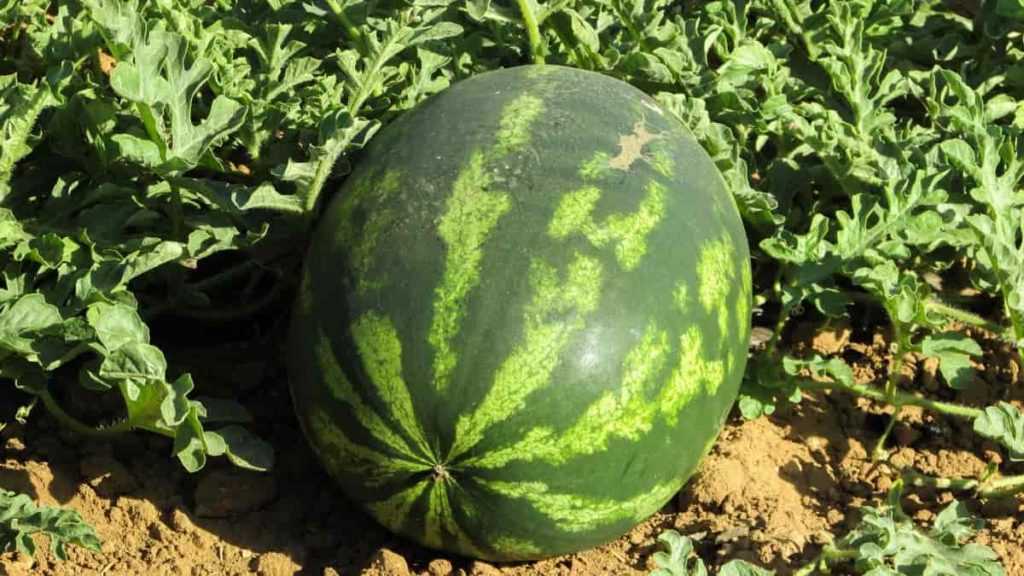
Watermelons thrive in warm temperatures, ideally between 70°F (21°C) and 90°F (32°C). They require full sun exposure for at least 6 to 8 hours a day. Choose a location that receives ample sunlight and is sheltered from strong winds. If you are growing watermelons in a cooler climate, consider using row covers or other protective measures to create a warmer microclimate.
Weed Control
Unwanted weeds can compete with watermelons for nutrients and water. Regularly inspect the growing area and remove any weeds that appear. Mulching around the plants can help suppress weed growth and maintain moisture levels in the soil.
Support and Pest Control
Watermelon vines can become long and heavy, so providing support, such as trellises or stakes, can help keep the vines off the ground. This can prevent diseases and keep the fruits clean. Additionally, monitor the plants regularly for signs of pests such as aphids, cucumber beetles, or squash bugs. Use appropriate organic pest control measures if necessary.
By providing optimal growing conditions, you can ensure that your watermelon plants thrive and produce sweet and juicy fruits. Following these steps will help you achieve a successful harvest.
Step 7: Caring for Watermelon Plants
Once your watermelon plants have emerged and are growing, it’s important to provide them with the care they need to thrive. Here are some essential steps to follow:
1. Watering
Watermelon plants require regular and consistent watering to ensure healthy growth. It’s crucial to keep the soil evenly moist, especially during dry periods. Make sure to water the plants at the base and avoid wetting the leaves, as this can cause disease. Water deeply and infrequently, making sure the soil is adequately soaked.
2. Fertilizing
Watermelon plants are heavy feeders and require regular fertilization to promote vigorous growth and fruit development. Apply a balanced fertilizer with a ratio of nitrogen (N), phosphorus (P), and potassium (K), such as a 10-10-10 or 14-14-14, following the package instructions. Apply the fertilizer once every two to three weeks during the growing season.
3. Mulching
Mulching is important for watermelon plants as it helps retain moisture, suppresses weed growth, and regulates soil temperature. Apply a layer of organic mulch, such as straw or grass clippings, around the base of the plants, taking care to keep it away from direct contact with the stems to prevent rotting.
4. Supporting
Watermelon vines can become heavy with fruit, so it’s advisable to support them to prevent damage or breakage. Use trellises or cages to provide support for the vines. Gently tie the vines to the support structure using soft garden twine or fabric strips as needed.
5. Pest and Disease Control
Monitor your watermelon plants regularly for signs of pests and diseases. Common pests that can affect watermelons include aphids, cucumber beetles, and spider mites. Use insecticidal soaps or organic insecticides to control these pests. Properly dispose of any infected or diseased plants to prevent the spread of diseases.
6. Pruning
Pruning is not typically necessary for watermelon plants, but you can remove any damaged or diseased leaves or vines to improve airflow and prevent the spread of diseases. Be careful not to remove too many leaves, as they provide shade and protect the fruit from sunburn.
7. Pollination
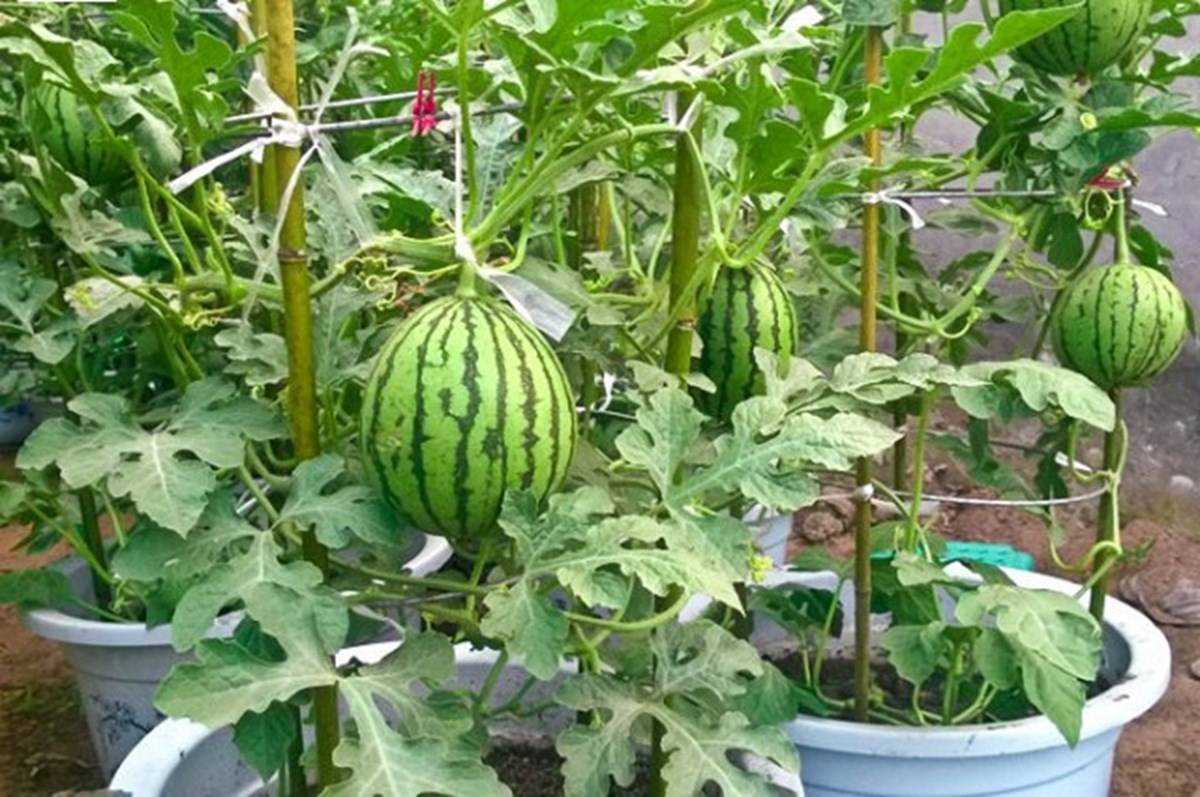
Watermelon plants typically require bees or other pollinating insects for successful fruit set. If you don’t have enough pollinators in your area, you can manually pollinate the flowers using a small brush or cotton swab. Gently transfer the pollen from the male flowers to the female flowers to facilitate pollination.
8. Weed Control
Keep the area around your watermelon plants free of weeds, as they can compete for nutrients and water. Regularly remove any weeds by hand or use mulch to suppress their growth.
9. Monitoring and Harvesting
Regularly monitor your watermelon plants for signs of ripeness. The fruits should have a firm skin, a hollow sound when tapped, and the tendril closest to the fruit should be brown and dried up. Harvest the watermelons carefully, using a sharp knife or garden shears. Leave a few inches of stem attached for better storage and presentation.
By following these care instructions, you can ensure that your watermelon plants remain healthy and productive, and you’ll be rewarded with delicious, homegrown watermelons to enjoy.
Step 8: Harvesting Watermelons
Once your watermelons have reached their optimal maturity, it’s time to harvest them. The following steps will guide you through the process:
1. Check for maturity
Before harvesting, make sure the watermelons are fully ripe. You can determine this by examining their color and the sound they produce when tapped. The melon should have a deep, uniform color and produce a hollow sound when tapped.
2. Prepare your tools
Gather a sharp knife or pruning shears, a wheelbarrow or basket for collecting the watermelons, and gloves to protect your hands.
3. Cut the stem
Hold the watermelon with one hand and cut the stem about an inch above the fruit. Be careful not to damage the melon in the process.
4. Lift the watermelon
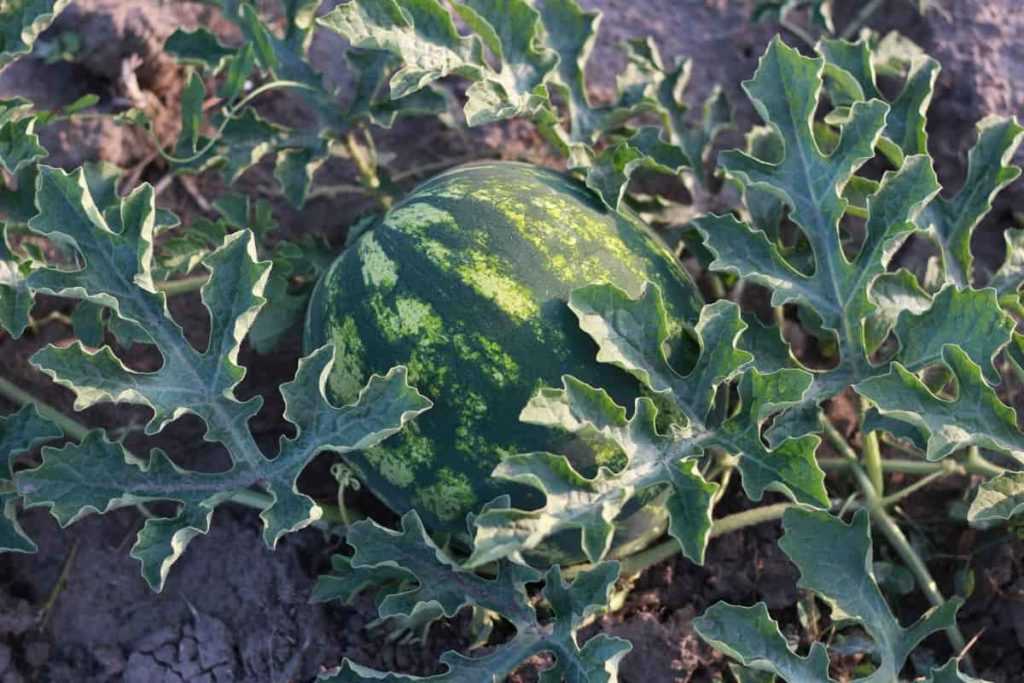
Gently lift the watermelon from the ground. It should easily detach from the vine. If it doesn’t, use the knife or shears to cut the stem closer to the fruit.
5. Inspect the watermelon
Examine the harvested watermelon for any signs of damage or disease. Discard any melons that are soft, discolored, or show signs of rot.
6. Store and enjoy your watermelons
Place the harvested watermelons in a cool, dry place to cure for a few days. Once they are fully cured, store them in a cool location or refrigerator. Enjoy your fresh, homegrown watermelons!
“Question-Answer”
How do I grow watermelons from seedlings?
To grow watermelons from seedlings, start by selecting a suitable location with full sun and well-drained soil. Sow the watermelon seeds in small pots or trays filled with seed-starting mix, and cover them lightly with soil. Keep the soil moist, and place the pots in a warm spot or use a heat mat to speed up germination. Once the seedlings have developed true leaves, transplant them into larger pots or directly into the garden. Provide support for the vines, and water the plants regularly throughout the growing season. Harvest the watermelons when they sound hollow when tapped and have a deep color.
What is the best time to sow watermelon seeds?
The best time to sow watermelon seeds is in the spring, after the last frost has passed and the soil has warmed up. Watermelons are warm-season plants that require high temperatures for germination and growth. In most regions, this means sowing the seeds in late spring or early summer. However, if you live in a cooler climate, you can start the seeds indoors a few weeks before the last frost date, and transplant the seedlings outdoors once the weather warms up.
Can I grow watermelons in containers?
Yes, you can grow watermelons in containers as long as you choose a suitable variety and provide the plants with the right growing conditions. Look for compact or dwarf varieties that are specifically bred for container gardening. Make sure the container is at least 18 inches deep and has good drainage. Fill the container with a well-draining potting mix, and sow the watermelon seeds according to the packet instructions. Place the container in a sunny location, and water the plants regularly. Keep in mind that container-grown watermelons may not reach the same size as those grown in the ground.
How long does it take for watermelon seedlings to develop?
Watermelon seedlings typically take about 7 to 10 days to germinate, but this can vary depending on the environmental conditions and the variety of watermelon. Once the seeds have sprouted, it will take another 2 to 3 weeks for the seedlings to develop true leaves. At this stage, they can be transplanted into larger pots or directly into the garden, depending on the weather and growing conditions. It’s important to provide the seedlings with proper care and attention to ensure their healthy growth.
Are there any tips for getting larger watermelons?
Yes, there are several tips for getting larger watermelons. Firstly, choose a variety that is known for producing large fruits. Ensure that the plants receive plenty of sunlight, at least 6 hours a day, and provide them with a rich, well-draining soil that is high in organic matter. Regularly water the plants, especially during dry periods, and use a balanced fertilizer to promote healthy growth. It’s also recommended to prune the vines to direct the plant’s energy towards fruit production. Additionally, providing a trellis or support system for the vines can help to prevent the fruits from touching the ground and getting damaged.
How do I know when watermelons are ready to harvest?
To determine if watermelons are ready to harvest, there are a few indicators to look out for. Firstly, check the tendril closest to the fruit. If it has turned brown and dried out, it’s a sign that the watermelon is ripe. Additionally, the bottom of the watermelon should have a creamy yellow spot, which indicates that it has fully ripened. You can also tap the watermelon with your knuckles – a ripe watermelon will produce a hollow sound. Finally, look at the color of the watermelon’s skin. A ripe watermelon will have a deep, uniform color, depending on the variety.


