- Why grow tomatoes?
- Choosing the right variety
- Growing season length
- Color and size
- Flavor profile
- Disease resistance
- Growing conditions
- Seed packet information
- Preparing the soil
- 1. Choose a sunny location
- 2. Clear the area
- 3. Test and amend the soil
- 4. Loosen the soil
- 5. Add organic mulch
- 6. Water the soil
- 7. Consider raised beds or containers
- Starting seeds indoors
- Transplanting seedlings
- Preparing the soil
- Choosing the right location
- Transplanting process
- Caring for transplanted seedlings
- Proper watering and fertilizing
- Watering:
- Fertilizing:
- Pruning and Trellising
- Pruning Technique
- Trellising Technique
- Benefits
- Conclusion
- Harvesting and storing tomatoes
- 1. Choosing the right time
- 2. Harvesting the tomatoes
- 3. Handling and storing the tomatoes
- 4. Checking for ripeness
- “Question-Answer”
- What is the best time to plant tomatoes?
- How do I prepare the soil for planting tomatoes?
- Should I start tomato seeds indoors or directly sow them in the garden?
- How often should I water tomato plants?
- What are some common pests and diseases that affect tomato plants?
- When is the best time to harvest tomatoes?
- How do I store harvested tomatoes?
- “Video” How to grow Tomatoes at home | Full Training from seed to harvest | 5 Kg in 1 plant
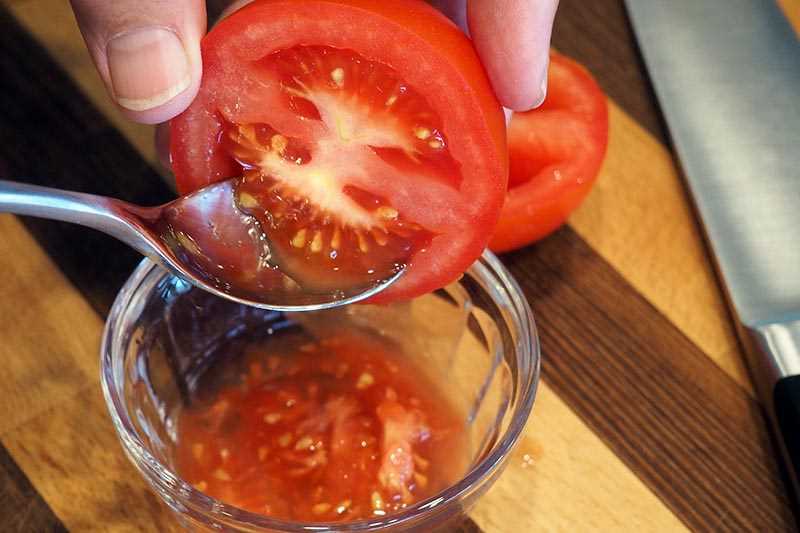
Growing your own tomatoes can be a rewarding experience, whether you have a large garden or just a small balcony. Tomatoes are a versatile fruit that can be used in a variety of dishes, and they taste even better when they are fresh from the vine. In this simple guide, we will take you through the steps of planting and harvesting tomatoes so you can enjoy the satisfaction of growing your own delicious produce.
First, it’s important to choose the right tomato variety for your growing conditions. Some varieties are better suited for small spaces or containers, while others thrive in larger garden beds. Determinate varieties are compact and perfect for containers, whereas indeterminate varieties are best for larger spaces as they continue to grow and produce fruit throughout the season.
Once you have selected your tomato variety, it’s time to prepare the soil. Tomatoes prefer well-draining soil that is rich in organic matter. Clear the area of any weeds or debris and loosen the soil with a garden fork or tiller. Add compost or well-rotted manure to improve the soil’s fertility and drainage.
Now it’s time to plant your tomato seedlings or seeds. If you are starting from seed, sow them indoors about 6-8 weeks before the last frost date. Transplant the seedlings outdoors once the soil has warmed up and all danger of frost has passed. Dig a hole that is slightly larger than the root ball of the seedling and gently place it in the hole, making sure to cover the roots completely. Space the seedlings about 2-3 feet apart in rows that are 3-4 feet apart.
Why grow tomatoes?
Tomatoes are one of the most popular vegetables (though they are technically a fruit) to grow in a home garden. Here are some reasons why you should consider growing your own tomatoes:
- Taste: Homegrown tomatoes have a distinct flavor that cannot be matched by store-bought ones. They are sweeter, juicier, and bursting with freshness.
- Control: When you grow your own tomatoes, you have complete control over the growing process. You can choose organic methods, use natural pesticides, and avoid harmful chemicals that are often used in commercial farming.
- Variety: Supermarkets usually offer just a few common tomato varieties, but by growing your own, you can choose from a vast selection of heirloom and hybrid varieties that come in different sizes, shapes, and colors.
- Cost savings: Buying tomatoes from the store can be expensive, especially if you opt for organic ones. By growing your own, you can save money in the long run and have a fresh supply of tomatoes throughout the growing season.
- Convenience: Having tomato plants in your own backyard or balcony means you don’t have to make frequent trips to the store to buy tomatoes. You can simply step outside and pick the ripe ones whenever you need them.
- Satisfaction: There is a unique joy and satisfaction in growing your own food. Watching your tomato plants grow from seeds, nurturing them with care, and finally harvesting the ripe tomatoes can be an incredibly rewarding experience.
Whether you are an experienced gardener or a beginner, growing tomatoes can be a fun and fulfilling activity that rewards you with delicious and healthy fruits. So why not give it a try and enjoy the many benefits of growing your own tomatoes?
Choosing the right variety
Choosing the right variety of tomatoes to plant in your garden is crucial for a successful harvest. There are many different types of tomatoes to choose from, each with its own unique characteristics and flavor profiles. Here are a few factors to consider when selecting a variety:
Growing season length

- Determinate tomatoes: These varieties have a compact growth habit and produce a set amount of fruit over a specific period of time. They are ideal for gardeners with shorter growing seasons or limited space.
- Indeterminate tomatoes: These varieties continue to grow and produce fruit throughout the entire growing season. They require more space and support but can yield a larger harvest.
Color and size
Tomatoes come in a wide range of colors and sizes. Some popular options include:
- Red tomatoes: Classic and versatile, red tomatoes are great for slicing, canning, and making sauces.
- Yellow tomatoes: These tomatoes have a sweeter, milder flavor and add a pop of color to dishes.
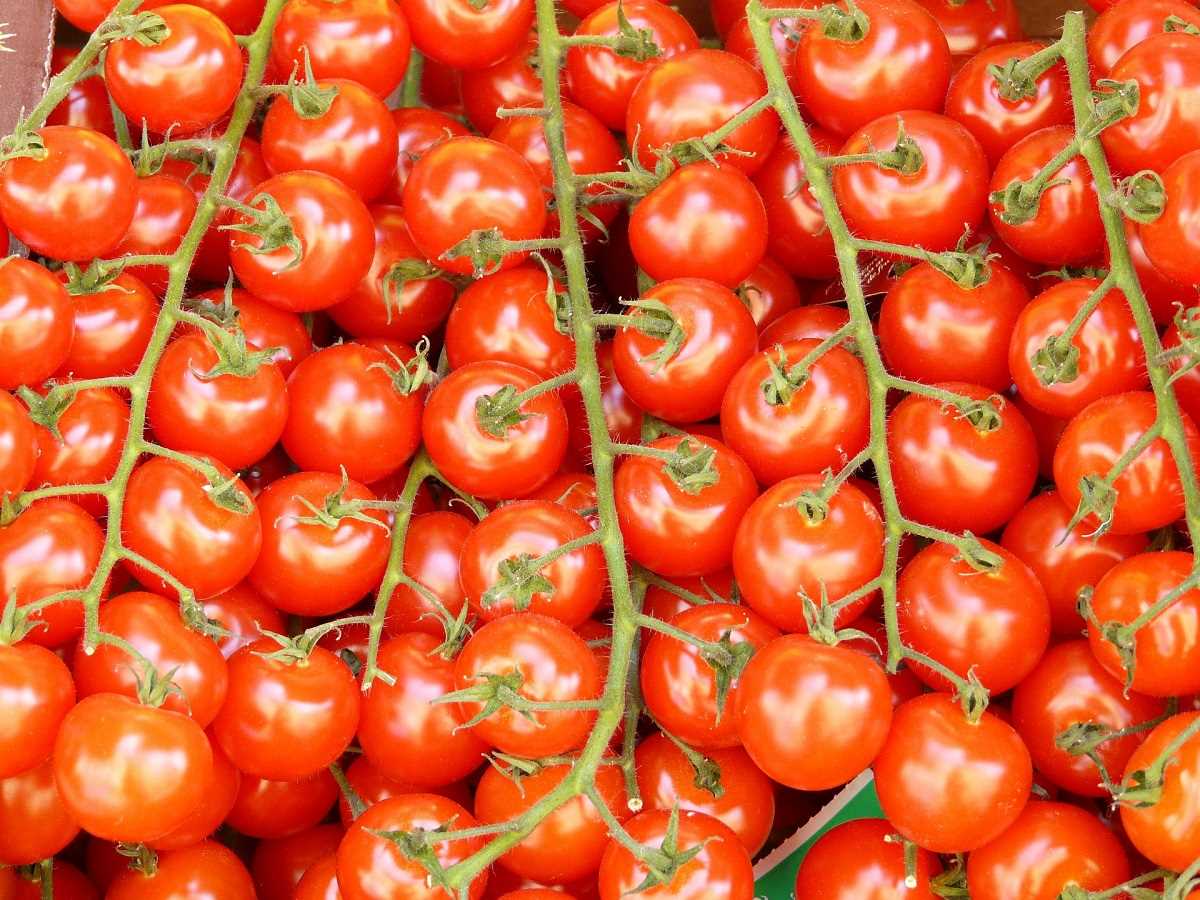
- Cherry and grape tomatoes: These small, bite-sized tomatoes are perfect for snacking, salads, and garnishing.
Flavor profile
The flavor of tomatoes can vary greatly depending on the variety. Some are sweet and juicy, while others are tangy or have a more complex flavor profile. Consider your personal taste preferences and intended uses for the tomatoes when choosing a variety.
Disease resistance
Some tomato varieties have been bred to be more resistant to common diseases like blight and wilt. If you live in an area where these diseases are prevalent, selecting a disease-resistant variety can help ensure a healthier crop.
Growing conditions
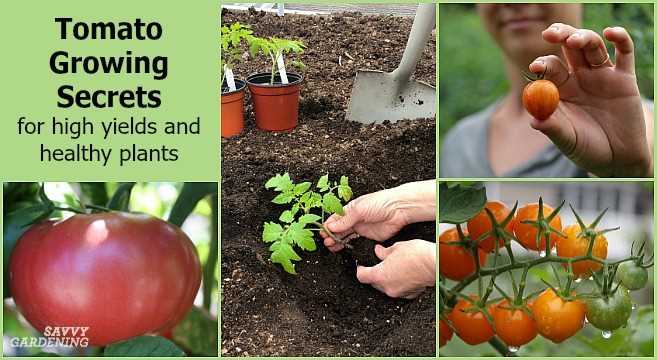

Take into account the growing conditions in your garden, such as the amount of sunlight, soil type, and average temperatures. Some varieties may thrive in specific conditions, so it’s important to choose ones that are well-suited to your environment.
Seed packet information
When purchasing tomato seeds, carefully read the information on the seed packet. It will often provide details about the variety’s growth habit, flavor, disease resistance, and recommended growing conditions.
By considering these factors and doing a little research, you can select the right tomato variety that will thrive in your garden and provide you with a bountiful harvest of delicious, homegrown tomatoes.
Preparing the soil
Before planting tomatoes, it is important to prepare the soil to create an ideal environment for their growth. These steps will help ensure that your tomato plants thrive:
1. Choose a sunny location
Tomatoes require at least 6-8 hours of direct sunlight per day, so select a spot in your garden that receives ample sunlight. This will help the plants produce a larger yield and develop sweeter fruits.
2. Clear the area
Remove any weeds, rocks, or debris from the planting area. Weeds can compete with tomatoes for water and nutrients, so it’s important to eliminate them before planting.
3. Test and amend the soil
Test the pH level of your soil using a home testing kit or by sending a sample to a local agricultural extension office. Tomatoes prefer a slightly acidic soil with a pH level between 6.0 and 6.8. If your soil is too acidic, add lime to raise the pH. Conversely, if your soil is too alkaline, add sulfur to lower the pH.
In addition to pH, it’s important to determine the nutrient levels of your soil. Incorporate organic matter such as compost or well-rotted manure to improve soil fertility. This will provide essential nutrients for the tomato plants and enhance their growth.
4. Loosen the soil
Use a garden fork or a tiller to loosen the soil to a depth of about 10-12 inches. This will improve drainage and allow the tomato roots to penetrate easily. Avoid compacting the soil by walking or stepping on it, as this can hinder root growth.
5. Add organic mulch

Spread a layer of organic mulch, such as straw, around the tomato plants. Mulching helps retain soil moisture, suppress weed growth, and regulate soil temperature. It also provides a barrier between the soil and the tomato fruits, reducing the risk of soil-borne diseases.
6. Water the soil
Before planting, thoroughly water the soil to ensure it is moist. Moist soil will create a welcoming environment for the tomato plants and help them establish their root systems more quickly.
7. Consider raised beds or containers
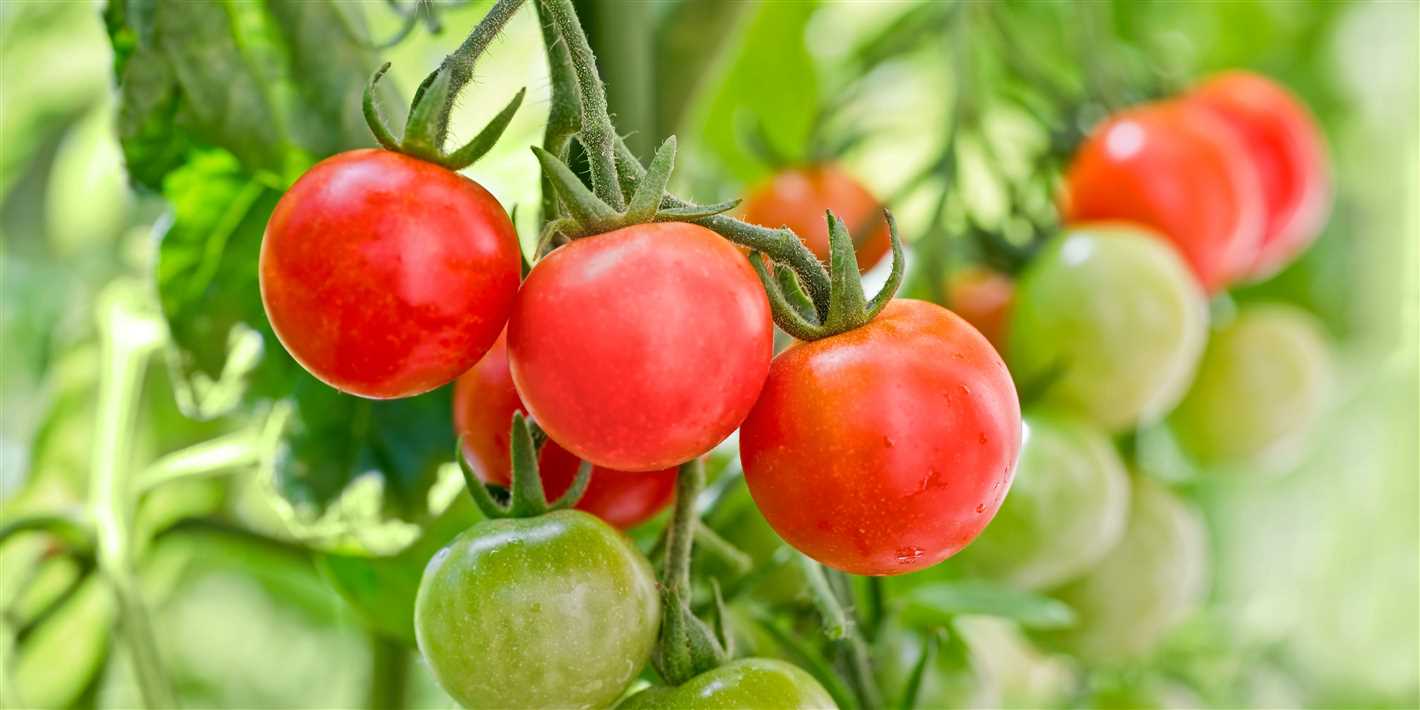

If your garden soil is poor or has drainage issues, consider planting tomatoes in raised beds or containers. This allows you to have more control over the soil quality and ensures better drainage.
By following these steps to prepare the soil, you’ll create an optimal growing environment for your tomato plants, setting them up for a successful and bountiful harvest.
Starting seeds indoors
Starting tomato seeds indoors is a great way to get a head start on the growing season and ensure a successful crop. It allows you to control the growing environment and gives the seeds a chance to germinate and develop into young plants before transplanting them outdoors.
Here is a step-by-step guide on how to start tomato seeds indoors:
- Choose the right seeds: Choose tomato seeds that are suitable for indoor cultivation. Look for varieties that have a shorter maturity time and compact growth habit, as they are more suitable for growing indoors.
- Gather the necessary supplies: You will need seed trays or pots, seed starting mix, a watering can or spray bottle, and plastic wrap or a humidity dome to cover the seedlings.
- Prepare the seed trays: Fill the seed trays with seed starting mix, leaving about half an inch of space at the top. Moisten the mix with water until it is evenly moist but not soaking wet.
- Plant the seeds: Sow the tomato seeds on top of the moist soil, following the recommended spacing on the seed packet. Gently press the seeds into the soil and cover them with a thin layer of seed starting mix.
- Provide the right conditions: Place the seed trays in a warm location with plenty of natural light or under grow lights. Maintain the temperature between 70-80°F (21-27°C) and keep the soil evenly moist by watering from the bottom.
- Monitor and care for the seedlings: Check the seed trays regularly for germination. Once the seedlings emerge, remove the plastic wrap or humidity dome and move the trays to a location with bright, indirect light.
- Thin and transplant: Once the seedlings have developed their first pair of true leaves, thin them out by removing the weaker ones and leaving only the strongest. Transplant the seedlings into larger pots when they outgrow their containers.
- Harden off and transplant outdoors: Before transplanting the seedlings outdoors, gradually expose them to outdoor conditions by placing them outside for a few hours each day. This process, known as hardening off, helps the seedlings acclimate to the outdoor environment.
Following these steps will give your tomato plants a strong start and increase your chances of a successful harvest. Enjoy the process of starting your tomato seeds indoors and watching them grow into healthy plants!
Transplanting seedlings
Once your tomato seedlings have grown to a height of about six inches and have developed a few sets of leaves, they are ready to be transplanted into the garden. Transplanting your seedlings is an important step in the tomato growing process, as it allows the plants to establish strong roots in the soil and promotes healthy growth.
Preparing the soil
Before transplanting your seedlings, prepare the soil by removing any weeds and loosening it with a garden fork or tiller. Tomatoes prefer well-drained soil, so it may be beneficial to amend the soil with compost or organic matter to improve its quality.
Choosing the right location
Choose a sunny location in your garden for transplanting your seedlings. Tomatoes thrive in full sun, so make sure the spot receives at least six to eight hours of direct sunlight each day. Keep in mind that tomatoes should be planted away from trees or other plants that may shade them.
Transplanting process
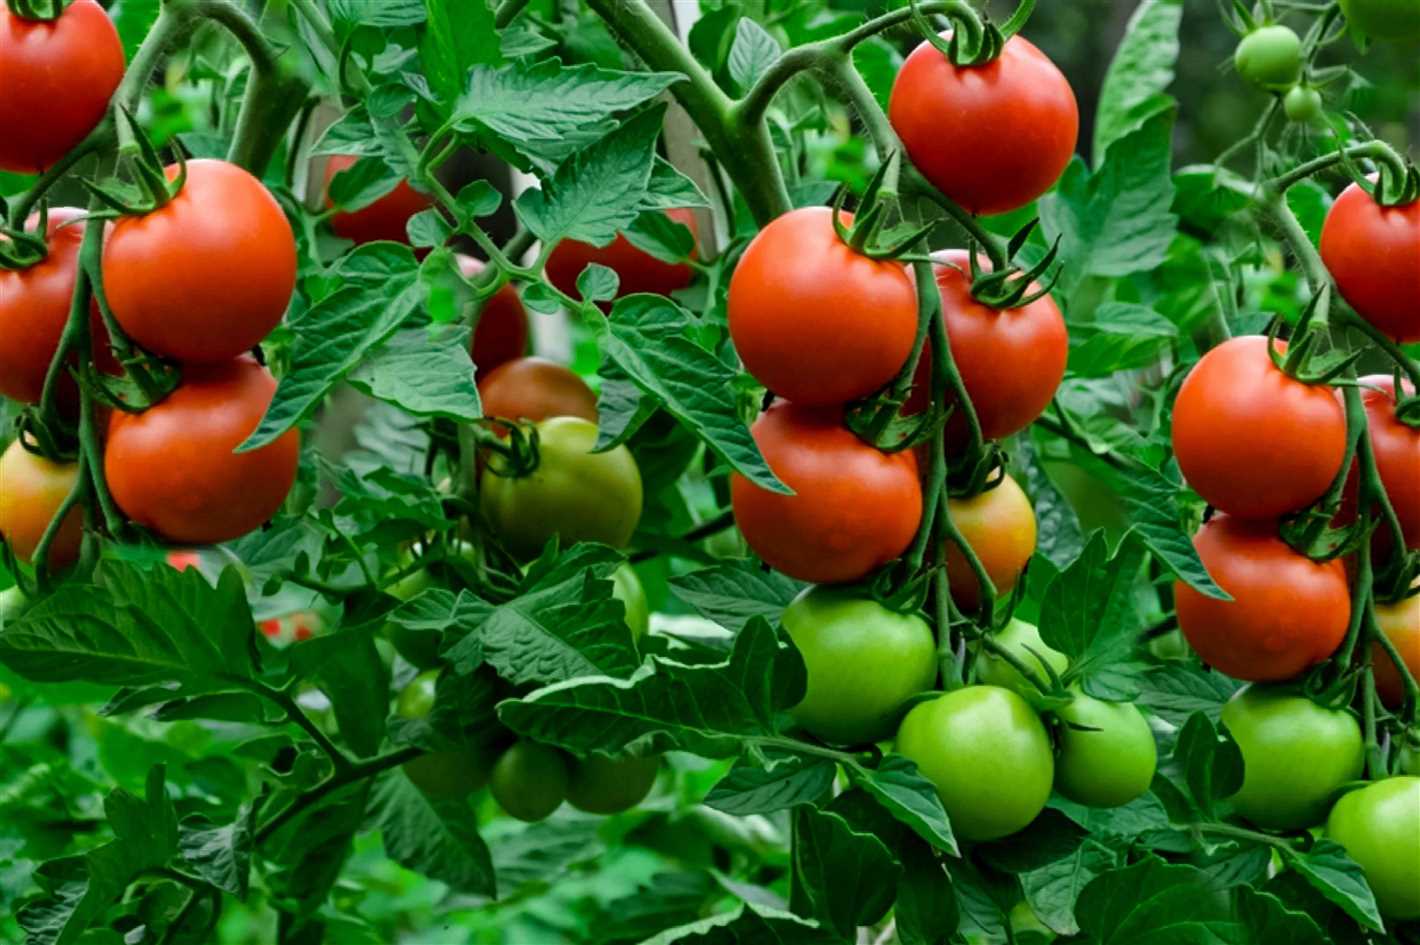

Gently remove each seedling from its container, being careful not to damage the delicate roots. Dig a hole in the prepared soil that is deep enough to bury the seedling up to its first set of leaves. This allows the plant to develop additional roots along the buried stem, making it stronger and more resilient.
Place the seedling in the hole and backfill it with soil, gently firming it around the base of the plant. Water the newly transplanted seedlings well to ensure that the soil settles around the roots. Adding a layer of mulch around the base of the plants can help conserve moisture and suppress weeds.
Caring for transplanted seedlings
After transplanting, it is important to provide proper care to your seedlings. Water your newly transplanted tomatoes regularly, keeping the soil evenly moist but not overly saturated. Apply a balanced fertilizer a few weeks after transplanting to provide essential nutrients for growth.
Monitor the plants for any signs of pests or diseases and take necessary measures to control them. Stake or cage your tomato plants as they grow to provide support and prevent them from sprawling on the ground.
By following these steps, you can successfully transplant tomato seedlings into your garden and enjoy fresh, homegrown tomatoes in no time!
Proper watering and fertilizing
Proper watering and fertilizing are essential for ensuring the health and productivity of your tomato plants. Here are some tips to help you water and fertilize your tomato plants effectively:
Watering:
- Tomato plants need consistent moisture to thrive. Water them deeply and thoroughly, making sure the soil is evenly moist.
- Water at the base of the plant, avoiding wetting the foliage to prevent the spread of diseases.
- Water in the morning to give the plants enough time to dry before nightfall. This reduces the risk of fungal diseases.
- Use a drip irrigation system or a soaker hose to provide a slow, steady supply of water directly to the roots.
- Monitor the soil moisture regularly and adjust the watering schedule accordingly, depending on the weather conditions.
Fertilizing:
- Tomato plants are heavy feeders and require regular fertilization throughout the growing season.
- Before planting, amend the soil with organic matter such as compost or well-rotted manure to provide the plants with essential nutrients.
- Once the plants start growing, apply a balanced fertilizer with an NPK ratio of 10-10-10 or a specialized tomato fertilizer.
- Follow the instructions on the fertilizer packaging for proper application rates and timing.
- Avoid overfertilizing, as it can lead to excessive vegetative growth and fewer fruits. It’s always better to fertilize lightly and more frequently.
By following these watering and fertilizing tips, you will ensure that your tomato plants receive the proper care they need to grow healthy and produce an abundant harvest.
Pruning and Trellising
Pruning and trellising are important techniques to help ensure healthy tomato plants and maximize fruit production. Pruning involves removing suckers, which are shoots that grow in the leaf axils of tomato plants. By removing these suckers, you can direct the plant’s energy towards fruit production and improve airflow, reducing the risk of diseases.
Pruning Technique
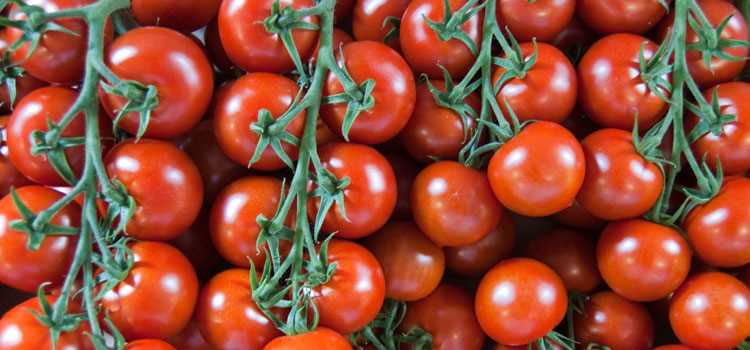

To prune tomato plants, follow these steps:
- Start pruning once the plants have established a few sets of true leaves.
- Identify the suckers, which are the shoots growing between the main stem and the branches.
- Using a sharp and clean pair of pruning shears, remove the suckers by making a clean cut as close to the main stem as possible.
- Continue to monitor the plants regularly and remove any new suckers that develop.
Trellising Technique
Trellising is the process of supporting the tomato plants as they grow, keeping them off the ground and allowing for better airflow and easier harvesting. Here are some common trellising techniques:
- Single Stake: Drive a strong stake into the ground next to each tomato plant and tie the main stem to the stake as it grows using soft plant ties or twine. Prune the suckers regularly to maintain a single strong stem.
- Cage: Place a sturdy cage around each tomato plant when it is young. As the plant grows, weave the branches through the cage openings to provide support. Prune the suckers regularly to prevent overcrowding.
- String Trellis: Attach a strong horizontal wire or string above the tomato plants and tie each plant to the string using soft plant ties or twine. As the plants grow, gently train the branches to grow up the string, pruning the suckers as necessary.
Benefits
Pruning and trellising offer several benefits for tomato plants:
- Better airflow: Pruning and trellising help improve air circulation around the plants, reducing the risk of diseases such as fungal infections.
- Increased light exposure: By removing unnecessary growth and spreading the branches, more sunlight can reach the leaves, aiding in photosynthesis and fruit ripening.
- Easier harvesting: Trellising keeps the plants off the ground, making it easier to access the fruit and reducing the risk of damage.
- Improved aesthetics: Pruned and trellised plants have a neater appearance, making your garden look more organized and well-maintained.
Conclusion
Pruning and trellising are simple and effective techniques that can greatly benefit your tomato plants. By removing suckers and providing support, you can promote healthy growth, increase fruit production, and improve the overall quality of your tomato harvest.
Harvesting and storing tomatoes
Once your tomatoes have ripened, it’s time to harvest them. Here are some tips on how to do it:
1. Choosing the right time
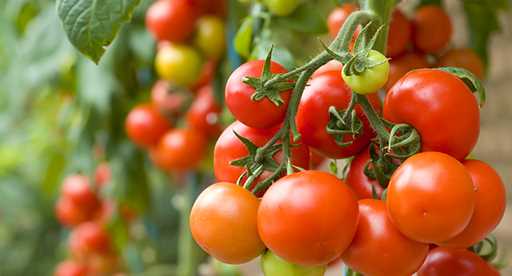

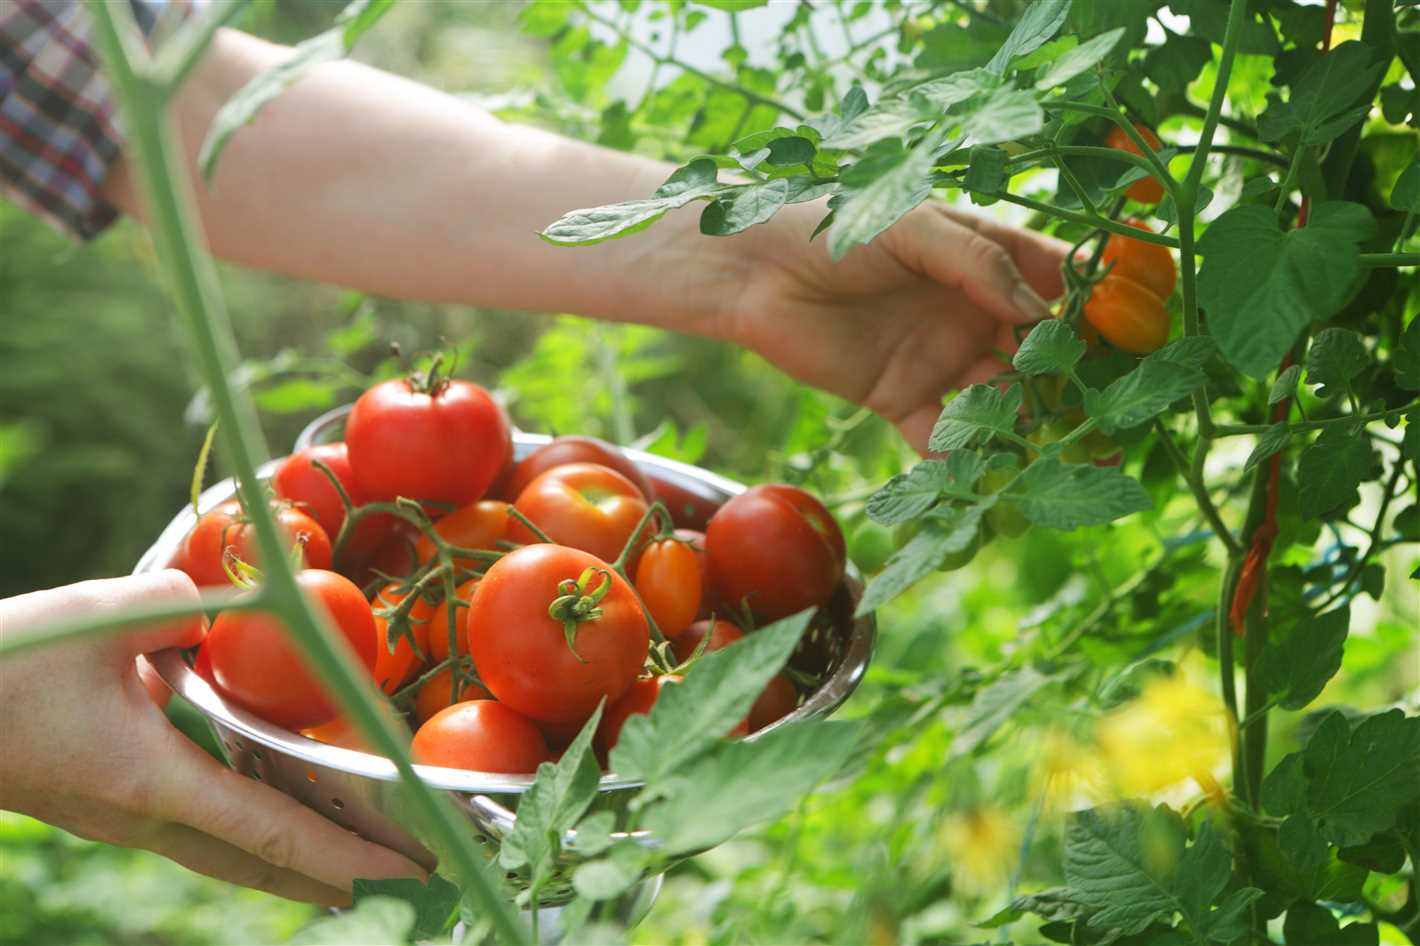
Tomatoes are ready to be harvested when they have reached their full color and can be easily removed from the plant with a gentle twist or upward motion. Avoid harvesting them when they are still green or overly ripe.
2. Harvesting the tomatoes
To harvest the tomatoes, use a pair of garden shears, scissors, or simply twist them away from the plant. Be gentle to avoid damaging the plant or the tomatoes themselves.
3. Handling and storing the tomatoes
Handle the harvested tomatoes with care to prevent any bruises or skin damage. Sort them based on ripeness and size. Here are some options for storing:
- Using immediately: Enjoy the freshly harvested tomatoes right away in your favorite dishes.
- Short-term storage: If you want to store tomatoes for a few days, keep them at room temperature, away from direct sunlight. Place them in a single layer to avoid squishing or damaging other tomatoes.
- Refrigerating: For longer-term storage, place ripe tomatoes in a paper bag and store them in the refrigerator. However, keep in mind that refrigeration can affect the texture and flavor of the tomatoes.
- Canning or freezing: If you have a surplus of tomatoes, consider canning or freezing them to enjoy throughout the year. Follow proper preservation techniques for the best results.
4. Checking for ripeness
Before using stored tomatoes, make sure to check their condition. Discard any tomatoes that show signs of rotting, mold, or extreme softness. Use firm and ripe tomatoes for optimal flavor and texture.
By following these steps, you can ensure a successful tomato harvest and enjoy the fruits of your labor for months to come.
“Question-Answer”
What is the best time to plant tomatoes?
The best time to plant tomatoes is typically in the spring, after the last frost has passed and the soil has warmed up. This is usually when temperatures are consistently above 50 degrees Fahrenheit.
How do I prepare the soil for planting tomatoes?
To prepare the soil for planting tomatoes, start by removing any weeds or plants from the planting area. Then, work organic matter, such as compost or aged manure, into the soil to improve fertility and drainage. Finally, smooth the soil surface and create rows or planting holes for the tomato plants.
Should I start tomato seeds indoors or directly sow them in the garden?
Starting tomato seeds indoors allows you to get a head start on the growing season and gives the plants a better chance of reaching maturity. However, if you live in a warm climate with a long growing season, you can also directly sow tomato seeds in the garden.
How often should I water tomato plants?
Tomato plants generally need about 1-1.5 inches of water per week. However, this may vary depending on the weather and the type of soil. It is important to keep the soil consistently moist, but be careful not to overwater as this can lead to diseases.
What are some common pests and diseases that affect tomato plants?
Some common pests that affect tomato plants include aphids, tomato hornworms, and whiteflies. As for diseases, tomato plants are susceptible to blight, wilt, and blossom end rot. It is important to monitor your plants regularly and take appropriate measures to prevent and treat these issues.
When is the best time to harvest tomatoes?
The best time to harvest tomatoes is when they have reached full color and are firm to the touch. Different varieties of tomatoes will have different colors when fully ripe, so it is important to know the specific characteristics of the variety you are growing.
How do I store harvested tomatoes?
After harvesting tomatoes, they should be stored at room temperature until fully ripe. Once ripe, they can be stored in the refrigerator for up to a week. However, it is important not to store tomatoes in extremely cold temperatures, as it can affect their flavor and texture.


