- Gather Supplies for Planting Onion Seedlings
- Choose the Right Onion Varieties
- Start Onion Seeds Indoors
- Prepare the Garden Bed
- Transplant Onion Seedlings
- Care for Onion Seedlings
- Harvesting Onion Bulbs
- When to Harvest Onions
- How to Harvest Onions
- Storing Onion Bulbs
- Storage and Use of Onion Bulbs
- “Question-Answer”
- Do I need to start onion seedlings indoors?
- What is the best time to start onion seedlings indoors?
- Can I plant onion seedlings directly in the garden?
- How deep should I plant the onion seedlings?
- What should I do if my onion seedlings are too crowded?
- “Video” ONION FARMING | HOW TO PLANT ONION step by step PART 1
Growing onions from seedlings is a great way to ensure a bountiful harvest of fresh, flavorful onions. By starting with seedlings instead of seeds, you can give your onions a head start and increase your chances of success. In this step-by-step guide, we will walk you through the process of preparing and planting onion seedlings.
Step 1: Choose a Suitable Location
Onions thrive in full sun, so it’s important to choose a location in your garden that receives at least 6-8 hours of direct sunlight every day. The soil should be well-draining, loose, and fertile. Avoid areas with heavy clay soil or standing water, as this can lead to rotting onions.
Pro tip: You can also grow onions in containers if you have limited garden space.
Step 2: Prepare the Soil
Before planting your onion seedlings, it’s crucial to prepare the soil properly. Start by removing any weeds or debris from the area. Loosen the soil with a garden fork or a tiller, breaking up any clumps and removing rocks or roots. Add organic matter, such as compost or well-rotted manure, to improve the soil’s fertility and drainage.
Pro tip: Onions prefer a slightly acidic soil pH of 6.0-7.5. Test your soil’s pH and make any necessary adjustments before planting.
Step 3: Plant the Seedlings
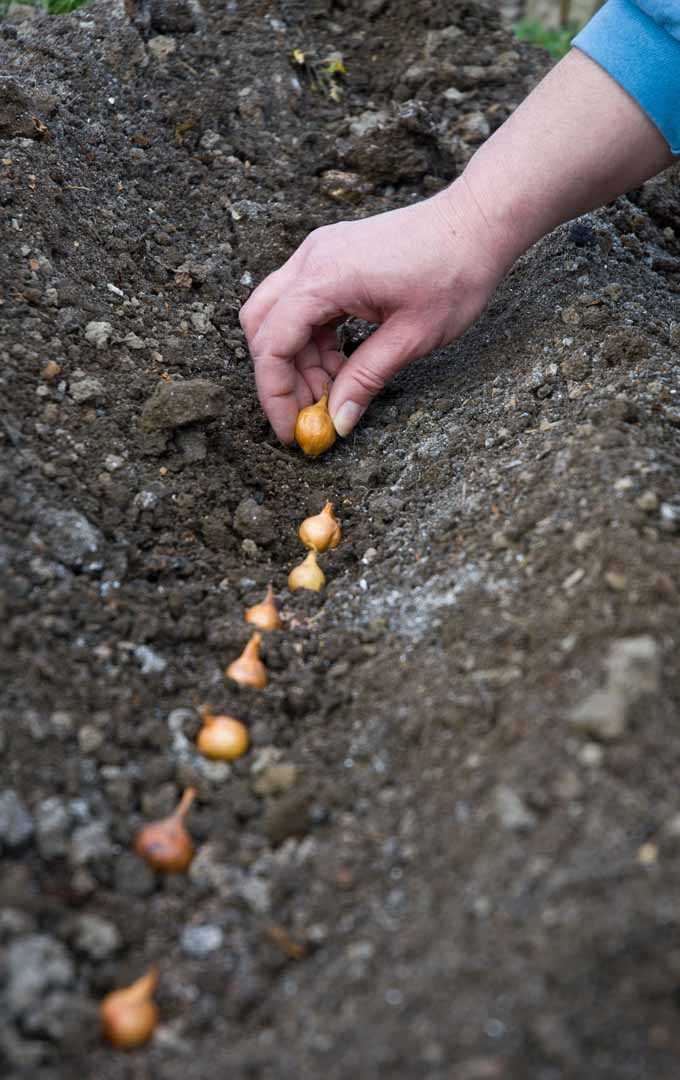
Begin by digging a shallow trench, about 1 inch deep, using a garden trowel or your fingers. Space the seedlings 4-6 inches apart, placing them in the trench with their roots spread out and their tops just above the soil line. Gently backfill the trench, firming the soil around the seedlings to ensure good contact.
Pro tip: For larger onion bulbs, space the seedlings further apart. For smaller “scallion” onions or green onions, you can plant them closer together.
Step 4: Water and Mulch
After planting, thoroughly water the seedlings to settle the soil around their roots. Keep the soil consistently moist, but not waterlogged, throughout the growing season. Apply a layer of organic mulch, such as straw or wood chips, around the seedlings to help retain moisture, suppress weeds, and regulate soil temperature.
Note: Onions have shallow roots, so it’s important to water them deeply and regularly, especially during dry periods.
By following these steps, you can give your onion seedlings the best start possible. With proper care and attention, you can look forward to a delicious harvest of onions to enjoy throughout the year.
Gather Supplies for Planting Onion Seedlings
Before you start planting onion seedlings, it’s important to gather all the necessary supplies. Here is a list of items you will need:
- Onion seedlings: Purchase healthy onion seedlings from a local nursery or grow them from seeds indoors.
- Quality soil: Choose a well-draining soil mix that is rich in organic matter. Onions prefer a pH level of 6.0 to 7.0.
- Garden fork or shovel: Use a garden fork or shovel to turn the soil and create furrows for planting.
- Compost or fertilizer: Add compost or a balanced fertilizer to the soil before planting to provide essential nutrients.
- Garden rake: Use a garden rake to level the soil and remove any debris or rocks.
- Measuring tape: Use a measuring tape to ensure proper spacing between onion rows and seedlings.
- Watering can or hose: Have a watering can or hose nearby for watering the seedlings after planting.
- Plant markers: Use plant markers or labels to identify different onion varieties or planting dates.
- Garden gloves: Wear garden gloves to protect your hands while handling the soil and seedlings.
Gathering all these supplies beforehand will ensure a smooth and efficient planting process for your onion seedlings.
Choose the Right Onion Varieties
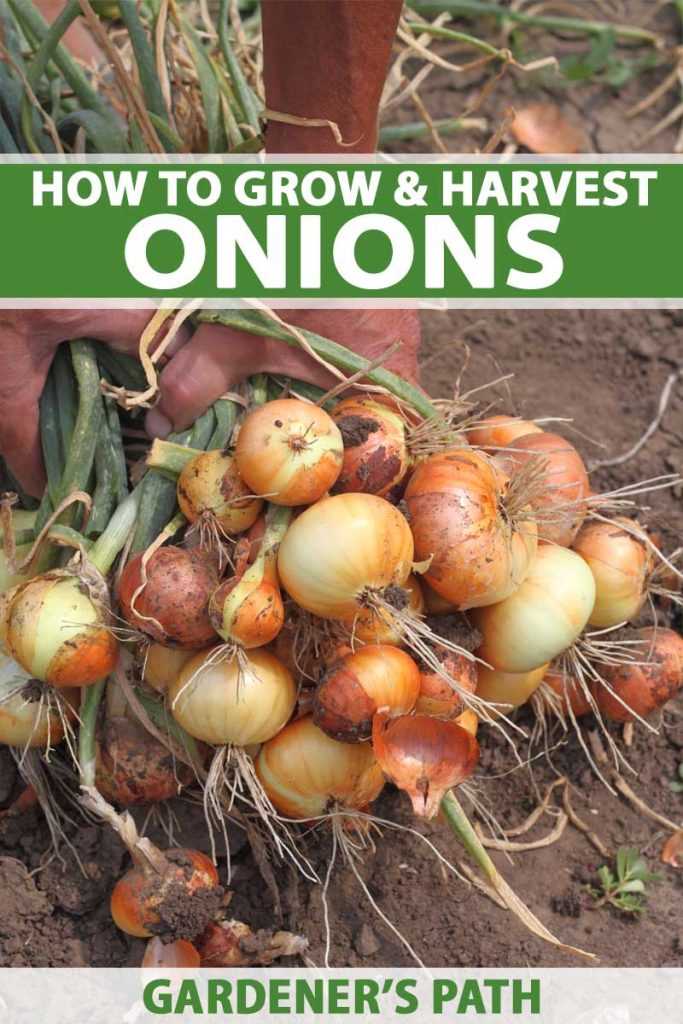
When it comes to choosing onion varieties for planting, there are a few things to consider. Different onion varieties have different characteristics and are suitable for different growing conditions and uses. Here are some factors to keep in mind when selecting onion varieties for your garden:
- Day Length: Onions can be classified into three different day length categories: short-day, intermediate-day, and long-day. The day length requirement refers to the number of daylight hours needed for the onions to form bulbs. Short-day onions require 10-12 hours of daylight, intermediate-day onions require 12-14 hours, and long-day onions require 14-16 hours. Choose a variety that matches the average day length in your region for optimal bulb formation.
- Growing Season: Consider the length of your growing season when selecting onion varieties. Some onion varieties are quick-maturing and can be harvested in as little as 60 days, while others take longer to reach maturity. Choose a variety that fits within your growing season to ensure a successful harvest.
- Storage Life: Different onion varieties have varying storage capabilities. Some onions are better suited for long-term storage, while others are best used fresh. If you are planning to store your onions for an extended period, choose a variety known for its good keeping qualities.
- Flavor and Use: Onions come in a wide range of flavors, from mild and sweet to strong and pungent. Consider the flavor profile of the onion variety and how you plan to use it in your cooking. Some onions are better suited for raw consumption, while others are ideal for cooking, caramelizing, or pickling.
By taking these factors into account, you can choose the right onion varieties that will thrive in your garden and meet your culinary needs. It’s always a good idea to consult seed catalogs, local gardening experts, or fellow gardeners for recommendations on onion varieties that are well-suited to your specific growing conditions. Once you have selected the right varieties, you can move on to the next steps of preparing and planting your onion seedlings.
Start Onion Seeds Indoors
Starting onion seeds indoors is a great way to get a head start on your onion crop. By starting the seeds indoors, you can ensure that they have enough time to grow before being transplanted outside. Here is a step-by-step guide on how to start onion seeds indoors:
- Gather Materials: Before you begin, gather all the materials you will need. This includes onion seeds, seed starting trays or containers, seed starting mix, a spray bottle, and a heat mat (optional).
- Prepare Seed Starting Mix: Fill the seed starting trays or containers with a high-quality seed starting mix. Make sure the mix is moist but not soaking wet.
- Plant the Seeds: Plant the onion seeds in the seed starting mix according to the package instructions. Make sure to space them evenly and not too close together.
- Label and Water: Use labels to identify the variety of onion seeds planted in each tray or container. Lightly mist the seeds with water using the spray bottle.
- Provide Warmth: If you have a heat mat, place the seed trays or containers on top of it to provide gentle warmth. This will help speed up germination.
- Keep Moist: Check regularly to make sure the seed starting mix remains moist. Use the spray bottle to mist the seeds if needed.
- Provide Light: Once the seeds have germinated, place the trays or containers in a sunny location or use artificial grow lights to provide adequate light for the seedlings.
- Transplant: Once the seedlings have grown to a few inches tall and the outdoor soil is warm enough, you can transplant them outside. Harden off the seedlings by gradually exposing them to outdoor conditions before planting them in the garden.
Starting onion seeds indoors allows you to have stronger and healthier seedlings, providing a better chance of success in your onion-growing endeavors. Happy planting!
Prepare the Garden Bed
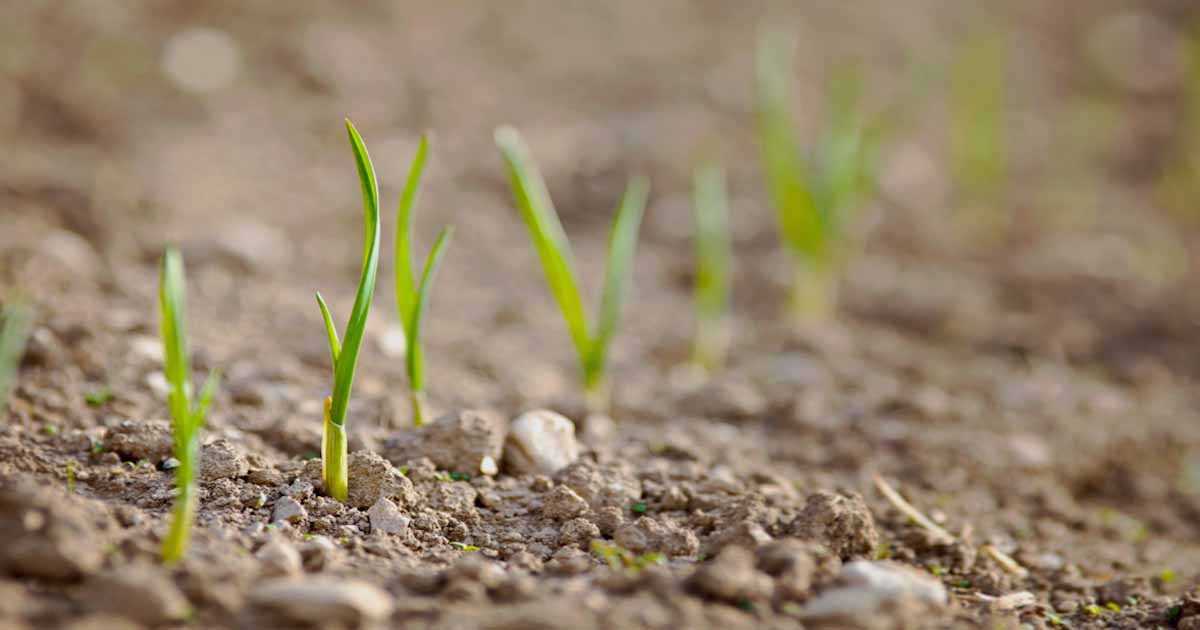
Preparing the garden bed is an important step in successfully growing onion seedlings. Follow these steps to ensure that your garden bed is ready for planting:
- Choose a sunny location: Select a spot in your garden that receives full sun for at least six hours a day. Onions thrive in sunlight, so make sure to choose a sunny location for your garden bed.
- Clear the area: Remove any existing plants, weeds, or grass from the chosen location. Use a garden fork or shovel to turn over the soil and break up any compacted areas. This will help the onion seedlings establish their roots easily.
- Improve the soil: Onions prefer well-drained soil with a pH level of 6.0-7.5. Test the soil using a soil testing kit, and adjust the pH level if necessary. Add organic matter such as compost or well-rotted manure to improve the soil’s fertility and moisture retention.
- Remove debris: Remove any stones, twigs, or other debris from the soil. These can interfere with the growth of the onion seedlings and make it difficult for their roots to establish.
- Amend with fertilizer: Onions are heavy feeders and benefit from the addition of fertilizer. Before planting, incorporate a balanced fertilizer such as 10-10-10 into the soil according to the package instructions. This will provide the necessary nutrients for healthy growth.
- Level the surface: Use a rake to level the surface of the garden bed. This will create a smooth and even surface for planting the onion seedlings.
- Create furrows: Use a garden hoe or your finger to create furrows in the garden bed. The furrows should be about 1/4 inch deep and spaced 12-18 inches apart, depending on the variety of onion you are planting.
By following these steps to prepare your garden bed, you’ll create an ideal environment for growing onion seedlings. This will give your onions the best chance of thriving and producing a bountiful harvest.
Transplant Onion Seedlings
Transplanting onion seedlings is an important step in the process of growing onions. It involves transferring the young plants from their initial growing containers to their final planting locations in the garden. Here is a step-by-step guide on how to transplant onion seedlings:
- Choose the right time: Transplant onion seedlings when they have grown to approximately 4-6 inches tall and have a well-established root system. The weather should also be suitable for planting, with temperatures above freezing and no imminent frost.
- Prepare the planting site: Select a location in your garden that receives full sun and has well-draining soil. Before transplanting, prepare the soil by removing any weeds, loosening it with a garden fork or tiller, and incorporating organic matter like compost.
- Water the seedlings: Water the onion seedlings thoroughly a few hours before transplanting. This will help to ensure that the roots are well-hydrated and will improve their chances of survival after transplanting.
- Dig the holes: Use a hand trowel or garden tool to dig holes in the prepared planting site. Make the holes deep enough to accommodate the onion seedlings’ root systems, usually around 2-3 inches deep.
- Space the seedlings: When transplanting, leave approximately 4-6 inches of space between each onion seedling. This will allow them enough room to grow and develop without overcrowding.
- Remove the seedlings from their containers: Gently remove each onion seedling from its container, being careful not to damage the fragile roots. If the seedlings are root-bound, carefully loosen the roots before transplanting them.
- Place the seedlings in the holes: Carefully place each onion seedling into the prepared hole, making sure that the roots are spread out and not bunched up. The top of the onion bulb should be level with the soil surface.
- Backfill the holes: Fill in the holes around the onion seedlings with soil, gently firming it around the roots to eliminate any air pockets. Avoid compacting the soil too much, as this can hinder root growth.
- Water the transplanted seedlings: After transplanting, give the onion seedlings a thorough watering to help them settle in and establish their roots in the new planting location. Keep the soil evenly moist but not waterlogged throughout the growing season.
- Mulch the seedlings: Apply a layer of organic mulch, such as straw or chopped leaves, around the transplanted onion seedlings. This will help to suppress weeds, retain moisture in the soil, and keep the onion bulbs cool.
- Monitor and care for the seedlings: Keep an eye on the transplanted onion seedlings for any signs of stress, pests, or diseases. Provide them with proper care, including regular watering, weeding, and fertilizing, to ensure their healthy growth.
By following these steps, you can successfully transplant onion seedlings and give them the best conditions for growing into mature and flavorful onions in your garden.
Care for Onion Seedlings
Watering:
- Water the onion seedlings regularly, keeping the soil consistently moist but not waterlogged.
- Do not let the soil dry out completely, as onion seedlings are susceptible to stress from drought.
- Water the seedlings from the base, avoiding wetting the leaves to prevent the development of fungal diseases.
Thinning:
- Once the onion seedlings have grown to about 2 inches tall, thin them out to ensure proper spacing.
- Thin the seedlings to a distance of 4-6 inches apart, depending on the variety of onion you are growing.
- Thinning helps the remaining seedlings to receive enough nutrients, water, and sunlight for proper growth.
Fertilizing:
- Apply a balanced vegetable fertilizer to the onion seedlings about 4-6 weeks after sowing.
- Use a fertilizer with a ratio of 10-10-10 or similar, following the instructions on the packaging for proper application rates.
- Fertilize the seedlings before watering to prevent the fertilizer from burning the delicate roots.
Weeding:
- Regularly remove any weeds growing around the onion seedlings to reduce competition for nutrients and water.
- Hand-weeding is preferred to avoid damaging the shallow onion roots.
- Mulching around the seedlings can help suppress weeds and retain moisture, but be careful not to cover the base of the seedlings.
Protecting from Pests and Diseases:
- Monitor the onion seedlings for common pests such as onion flies, thrips, and onion maggots.
- If pests are detected, consider using organic pest control methods or consult with a local gardening expert for advice.
- Prevent fungal diseases by providing good ventilation and adequate spacing between seedlings.
- If necessary, apply organic fungicides according to the instructions on the packaging.
Harvesting:
- Onion seedlings are typically harvested when the tops start to fall over and turn yellow.
- Once the seedlings have matured, carefully lift them from the soil using a garden fork or shovel.
- Allow the onion seedlings to dry in a well-ventilated area for a few days before storing them or using them in recipes.
Transplanting Onion Seedlings:
- If you wish to transplant your onion seedlings, wait until they have grown to a pencil thickness.
- Prepare the transplanting site by loosening the soil and incorporating compost or organic matter.
- Transplant the seedlings carefully, ensuring that they are buried up to the base of the leaves.
- Water the transplanted seedlings well and provide regular care as mentioned above.
- Be mindful of the temperature and weather conditions when transplanting, as onions prefer cooler climates for best growth.
Harvesting Onion Bulbs
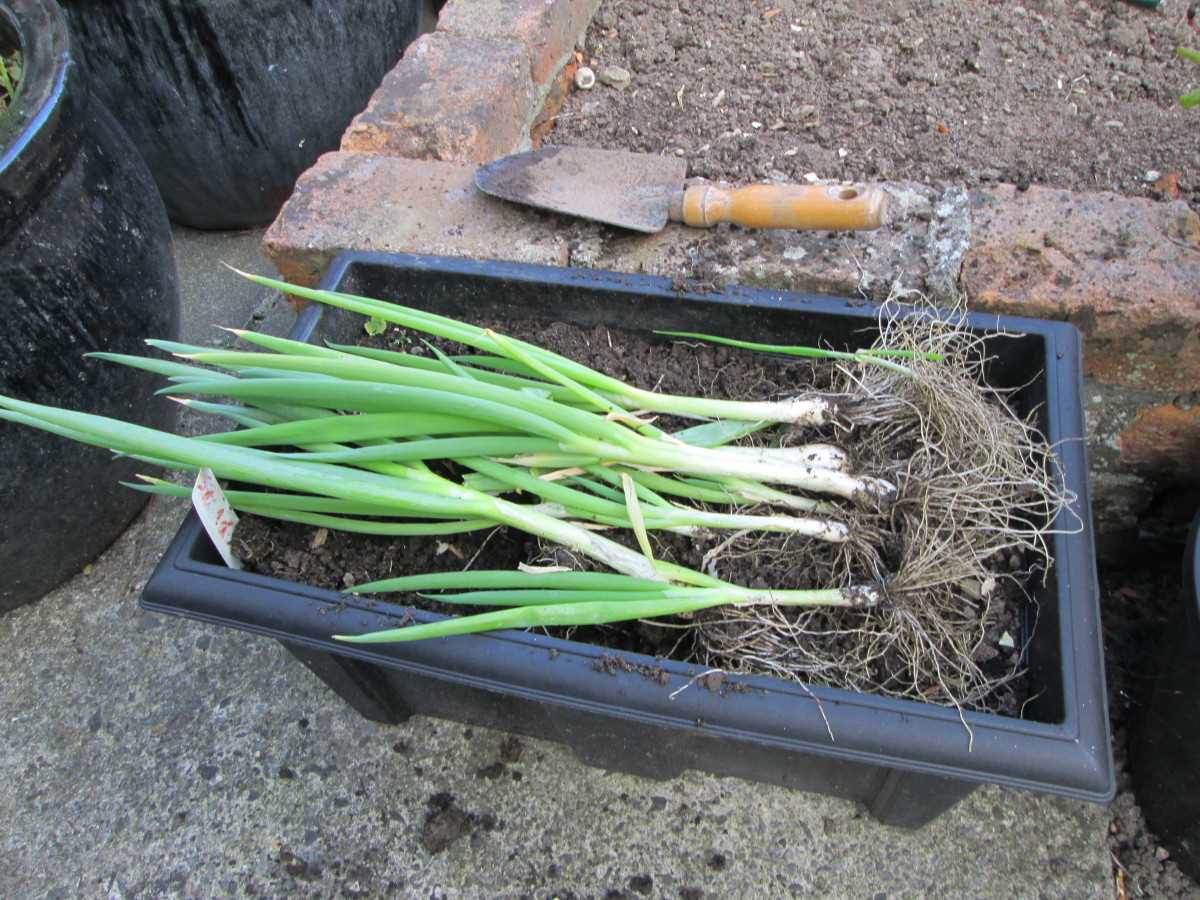
Harvesting onion bulbs is a rewarding and satisfying task. It is important to know when and how to harvest onions to ensure that they are at their peak flavor and storage potential.
When to Harvest Onions
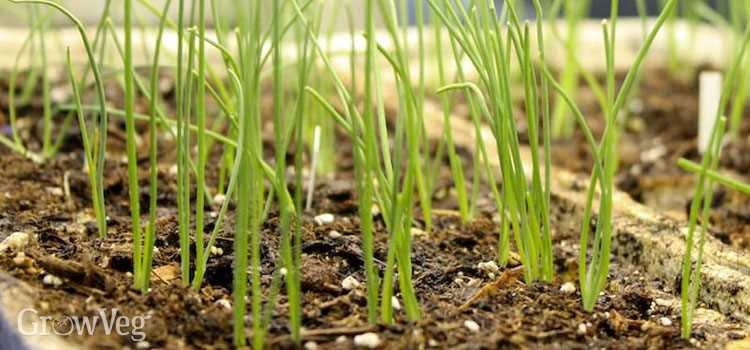
The ideal time to harvest onions depends on the variety and growing conditions. The general rule of thumb is to wait until the tops of the onion plants start to dry and fall over. This typically occurs in late summer or early fall, around 100-120 days after planting.
How to Harvest Onions
Follow these steps to harvest your onion bulbs:
- Start by gently loosening the soil around the onion plants using a garden fork or shovel. Be careful not to damage the bulbs.
- Once the soil is loosened, you can carefully lift the onion bulbs out of the ground. Use your hands or a garden fork to lift them without causing any damage.
- Brush off any excess soil from the bulbs, but be careful not to remove too many of the dry outer layers.
- Leave the onion bulbs to dry in a well-ventilated area for a week or two. This will help to cure the bulbs and improve their flavor and storage potential.
- After the onions have dried, trim the tops and roots to about 1 inch long.
Storing Onion Bulbs
To store your harvested onion bulbs:
- Remove any bulbs that show signs of damage or disease, as they may spoil the rest of your harvest.
- Place the remaining bulbs in a cool, dry, and well-ventilated area. A temperature of around 40-50°F (4-10°C) with low humidity is ideal for onion storage.
- Store the onions in a mesh bag or braid them together and hang them up. This allows for air circulation and helps to prevent mold or rot.
- Check your stored onions regularly and remove any bulbs that show signs of spoiling.
By following these steps, you can enjoy a bountiful harvest of delicious, homegrown onions that will last for months.
Storage and Use of Onion Bulbs
After harvesting your onion bulbs, they need to be properly stored to ensure their longevity and freshness. Here are some guidelines for storing and using onion bulbs:
- Curing: Before storage, allow the onion bulbs to cure in a well-ventilated area for about two weeks. This process helps the outer layers dry and toughen up, increasing their shelf life.
- Preparation: Remove any dirt or debris from the bulbs, but do not wash them. Ensure that the bulbs are dry before storage to prevent the risk of molding or rotting.
- Storage conditions: Onion bulbs should be stored in a cool, dry, and well-ventilated area. The ideal temperature for storage should be around 32-40°F (0-4°C). Avoid storing onions near potatoes, as they can release moisture and cause both vegetables to spoil faster.
- Container: Use a mesh bag, burlap sack, or a well-ventilated crate or box for storing onion bulbs. This allows air circulation, preventing moisture buildup and potential rotting.
- Separation: Keep different varieties of onion bulbs separate to avoid cross-contamination of flavors and aromas. Label the containers to identify the variety and harvest date.
- Checking regularly: Check the stored onion bulbs regularly for any signs of decay or spoilage. Remove any bulbs that show signs of rotting to prevent it from spreading to other bulbs.
- Usage: When it comes to using stored onion bulbs, start with the ones that show signs of deterioration first. Use them in cooking or salads before they spoil completely. Use the bulbs that are in good condition later to ensure maximum freshness.
- Long-term storage: If you want to store onion bulbs for a longer duration, consider freezing or dehydrating them. Freezing involves chopping or slicing the onions before storing them in airtight containers or freezer bags. Dehydrating, on the other hand, requires drying the onions until they become crispy and brittle.
By following these storage and usage guidelines, you can extend the shelf life of your onion bulbs and enjoy their flavor and aroma in various dishes throughout the year.
“Question-Answer”
Do I need to start onion seedlings indoors?
Yes, it is recommended to start onion seedlings indoors to give them a head start before transplanting them outside.
What is the best time to start onion seedlings indoors?
The best time to start onion seedlings indoors is around 8-10 weeks before the last frost date in your area.
Can I plant onion seedlings directly in the garden?
Yes, you can plant onion seedlings directly in the garden, but starting them indoors can give them a better chance of survival and growth.
How deep should I plant the onion seedlings?
You should plant the onion seedlings about 1/4 inch deep in the soil.
What should I do if my onion seedlings are too crowded?
If your onion seedlings are too crowded, you can thin them out by removing the weaker seedlings to give the stronger ones more space to grow.


