- How to Sprout Pumpkin Seeds
- 1. Choose the right seeds
- 2. Prepare the seeds
- 3. Sprouting methods
- 4. Maintain the sprouts
- 5. Harvest the sprouts
- 6. Enjoy the sprouted seeds
- Choose the right pumpkin seeds
- Rinse and clean the seeds
- Soak the seeds overnight
- Create a sprouting environment
- Spread the seeds and water daily
- Keep the sprouting area warm
- Continue watering until sprouts appear
- Harvest and enjoy the sprouted pumpkin seeds
- 1. Harvesting the sprouted pumpkin seeds
- 2. Cleaning the sprouted pumpkin seeds
- 3. Drying the sprouted pumpkin seeds
- 4. Roasting the sprouted pumpkin seeds
- 5. Enjoying the sprouted pumpkin seeds
- “Question-Answer”
- What are the healing properties of pumpkin seeds?
- How do you sprout pumpkin seeds?
- Can I eat sprouted pumpkin seeds raw?
- Are there any precautions to take while sprouting pumpkin seeds?
- How long does it take to sprout pumpkin seeds?
- What can I do with the sprouted pumpkin seeds?
- “Video” How to Grow Pumpkins at Home From Seed
Did you know that pumpkin seeds are not only delicious but also have numerous healing properties? Sprouting pumpkin seeds can enhance their nutrient content, making them even more beneficial for your health. Whether you want to improve your digestion, boost your immune system, or promote healthier skin, sprouting pumpkin seeds is a simple and effective way to unlock their full potential.
So how do you sprout pumpkin seeds? It’s actually quite easy! First, you’ll need to gather fresh and raw pumpkin seeds. Make sure they are organic and free from any pesticides or chemicals. Then, rinse the seeds thoroughly under cold water to remove any dirt or debris. Next, place the seeds in a bowl and cover them with water. Let them soak overnight.
After soaking, drain the water and spread the seeds evenly on a baking sheet or a large plate. Make sure to leave some space between the seeds to allow air circulation. Place the sheet or plate in a warm and well-ventilated area, away from direct sunlight. Cover the seeds with a damp cloth or paper towel to keep them moist. This will create a perfect environment for sprouting.
Over the next few days, rinse the sprouting pumpkin seeds twice a day with fresh water. Gently swish them around to ensure even moisture distribution. Avoid over-rinsing or letting the seeds sit in water for too long, as that can lead to mold or rot. With proper care and attention, you will start to see tiny sprouts emerging from the seeds within a week or two.
Once the sprouts are about half an inch long, they are ready to be eaten. You can add them to salads, smoothies, or enjoy them as a snack on their own. Sprouted pumpkin seeds are packed with vitamins, minerals, and enzymes that can help improve your overall well-being. Incorporating them into your diet is a simple and tasty way to reap their healing benefits.
In conclusion, sprouting pumpkin seeds is a straightforward process that can greatly enhance their healing properties. By following the steps outlined in this guide, you can unlock the full potential of these nutritious seeds. So why not give it a try? Your body will thank you for it!
How to Sprout Pumpkin Seeds
Growing pumpkin seeds is a great way to harness their healing properties and enjoy their nutritional benefits. Here’s a step-by-step guide on how to sprout pumpkin seeds:
1. Choose the right seeds
Start by selecting high-quality pumpkin seeds. Look for seeds that are organic and non-GMO to ensure they are free from any harmful chemicals.
2. Prepare the seeds

Before sprouting the seeds, rinse them thoroughly under running water to remove any dirt or debris. You can also soak the seeds in a bowl of water for a few minutes to help soften the outer shell.
3. Sprouting methods
There are several methods you can use to sprout pumpkin seeds:
- Water soaking method: Place the seeds in a jar or bowl of water and let them soak for 8-12 hours.
- Damp paper towel method: Moisten a paper towel and place the seeds on it. Fold the towel over the seeds and keep it in a warm area for 24-48 hours.
- Sprouting tray method: Use a sprouting tray with drainage holes. Spread the seeds evenly on the tray and rinse them with water twice a day. Keep the tray in a warm and well-lit area.
4. Maintain the sprouts
During the sprouting process, it’s important to keep the seeds moist but not overly wet. Rinse them with water as needed and drain any excess water to prevent mold or rotting.
5. Harvest the sprouts
Once the sprouts have reached the desired length (usually around 1-2 inches), they are ready to be harvested. Gently remove the sprouts from the germination method you used and rinse them one last time.
6. Enjoy the sprouted seeds
Sprouted pumpkin seeds are great for snacking or adding to your favorite dishes. They can be eaten raw or lightly roasted for added flavor. Store the sprouted seeds in an airtight container in the refrigerator for up to a week.
By following these simple steps, you can easily sprout your own pumpkin seeds and enjoy their healing properties and nutritional benefits.
Choose the right pumpkin seeds
Selecting the appropriate pumpkin seeds for sprouting is an essential step in the process. Here are some key factors to consider when choosing your seeds:
- Choose organic seeds: Opt for organic pumpkin seeds to avoid exposure to harmful chemicals and ensure they are of the highest quality.
- Look for seeds labeled specifically for sprouting: Not all pumpkin seeds are suitable for sprouting. Be sure to select seeds that are specifically labeled for sprouting to ensure optimal success.
- Consider the type of pumpkin: Pumpkin seeds can come from various types of pumpkins, such as sugar pumpkins or carving pumpkins. The type of pumpkin can affect the flavor and nutrient profile of the seeds, so choose according to your preference.
- Check for freshness: It’s important to use fresh pumpkin seeds for sprouting. Look for seeds that have been recently harvested or have a long shelf life to ensure viability.
- Consider the desired outcome: Different pumpkin seed varieties can offer various health benefits. Research and choose seeds based on the specific health properties you are looking to incorporate into your diet.
Once you have selected your pumpkin seeds, you are ready to move on to the next step in the sprouting process.
Rinse and clean the seeds
Before you can start sprouting your pumpkin seeds, it’s important to rinse and clean them thoroughly. This will help remove any dirt, debris, or unwanted substances that may be stuck to the seeds.
Here’s how to rinse and clean pumpkin seeds:
- Gather your pumpkin seeds: Take the pumpkin, cut it open, and scoop out the seeds using a spoon. Place the seeds in a colander or strainer.
- Rinse with water: Hold the colander or strainer under running water and rinse the seeds thoroughly. Use your hands to massage the seeds and remove any residual pumpkin pulp.
- Remove any floating seeds: After rinsing, take a close look at the seeds. Remove any seeds that are floating or damaged, as they may not sprout well.
- Soak the seeds: Fill a bowl with clean water and place the rinsed seeds in it. Let them soak for about 8-12 hours. This will help soften the outer shell and promote sprouting.
- Drain and dry the seeds: After soaking, drain the water from the seeds and spread them out on a clean towel or paper towel. Allow them to air dry for a few hours until they are completely dry.
Once the pumpkin seeds are rinsed, cleaned, soaked, and dried, they are ready for the sprouting process. Proceed to the next step of the guide to learn how to sprout pumpkin seeds for their healing properties.
Soak the seeds overnight
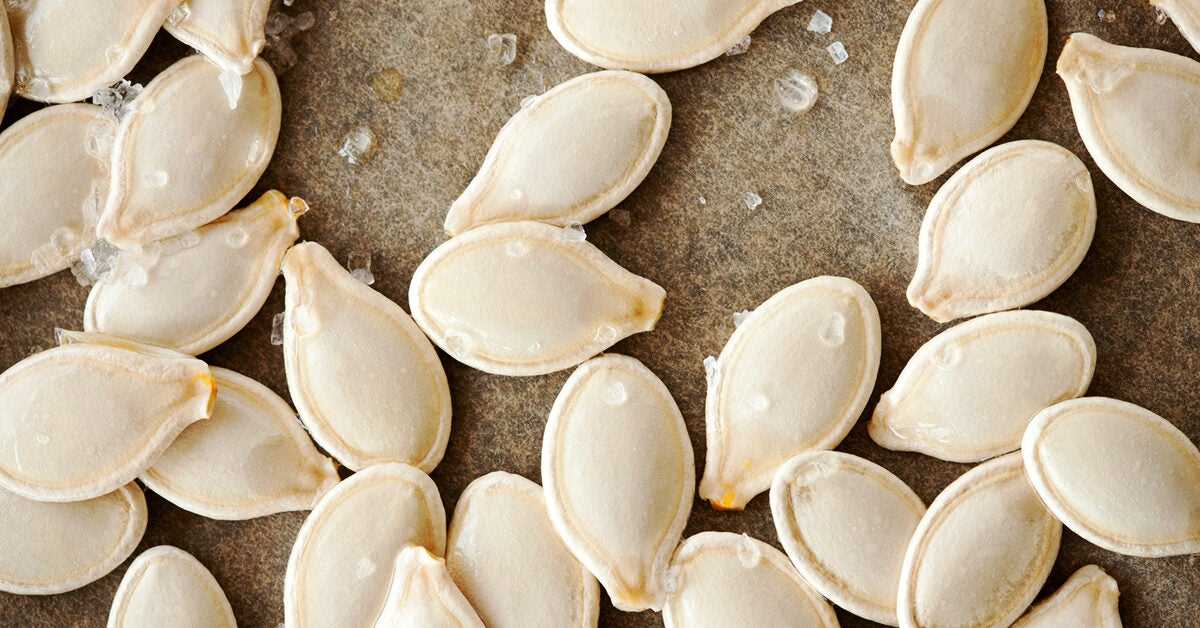
In order to sprout pumpkin seeds, it is important to first soak them overnight. This step is essential because it softens the outer shell of the seed, allowing it to absorb water and begin the sprouting process.
Here is a step-by-step guide on how to soak pumpkin seeds overnight:
- Start by collecting fresh pumpkin seeds from a ripe pumpkin. Make sure to remove any debris or excess pulp from the seeds.
- Rinse the seeds thoroughly under cold water to remove any remaining pulp or residue. It is important to clean the seeds properly to prevent any mold or bacterial growth during the soaking process.
- Once the seeds are clean, place them in a bowl or container. Add enough water to cover the seeds completely.
- Cover the bowl or container with a lid or plastic wrap to prevent evaporation.
- Place the bowl or container in a cool, dark area of your kitchen or pantry.
- Let the seeds soak overnight, preferably for about 8-12 hours.
After soaking the seeds overnight, they will be ready for the next step in the sprouting process. Be sure to drain and rinse the seeds thoroughly before proceeding.
Create a sprouting environment
Creating a suitable environment is essential for sprouting pumpkin seeds successfully. Follow these steps to create the ideal sprouting environment:
- Choose your sprouting container: Select a container that can hold the amount of pumpkin seeds you plan to sprout. A glass jar with a wide mouth or a sprouting tray with drainage holes are good options.
- Clean and sterilize the container: Thoroughly clean the container with soap and hot water, and then rinse it well. You can also sterilize it by soaking it in a mixture of 1 part bleach and 10 parts water for 10 minutes, and then rinsing it thoroughly.
- Add a sprouting medium: Fill the container with a sprouting medium. You can use a variety of options, such as soil, coconut coir, or a mixture of equal parts vermiculite and peat moss. Make sure the sprouting medium is moist but not soaking wet.
- Distribute the pumpkin seeds: Scatter the pumpkin seeds evenly over the sprouting medium. Make sure to leave some space between the seeds to allow room for sprouting and growth.
- Cover the container: Cover the container with a clean cloth or mesh screen to prevent pests from entering while still allowing air circulation. Alternatively, you can use the lid of the glass jar, making sure to leave it slightly ajar to allow air to flow.
- Place the container in a warm location: Find a warm spot in your house where the temperature remains between 70-85°F (21-29°C). Avoid exposing the container to direct sunlight as it can cause excessive heat and drying.
- Water the seeds: Water the seeds daily or as needed to keep the sprouting medium moist. Avoid overwatering, as it can lead to rotting instead of sprouting.
- Monitor the sprouting progress: Check the container regularly to observe the sprouting progress. Within a few days, you should start to see tiny sprouts emerging from the pumpkin seeds.
By creating a suitable sprouting environment, you will provide the optimal conditions for the pumpkin seeds to sprout and grow. This will ensure that you can harness their healing properties to their fullest potential.
Spread the seeds and water daily
After rinsing the pumpkin seeds and discarding any damaged or ineffective seeds, it’s time to spread them out for sprouting. Take a damp paper towel or a clean cloth and lay it on a flat surface. Place the seeds on top of the damp paper towel or cloth, making sure to space them out evenly.
Next, cover the seeds with another damp paper towel or cloth to ensure they stay moist throughout the sprouting process. It’s important to maintain a consistently moist environment for the seeds to sprout successfully.
Once the seeds are spread out and covered, water them lightly every day. Use a spray bottle or a gentle stream of water to moisten the paper towel or cloth. Be careful not to saturate the seeds, as excessive moisture can lead to mold or rot.
During this time, keep the pumpkin seeds in a warm and dark location. A temperature of around 70°F (21°C) is ideal for sprouting. Consider placing the seeds in a dark cupboard or using a seed sprouting tray with a lid to create a dark environment.
Continue to water the seeds daily and monitor their progress. After a few days, you should start to see tiny sprouts emerging from the seeds. This is an exciting sign that the pumpkin seeds are successfully sprouting and will soon be ready for consumption.
Once the sprouts are about 1-2 inches long, they are ready to be harvested and used in various dishes or for their healing properties. Simply cut the sprouts from the seeds and incorporate them into your favorite recipes!
Keep the sprouting area warm
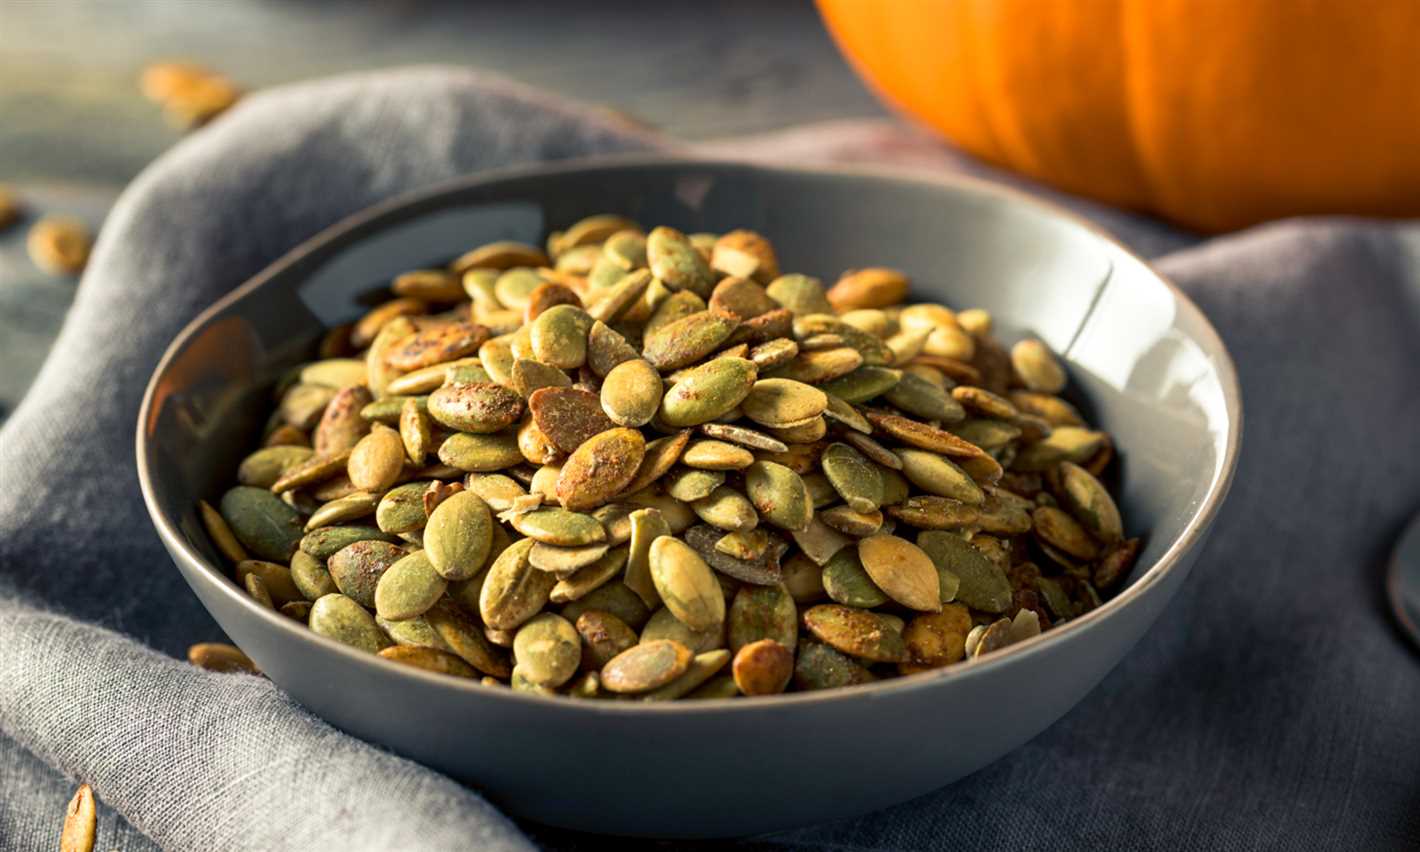
It is important to keep the sprouting area warm to promote the growth and germination of pumpkin seeds. The ideal temperature for sprouting pumpkin seeds is around 70 to 85 degrees Fahrenheit (21 to 29 degrees Celsius).
You can achieve the right temperature by placing the sprouting container in a warm and well-insulated area of your home. Avoid placing it near drafts or in direct sunlight, as this can cause temperature fluctuations that may hinder the sprouting process.
If you’re sprouting pumpkin seeds in colder weather or live in a colder climate, you may need to provide additional heat to the sprouting area. You can do this by using a seedling heat mat placed underneath the sprouting container. This will help maintain a consistent and warm temperature necessary for successful sprouting.
Monitoring the temperature regularly with a thermometer is recommended to ensure that the sprouting area remains within the optimal range. Adjustments may need to be made if the temperature fluctuates too much.
Continue watering until sprouts appear
After you’ve planted your pumpkin seeds, it’s important to provide them with consistent moisture to help them germinate and sprout. Water your pumpkin seeds daily, making sure the soil is kept moist but not waterlogged. Be careful not to overwater, as this can lead to rotting.
It typically takes around 5 to 10 days for pumpkin seeds to sprout, but this can vary depending on various factors such as temperature and seed quality. During this time, continue watering the seeds daily to maintain the optimal moisture levels.
TIP: If you’re unsure whether the soil is moist enough, simply stick your finger into the soil up to your first knuckle. If it feels dry, it’s time to water.
Once the sprouts start to emerge, you can reduce the frequency of watering to every 2-3 days. At this stage, the sprouts will have developed stronger roots and will be better able to withstand minor fluctuations in moisture levels.
It’s important to maintain a consistent and regular watering schedule throughout the sprouting process to ensure healthy and strong pumpkin seedlings. Watering too little or too much can negatively impact their growth.
Harvest and enjoy the sprouted pumpkin seeds
Once your pumpkin seeds have sprouted and grown into healthy seedlings, it’s time to harvest and enjoy them. Follow these steps to make the most out of your sprouted pumpkin seeds:
1. Harvesting the sprouted pumpkin seeds
- Carefully remove the sprouted pumpkin seeds from the soil by gently pulling them out, being careful not to damage the roots.
- Collect the sprouted pumpkin seeds in a clean container or on a clean surface.
2. Cleaning the sprouted pumpkin seeds
- Rinse the sprouted pumpkin seeds under cool running water to remove any excess soil or debris.
- Use your fingers to separate any tangled roots or clumps of seeds.
- Transfer the cleaned sprouted pumpkin seeds to a colander or strainer to drain excess water.
3. Drying the sprouted pumpkin seeds
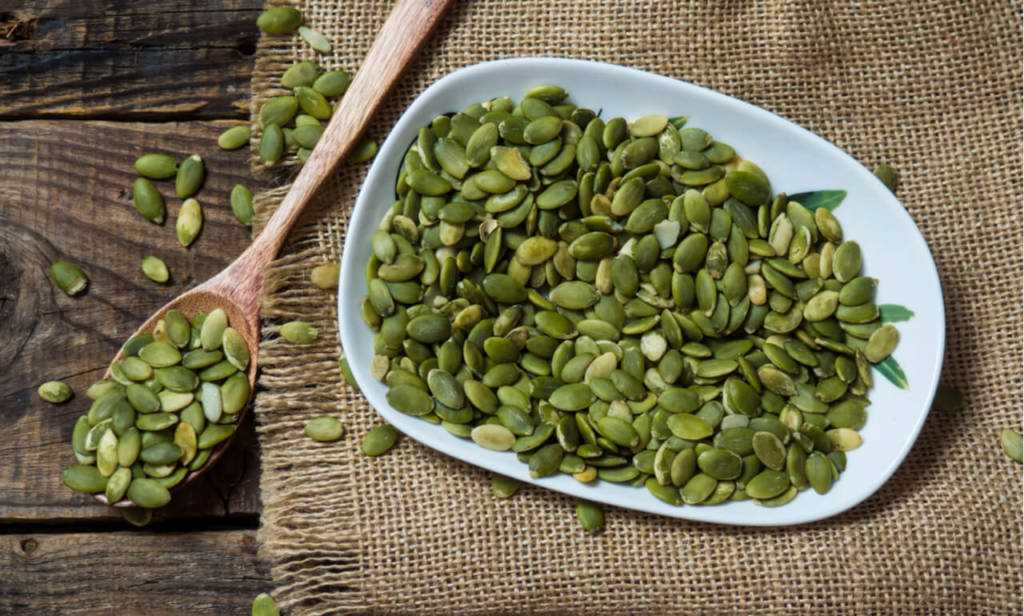
- Spread the cleaned sprouted pumpkin seeds in a single layer on a clean and dry surface, such as a baking sheet or a towel.
- Allow the sprouted pumpkin seeds to air dry for at least 24 hours. Make sure they are completely dry before proceeding to the next step.
4. Roasting the sprouted pumpkin seeds

- Preheat your oven to 300°F (150°C).
- In a bowl, toss the dried sprouted pumpkin seeds with a small amount of oil, such as olive oil, and your preferred seasonings, such as salt, pepper, or spices.
- Spread the seasoned sprouted pumpkin seeds in a single layer on a baking sheet.
- Bake the sprouted pumpkin seeds in the preheated oven for approximately 30 minutes, or until they turn golden brown and become crispy.
5. Enjoying the sprouted pumpkin seeds
- Once the roasted sprouted pumpkin seeds have cooled down, transfer them to an airtight container for storage.
- Enjoy the sprouted pumpkin seeds as a healthy and delicious snack, or use them as a topping for salads, soups, or other dishes.
Remember to store the sprouted pumpkin seeds in a cool, dry place to maintain their freshness. Enjoy the health benefits and unique flavor of these homemade sprouted pumpkin seeds!
“Question-Answer”
What are the healing properties of pumpkin seeds?
Pumpkin seeds have numerous healing properties. They are rich in antioxidants, which help in reducing inflammation in the body. They are also a good source of magnesium, which is important for bone health. Pumpkin seeds are known to improve heart health, regulate blood sugar levels, and boost the immune system.
How do you sprout pumpkin seeds?
You can sprout pumpkin seeds by following a simple step-by-step process. First, rinse the seeds to remove any dirt or debris. Then, soak the seeds in water overnight. Drain the water and spread the seeds on a moist paper towel or in a sprouting tray. Place the seeds in a warm and dark place for about 12-24 hours, making sure to keep them moist. Rinse the sprouts daily and after 2-3 days, they will be ready to be eaten or used in recipes.
Can I eat sprouted pumpkin seeds raw?
Yes, you can eat sprouted pumpkin seeds raw. In fact, eating them raw is a great way to enjoy their nutritional benefits. Sprouted pumpkin seeds are a crunchy and delicious snack on their own, or you can add them to salads, smoothies, or baked goods for an extra nutritional boost.
Are there any precautions to take while sprouting pumpkin seeds?
While sprouting pumpkin seeds, it is important to handle them with clean hands and ensure that the sprouting environment is clean to avoid any contamination. It is also crucial to rinse the seeds daily and keep them moist to prevent them from drying out. Additionally, make sure to consume the sprouted seeds within 2-3 days to avoid any potential spoilage.
How long does it take to sprout pumpkin seeds?
It takes approximately 2-3 days to sprout pumpkin seeds. After soaking the seeds overnight, they need to be placed in a warm and dark place for about 12-24 hours, where they will start to sprout. By rinsing the sprouts daily, they will continue to grow and be ready to eat in 2-3 days.
What can I do with the sprouted pumpkin seeds?
There are various ways to use sprouted pumpkin seeds. You can eat them as a snack on their own, sprinkle them on top of salads or soups, or blend them into smoothies for added nutrition. They can also be used in baking recipes like breads, muffins, or granola bars. The possibilities are endless!


