- Preparing the Milk Bag for Tomato Seedlings
- Choosing the Right Tomato Varieties for Milk Bag Planting
- Growth Habit
- Fruit Size
- Disease Resistance
- Climate Adaptability
- Flavor and Use
- Sterilizing the Milk Bag for Tomato Seedlings
- Materials:
- Steps:
- Planting Tomato Seeds in the Milk Bag
- Here are the steps to plant tomato seeds in a milk bag:
- Benefits of planting tomato seeds in a milk bag:
- Caring for Tomato Seedlings in the Milk Bag
- 1. Watering
- 2. Fertilizing
- 3. Pruning
- 4. Staking or Supporting
- 5. Protecting from Pests
- 6. Monitoring for Diseases
- 7. Harvesting
- Transferring Tomato Seedlings from Milk Bag to Garden
- Step 1: Choose the Right Time
- Step 2: Prepare the Garden Area
- Step 3: Water the Seedlings
- Step 4: Dig Planting Holes
- Step 5: Transplant Seedlings
- Step 6: Water and Mulch
- Step 7: Provide Support
- Pruning and Supporting Tomato Seedlings in the Garden
- Pruning
- Supporting
- Additional Tips
- Harvesting and Enjoying Tomatoes Grown in Milk Bags
- 1. Determine Tomato Ripeness
- 2. Prepare Harvesting Tools
- 3. Harvesting the Tomatoes
- 4. Sorting and Cleaning
- 5. Storing Tomatoes
- 6. Enjoying Your Harvest
- “Question-Answer”
- Why should I grow tomato seedlings in a milk bag?
- How do I prepare the milk bag for planting tomato seedlings?
- What kind of soil should I use for planting tomato seedlings in a milk bag?
- When should I plant tomato seedlings in a milk bag?
- What are some common mistakes to avoid when planting tomato seedlings in a milk bag?
- How long does it take for tomato seedlings in a milk bag to mature?
- “Video” Growing Tomatoes on the balcony and the unexpected happened
Growing your own vegetable garden can be a rewarding and cost-effective way to enjoy fresh produce. If you’re interested in starting your own garden, growing tomato seedlings in a milk bag is a great option. Not only is it an inexpensive method, but it also allows you to control the growing conditions of your plants from the very beginning.
Before getting started, you’ll need a few things: tomato seeds, potting soil, a milk bag, and a few basic gardening tools. Tomato seeds can be purchased from a local nursery or online, and it’s important to choose a variety that is well-suited for your climate. Potting soil should be nutrient-rich and well-draining to ensure healthy growth. A milk bag can be found at your local grocery store or repurposed from a used milk container.
Once you have all your materials ready, start by filling the milk bag with potting soil. Make sure to leave some space at the top for watering later on. Gently pat down the soil to remove any air pockets. Next, make small holes in the soil using your finger or a pencil, about 1/4 inch deep. Place one or two tomato seeds in each hole and cover them with a thin layer of soil. Water the soil lightly to ensure it is evenly moist.
It’s important to place the milk bag in a warm and bright location. Tomatoes thrive in full sun, so find a spot that receives at least six hours of direct sunlight each day. Keep the soil consistently moist, but be careful not to overwater. You should start to see seedlings sprout in about a week or two. Once the seedlings have grown their first set of true leaves, it’s time to transplant them into larger containers or directly into the ground.
Transplanting the seedlings is a delicate process, so handle them with care. Gently remove the seedlings from the milk bag, taking care not to damage their roots. If you’re transplanting them into larger containers, make sure each seedling has enough space to grow. If you’re planting them in the ground, dig a hole that is slightly larger than the root ball of each seedling and place them in the hole. Backfill the hole with soil, gently firming it around the seedling to ensure good contact.
In conclusion, planting tomato seedlings grown in a milk bag is a simple and effective way to start your own vegetable garden. By following the step-by-step guide outlined above, you’ll be well on your way to enjoying delicious homegrown tomatoes in no time!
Preparing the Milk Bag for Tomato Seedlings
Before you can begin planting tomato seedlings in a milk bag, you need to prepare the bag to create an optimal environment for the plants to grow. Follow these steps to prepare the milk bag for tomato seedlings:
- Clean the milk bag: Start by cleaning the milk bag to remove any remaining milk residue. Rinse the bag thoroughly with water and let it dry completely.
- Cut drainage holes: Lay the milk bag flat on a table or any other surface. Use a sharp pair of scissors to create small, evenly spaced holes along the bottom of the bag. These holes will allow excess water to drain out, preventing overwatering.
- Add potting soil: Fill the milk bag with potting soil until it is approximately two-thirds full. Lightly pat down the soil to remove any air pockets.
- Moisten the soil: Before planting the tomato seedlings, moisten the soil slightly to provide a good starting environment for the plants. However, be careful not to make the soil too wet, as it could lead to root rot.
- Optional: Add nutrients: If desired, you can mix in some organic fertilizer or compost into the soil to provide additional nutrients for the tomato seedlings. This step is optional but can help promote healthy growth.
Once you have prepared the milk bag for tomato seedlings, it will be ready for planting. Follow the next steps in this guide to learn how to plant the seedlings and care for them as they grow.
Choosing the Right Tomato Varieties for Milk Bag Planting
When it comes to planting tomato seedlings in a milk bag, it is important to choose the right tomato varieties. Not all tomato varieties are suitable for this method of planting, so it is important to select ones that will thrive in this unique setup. Here are some factors to consider when choosing tomato varieties for milk bag planting:
Growth Habit
The growth habit of the tomato plant is an important consideration for milk bag planting. Since the milk bag provides a limited amount of space and support for the plants, it is best to choose determinate tomato varieties that have a more compact growth habit. These varieties stay relatively small and do not require extensive staking or support.
Fruit Size
The size of the tomato fruit is another factor to consider. Since the milk bag planting method does not provide as much room for root development as traditional methods, it is best to choose tomato varieties that produce smaller fruit. Cherry tomatoes and grape tomatoes are excellent choices for milk bag planting due to their smaller size.
Disease Resistance
Another important consideration when choosing tomato varieties for milk bag planting is disease resistance. Tomato plants can be susceptible to a variety of diseases such as blight and wilt. Look for varieties that have been bred to be resistant to common tomato diseases to increase the chances of a successful harvest.
Climate Adaptability
Consider the climate in which you will be planting your tomato seedlings. Different tomato varieties have different temperature and moisture requirements, so it is important to choose varieties that are well-suited to your growing conditions. Some tomato varieties are more heat-tolerant, while others are better suited to cooler climates.
Flavor and Use
Finally, consider the flavor and use of the tomato variety. Think about whether you want tomatoes for fresh eating or if you plan to use them for canning or sauces. Different varieties have different flavors and textures, so choose ones that suit your culinary preferences.
By considering the growth habit, fruit size, disease resistance, climate adaptability, and flavor and use of tomato varieties, you can choose the right plants for milk bag planting and increase your chances of a successful tomato harvest.
Sterilizing the Milk Bag for Tomato Seedlings
Before planting tomato seedlings in a milk bag, it is important to ensure that the bag is sterilized to prevent any potential diseases or pests from affecting the seedlings. Sterilizing the milk bag is a simple process that will help create a clean and healthy environment for the tomato seedlings to thrive.
Materials:
- Milk bag
- Hot water
- Mild dish soap
- Bucket or sink
- Clean cloth or sponge
Steps:
- Start by filling a bucket or sink with hot water. The water should be hot enough to effectively sterilize the milk bag, but not scalding hot.
- Next, add a small amount of mild dish soap to the hot water. The dish soap will help remove any bacteria or residue from the milk bag.
- Submerge the milk bag into the soapy hot water, making sure it is fully submerged.
- Using a clean cloth or sponge, gently scrub the inside and outside of the milk bag. Pay special attention to any areas that may have come into contact with milk or other substances that could potentially harbor bacteria.
- Rinse the milk bag thoroughly with clean water to remove any soap residue.
- Once the milk bag is rinsed, squeeze out any excess water.
- Allow the milk bag to air dry completely before using it to plant tomato seedlings. Make sure it is completely dry to avoid any moisture that could cause mold or fungal growth.
By sterilizing the milk bag before planting tomato seedlings, you are taking an important step to promote a healthy growing environment for your plants. This process will help reduce the risk of diseases or pests that could potentially harm your tomato crop.
Planting Tomato Seeds in the Milk Bag
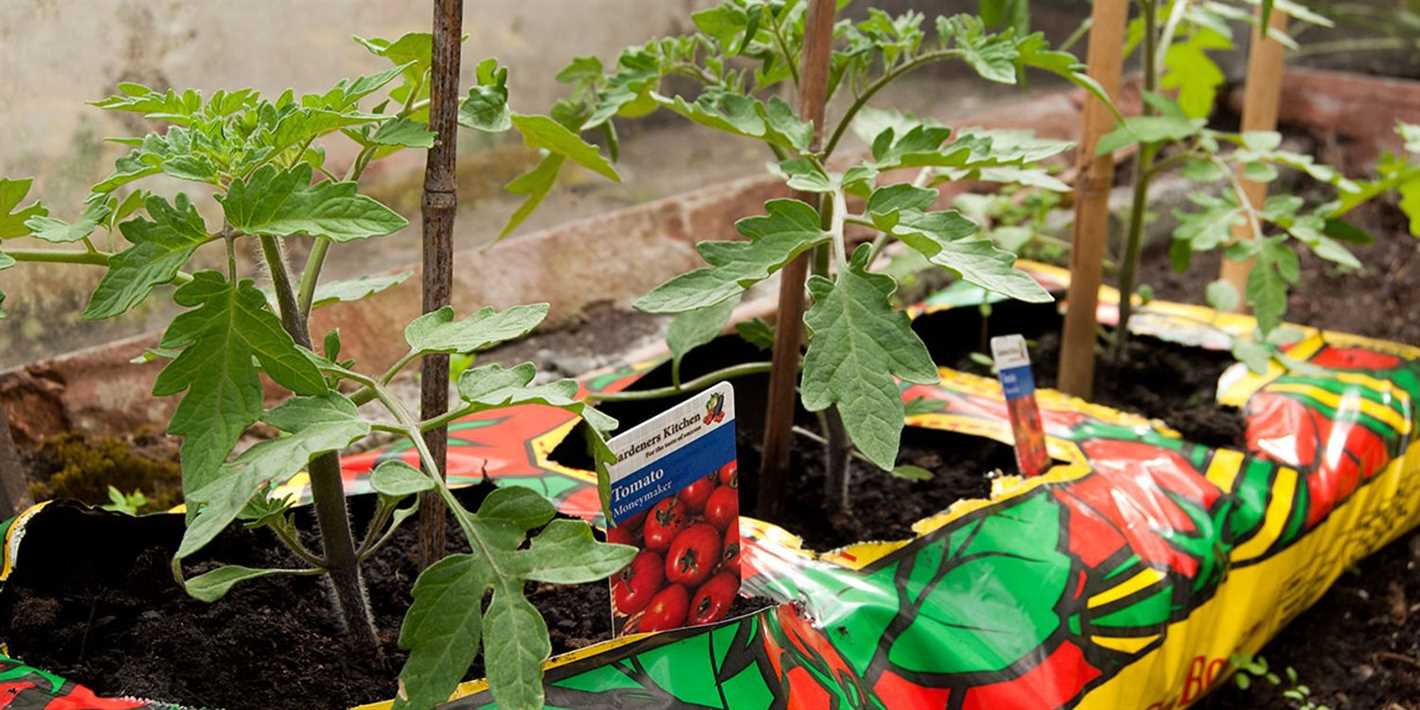
Planting tomato seeds in a milk bag is a simple and effective way to get your tomato plants started. This method allows you to easily transplant the seedlings once they have sprouted, and it helps to conserve space and resources.
Here are the steps to plant tomato seeds in a milk bag:
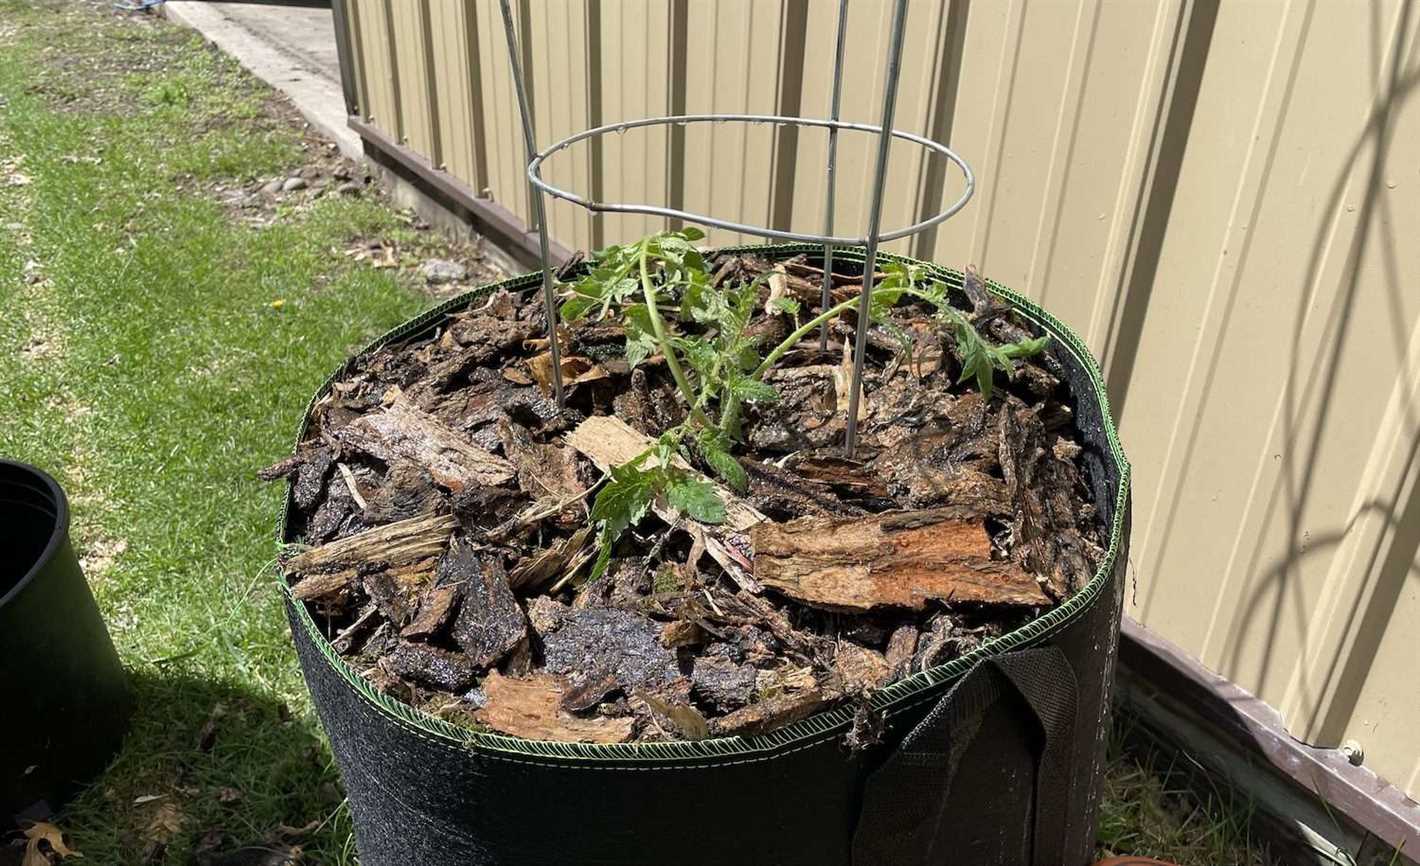
- Gather your materials: You will need a clean milk bag, potting soil, tomato seeds, water, and a tray or container to hold the milk bag.
- Prepare the milk bag: Rinse out the milk bag with water to remove any remaining milk residue. Cut off the top of the bag, leaving a couple of inches at the top to create a reservoir for water.
- Fill the milk bag with soil: Fill the milk bag about two-thirds full with potting soil. Lightly tamp down the soil to remove any air pockets.
- Plant the tomato seeds: Make small indentations in the soil, about 1/4 to 1/2 inch deep. Place one or two tomato seeds in each indentation. Cover the seeds with a thin layer of soil.
- Water the soil: Use a spray bottle or gently pour water into the reservoir at the top of the milk bag. Make sure the soil is evenly moist but not waterlogged.
- Place the milk bag in a warm location: Tomato seeds germinate best at temperatures between 70-85°F. Find a warm spot in your home or use a heat mat to provide warmth to the seeds.
- Keep the soil moist: Check the soil regularly and mist with water as needed to keep it evenly moist. Avoid overwatering, as this can lead to fungal diseases.
- Watch for sprouts: Tomato seeds usually germinate within 7-14 days. Once the seedlings have sprouted, move the milk bag to a location with bright, indirect sunlight.
- Thin out the seedlings: If more than one seedling emerges from an indentation, carefully remove the weaker ones, leaving the strongest seedling to grow.
- Transplant the seedlings: Once the seedlings have developed their first true leaves, they are ready to be transplanted into individual pots or into your garden.
Benefits of planting tomato seeds in a milk bag:
- Convenient and space-saving
- Easy to transplant seedlings
- Allows for better root development
- Conserves resources by reusing milk bags
By following these steps, you can successfully plant tomato seeds in a milk bag and enjoy a bountiful harvest of delicious tomatoes.
Caring for Tomato Seedlings in the Milk Bag
Once you have successfully planted your tomato seedlings in the milk bag, it is important to provide them with proper care to ensure healthy growth and bountiful harvest. Here are some essential tips for caring for tomato seedlings in the milk bag:
1. Watering
Tomato plants require regular watering to thrive. Check the moisture levels in the milk bag by pressing your finger about an inch into the soil. If it feels dry, it’s time to water. Avoid overwatering as it can lead to root rot. Instead, maintain a consistent level of moisture by watering when the top inch of the soil dries out.
2. Fertilizing
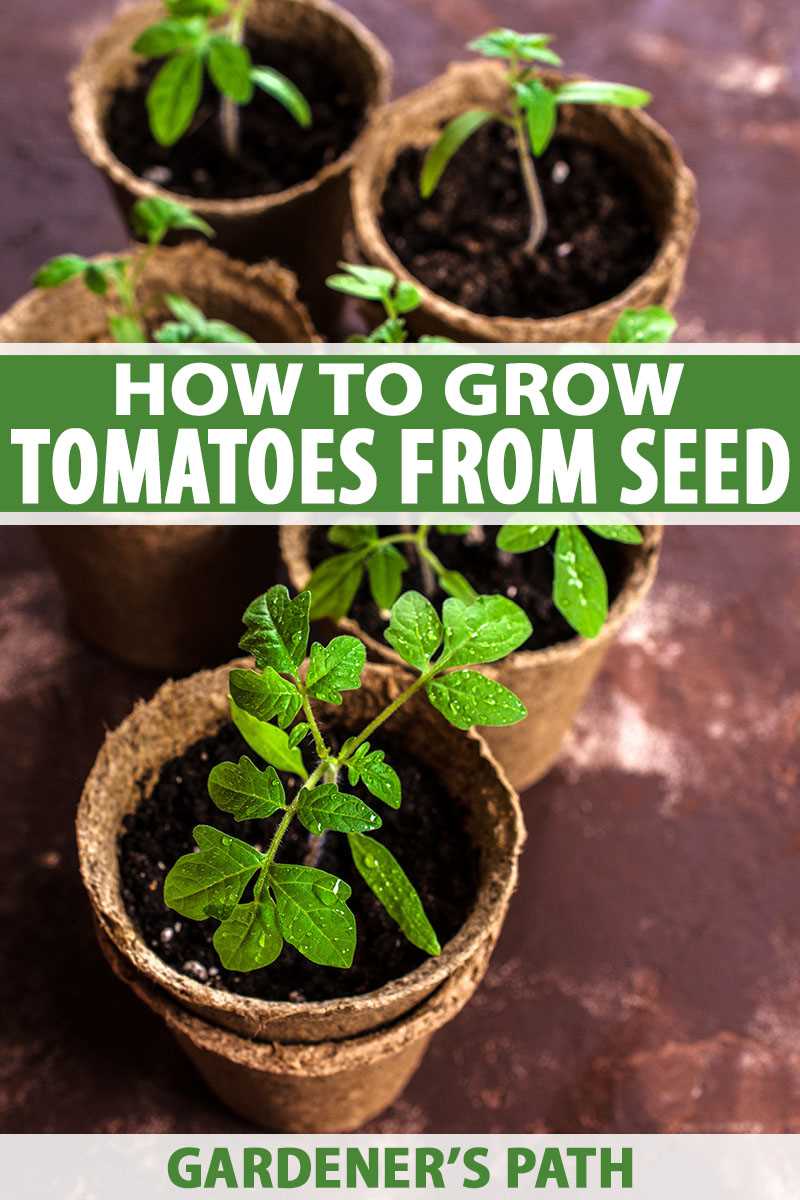
To support the growth and development of your tomato seedlings, it is important to provide them with appropriate nutrients. Start fertilizing when the seedlings have reached a height of about 3-4 inches. Use a balanced, water-soluble fertilizer and follow the instructions on the package for application rates.
3. Pruning
As your tomato seedlings grow, they may develop suckers (small shoots that emerge between the main stem and the branches). Removing these suckers can help divert energy towards fruit production. Regularly check for suckers and pinch them off using your fingers or sharp pruners.
4. Staking or Supporting
To prevent your tomato plants from sprawling on the ground, provide them with support. This can be done by staking the main stem or using tomato cages. As the tomato plants grow taller, gently tie the main stem to the stake to keep it upright and prevent it from bending or breaking.
5. Protecting from Pests
Keep a close eye on your tomato seedlings for any signs of pests, such as aphids, caterpillars, or whiteflies. Use organic pest control methods, such as spraying insecticidal soap or neem oil, to control infestations. Regularly check the undersides of leaves and remove any pests you find.
6. Monitoring for Diseases
Tomato plants are susceptible to various diseases, such as early blight and powdery mildew. Regularly inspect your tomato seedlings for any signs of disease, such as yellowing leaves or white powdery spots. If you notice any symptoms, take immediate action by removing affected leaves or applying appropriate fungicides.
7. Harvesting
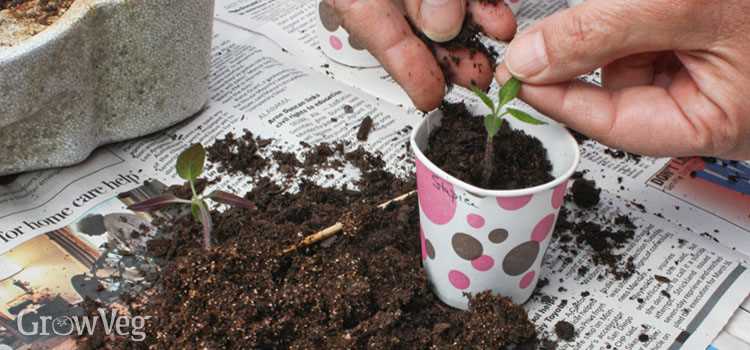
Once your tomato plants have reached maturity and the fruits have ripened, it’s time to harvest. Gently twist or cut the ripe tomatoes from the vine, being careful not to damage the plant. Harvest regularly to encourage continued production.
By following these care tips, you can ensure that your tomato seedlings thrive and produce a plentiful harvest in the milk bag.
Transferring Tomato Seedlings from Milk Bag to Garden
Once your tomato seedlings have grown enough in the milk bag, it is time to transfer them to your garden. Follow these step-by-step instructions to ensure a successful transplanting process:
Step 1: Choose the Right Time
- Pick a day when the weather conditions are favorable for transplanting, typically after the last frost in your area.
Step 2: Prepare the Garden Area
- Select a well-draining area in your garden that receives at least 6-8 hours of direct sunlight daily.
- Remove any weeds and debris from the selected area.
- Amend the soil with compost or organic matter to improve its fertility and drainage.
Step 3: Water the Seedlings
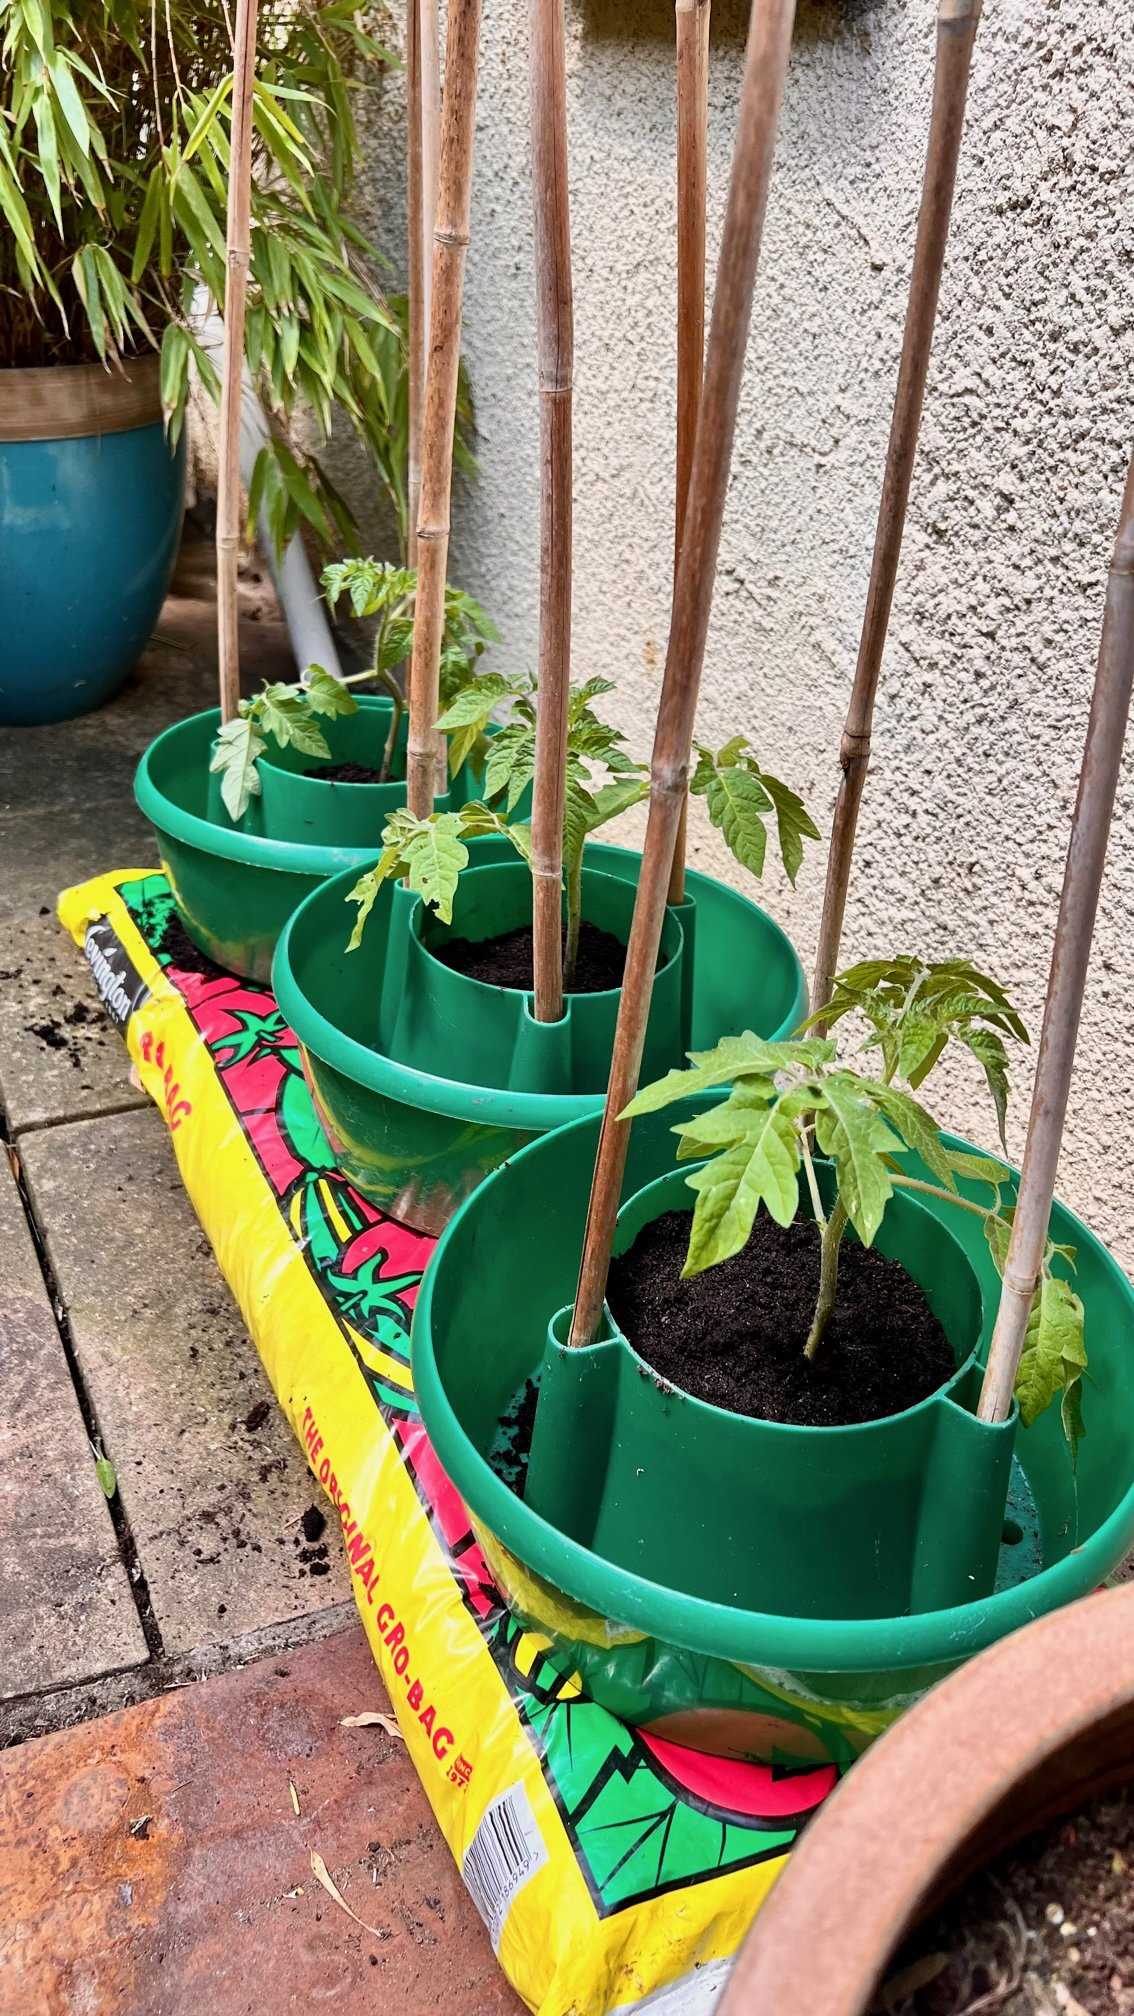
- Thoroughly water the tomato seedlings in the milk bag a few hours before transplantation to ensure the roots are well-hydrated.
Step 4: Dig Planting Holes
- Using a trowel or small shovel, dig a hole in the prepared garden bed that is slightly larger than the root ball of your tomato seedling.
Step 5: Transplant Seedlings
- Gently remove the tomato seedlings from the milk bag by holding the stem near the soil and carefully easing them out.
- Place each seedling in a planting hole, making sure the top of the root ball is level with or slightly above the soil surface.
- Backfill the hole with soil, firming it gently around the base of the seedling.
Step 6: Water and Mulch
- Immediately after transplanting, water the seedlings thoroughly to help settle the soil around the roots.
- Apply a layer of organic mulch around the planted seedlings to conserve moisture, suppress weeds, and regulate soil temperature.
Step 7: Provide Support
- If you are growing indeterminate tomato varieties, install support stakes or trellises near the seedlings to provide support as they grow.
Follow these steps carefully to ensure the successful transfer of your tomato seedlings from the milk bag to your garden. Regularly water and care for your newly transplanted seedlings to promote healthy growth and ensure a bountiful tomato harvest.
Pruning and Supporting Tomato Seedlings in the Garden
Once your tomato seedlings have been planted in the garden, it is important to regularly prune and support them to ensure healthy growth and maximum fruit production. Pruning helps to maintain airflow, prevent disease, and encourage the plants to produce larger and juicier tomatoes.
Pruning
Pruning involves removing the suckers, which are the small shoots that develop in the leaf axils of tomato plants. These suckers can divert energy and nutrients away from the main stem and fruit production. Here’s how to prune your tomato seedlings:
- Start pruning when the seedlings are about 12 to 18 inches tall.
- Identify the suckers, which are the small shoots that emerge between the main stem and a leaf branch.
- Using a clean pair of garden shears or scissors, carefully remove the suckers by cutting them off close to the main stem.
- Continue to monitor and prune the suckers as they appear throughout the growing season.
Supporting
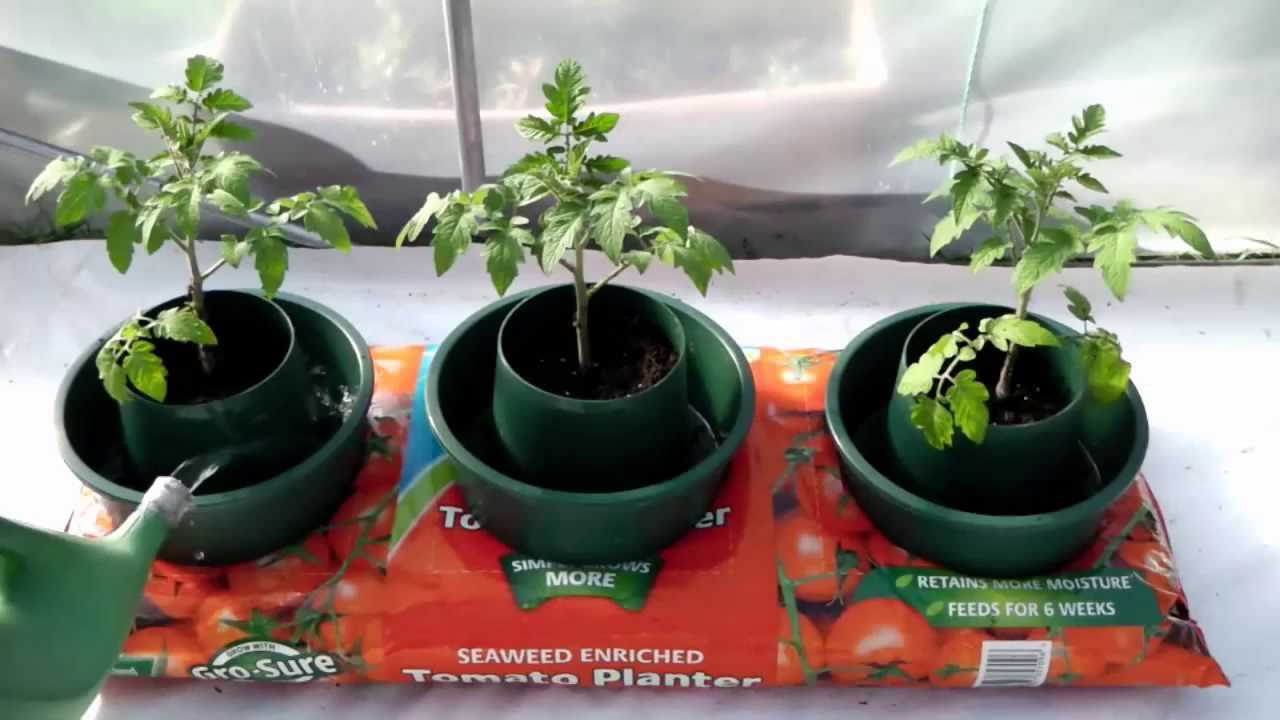
Tomato plants can become quite heavy as they grow and produce fruit, so it is important to provide support to prevent them from bending or breaking under their own weight. Here are some methods for supporting your tomato seedlings:
- Stake: Insert a sturdy stake into the ground near each tomato seedling and gently tie the main stem to the stake using soft plant ties or twine.
- Cage: Place a tomato cage around each seedling, ensuring that the cage is tall enough to accommodate the plant’s expected height. As the plant grows, guide the branches through the cage for support.
- Trellis: Install a trellis system or use a fence or wall for the tomato plants to climb. Secure the plants to the trellis or support structure using soft plant ties.
Additional Tips
Here are some additional tips to keep in mind when pruning and supporting your tomato seedlings:
- Prune and support the tomato plants regularly throughout the growing season to ensure proper growth and fruit development.
- Water the plants deeply and regularly, as dry soil can inhibit growth and fruit production.
- Remove any yellowing or diseased leaves to prevent the spread of disease.
- Monitor the plants for pests, such as aphids or tomato hornworms, and take appropriate measures to control them.
- Harvest ripe tomatoes promptly to encourage the production of more fruit.
By pruning and supporting your tomato seedlings, you can help them grow into healthy and productive plants that will reward you with a bountiful harvest of delicious tomatoes.
Harvesting and Enjoying Tomatoes Grown in Milk Bags
Congratulations! After carefully nurturing your tomato seedlings grown in milk bags, it is now time to harvest the ripe and delicious tomatoes. Follow these steps to ensure you enjoy the fruits of your labor:
1. Determine Tomato Ripeness
Tomatoes are ready to be harvested when they have reached their full color, which varies depending on the variety. Generally, ripe tomatoes will have vibrant colors and a slight softness to the touch. They should easily detach from the vine with a gentle twist or a light pull.
2. Prepare Harvesting Tools
Before harvesting your tomatoes, gather the necessary tools such as a pair of pruning shears or sharp scissors. It is important to use clean and sharp tools to minimize damage to the plant and ensure a clean cut.
3. Harvesting the Tomatoes
Hold the tomato fruit gently to avoid bruising or damaging it. Use the pruning shears or sharp scissors to cut the stem about one inch above the fruit. Do not pull or twist the tomatoes forcefully, as this may cause damage to the plant or surrounding tomatoes.
4. Sorting and Cleaning
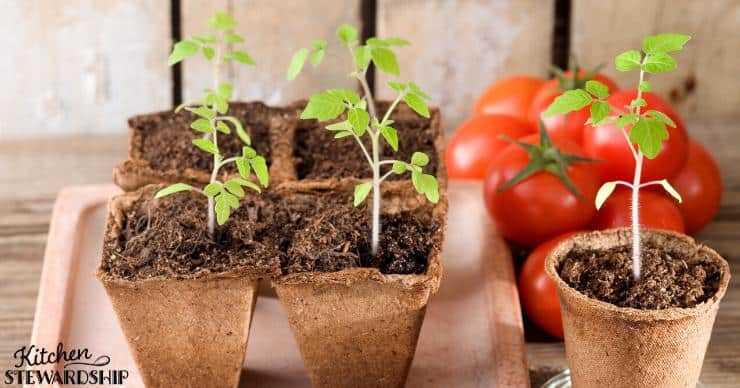
Once you have harvested the tomatoes, sort them by size and ripeness. Remove any damaged or overripe tomatoes as they may spoil the rest of the harvest. Rinse the tomatoes gently under cool water to remove any dirt or debris. Pat them dry with a clean towel before storing or using.
5. Storing Tomatoes
If you are not planning to use the tomatoes immediately, it is best to store them at room temperature, away from direct sunlight. Avoid placing them in the refrigerator, as cold temperatures can affect the flavor and texture of the tomatoes.
6. Enjoying Your Harvest
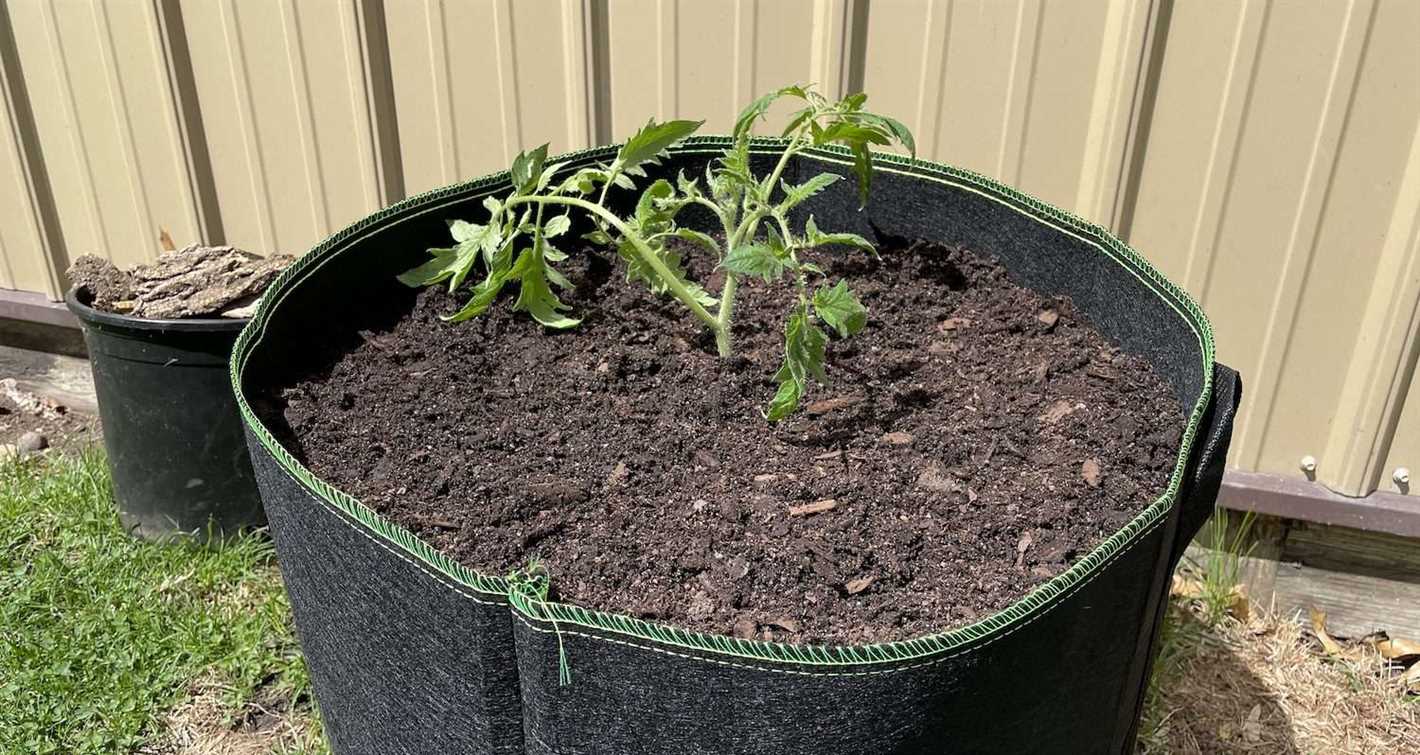
Now comes the best part – enjoying the tomatoes you have grown! There are endless ways to savor the flavors of ripe tomatoes, from simple salads and sandwiches to sauces, salsas, and even homemade tomato soup. Get creative in the kitchen and savor the delicious taste of your homegrown tomatoes.
Remember, the joy of growing your own tomatoes doesn’t end with the harvest. Save the seeds from your best tomato fruits for future plantings and continue to enjoy the rewards of gardening year after year.
“Question-Answer”
Why should I grow tomato seedlings in a milk bag?
Growing tomato seedlings in a milk bag offers several advantages. It provides a cheap and easily accessible method of germinating seeds, saves space, and allows for better control over soil and watering conditions. Additionally, the milk bag acts as a greenhouse, creating a warm and moist environment ideal for seed germination.
How do I prepare the milk bag for planting tomato seedlings?
To prepare the milk bag for planting tomato seedlings, start by rinsing it thoroughly with water to remove any traces of milk. Next, fill the bag with potting soil, leaving a few inches of space at the top. Moisten the soil until it is evenly damp but not soaking wet. You can then make small holes in the soil to plant the tomato seeds.
What kind of soil should I use for planting tomato seedlings in a milk bag?
For planting tomato seedlings in a milk bag, it is best to use a well-draining potting soil mix. The mix should contain a combination of peat moss, vermiculite, and perlite, which helps retain moisture while still allowing air circulation. Avoid using garden soil, as it may contain pests or diseases that could harm the young seedlings.
When should I plant tomato seedlings in a milk bag?
The ideal time to plant tomato seedlings in a milk bag depends on your local climate and the growing season. In general, it is best to start tomato seeds indoors 6-8 weeks before the last expected frost date. This will give the seedlings enough time to grow and develop before being transplanted outdoors. To determine the exact timing, consult a local gardening guide or speak to experienced gardeners in your area.
What are some common mistakes to avoid when planting tomato seedlings in a milk bag?
When planting tomato seedlings in a milk bag, it is important to avoid overwatering the soil. While the soil should be evenly moist, excessive water can lead to root rot and other problems. Additionally, make sure to provide adequate support for the seedlings as they grow. Tomato plants can become top-heavy and may require stakes or cages to prevent bending or breaking.
How long does it take for tomato seedlings in a milk bag to mature?
The time it takes for tomato seedlings in a milk bag to mature depends on the variety of tomato and growing conditions. On average, it takes about 6-8 weeks for tomato seedlings to reach a mature size suitable for transplantation outdoors. However, this timeline can vary, so it is important to monitor the growth of the seedlings and adjust care accordingly.


