- How to Prepare Your Soil for a Successful Harvest: Essential Techniques and Tips
- 1. Soil Testing
- 2. Clearing the Area
- 3. Tilling the Soil
- 4. Adding Organic Matter
- 5. Adjusting pH Levels
- 6. Fertilizing
- 7. Mulching
- 8. Watering
- 9. Crop Rotation
- 10. Regular Maintenance
- Fundamentals of Soil Preparation for Optimal Yields
- 1. Test Your Soil
- 2. Clear the Area
- 3. Break Up the Soil
- 4. Add Organic Matter
- 5. Consider Soil Amendments
- 6. Mulch the Soil
- 7. Rotate Crops
- 8. Regularly Monitor and Amend
- Assessing Your Soil’s Health: Vital Steps for Effective Soil Testing
- Understanding Soil Amendments: Enhancing Soil Fertility and Nutrient Balance
- The Importance of Soil Amendments
- Common Types of Soil Amendments
- Choosing the Right Amendments
- Applying Soil Amendments
- Monitoring and Adjusting
- Conclusion
- Implementing Proper Drainage Systems: Ensuring Adequate Moisture Levels
- 1. Assess Your Soil
- 2. Improve Soil Structure
- 3. Create Drainage Channels
- 4. Install French Drains
- 5. Monitor Moisture Levels
- Conclusion
- Effective Weed Control Methods: Minimizing Competition for Nutrients
- 1. Mulching
- 2. Hand Pulling
- 3. Hoeing
- 4. Herbicides
- 5. Crop Rotation
- 6. Cover Crops
- 7. Regular Maintenance
- Creating an Optimal pH Environment: Balancing Soil Acidity or Alkalinity
- The Importance of pH in Soil
- Testing the pH of Your Soil
- Adjusting Soil pH
- Maintaining pH Balance
- Conclusion
- Maximizing Sunlight Exposure: Choosing the Right Location for Your Garden
- 1. Assess Sunlight Availability
- 2. Consider Orientation
- 3. Prioritize Airflow
- 4. Evaluate Soil Conditions
- 5. Provide Shelter, if Needed
- Maintaining Soil Moisture: Essential Watering Techniques for Healthy Plants
- 1. Watering Schedule
- 2. Deep Watering
- 3. Mulching
- 4. Drip Irrigation
- 5. Monitoring Soil Moisture
- 6. Watering at the Base
- 7. Adjusting for Rainfall
- “Question-Answer”
- What are some tips for preparing soil for planting?
- How can I clear weeds from my soil?
- Why is it important to test the soil before planting?
- What is the best way to improve soil quality?
- When should I add compost to my soil?
- Can I use chemical fertilizers instead of organic matter to improve soil fertility?
- “Video” Grow Lots of Tomatoes… Not Leaves // Complete Growing Guide
When it comes to successful gardening, soil preparation is key. Whether you’re growing vegetables, flowers, or herbs, having healthy and nutrient-rich soil is essential for a bountiful harvest. This article will provide you with a guide on how to prepare your soil for optimum plant growth and productivity.
1. Test and Amend Your Soil: Before you start preparing your soil, it’s crucial to test its pH levels and nutrient content. You can do this by using a soil testing kit or sending a sample to a local agricultural extension office. Based on the results, you can amend your soil with organic matter, such as compost or manure, to balance the pH levels and enrich it with essential nutrients.
2. Clear the Area and Remove Weeds: Clearing the area from any existing vegetation and weeds is the next step in soil preparation. Weeds can compete with your plants for nutrients and water, so it’s essential to remove them completely. Use a garden hoe or a weed trimmer to eliminate weeds effectively. Additionally, remove any rocks, roots, or debris that may hinder plant growth.
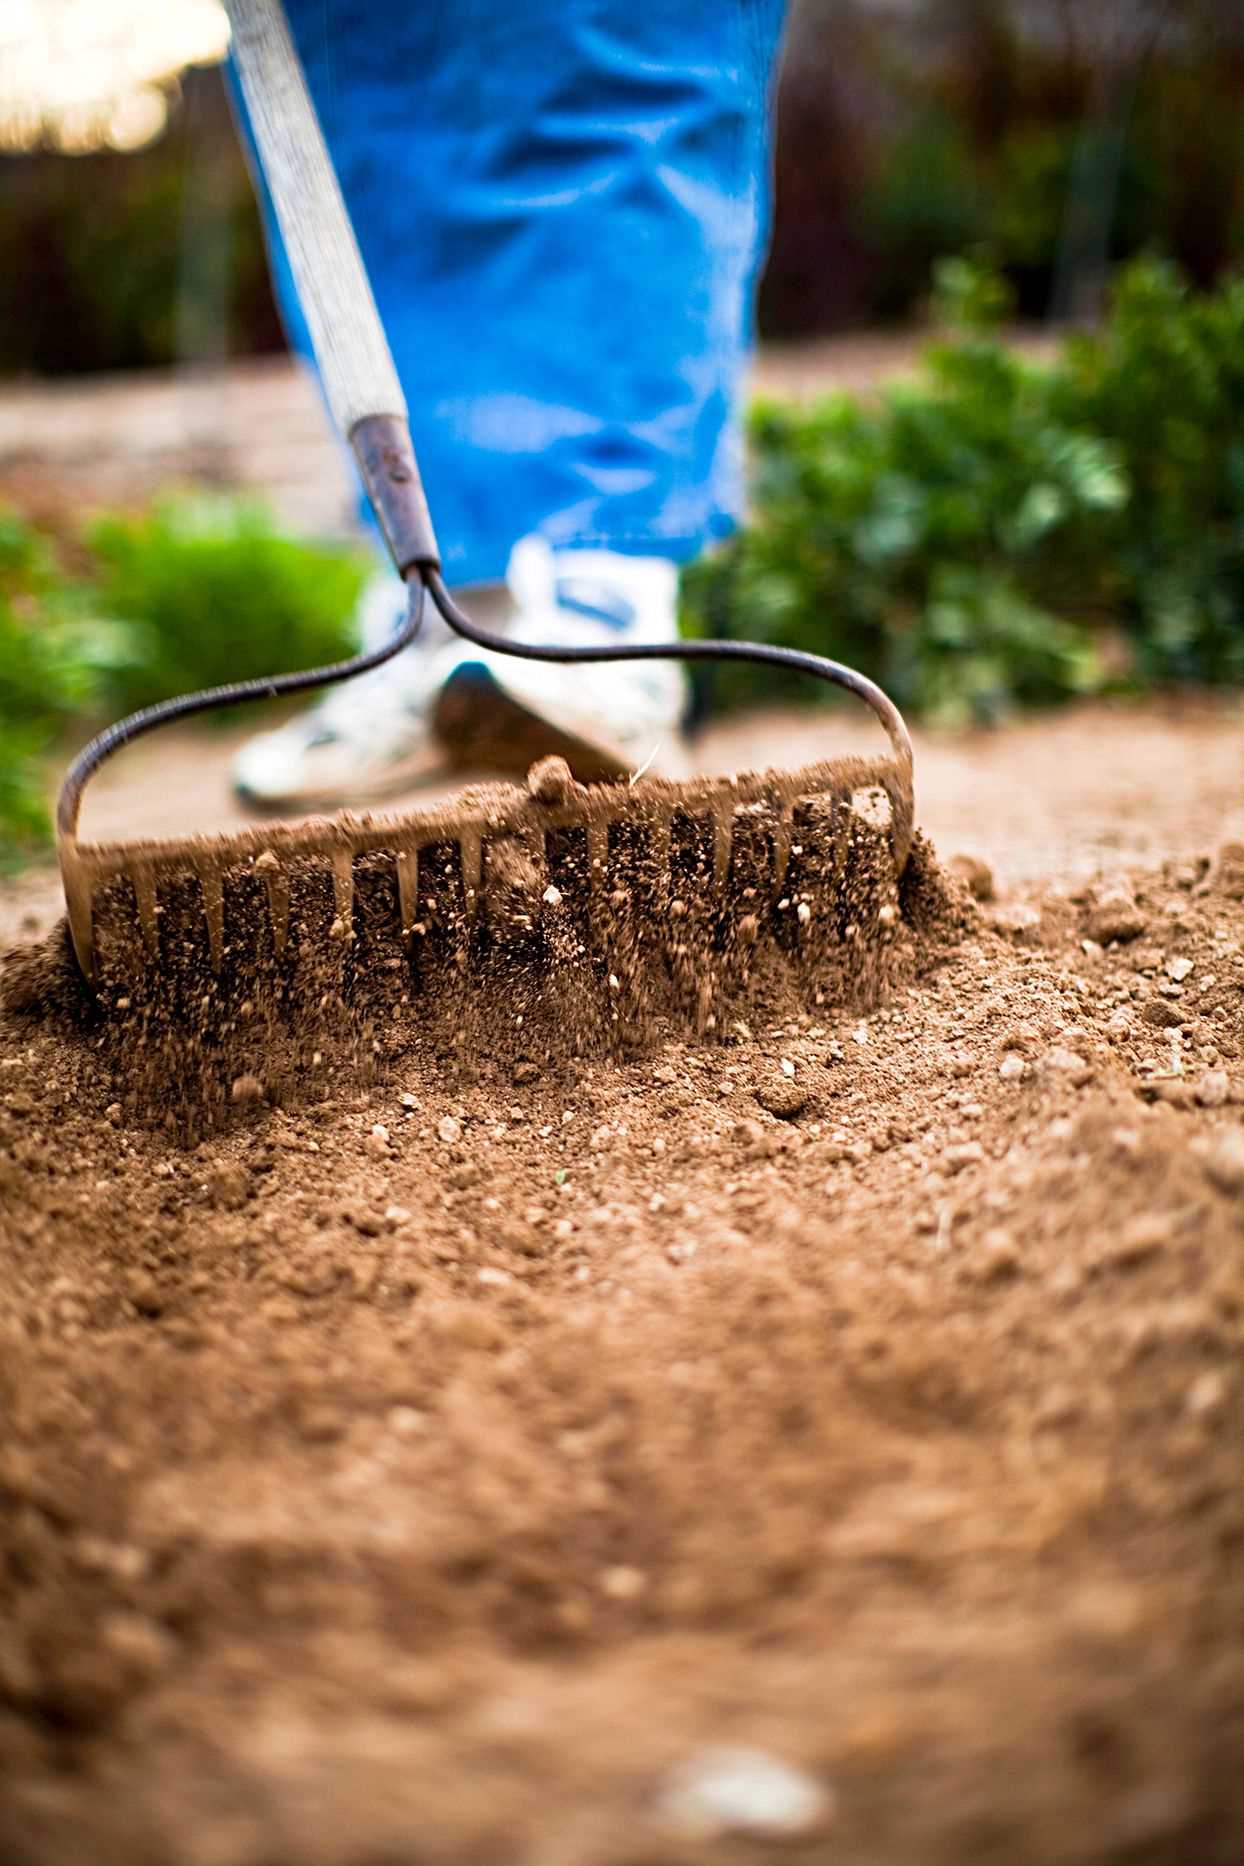
3. Loosen the Soil: Loosening the soil is necessary to create a hospitable environment for plant roots to grow and thrive. You can achieve this by using a garden fork or a tiller to break up compacted soil. Aim for a depth of 12 inches and work the soil thoroughly to ensure proper aeration and drainage.
4. Add Organic Matter: Adding organic matter is essential for improving soil structure and fertility. Compost, leaf mold, and well-rotted manure are excellent choices for organic amendments. Spread a layer of organic matter on top of the soil and mix it in thoroughly using a rake or a garden fork. This will help improve soil texture, water retention, and nutrient availability for your plants.
5. Mulch the Soil: Finally, mulching the soil is an essential step in soil preparation. Applying a layer of organic mulch, such as straw, wood chips, or shredded leaves, helps conserve moisture, regulate soil temperature, suppress weed growth, and improve overall soil health. Spread a layer of mulch around your plants, leaving a small space around the stems to prevent rot and disease.
Remember, a bountiful harvest starts with healthy soil. By following these tips and techniques to prepare your soil, you’ll be on your way to a successful gardening season filled with vibrant and thriving plants.
How to Prepare Your Soil for a Successful Harvest: Essential Techniques and Tips


1. Soil Testing
Before you start preparing your soil for planting, it’s important to test its composition and nutrient levels. You can purchase a soil testing kit from a garden center or send a sample to a laboratory for analysis. The results will provide you with valuable information about the pH level, nutrient deficiencies, and organic matter content of your soil.
2. Clearing the Area


Begin by removing any weeds, rocks, or debris from the area where you plan to plant your crops. These obstructions can hinder the growth of your plants and make it difficult to cultivate the soil effectively.
3. Tilling the Soil
Use a garden tiller or a shovel to break up the soil for better aeration. This will help to loosen compacted soil and create a favorable environment for root development. Aim to till the soil to a depth of at least 6-8 inches.
4. Adding Organic Matter
Incorporate organic matter, such as compost or well-rotted manure, into the soil. This will improve its structure, fertility, and moisture-retaining capacity. Spread a layer of organic matter over the tilled soil and mix it in using a garden fork or tiller.
5. Adjusting pH Levels
If your soil test indicates a pH imbalance, you can adjust it by adding amendments. For acidic soil, add lime to raise the pH, and for alkaline soil, add sulfur or peat moss to lower the pH. Follow the package instructions for the correct application rates.
6. Fertilizing
Based on the results of your soil test, apply a balanced fertilizer to provide essential nutrients for your plants. Use a spreader to evenly distribute the fertilizer over the prepared soil. Follow the recommended application rates for the specific fertilizer you are using.
7. Mulching
Apply a layer of organic mulch, such as straw or wood chips, to help regulate soil temperature, reduce weed growth, and retain moisture. Spread the mulch around your plants, leaving a small gap around the stems to prevent rot.
8. Watering
After preparing your soil, water it thoroughly to ensure that moisture reaches the plant’s roots. Monitor the moisture levels regularly and adjust your watering schedule as necessary to provide optimal growing conditions for your plants.
9. Crop Rotation
To maintain the health of your soil and prevent the buildup of pests and diseases, practice crop rotation. This involves planting different crops in different areas of your garden each year to minimize potential problems and maximize yield.
10. Regular Maintenance
Throughout the growing season, monitor your plants for any signs of nutrient deficiencies, pests, or diseases. Proper maintenance, including regular weeding, pruning, and fertilizing, will help ensure a successful harvest.
By following these essential techniques and tips, you will be well on your way to preparing your soil for a successful harvest. Remember, healthy soil is the foundation for healthy plants and bountiful yields.
Fundamentals of Soil Preparation for Optimal Yields
Preparing your soil is the foundation for a successful harvest. By properly preparing your soil, you can ensure that your plants have access to the nutrients, water, and oxygen they need to thrive. Here are some fundamentals to consider when preparing your soil:
1. Test Your Soil
Before making any amendments to your soil, it’s important to test its pH level and nutrient content. You can purchase DIY soil testing kits or send a sample to a professional lab for analysis. This will help you determine which specific nutrients your soil may lack and identify any other issues you need to address.
2. Clear the Area
Start by clearing any debris, rocks, or weeds from the area where you plan to plant. This will allow your plants to establish roots without any interference and minimize competition for nutrients.
3. Break Up the Soil
Next, use a spade or garden fork to break up the soil. This will improve its structure, allowing for better drainage and root penetration. Remove any large clumps or rocks that you encounter.
4. Add Organic Matter
Adding organic matter, such as compost or well-rotted manure, can greatly improve your soil’s fertility and structure. Spread a layer of organic matter over the top of the soil and mix it in thoroughly. This will increase soil moisture retention, nutrient availability, and microbial activity.
5. Consider Soil Amendments
Based on the results of your soil test, you may need to add specific amendments to address nutrient deficiencies or imbalances. Common soil amendments include lime to raise pH levels, sulfur to lower pH levels, and fertilizers to provide essential nutrients.
6. Mulch the Soil
Once you have prepared your soil, apply a layer of organic mulch, such as straw or wood chips, to help retain moisture and suppress weed growth. Mulching also helps regulate soil temperature and prevents erosion.
7. Rotate Crops
To maintain soil health and prevent the buildup of pests and diseases, practice crop rotation. This involves planting different crops in different areas each year. Rotating crops helps break pest and disease cycles, improves soil structure, and reduces the need for chemical interventions.
8. Regularly Monitor and Amend
Finally, regularly monitor the health of your plants and soil. This will allow you to identify any issues early on and make necessary amendments. Pay attention to plant growth, leaf color, and overall vigor. Adjust your soil preparation techniques and amendments accordingly.
By following these fundamentals of soil preparation, you can create an optimal growing environment for your plants and achieve bountiful yields.
Assessing Your Soil’s Health: Vital Steps for Effective Soil Testing
Before embarking on any gardening or farming project, it is crucial to assess the health of your soil. Conducting a soil test will provide valuable information about its nutrient content, pH level, and overall fertility. By understanding your soil’s composition, you can make informed decisions about necessary amendments and improve your chances of a bountiful harvest. Follow these vital steps for effective soil testing:
- Choose the Right Test: There are different types of soil tests available, each measuring different aspects of soil health. Basic tests typically analyze pH levels, while comprehensive tests provide a more detailed assessment of nutrient levels and organic matter content. Select the type of test that best suits your needs and goals.
- Collect Soil Samples: Proper soil sampling is crucial to obtaining accurate results. Use a clean shovel or trowel to collect samples at various locations across your garden or farm. Take samples at least 6-8 inches deep, ensuring they represent the soil composition of your entire plot.
- Combine Soil Samples: After collecting samples from different locations, mix them together in a clean bucket or container. Break up any clumps and remove stones, roots, or other debris. This will create a homogeneous mixture that accurately represents your soil’s overall condition.
- Divide Samples for Testing: Once your soil samples are thoroughly mixed, divide the mixture into smaller portions for testing. You may choose to send samples to a professional laboratory or use a DIY soil testing kit. Follow the provided instructions to ensure accurate results.
- Submit Samples for Analysis: If using a professional laboratory, carefully package and label your soil samples and send them to the designated address. Include any necessary paperwork, such as completed forms or payment. If using a DIY kit, follow the kit’s instructions for conducting the tests.
- Interpret the Results: Once you receive the soil test results, take the time to understand and interpret them correctly. Look for indications of nutrient deficiencies or imbalances, pH levels, and any recommendations for necessary amendments. This information will guide you in improving your soil’s health.
- Make Amendments: Based on the soil test results, develop a plan to amend your soil as needed. This may involve adding organic matter, such as compost or manure, adjusting pH levels with lime or sulfur, or applying specific fertilizers to address nutrient deficiencies. Follow the recommended quantities and timing for optimal results.
Remember to repeat soil tests periodically to track your progress and make adjustments accordingly. A healthy soil foundation is essential for successful gardening and farming, and regular assessments will ensure you are on the right track to a bountiful harvest.
Understanding Soil Amendments: Enhancing Soil Fertility and Nutrient Balance
The Importance of Soil Amendments
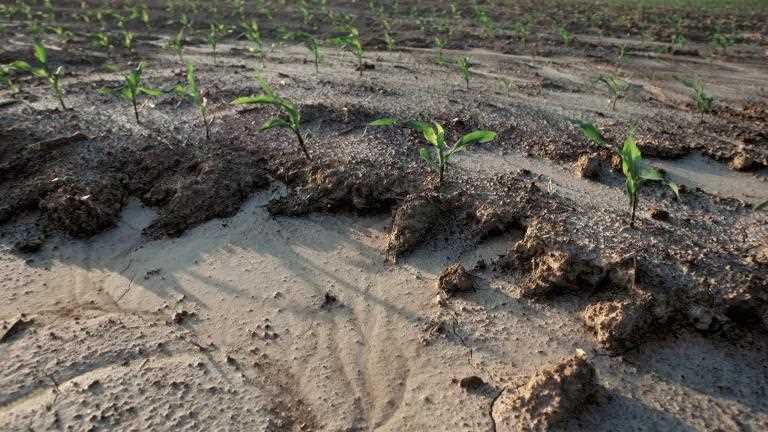

Soil amendments play a crucial role in enhancing soil fertility and nutrient balance. They are substances that are added to the soil to improve its structure, nutrient content, and overall quality. By incorporating the right amendments into your soil, you can create an optimal environment for plant growth and increase your chances of a bountiful harvest.
Common Types of Soil Amendments
- Organic Matter: Adding organic matter such as compost, manure, or leaf mold can greatly improve soil fertility. Organic matter helps improve soil structure, increase water retention, and provide essential nutrients to plants.
- Mineral Amendments: Mineral amendments include substances like limestone, gypsum, and rock phosphate. These amendments help adjust soil pH, provide essential minerals, and enhance nutrient availability to plants.
- Cover Crops: Cover crops like legumes (e.g., clover) or grasses can be grown and then tilled into the soil to enrich it with nitrogen, improve soil structure, and suppress weed growth.
Choosing the Right Amendments
Before applying soil amendments, it’s important to assess the specific needs of your soil. Conducting a soil test can provide valuable insights into the nutrient content and pH levels of your soil. This information will help you select the appropriate amendments to address any deficiencies or imbalances.
Applying Soil Amendments
When applying amendments, it’s important to follow instructions carefully. Typically, amendments are incorporated into the soil using techniques such as tilling, digging, or layering. The timing and frequency of application will depend on the specific amendment and the needs of your plants.
Monitoring and Adjusting
After adding amendments, it’s essential to monitor your soil’s condition and make adjustments as needed. Regularly test your soil to ensure that nutrient levels and pH remain within the desired range. This will help you maintain optimal soil fertility and nutrient balance for healthy plant growth.
Conclusion
Understanding the role of soil amendments is crucial for creating a fertile and healthy growing environment. By incorporating the right amendments, you can enhance soil fertility, improve nutrient balance, and set the stage for a bountiful harvest. Take the time to assess your soil’s needs, choose suitable amendments, and monitor the results for successful gardening.
Implementing Proper Drainage Systems: Ensuring Adequate Moisture Levels
Implementing a proper drainage system is crucial for maintaining adequate moisture levels in your soil. Without proper drainage, excess water can accumulate and lead to waterlogged soil, which can suffocate plant roots and hinder plant growth. Here are some tips and techniques to help you implement a proper drainage system in your garden:
1. Assess Your Soil
Before implementing a drainage system, it’s important to assess your soil’s drainage capabilities. To do this, dig a small hole in your garden and fill it with water. Observe how long it takes for the water to drain. If it takes more than a day for the water to drain completely, your soil may have poor drainage.
2. Improve Soil Structure
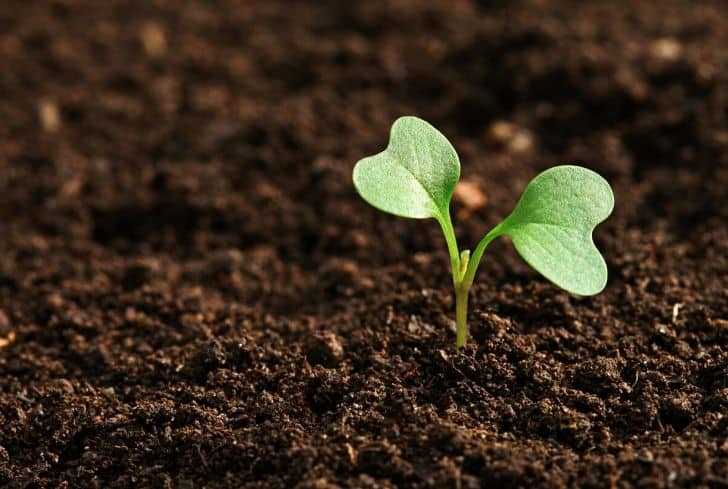

If you have poor drainage, you can improve your soil’s structure by adding organic matter such as compost, well-rotted manure, or peat moss. These organic materials help improve the soil’s ability to absorb and drain water effectively. Spread a 2- to 3-inch layer of organic matter over the soil surface and mix it in using a garden fork or tiller.
3. Create Drainage Channels
In areas with consistently poor drainage, you can create drainage channels to redirect excess water away from your plants. Dig a trench about 12 to 18 inches deep and wide, sloping it away from your garden. Line the trench with landscape fabric or gravel to prevent it from filling up with soil over time.
4. Install French Drains
If you have extremely poor drainage or live in an area with heavy rainfall, you may consider installing French drains. French drains consist of a perforated pipe surrounded by gravel. Dig a trench sloping away from your garden, lay the perforated pipe in the trench, and cover it with gravel. This will create a pathway for excess water to drain away from your plants.
5. Monitor Moisture Levels
After implementing a drainage system, it’s important to monitor moisture levels in your soil. Use a moisture meter or simply feel the soil with your finger to determine if it’s too wet or too dry. Adjust the frequency and amount of watering accordingly to ensure your plants receive adequate moisture without becoming waterlogged.
Conclusion
Implementing a proper drainage system is essential for maintaining adequate moisture levels in your soil. By assessing your soil, improving its structure, creating drainage channels, installing French drains if necessary, and monitoring moisture levels, you can ensure that your plants receive the right amount of water for optimal growth.
Effective Weed Control Methods: Minimizing Competition for Nutrients
Weeds can be a major problem in your garden, competing with your plants for nutrients, water, and sunlight. It is important to implement effective weed control methods to minimize this competition and ensure that your plants have the best chance to thrive. Here are some effective weed control methods you can employ:
1. Mulching
Mulching is a great technique for weed control. By covering the soil with a layer of organic or inorganic mulch, you can prevent the germination of weed seeds and suppress weed growth. Organic mulches such as straw, wood chips, or leaves also add nutrients to the soil as they decompose, improving soil health.
2. Hand Pulling
Hand pulling weeds is a simple and effective method, especially for small-scale gardening. Be sure to pull the entire weed, including the roots, to prevent regrowth. This method is most effective when the soil is moist, making it easier to remove weeds without disturbing the surrounding plants.
3. Hoeing
Hoeing is another manual weed control method that involves using a garden hoe to cut the weeds just below the soil surface. It is important to hoe shallowly to avoid damaging the roots of your desired plants. Regular hoeing can help to disrupt weed growth and prevent them from establishing deep roots.
4. Herbicides
If manual weed control methods are not sufficient, you may consider using herbicides. Herbicides can be selective, targeting specific types of weeds, or non-selective, killing all plants they come into contact with. It is important to follow the instructions provided with the herbicide and use them responsibly to avoid harming your desired plants or the environment.
5. Crop Rotation
Crop rotation is an effective long-term strategy to control weeds. By rotating the crops you grow in different areas of your garden each year, you can disrupt the life cycle of weeds and prevent them from building up in the soil. Different crops also have different nutrient requirements, reducing the competition for specific nutrients.
6. Cover Crops
Using cover crops is a weed control method that involves planting certain fast-growing plants to cover the soil and suppress weed growth. Cover crops help to shade out weeds, reduce soil erosion, and increase organic matter content. Some common cover crops include clover, buckwheat, and rye grass.
7. Regular Maintenance
Regularly inspecting your garden for any weed growth and promptly removing them is crucial for effective weed control. Weeds can quickly multiply and spread if left unattended, so be sure to stay vigilant and take action as soon as you notice them. Regular weeding also prevents weeds from producing seeds and spreading further.
By implementing these effective weed control methods, you can minimize competition for nutrients in your garden and ensure that your plants have the best conditions to thrive and produce a bountiful harvest.
Creating an Optimal pH Environment: Balancing Soil Acidity or Alkalinity
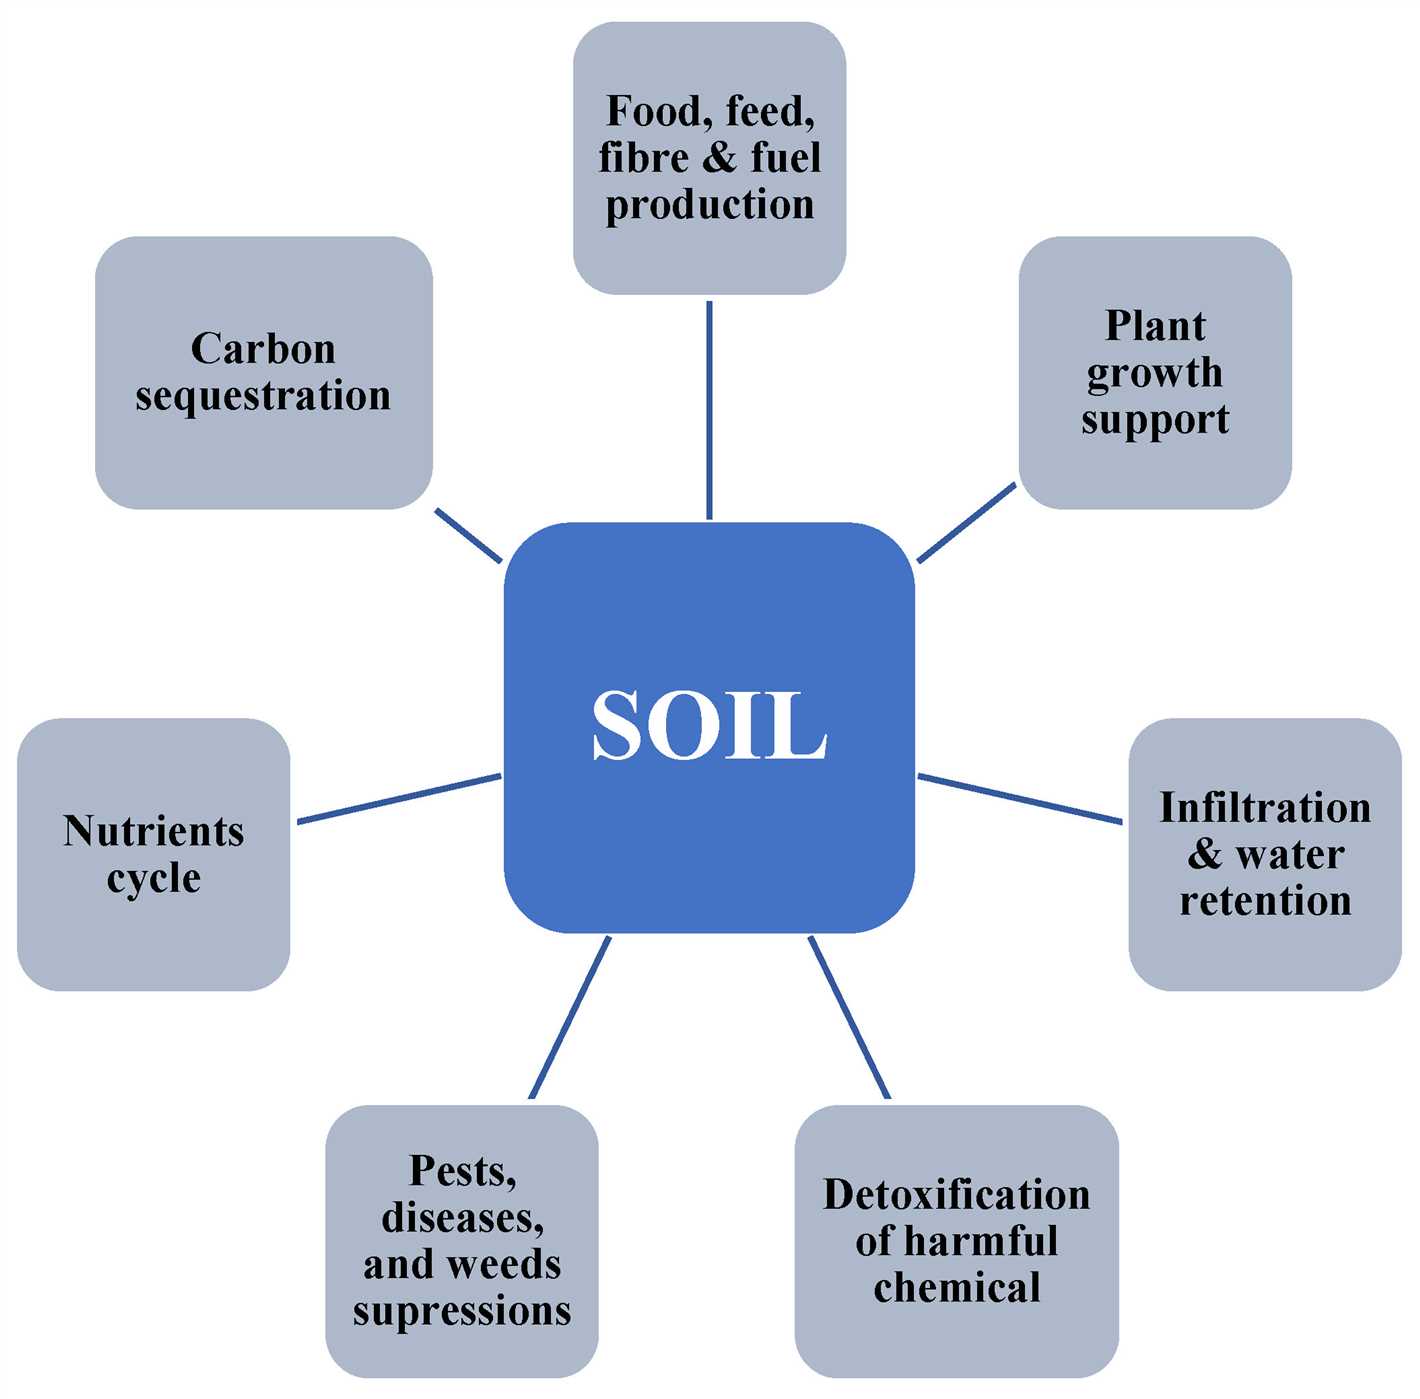

The Importance of pH in Soil
The pH level of your soil plays a crucial role in the success of your garden. pH is a measurement of how acidic or alkaline the soil is on a scale from 0 to 14. A pH level of 7 is considered neutral, while levels below 7 are acidic and levels above 7 are alkaline.
Plants have different pH preferences, and their ability to absorb nutrients from the soil is greatly affected by the pH level. By creating an optimal pH environment, you can ensure that your plants have access to the nutrients they need for healthy growth.
Testing the pH of Your Soil
Before you can adjust the pH of your soil, it’s important to know its current level. You can test the pH using a soil pH testing kit, which can be purchased at your local garden store or online. Follow the instructions provided with the kit to obtain an accurate reading.
Once you have the pH reading, you can determine whether your soil is acidic, alkaline, or neutral. This information will guide you in making the necessary adjustments to create an optimal pH environment.
Adjusting Soil pH
If your soil is too acidic, you can raise the pH level by adding lime or wood ash. These materials are alkaline and will help neutralize the acidity. Be sure to follow the recommended application rates for the specific type of soil you have and the desired pH level.
On the other hand, if your soil is too alkaline, you can lower the pH level by adding organic matter, such as peat moss or sulfur. These materials are acidic and will help neutralize the alkalinity. Again, it’s important to follow the recommended application rates for your specific soil type.
Maintaining pH Balance
Once you have adjusted the pH of your soil, it’s important to regularly monitor and maintain the pH balance. Over time, the pH level may change due to factors such as rainfall, organic matter decomposition, and the types of plants you are growing.
Regular soil testing is recommended to ensure that your pH remains within the optimal range for your plants. Adjustments can be made as needed to maintain a balanced pH environment for maximum plant health and productivity.
Conclusion
Creating an optimal pH environment is essential for a successful garden. By testing and adjusting the pH of your soil, you can ensure that your plants have access to the nutrients they need for healthy growth. Regular monitoring and maintenance are key to maintaining a balanced pH and promoting bountiful harvests.
Maximizing Sunlight Exposure: Choosing the Right Location for Your Garden
When it comes to growing healthy and productive plants, sunlight is crucial. Choosing the right location for your garden can significantly impact the amount of sunlight your plants receive, ultimately maximizing their growth and yield. Here are some tips to help you select the ideal spot for your garden:
1. Assess Sunlight Availability
Observe your yard throughout the day to determine which areas receive the most sunlight. Take note of any obstacles that may cast shadows, such as trees, buildings, or fences. Ideally, your garden should have at least 6-8 hours of direct sunlight each day for optimal plant growth.
2. Consider Orientation
Take into account the orientation of your garden in relation to the sun. South-facing locations generally receive the most sunlight throughout the day, while north-facing areas tend to be shadier. East and west-facing locations may receive partial sunlight during the morning or afternoon, respectively.
3. Prioritize Airflow
In addition to sunlight, proper airflow is essential for plant health. Choose a location that allows for good air circulation, as this helps prevent the buildup of moisture and reduces the risk of diseases such as mold and mildew. Avoid areas with excessive wind exposure, as it can damage delicate plants.
4. Evaluate Soil Conditions
While sunlight is important, it’s also crucial to consider the quality of the soil in your chosen location. Perform a soil test to assess its pH level, nutrient content, and drainage. Most plants prefer well-draining soil with a pH level around neutral (6.0-7.0). If necessary, amend the soil with organic matter to improve its fertility and structure.
5. Provide Shelter, if Needed
In certain regions, extreme temperatures or inclement weather can harm plants. If you live in an area prone to frost, strong winds, or intense heat, consider providing shelter for your garden. This can be done by planting windbreakers, using shade cloth, or constructing a greenhouse or cold frame.
By carefully considering these factors and selecting the right location for your garden, you can maximize sunlight exposure and create an ideal environment for your plants to thrive. Remember to adapt these tips to your specific climate and plant preferences for the best results.
Maintaining Soil Moisture: Essential Watering Techniques for Healthy Plants
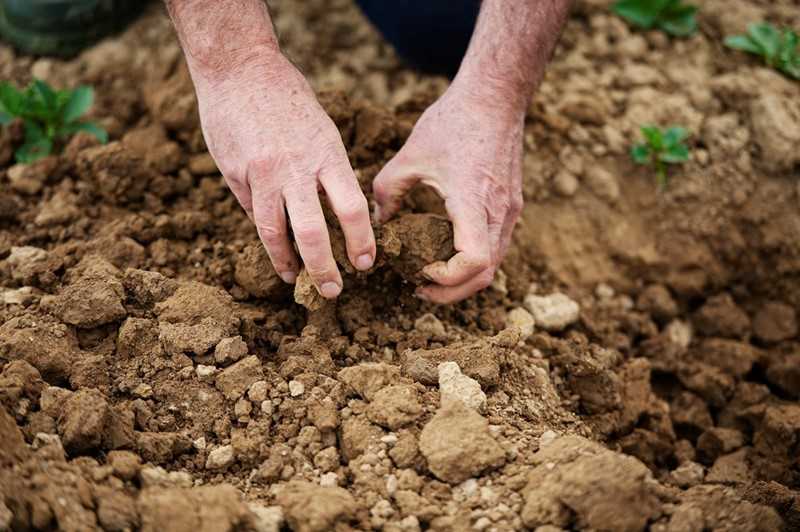

Water is an essential component for the health and growth of plants. Adequate soil moisture is crucial to ensure that plants can absorb the necessary nutrients and minerals from the soil. However, maintaining the right level of soil moisture can be a challenge, especially in areas with dry or arid climates. Here are some essential watering techniques to help you maintain proper soil moisture for healthy plants.
1. Watering Schedule
Establishing a regular watering schedule is important to maintain consistent moisture levels in the soil. The frequency of watering will depend on the specific needs of your plants, as well as environmental factors such as temperature, sunlight, and humidity. It is best to water early in the morning or late in the afternoon to minimize evaporation.
2. Deep Watering
Deep watering is essential to encourage deep root growth and prevent shallow root systems. Instead of lightly sprinkling the soil surface, water deeply until the soil is moistened to a depth of at least 6 inches. This allows the roots to reach the water and promotes stronger and healthier plants.
3. Mulching
Applying a layer of mulch around your plants helps to retain soil moisture. Mulch acts as a protective barrier, preventing excessive evaporation and reducing weed growth. It also helps to regulate soil temperature and improve soil structure. Organic mulches like wood chips, straw, or compost are excellent choices for retaining moisture.
4. Drip Irrigation
Drip irrigation systems deliver water slowly and directly to the plant roots, minimizing water loss through evaporation or runoff. This method also prevents the foliage from getting wet, reducing the risk of diseases and fungal infections. Drip irrigation systems can be installed with timers, allowing for automated and efficient watering.
5. Monitoring Soil Moisture
Regularly checking the soil moisture level is crucial to determine when to water your plants. There are various tools available, such as moisture meters or simple finger checks. Insert a finger about an inch into the soil and if it feels dry, it’s time to water. Monitoring soil moisture prevents both over-watering and under-watering, ensuring optimal growing conditions for plants.
6. Watering at the Base
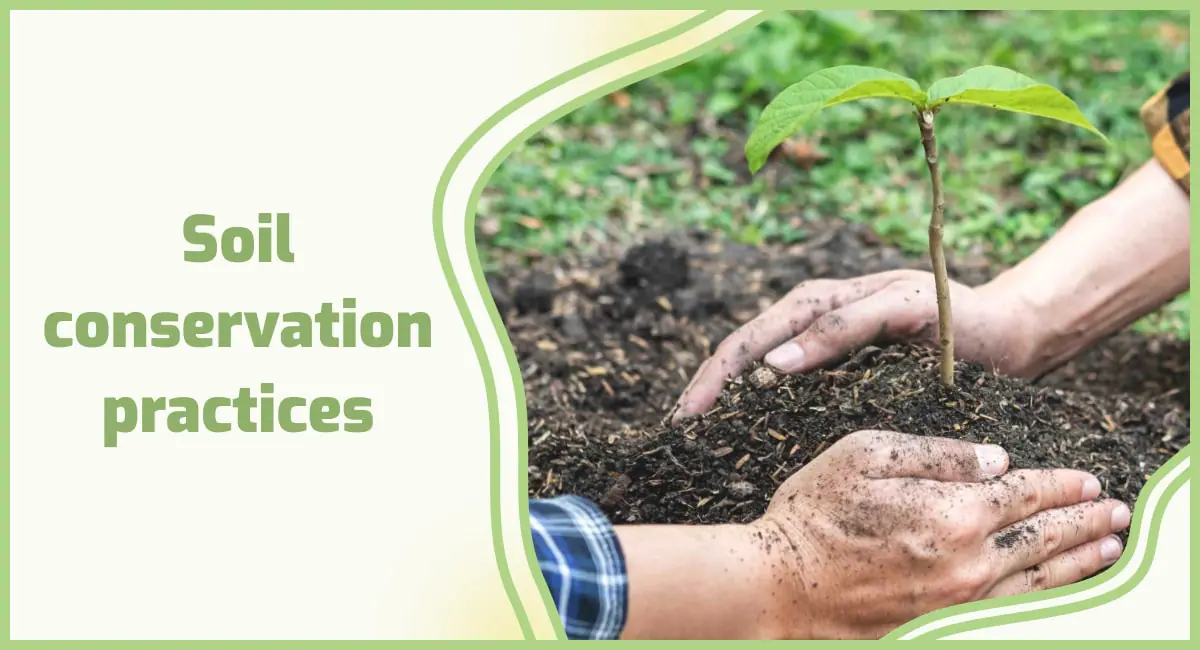

When watering, it is recommended to target the base of the plant rather than spraying water over the entire plant. This method directs the water to the root zone where it is needed, minimizing water waste and increasing water absorption. Avoid watering the leaves, as this can lead to disease and pest problems.
7. Adjusting for Rainfall
Adjust your watering schedule accordingly when rainfall occurs. If there has been ample rainfall, you may need to reduce or even skip watering for a few days. On the other hand, during dry periods, you may need to water more frequently to compensate for the lack of rainfall. Keeping track of local weather conditions can help you make informed decisions about watering.
By implementing these essential watering techniques, you can maintain optimal soil moisture levels for healthy plant growth. Remember to always observe your plants’ specific needs and adjust your watering practices accordingly. With proper soil moisture management, you’ll be on your way to a bountiful harvest of vibrant and thriving plants.
“Question-Answer”
What are some tips for preparing soil for planting?
Some tips for preparing soil for planting include clearing any weeds or debris, testing the soil to determine its pH level and nutrient content, adding organic matter such as compost or manure, and loosening the soil with a garden fork or tiller.
How can I clear weeds from my soil?
To clear weeds from your soil, you can manually pull them out by hand or use a garden hoe or cultivator to remove them. Another method is to cover the soil with a layer of mulch, such as straw or wood chips, to smother the weeds and prevent their growth.
Why is it important to test the soil before planting?
Testing the soil before planting is important because it allows you to determine its pH level and nutrient content. This information is crucial for choosing the right plants and fertilizers, as different plants thrive in different soil conditions. Testing also helps identify any deficiencies or imbalances that may need to be addressed before planting.
What is the best way to improve soil quality?
The best way to improve soil quality is by adding organic matter, such as compost or manure. Organic matter helps to improve soil structure, increase nutrient availability, and enhance water retention. Additionally, regularly rotating crops, practicing crop rotation, and avoiding the use of chemical fertilizers and pesticides can also help improve soil quality over time.
When should I add compost to my soil?
Compost should be added to the soil before planting, ideally a few weeks or months in advance. This allows time for the compost to break down and integrate with the soil, improving its structure and nutrient content. If you are adding compost to an existing garden bed, you can apply it in the spring or fall when the soil is not frozen.
Can I use chemical fertilizers instead of organic matter to improve soil fertility?
While chemical fertilizers can provide quick nutrient boosts to the soil, they can also have negative effects. Overuse of chemical fertilizers can disrupt the balance of nutrients in the soil and harm beneficial soil organisms. It is generally recommended to rely on organic matter, such as compost or manure, as a more sustainable and environmentally-friendly way to improve soil fertility over the long term.


