- What to do before planting tomato seedlings
- 1. Harden off the seedlings
- 2. Prepare the planting area
- 3. Dig the planting holes
- 4. Transplant the seedlings
- 5. Water the newly transplanted seedlings
- 6. Mulch around the seedlings
- 7. Protect the seedlings from pests and diseases
- Importance of prepping tomato seedlings
- 1. Strengthening the roots
- 2. Preventing transplant shock
- 3. Enhancing disease resistance
- 4. Increasing transplant success
- Step 1: Transferring seedlings to larger pots
- Step 2: Hardening off seedlings
- Step 3: Checking for pests and diseases
- 1. Visual inspection
- 2. Pest control
- 3. Disease prevention
- Step 4: Preparing the planting area
- Step 5: Watering and fertilizing
- Watering
- Fertilizing
- Step 6: Protecting seedlings from frost
- The benefits of prepping tomato seedlings
- “Question-Answer”
- Why is it important to prep tomato seedlings before planting?
- What are the essential steps for prepping tomato seedlings?
- How long should tomato seedlings be hardened off before planting them?
- When should tomato seedlings be transplanted into larger containers?
- What should be done if tomato seedlings have damaged or overcrowded foliage?
- “Video” Step by Step: How To Grow Tomatoes from Seed | Gardener’s Supply
Tomatoes are one of the most popular plants to grow in home gardens, and starting them from seed can be a rewarding and cost-effective way to have a bountiful harvest. However, before you transplant your tomato seedlings into your garden, there are a few essential steps you should take to ensure their success.
1. Harden Off: Tomato seedlings started indoors are accustomed to the controlled environment of your home, so it’s important to gradually acclimate them to the outdoor conditions. This process, known as hardening off, prevents transplant shock and allows the seedlings to adjust to sun exposure, wind, and temperature fluctuations.
2. Choose the Right Spot: Tomatoes thrive in full sunlight, so choose a location in your garden that receives at least six hours of direct sunlight per day. Additionally, ensure that the soil is well-drained and rich in organic matter. Tomatoes are heavy feeders, so adding compost or aged manure to the soil before planting will provide them with the nutrients they need.
3. Dig Proper Planting Holes: Before planting your tomato seedlings, prepare the planting holes. Dig holes that are about twice the size of the root ball and make sure to space the holes at least 18-24 inches apart. Tomato plants need space to grow and proper spacing will help prevent diseases and promote good air circulation.
4. Water and Fertilize: A few days before transplanting your seedlings, give them a good watering to prepare them for the shock of being moved. This will also help loosen the soil, making it easier to remove the seedlings without damaging their roots. You can also add a balanced fertilizer to the soil to provide the young plants with a nutrient boost.
Remember, successful tomato gardening starts with healthy seedlings and proper transplanting. By following these essential steps, you can help your tomato seedlings thrive in their new garden home.
What to do before planting tomato seedlings
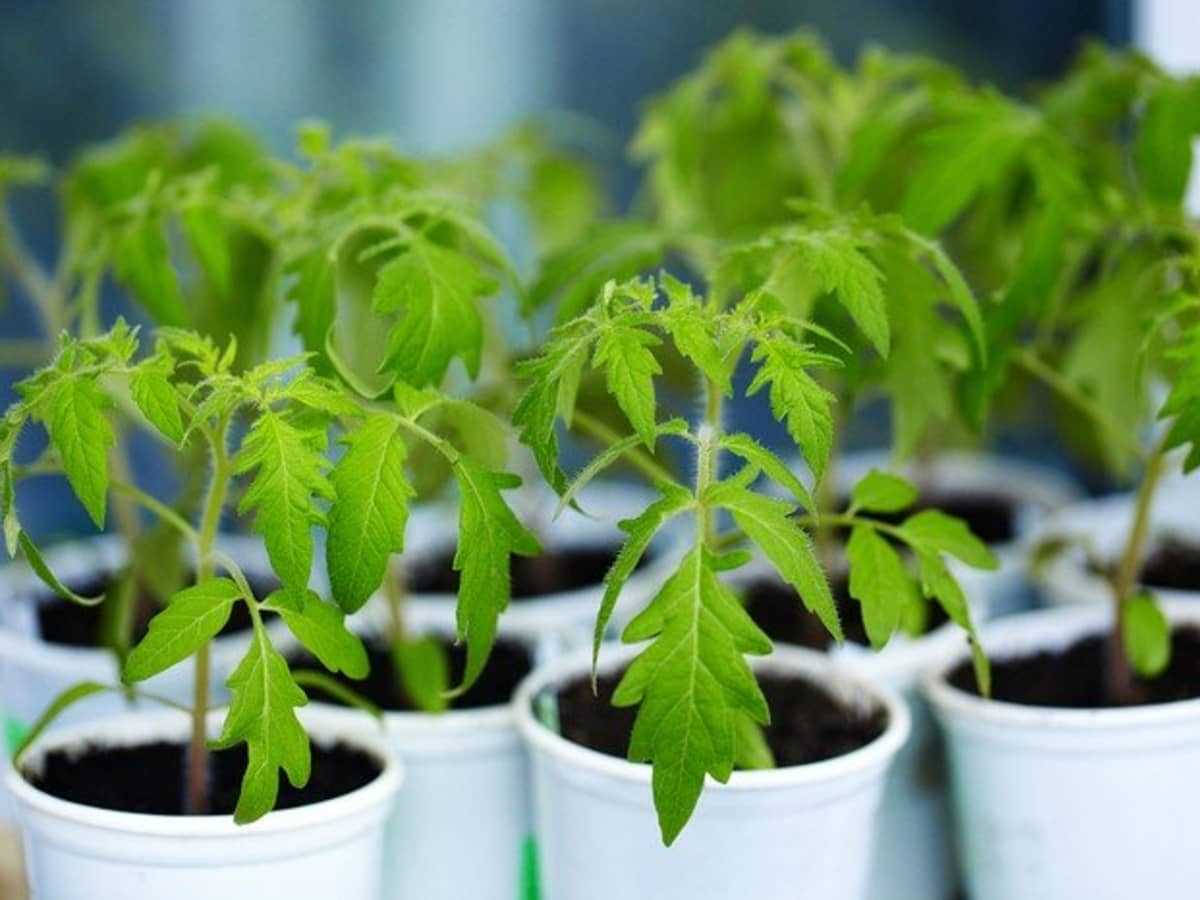
Before planting your tomato seedlings, it’s important to take a few essential steps to ensure their success. These steps will help prepare the seedlings and the soil for optimal growth and health. Here are the key things you should do:
1. Harden off the seedlings
Tomato seedlings that have been growing indoors need to be gradually exposed to outdoor conditions before planting. This process, known as hardening off, helps the young plants adjust to the changes in temperature, sunlight, and wind. Start by placing the seedlings outdoors in a sheltered spot for a few hours each day, gradually increasing their exposure over the course of a week. This will prevent transplant shock and help the seedlings thrive.
2. Prepare the planting area
Choose a sunny location in your garden to plant your tomato seedlings. The area should have well-drained soil with a pH level between 6.0 and 7.0. Remove any weeds or grass from the planting area and loosen the soil with a garden fork or tiller. Incorporate organic matter such as compost or aged manure to improve soil fertility and drainage.
3. Dig the planting holes
Dig planting holes for your tomato seedlings, making sure they are deep enough to accommodate the roots. The holes should be spaced about 2 to 3 feet apart to allow the plants to grow and spread. If you’re planting determinate varieties, space them closer together. For indeterminate varieties, consider installing stakes or cages for support.
4. Transplant the seedlings
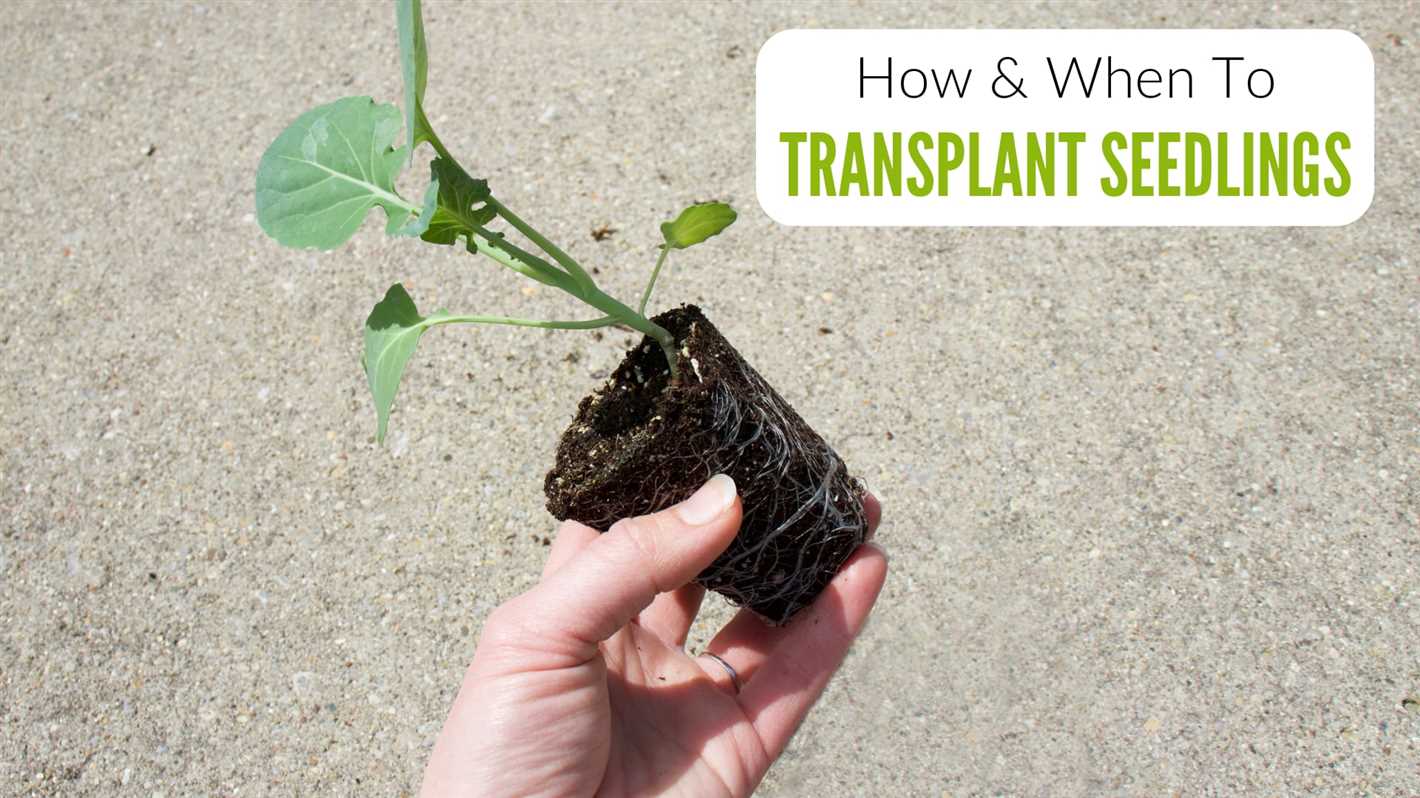
Carefully remove the tomato seedlings from their pots or trays and gently tease the roots apart if they are tangled. Place each seedling in a planting hole and backfill the hole with soil, lightly firming it around the base of the plant. Be sure not to bury the stem too deeply; the top set of leaves should be just above the soil surface.
5. Water the newly transplanted seedlings
After transplanting, give the seedlings a thorough watering to help settle the soil and reduce transplant shock. Water at the base of the plants, avoiding wetting the leaves. Provide regular watering throughout the growing season, keeping the soil consistently moist but not waterlogged.
6. Mulch around the seedlings
Apply a layer of organic mulch, such as straw or wood chips, around the base of the tomato seedlings. Mulching helps conserve moisture, suppress weeds, and regulate soil temperature. It also prevents soil splashing onto the plants, reducing the risk of disease.
7. Protect the seedlings from pests and diseases
Keep an eye out for common tomato pests, such as aphids, slugs, and tomato hornworms. Install physical barriers like row covers or use organic pest control methods to protect your seedlings. Additionally, monitor the plants for signs of diseases like blight or wilt and take appropriate action if necessary.
By following these steps, you’ll give your tomato seedlings the best start possible and set them up for a successful growing season. Happy gardening!
Importance of prepping tomato seedlings
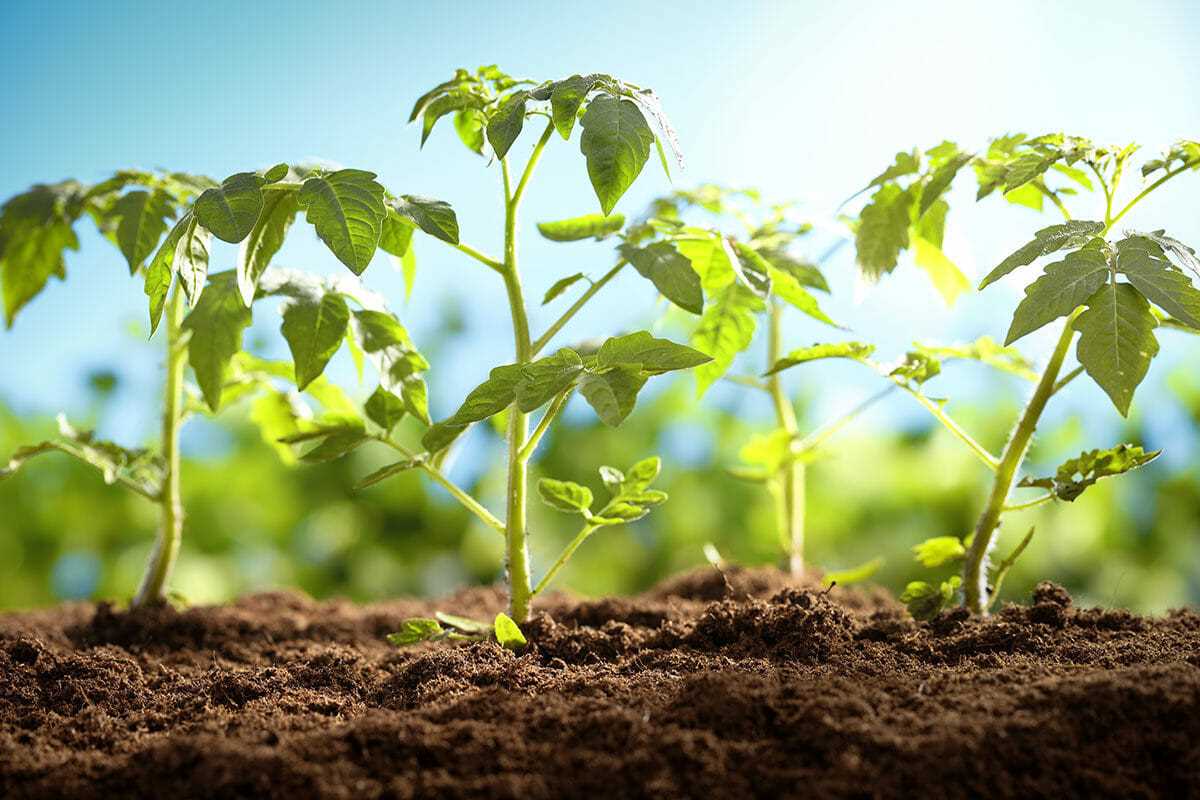
When it comes to successfully growing and cultivating tomato plants, prepping the seedlings is a crucial step that should not be overlooked. Properly preparing your tomato seedlings before planting them in your garden will help ensure their health and maximize their growth potential.
1. Strengthening the roots
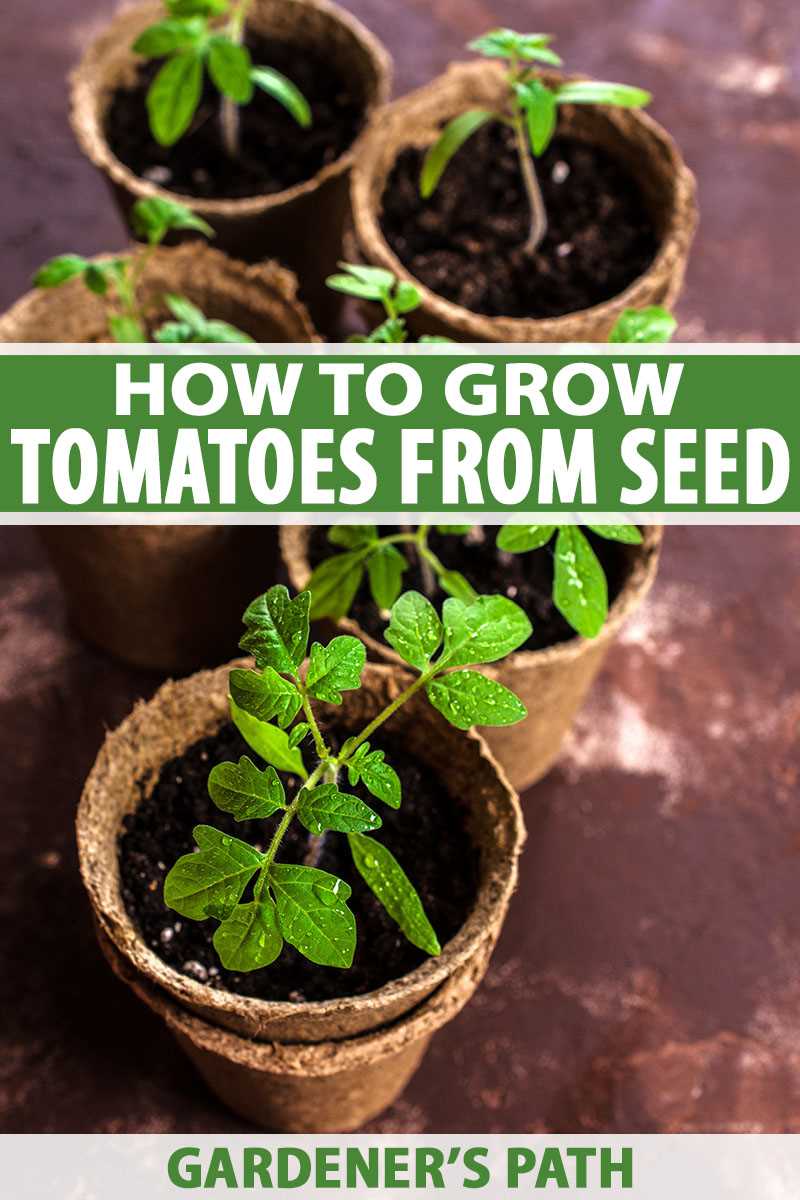
One of the primary goals of prepping tomato seedlings is to strengthen their root systems. By providing the seedlings with optimal growing conditions and ensuring they have well-developed roots, you can improve their ability to absorb nutrients and water from the soil.
To strengthen the roots, the seedlings can be gently teased apart to prevent them from becoming root-bound. This process helps encourage the growth of new, healthy roots, allowing the plant to establish itself more quickly once transplanted into the garden.
2. Preventing transplant shock
Transplant shock is a common problem when moving young seedlings from a controlled indoor environment to the harsher conditions of the garden. By prepping your tomato seedlings, you can help minimize the risk of transplant shock and increase their chances of survival.
Gradually acclimating the seedlings to outdoor conditions before planting is an important step in preventing transplant shock. This can be done by gradually exposing the seedlings to outdoor temperatures and sunlight over a period of several days. It is also essential to ensure the seedlings are properly hardened off by reducing their water and nutrient intake prior to transplanting.
3. Enhancing disease resistance
Prepping tomato seedlings can also help enhance their disease resistance. It is important to inspect the seedlings for any signs of diseases or pests before planting them in the garden. Removing any damaged or diseased foliage will help prevent the spread of diseases to other plants and promote healthier growth.
Applying a fungicide or using natural methods, such as using neem oil, can also help protect the seedlings from fungal diseases. This extra step in prepping the seedlings can significantly reduce the risk of disease and increase the overall health and productivity of your tomato plants.
4. Increasing transplant success
Prepping tomato seedlings ultimately increases the chances of successful transplanting. By taking the time to strengthen the roots, prevent transplant shock, and enhance disease resistance, you are giving your seedlings the best possible start in the garden.
Following these essential steps a few days before planting will help ensure that your tomato seedlings are well-prepared and ready to thrive in their new environment. With healthy seedlings, you can look forward to a bountiful tomato harvest!
Step 1: Transferring seedlings to larger pots
Transferring tomato seedlings to larger pots is an important step in prepping them for planting. The process allows the seedlings to develop stronger root systems, which will ultimately help them thrive in the garden.
Here’s a step-by-step guide on how to transfer your tomato seedlings to larger pots:
- Choose the right pots: Select pots that are larger in size than the current containers holding the seedlings. The pots should have drainage holes at the bottom to prevent waterlogging.
- Prepare the new pots: Fill the new pots with a well-draining potting mix. Make sure to leave enough room at the top for watering.
- Carefully remove the seedlings: Gently squeeze the sides of the current container to loosen the soil and roots. Carefully lift the seedling out, holding it by the leaves to avoid damaging the stem.
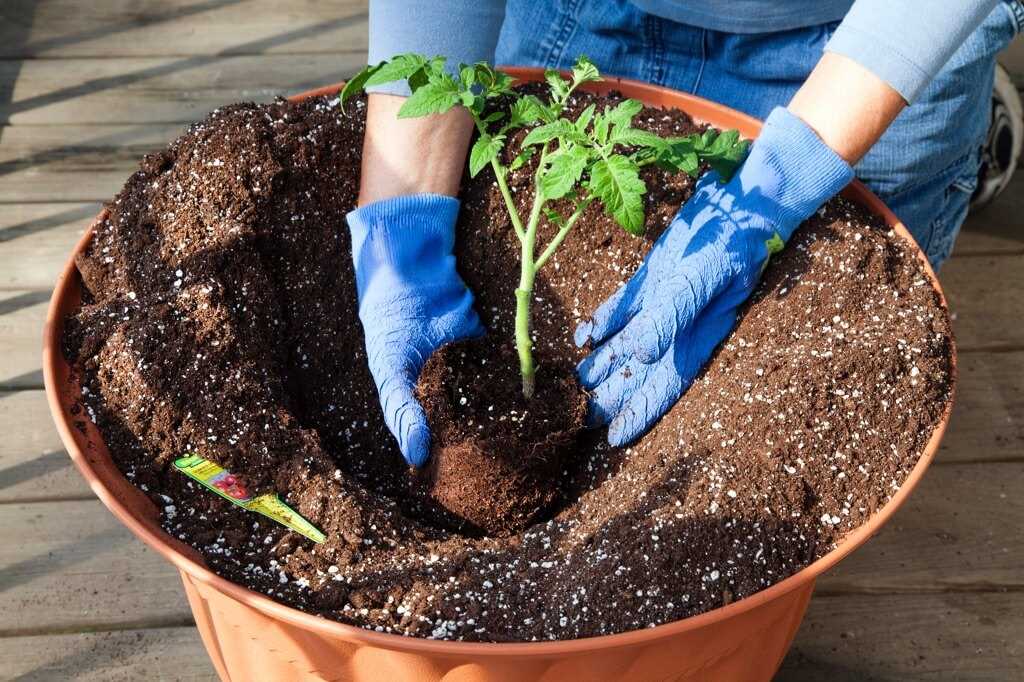
- Plant the seedlings: Dig a small hole in the new potting mix and place the seedling in it. Make sure the top of the root ball is level with the top of the potting mix. Backfill the hole and lightly firm the soil around the seedling.
- Water the seedlings: After planting, give the seedlings a thorough watering. This helps settle the soil and ensures proper hydration for the roots.
- Provide proper care: Place the newly potted seedlings in a location with bright, indirect light. Water them when the top inch of soil feels dry, and make sure to fertilize them regularly according to the instructions on the fertilizer packaging.
By following these steps, you’ll give your tomato seedlings a strong start and increase their chances of successful growth once they are transplanted into the garden.
Step 2: Hardening off seedlings
Hardening off is an essential step in preparing tomato seedlings for planting in the garden. This process helps the delicate seedlings adjust to the outdoor environment, gradually exposing them to sunlight, wind, and fluctuating temperatures.
Here are the steps to harden off your tomato seedlings:
- Choose the right time: Aim to start hardening off your tomato seedlings about a week before you plan to transplant them into the garden. The weather should be consistently warm during the day and above freezing at night.
- Start with short exposure: Begin by placing your seedlings outdoors in a shaded, protected area for a few hours each day. This could be a covered porch, a greenhouse, or under a shade cloth. Gradually increase the time they spend outside over the course of a week.
- Protect from strong elements: During the hardening off process, ensure that the seedlings are not exposed to extreme weather conditions. If there is a strong wind, hailstorm, or heavy rain, bring the seedlings indoors or cover them with a protective cloth or plastic.
- Adjust exposure to sunlight: Tomato seedlings grown indoors are accustomed to low light conditions. As they are gradually exposed to sunlight, monitor their response. If you notice signs of sunburn, such as yellowing or wilting leaves, reduce the exposure to sunlight or provide some shade.
- Gradually decrease water: While hardening off, gradually reduce the frequency of watering your seedlings. This will help the plants develop stronger roots and become more resilient to drying out.
- Space out plants: When hardening off multiple tomato seedlings, make sure to space them out to allow for better air circulation. This will help reduce the risk of disease and promote healthier growth.
By following these steps, you will prepare your tomato seedlings for the transition from the controlled indoor environment to the unpredictable outdoor conditions of your garden. This process will significantly increase their chances of survival and ensure a successful growing season.
Step 3: Checking for pests and diseases
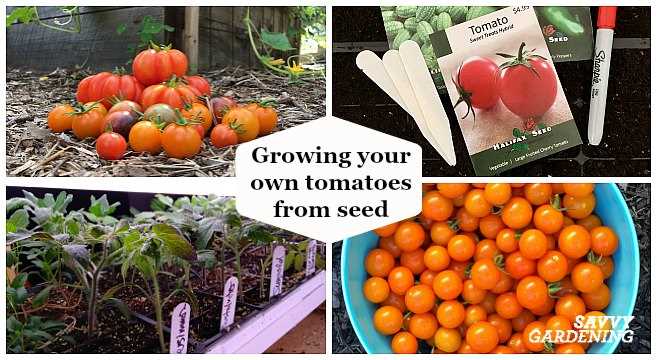
Before planting your tomato seedlings, it is important to check for any signs of pests or diseases that may harm or stunt their growth. Taking preventive measures at this stage can help ensure the health and well-being of your plants.
1. Visual inspection
Conduct a thorough visual inspection of the tomato seedlings. Look for any signs of pests such as aphids, spider mites, or whiteflies. Check the leaves, stems, and undersides of the leaves for any visible insects or their eggs. Also, look for any unusual spots, discoloration, or wilting that may indicate the presence of diseases.
2. Pest control
If you find any pests on your tomato seedlings, it is essential to take immediate action to prevent their spread. There are several organic pest control methods you can use, such as:
- Handpicking: Carefully remove any visible pests or eggs from the seedlings using your hands or a pair of tweezers. Drop them into a container of soapy water to kill them.
- Neem oil: Dilute neem oil in water according to the package instructions and spray it on the affected areas. Neem oil is an effective natural insecticide and can help eliminate pests.
- Insecticidal soap: Use an organic insecticidal soap to control pests. Follow the instructions on the label for application guidelines.
3. Disease prevention
If you notice any signs of diseases on your tomato seedlings, it is crucial to address them promptly. Here are some steps you can take to help prevent the spread of diseases:
- Sanitation: Remove any infected or diseased leaves, stems, or plants immediately to prevent the spread of diseases.
- Proper spacing: Ensure that the tomato seedlings are appropriately spaced to allow for good air circulation. This can help minimize the risk of diseases spreading.
- Fungicides: If necessary, apply an appropriate fungicide according to the instructions on the label. This can help control fungal diseases.
By checking for pests and diseases and taking preventive measures, you can ensure that your tomato seedlings have a healthy start and thrive in your garden.
Step 4: Preparing the planting area
Before planting your tomato seedlings, it is important to properly prepare the planting area to ensure optimal growth and productivity. Follow these essential steps:
- Clear the area: Remove all weeds, rocks, and debris from the planting area. Weeds can compete with the tomato plants for nutrients and water, so it is vital to eliminate them before planting.
- Loosen the soil: Use a garden fork or a tiller to loosen the soil in the planting area. This will improve aeration and drainage, allowing the tomato roots to grow deep and establish a strong foundation.
- Amend the soil: Test the soil pH and nutrient levels to determine if any amendments are needed. Tomatoes prefer slightly acidic soil with a pH of around 6.0-6.8. If necessary, add lime to raise the pH or sulfur to lower it accordingly. Additionally, incorporate organic matter, such as compost or aged manure, to enrich the soil with nutrients and improve its structure.
- Create planting holes: Dig holes that are wide and deep enough to accommodate the tomato seedlings. Space the holes at least 2-3 feet apart to allow ample room for the plants to grow and spread.
- Add organic fertilizer: Prior to planting, sprinkle a balanced organic fertilizer into each planting hole. This will provide essential nutrients for the tomato plants to thrive. Follow the manufacturer’s recommendations regarding the amount to use.
- Water the planting area: Before placing the tomato seedlings in the holes, thoroughly water the planting area. This will ensure that the soil is moist and ready to receive the young plants.
By adequately preparing the planting area, you are setting the stage for healthy and productive tomato plants. Taking the time to complete these necessary steps will greatly increase your chances of a successful harvest.
Step 5: Watering and fertilizing
Proper watering and fertilizing are crucial steps in prepping tomato seedlings for planting. These steps will help ensure the health and vitality of your plants, leading to a successful harvest.
Watering
Before planting your tomato seedlings, it is important to water them thoroughly. This will help the roots absorb moisture and establish a strong foundation in the soil. Here are some tips for watering:
- Water your seedlings a few days before planting to ensure the soil is moist but not waterlogged.
- Avoid watering the leaves and stems, as this can lead to disease. Instead, focus on watering the soil around the base of the plants.
- Water deeply, allowing the water to penetrate the root zone. This will encourage the roots to grow deeper, making the plants more resilient.
- Check the soil moisture regularly and water when it feels dry about an inch below the surface.
- Consider using a soaker hose or drip irrigation system to deliver water directly to the root zone. This can help conserve water and prevent overwatering.
Fertilizing
In addition to water, tomato seedlings also require nutrients to thrive. Fertilizing can provide these essential nutrients and support healthy growth. Here are some tips for fertilizing your tomato seedlings:
- Choose a balanced fertilizer specifically formulated for tomatoes, with a ratio such as 10-10-10 or 14-14-14.
- Apply the fertilizer according to the package instructions. Generally, it is recommended to apply a granular fertilizer evenly around the base of the plants.
- Be careful not to over-fertilize, as this can lead to excessive foliage growth and reduce fruit production.
- If using organic fertilizers, such as compost or aged manure, apply them a few weeks before planting to allow them to break down and release nutrients gradually.
- Consider using a liquid fertilizer diluted in water for an immediate nutrient boost, especially if planting your seedlings in containers.
By properly watering and fertilizing your tomato seedlings, you will give them the best chance to grow strong and healthy, setting the stage for a bountiful harvest. Remember to monitor the moisture levels and adjust watering and fertilizing practices as needed throughout the growing season.
Step 6: Protecting seedlings from frost
Frost can be a major threat to tomato seedlings, especially if they are still young and delicate. It is important to protect them from frost to ensure their survival and growth. Here are some steps you can take to protect your tomato seedlings from frost:
- Monitor the weather: Keep an eye on the weather forecast and be aware of any potential frost warnings. Frost often occurs on clear nights with no cloud cover, so be extra vigilant during these times.
- Cover the seedlings: On nights when frost is predicted, cover your tomato seedlings with a protective layer. You can use row covers, cloths, or even plastic sheets to create a barrier between the seedlings and the cold air.
- Provide additional heat: If the frost is expected to be severe, consider providing additional heat to your seedlings. This can be done by using heat lamps or even placing a small heater near the seedlings. Just be careful to not overheat them.
- Use mulch: Apply a layer of mulch around the base of the seedlings. Mulch helps to insulate the soil and retain heat, which can protect the roots from frost damage.
- Water the seedlings: Water the seedlings thoroughly before the expected frost. Wet soil retains heat better than dry soil, so moistening the soil can provide some additional protection.
- Check for signs of frost damage: After a frost, inspect your seedlings for any signs of frost damage. Look for blackened or wilted leaves, as these are indicators of frost damage. If you spot any damaged leaves, gently remove them to prevent disease or fungus from spreading.
By taking these steps, you can protect your tomato seedlings from frost and ensure their healthy growth. Remember to always be prepared and proactive when it comes to protecting your plants from adverse weather conditions.
The benefits of prepping tomato seedlings
Preparing tomato seedlings before planting can provide a range of benefits, setting them up for success and ensuring optimal growth and productivity. Here are some of the key benefits:
- Increased root development: The process of prepping tomato seedlings allows for root development to be enhanced. This is critical as a strong, healthy root system will provide the foundation for the plant’s overall growth and nutrient uptake.
- Improved resistance to disease and pests: By properly prepping tomato seedlings, the plants become more resistant to common diseases and pests. This includes ensuring that the seedlings are healthy and disease-free, and using techniques such as hardening off to strengthen their defense mechanisms.
- Enhanced transplant success: When tomato seedlings are prepped correctly, the chances of successful transplanting are significantly increased. This is because prepping techniques such as potting up and acclimating the seedlings to outdoor conditions help them to adapt and establish themselves more easily in their new environment.
- Optimal nutrient uptake: Properly prepping tomato seedlings ensures that they are provided with the necessary nutrients for growth. This includes using high-quality soil, providing the appropriate fertilizers, and ensuring that the seedlings receive adequate water and sunlight.
- Increase in overall plant health: By taking the time to prep tomato seedlings, their overall health and vitality is improved. This leads to stronger, more productive plants that are better equipped to resist environmental stressors and produce a bountiful harvest.
By prioritizing the preparation of tomato seedlings before planting, gardeners can give their plants the best possible chance of thriving and producing a successful crop. Taking these essential steps can make a significant difference in the overall health and productivity of tomato plants.
“Question-Answer”
Why is it important to prep tomato seedlings before planting?
Prepping tomato seedlings before planting is important because it helps them establish strong roots, improves their overall health and resilience, and increases their chances of surviving and thriving in the garden.
What are the essential steps for prepping tomato seedlings?
The essential steps for prepping tomato seedlings include hardening off, transplanting into larger containers, pruning any damaged or overcrowded foliage, and providing adequate water and sunlight.
How long should tomato seedlings be hardened off before planting them?
Tomato seedlings should be hardened off for about a week before planting them in the garden. This allows them to gradually adjust to the outdoor conditions and reduces the risk of transplant shock.
When should tomato seedlings be transplanted into larger containers?
Tomato seedlings should be transplanted into larger containers when they have developed their first true leaves. This typically occurs about 2-3 weeks after germination.
What should be done if tomato seedlings have damaged or overcrowded foliage?
If tomato seedlings have damaged or overcrowded foliage, it is important to prune them. This helps promote air circulation, reduces the chances of fungal diseases, and allows the seedlings to focus their energy on healthy growth.


