- Selecting the Right Cassette
- Preparing the Seedling Mix
- Sterilizing the Cassettes
- Sowing the Tomato Seeds
- Providing Optimal Growing Conditions
- Light
- Temperature
- Air Circulation
- Humidity
- Watering
- Nutrients
- Transplanting the Seedlings
- Materials needed:
- Steps to transplant the seedlings:
- Tips:
- Caring for the Tomato Seedlings
- Watering
- Lighting
- Fertilizing
- Transplanting
- Pest and Disease Control
- Harvesting and Enjoying Your Homegrown Tomatoes
- 1. Determine the Ripeness
- 2. Use Proper Technique
- 3. Harvest at the Right Time
- 4. Store and Enjoy
- 5. Share with Others
- “Question-Answer”
- What are the benefits of sowing tomato seedlings in cassettes?
- How do I choose the right type of cassette for sowing tomato seedlings?
- What is the best time to sow tomato seedlings in cassettes?
- How often should I water tomato seedlings in cassettes?
- What are some common problems that may occur when sowing tomato seedlings in cassettes?
- How do I transplant tomato seedlings from cassettes into the garden bed?
- “Video” ★ How to: Grow Tomatoes from Seed (A Complete Step by Step Guide)
Are you looking to grow your own tomatoes this year? Sowing tomato seedlings in cassettes is a great way to get a head start on the growing season and ensure healthy and robust plants. This step-by-step guide will walk you through the process of sowing tomato seedlings in cassettes, from selecting the right seeds to transplanting them into your garden.
Step 1: Choosing the right seeds
Before you begin sowing your tomato seedlings, it’s important to choose the right seeds for your growing conditions and preferences. There are many different varieties of tomatoes to choose from, each with its own unique traits and flavors. Consider factors such as fruit size, color, disease resistance, and days to maturity when selecting your seeds. Look for reputable seed suppliers or consider saving seeds from your favorite tomatoes from the previous year.
Step 2: Preparing the cassettes
Once you have your tomato seeds, it’s time to prepare the cassettes. Choose cassettes that are deep enough to allow for adequate root growth and have drainage holes to prevent waterlogging. Fill the cassettes with a high-quality seed-starting mix, which should be light, well-draining, and nutrient-rich. Press the soil gently to remove any air pockets and level the surface.
Step 3: Sowing the seeds
Now it’s time to sow the tomato seeds. Make a small indentation in the soil using your finger or a pencil, about 1/4 to 1/2 inch deep. Place one seed in each indentation and cover it lightly with soil. Water the cassettes gently to ensure the soil is evenly moist. It’s important to keep the soil consistently moist but not saturated during the germination process.
Step 4: Providing the right conditions
To promote germination, it’s important to provide the right conditions for your tomato seedlings. Place the cassettes in a warm location, ideally between 70-80°F (21-27°C). You can use a seedling heat mat to maintain a consistent temperature if necessary. Provide bright, indirect light to help the seedlings grow strong. Consider using a grow light if natural light is limited.
Step 5: Transplanting into the garden
Once your tomato seedlings have developed their first set of true leaves and all risk of frost has passed, it’s time to transplant them into the garden. Harden off the seedlings by gradually exposing them to outdoor conditions over the course of a week. Dig a hole in your garden bed, gently remove the seedling from its cassette, and plant it in the hole, ensuring that the top of the root ball is level with the soil surface. Water the transplanted seedlings well and provide support if needed.
With this step-by-step guide, you’ll be well on your way to sowing tomato seedlings in cassettes and enjoying a bountiful tomato harvest. Remember to provide the right conditions, choose the right seeds, and properly transplant your seedlings for the best results.
Selecting the Right Cassette
When sowing tomato seedlings in cassettes, it is essential to choose the right cassette for the task. The cassette you select will play a crucial role in the successful growth of your tomato plants. Here are some factors to consider when selecting the right cassette:
- Size: Consider the size of the cassette in relation to the size of your tomato seedlings. The cassette should have enough space for the roots to develop without becoming cramped.
- Material: The material of the cassette is also important. Opt for a durable and sturdy material that will not easily break or deform. Plastic cassettes are commonly used for seedlings as they are lightweight and easy to handle.
- Drainage: It is crucial to choose a cassette with proper drainage holes. Good drainage is essential to prevent waterlogging and the development of root rot.
- Number of Cells: Determine the number of tomato seedlings you plan to grow and select a cassette with the appropriate number of cells. This will help you optimize space and make transplanting easier.
- Transparency: Transparent cassettes allow you to easily monitor the root development and moisture levels without disturbing the seedlings. This can be helpful in ensuring the health of your tomato plants.
By considering these factors, you can choose the right cassette for sowing your tomato seedlings. A suitable cassette will provide the necessary space, drainage, and transparency to promote healthy growth and ensure a successful transplanting process.
Preparing the Seedling Mix
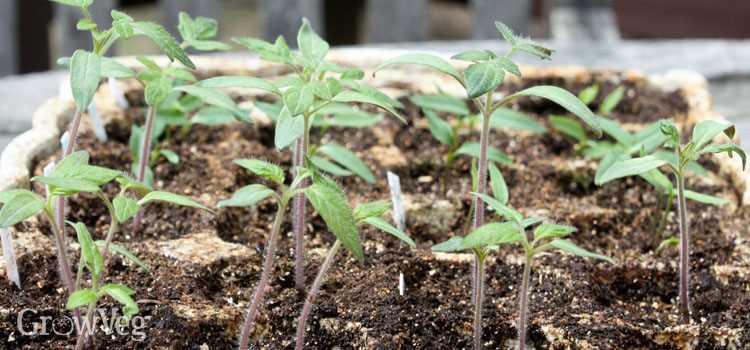
Before sowing tomato seedlings in cassettes, it’s important to prepare the right seedling mix to provide optimal growing conditions for the plants. Here are the steps to prepare the seedling mix:
- Gather the materials: You will need a container, such as a bucket or a large bowl, to mix the ingredients. Additionally, gather the following materials:
- Peat moss or coir
- Perlite or vermiculite
- Compost or well-rotted manure
- Granulated organic fertilizer
- Measure the ingredients: Use the following proportions to create the seedling mix:
- 50% peat moss or coir
- 25% perlite or vermiculite
- 25% compost or well-rotted manure
- 1 tablespoon of granulated organic fertilizer per gallon of mix
- Mix the ingredients: Place the measured amounts of peat moss or coir, perlite or vermiculite, compost or well-rotted manure, and granulated organic fertilizer into the container. Stir the ingredients thoroughly with a garden trowel or your hands until they are well combined.
- Moisten the mix: Once the ingredients are mixed, add water slowly while stirring until the seedling mix is evenly moist. The mix should be moist but not soggy. If necessary, squeeze a handful of the mix to check its moisture level.
- Let the mix sit: Allow the seedling mix to sit for a day or two before sowing the tomato seeds. This will give the ingredients time to fully integrate and any excess moisture to evaporate.
By following these steps, you will have a well-prepared seedling mix ready for sowing tomato seedlings in cassettes. The mix will provide the necessary nutrients, drainage, and moisture retention for the young plants to thrive.
Sterilizing the Cassettes
Before sowing tomato seedlings in cassettes, it is important to sterilize the cassettes to prevent any potential diseases or contaminants from affecting the plants. Sterilization helps create a clean and suitable environment for the seedlings to grow.
Here are the steps to properly sterilize the cassettes:
- Prepare a solution of bleach and water. Mix approximately 1 part bleach to 10 parts water.
- Remove any soil or debris from the cassettes.
- Submerge the cassettes in the bleach solution, ensuring they are fully immersed.
- Let the cassettes soak in the bleach solution for about 10-20 minutes, allowing the bleach to kill any potential pathogens or contaminants.
- After the soaking time is complete, remove the cassettes from the bleach solution.
- Rinse the cassettes thoroughly with clean water to remove any residual bleach.
- Allow the cassettes to air dry completely before moving on to sowing the tomato seedlings.
By following these steps and sterilizing the cassettes before sowing, you can help ensure the health and success of your tomato seedlings.
Sowing the Tomato Seeds
Before sowing the tomato seeds, make sure you have prepared the seedlings cassettes or trays. These should have holes at the bottom for drainage and enough space for each seedling to grow.
- Selecting the seeds: Choose high-quality tomato seeds from a reputable source. Look for seeds that are disease-resistant and suitable for your climate.
- Preparing the soil: Fill the cassettes or trays with a well-draining potting mix. The soil should be loose, fertile, and rich in organic matter. Avoid using garden soil, as it may contain pests or diseases.
- Sowing the seeds: Make small holes in the soil using your finger or a pencil. Place one or two seeds in each hole, then cover them lightly with soil.
- Watering: Gently water the soil to ensure it is evenly moist. Be careful not to overwater, as this can lead to fungal diseases.
- Providing the right conditions: Place the cassettes or trays in a warm location with plenty of sunlight. Tomatoes prefer temperatures between 70-80°F (21-27°C).
- Germination: The tomato seeds will germinate in 7-14 days. Keep the soil moist during this period.
- Thinning: Once the seedlings have grown a few leaves, thin them out by removing the weaker ones. Leave only the strongest seedling in each cassette or tray.
By following these steps, you can successfully sow tomato seeds in cassettes or trays. Remember to water and care for the seedlings as they grow, and transplant them into larger containers or the garden when they are strong enough.
Providing Optimal Growing Conditions
Once your tomato seedlings have germinated and are ready to be transferred to cassettes, it’s important to provide them with optimal growing conditions to ensure healthy growth and development. Here are some key factors to consider:
Light
- Tomato seedlings require at least 14-16 hours of bright, indirect sunlight each day. If natural sunlight is not available, you can use fluorescent grow lights positioned 2-4 inches above the seedlings.
- Avoid direct exposure to intense sunlight, as it can cause sunburn and stunting.
Temperature
- The ideal temperature range for tomato seedlings is between 70-80°F (21-27°C) during the day and 60-70°F (15-21°C) at night.
- Ensure that the temperature remains consistent and does not fluctuate too much, as extreme temperature changes can cause stress and slow down growth.
Air Circulation
- Air circulation is crucial for preventing the growth of mold and diseases. Use a small fan to provide gentle air movement around the seedlings.
- Avoid overcrowding the seedlings, as it can reduce air circulation and increase the risk of disease.
Humidity
- Tomato seedlings prefer a humidity level of around 50-70%. To maintain optimal humidity, place a tray filled with water near the seedlings or use a humidifier.
- Avoid excessive humidity, as it can promote the growth of mold and fungal diseases.
Watering
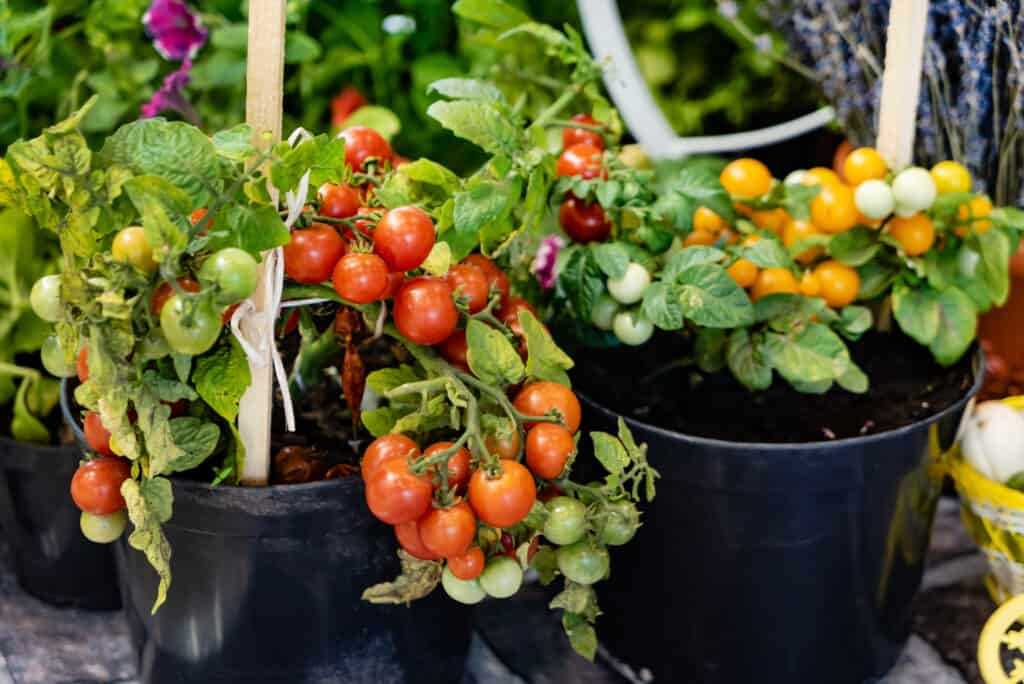
- Water the seedlings regularly, keeping the soil moist but not waterlogged. Allow the top inch of the soil to dry out slightly between waterings.
- Avoid overhead watering, as it can increase the risk of fungal diseases. Instead, water the seedlings at the base, directly onto the soil.
Nutrients
- Tomato seedlings require a balanced fertilizer with a ratio of nitrogen, phosphorus, and potassium (such as 10-10-10 or 14-14-14). Dilute the fertilizer according to the package instructions and apply it every 2-3 weeks.
- Provide additional nutrients through organic compost or compost tea to promote healthy growth.
By providing these optimal growing conditions, your tomato seedlings will have the best chance of thriving and producing strong, healthy plants ready for transplanting into the garden.
Transplanting the Seedlings
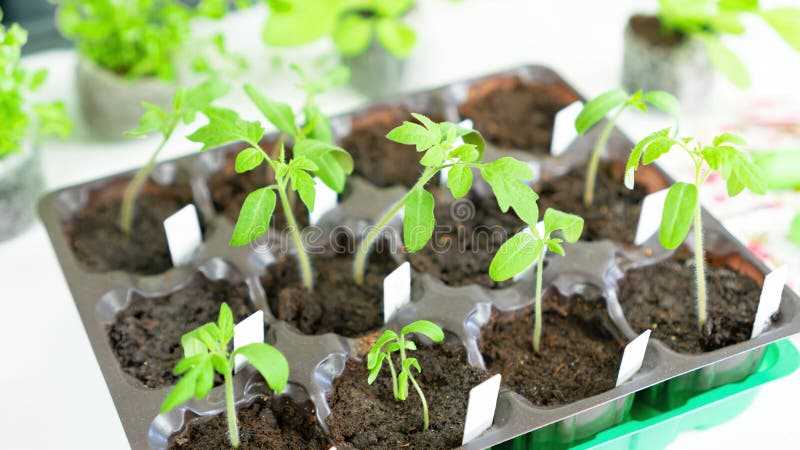
Once your tomato seedlings have grown to a suitable size, they will need to be transplanted into larger pots or into your garden. Transplanting is an important step in the process of growing healthy tomato plants.
Materials needed:
- Larger pots or garden plot
- Garden soil or potting mix
- Trowel or garden spade
- Watering can or hose
Steps to transplant the seedlings:
- Choose a sunny spot in your garden or prepare larger pots with drainage holes.
- If transplanting into pots, fill them with garden soil or potting mix, leaving about an inch of space from the top.
- If transplanting into the garden, prepare the soil by removing weeds and loosening it with a garden spade.
- Make small holes in the soil or potting mix, spaced about 2-3 inches apart.
- Gently remove the seedlings from the cassette, taking care not to damage the roots.
- Place each seedling into a hole, making sure to cover the roots with soil.
- Press the soil gently around the stem of the seedling to secure it in place.
- Water the seedlings thoroughly, making sure the soil is evenly moist.
Transplanting the seedlings allows them to grow and develop a stronger root system in their new environment. Be sure to water them regularly and provide support as they grow taller.
Tips:
- Avoid transplanting the seedlings during the hottest time of the day to prevent them from wilting.
- If transplanting into the garden, make sure to space the seedlings at least 2-3 feet apart to allow for proper air circulation.
- Consider using stakes or cages to support the tomato plants as they grow.
- Monitor the water needs of the seedlings and adjust accordingly.
Follow these steps and tips to successfully transplant your tomato seedlings, and soon you’ll be enjoying delicious homegrown tomatoes!
Caring for the Tomato Seedlings
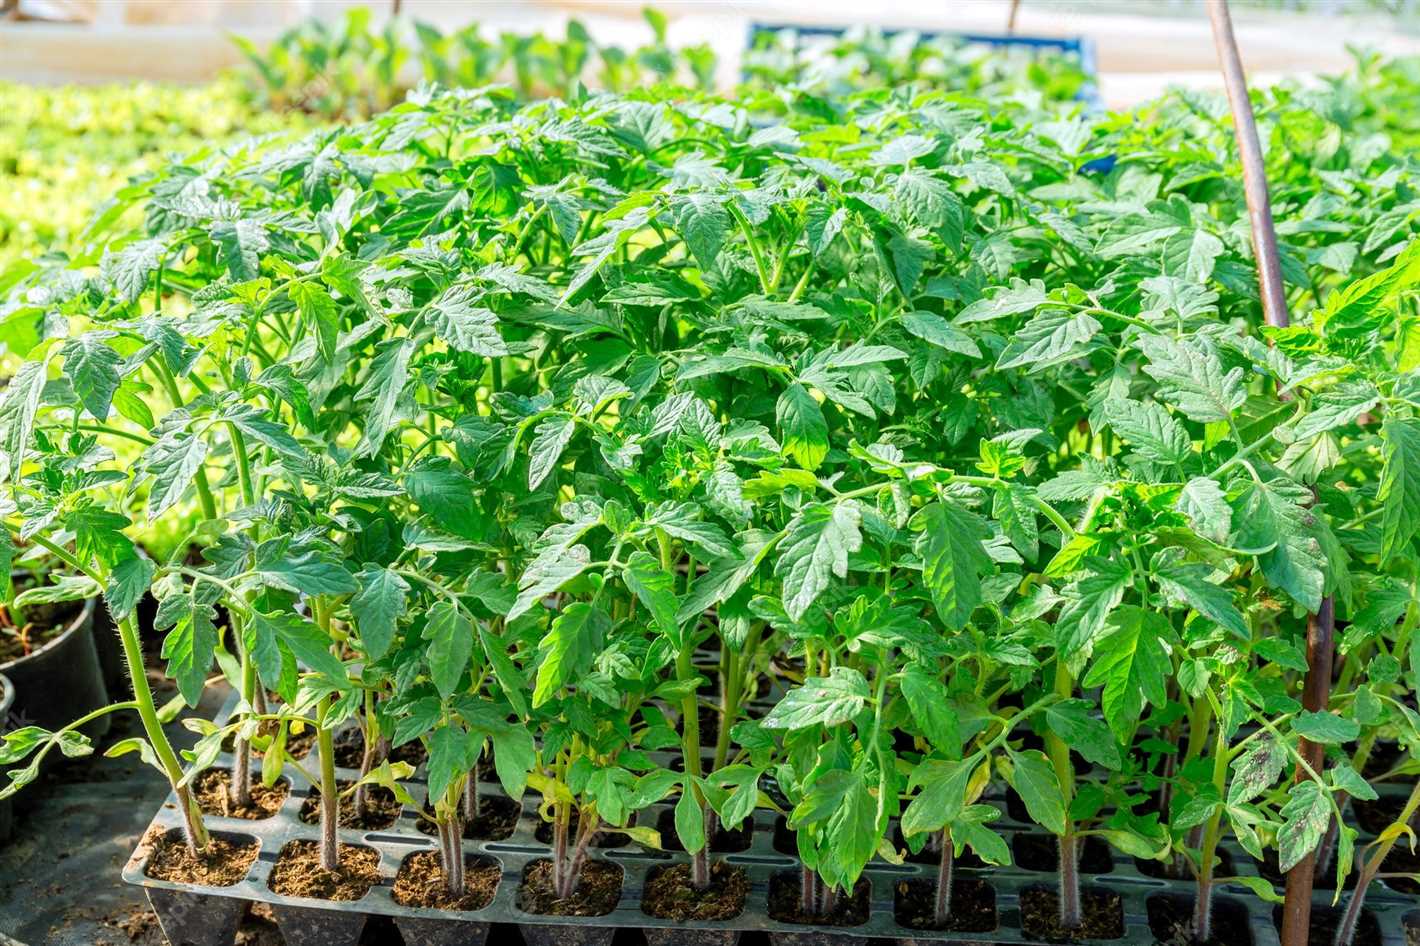
Once you have sown your tomato seedlings in cassettes, it is important to take proper care of them to ensure their healthy growth. Here are some steps you can follow:
Watering
- Water regularly: Tomato seedlings require consistent moisture, so make sure to water them regularly.
- Avoid overwatering: While it is important to keep the soil moist, be careful not to overwater, as it can lead to root rot.
- Water at the base: Water the seedlings at the base and avoid getting the leaves wet, as wet foliage can increase the likelihood of disease.
Lighting
- Provide adequate sunlight: Tomato seedlings need plenty of sunlight for healthy growth. Place them in a location where they can receive at least 6-8 hours of direct sunlight per day.
- Use artificial lighting: If you don’t have access to sufficient natural sunlight, you can use fluorescent grow lights to provide the necessary light intensity.
- Adjust the light source: Position the lights above the seedlings and adjust the height as the plants grow to maintain an appropriate distance.
Fertilizing
- Start fertilizing after true leaves appear: Once the seedlings have their second set of leaves, you can begin fertilizing them.
- Use a balanced fertilizer: Choose a fertilizer with a balanced ratio of nitrogen, phosphorus, and potassium to provide essential nutrients for healthy growth.
- Follow the instructions: Read and follow the instructions on the fertilizer package for the correct dosage and application method.
Transplanting
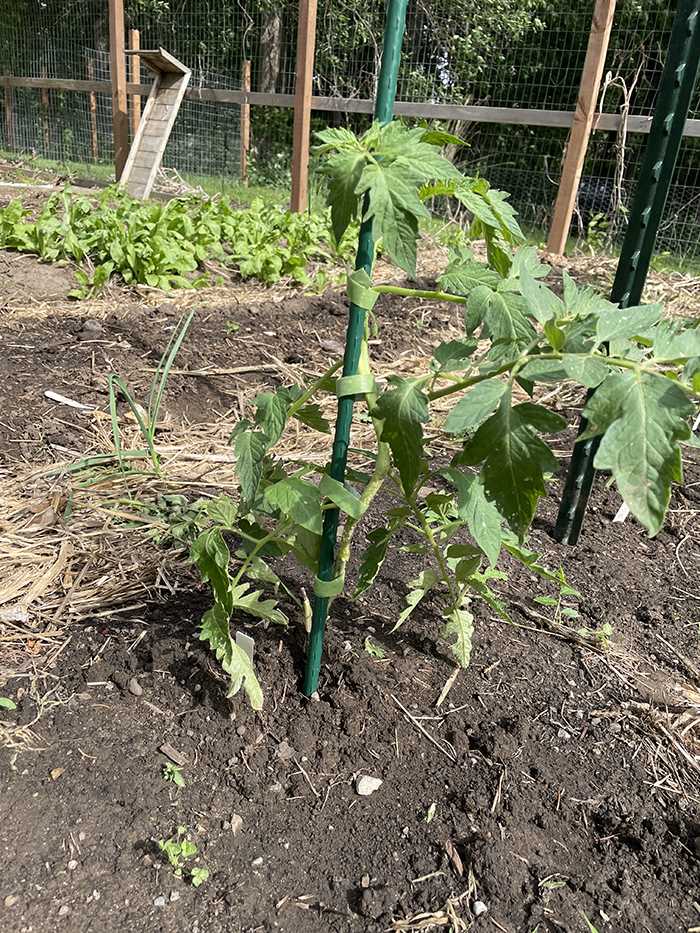
- Wait for the right time: Tomato seedlings should be transplanted into larger containers or the garden once they have developed a strong root system and the danger of frost has passed.
- Harden off the seedlings: Before transplanting, gradually expose the seedlings to outdoor conditions to help them adjust to the change in environment.
- Plant at the right depth: When transplanting, make sure to bury the stem up to the first set of leaves to encourage root development.
Pest and Disease Control
- Monitor for pests: Keep an eye out for common tomato pests like aphids, whiteflies, and tomato hornworms. If you spot any, take appropriate measures to control their population.
- Prevent diseases: To prevent diseases, avoid overcrowding the seedlings, provide proper airflow, and ensure they are not overwatered.
- Apply organic treatments: If necessary, use organic treatments like neem oil or insecticidal soap to control pests and diseases.
By following these steps and providing proper care, your tomato seedlings will thrive and be ready for transplanting into the garden for a bountiful harvest.
Harvesting and Enjoying Your Homegrown Tomatoes
After all the hard work of sowing tomato seedlings in cassettes and carefully tending to them, it’s finally time to reap the rewards of your efforts. Harvesting your homegrown tomatoes is an exciting and rewarding experience. Here is a step-by-step guide on how to harvest and enjoy your delicious tomatoes:
1. Determine the Ripeness
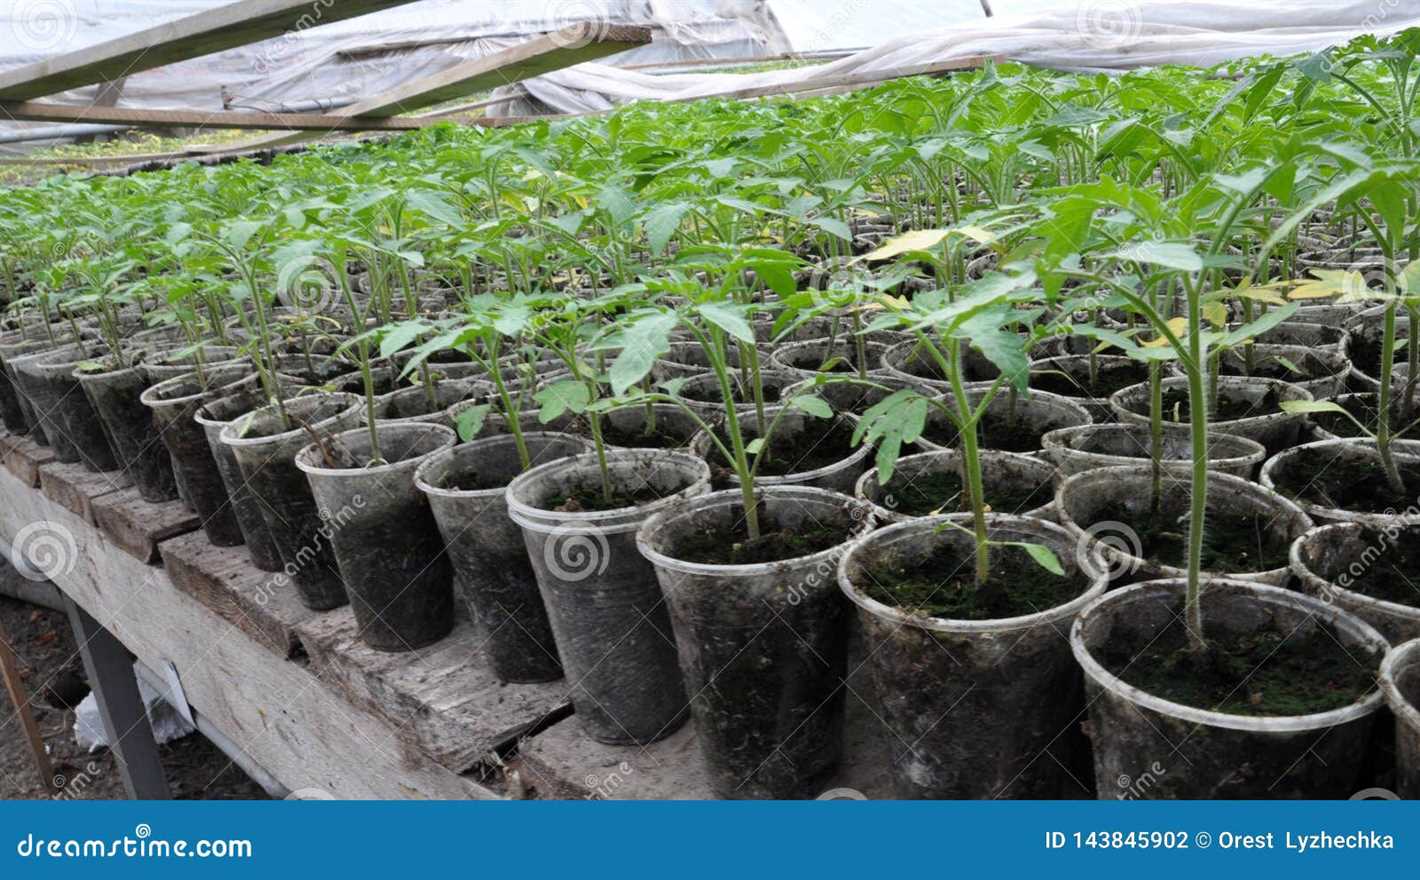
Before harvesting your tomatoes, it’s important to determine their ripeness. You can tell that a tomato is ripe and ready to be plucked from the vine by its color and texture. Ripe tomatoes should have vibrant colors, such as red, orange, or yellow, depending on the variety. The fruit should also be firm yet slightly soft when gently squeezed.
2. Use Proper Technique
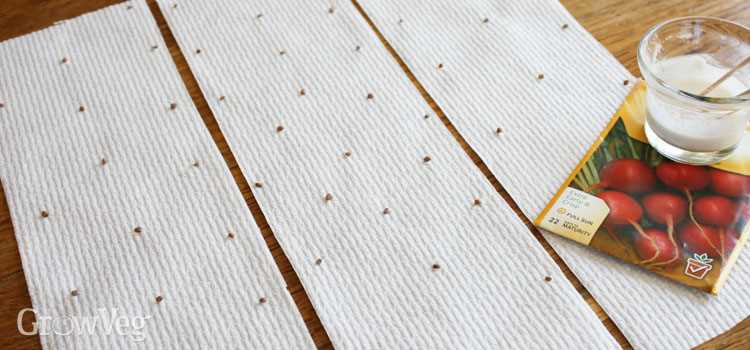
When harvesting your tomatoes, it’s important to use the proper technique to avoid damaging the plant or the fruit. To do this, gently hold the tomato with one hand and use a pair of garden scissors or pruning shears to cut the stem about half an inch above the fruit. Avoid pulling or twisting the tomatoes, as this can cause harm to the plant.
3. Harvest at the Right Time
Harvesting at the right time is crucial to ensure the best flavor and quality of your tomatoes. Different tomato varieties have different maturity times, so it’s important to know when they are ready for picking. In general, tomatoes are usually ready to be harvested when they have reached their full color and are slightly soft to the touch.
4. Store and Enjoy
Once you have harvested your tomatoes, it’s time to store and enjoy them. If you have harvested more tomatoes than you can consume immediately, they can be stored at room temperature for a few days to continue ripening. Just make sure to keep them away from direct sunlight and store them stem-side down to prevent rotting.
To enjoy your homegrown tomatoes, there are countless delicious recipes you can try. From classic Caprese salads to homemade pasta sauces and salsas, the possibilities are endless. Experiment with different dishes and savor the amazing flavor and freshness that comes from growing your own tomatoes.
5. Share with Others
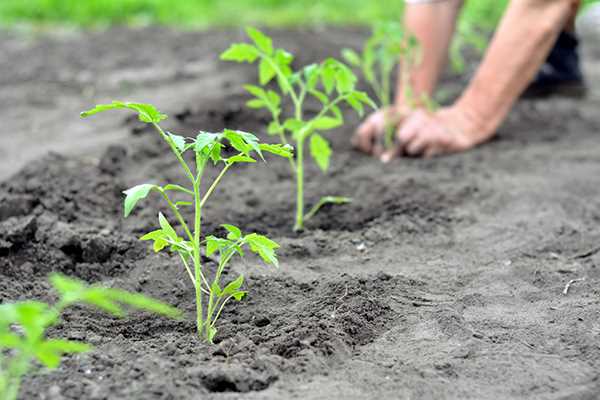
Don’t forget to share the bounty of your homegrown tomatoes with family, friends, and neighbors. Whether it’s a basket of freshly harvested tomatoes or a homemade tomato sauce, sharing your homegrown produce is a wonderful way to spread joy and appreciation.
By following these steps, you can successfully harvest and enjoy the fruits of your labor. There’s nothing quite like the satisfaction of growing your own tomatoes and savoring their incredible taste. So, get ready to indulge in the deliciousness of your homegrown tomatoes!
“Question-Answer”
What are the benefits of sowing tomato seedlings in cassettes?
Sowing tomato seedlings in cassettes has several benefits. Firstly, it allows for better control of the growing environment, as the cassettes provide protection and stability for the delicate seedlings. Secondly, it helps to save space, as the seedlings can be closely spaced in the cassettes. Finally, it makes it easier to transplant the seedlings into the garden bed, as the cassette provides a compact and convenient unit for handling.
How do I choose the right type of cassette for sowing tomato seedlings?
When choosing a cassette for sowing tomato seedlings, it is important to consider the size of the seedlings, the growing medium, and the desired spacing. The cassettes should have enough room to accommodate the roots of the seedlings and allow for proper drainage. It is also important to choose a cassette that is made of durable materials and can withstand the rigors of the growing season. Additionally, consider the spacing requirements of tomato plants, as some varieties may require more space than others.
What is the best time to sow tomato seedlings in cassettes?
The best time to sow tomato seedlings in cassettes depends on the climate and the specific variety of tomato being grown. In general, it is recommended to start sowing tomato seedlings indoors 6-8 weeks before the last expected frost date. This allows the seedlings to grow and develop in a controlled environment before being transplanted into the garden bed. However, it is important to consult the seed packet or local gardening resources for specific recommendations based on your location.
How often should I water tomato seedlings in cassettes?
Tomato seedlings in cassettes should be watered regularly to ensure proper growth and development. It is important to keep the growing medium consistently moist, but not waterlogged. This can be achieved by watering the seedlings when the top inch of the growing medium feels dry to the touch. It is also important to water the seedlings gently, using a watering can or a misting nozzle, to avoid disturbing the delicate roots.
What are some common problems that may occur when sowing tomato seedlings in cassettes?
When sowing tomato seedlings in cassettes, there are several common problems that may occur. One common problem is overwatering, which can lead to root rot and other fungal diseases. To avoid overwatering, it is important to water the seedlings sparingly and make sure the cassettes have proper drainage. Another common problem is damping off, which is a fungal disease that causes seedlings to wilt and die. To prevent damping off, it is important to use clean and sterile growing medium, sanitize the cassettes before use, and provide good ventilation for the seedlings.
How do I transplant tomato seedlings from cassettes into the garden bed?
Transplanting tomato seedlings from cassettes into the garden bed is a relatively straightforward process. First, prepare the garden bed by loosening the soil and adding compost or other organic matter. Then, carefully remove the seedlings from the cassettes, taking care not to damage the roots. Dig a hole in the garden bed that is slightly larger than the root ball of the seedling and place the seedling in the hole. Gently firm the soil around the seedling, making sure it is planted at the same depth as it was in the cassette. Finally, water the seedlings thoroughly to help them establish in their new environment.


