- Preparing the Soil for Aubergines:
- 1. Choose the right location:
- 2. Clear the area:
- 3. Test the soil:
- 4. Improve the soil structure:
- 5. Provide adequate nutrients:
- 6. Mulch the soil:
- 7. Water the soil:
- 8. Consider crop rotation:
- Choosing the Right Spot for Planting:
- Sunlight Exposure:
- Soil Quality:
- Temperature:
- Spacing:
- Proximity to Other Plants:
- Starting Seeds Indoors:
- Advantages of Starting Seeds Indoors:
- Materials and Equipment Needed:
- Steps to Start Seeds Indoors:
- Hardening Off Seedlings:
- What is Hardening Off?
- Why is Hardening Off Necessary?
- How to Harden Off Seedlings:
- Transplanting the Hardened Off Seedlings:
- Conclusion:
- Transplanting Seedlings:
- Timing:
- Preparing the soil:
- Transplanting technique:
- Spacing:
- Protection:
- Caring for transplanted seedlings:
- Mulching and Watering:
- Mulching:
- Watering:
- Caring for Aubergine Plants:
- 1. Watering:
- 2. Mulching:
- 3. Fertilizing:
- 4. Pruning:
- 5. Providing Support:
- 6. Pest and Disease Control:
- 7. Harvesting:
- 8. Crop Rotation:
- 9. Winter Protection:
- 10. Clean-Up:
- “Question-Answer”
- When is the best time to plant aubergine seedlings in the ground?
- What is the recommended spacing between aubergine seedlings when transplanting them in the ground?
- Can I plant aubergine seedlings directly in the ground without starting them indoors?
- Should I harden off my aubergine seedlings before transplanting them in the ground?
- What kind of soil is best for planting aubergines?
- How often should I water my aubergine seedlings after transplanting them in the ground?
- “Video” How to Grow Eggplants Perfectly Every Single Time
Growing your own vegetables can be a rewarding and fulfilling experience, and one vegetable that many gardeners enjoy cultivating is the aubergine, also known as eggplant. With their vibrant purple color and delicious flavour, aubergines can be a versatile addition to any kitchen. However, successfully transplanting seedlings into the ground is key to ensuring a bountiful harvest.
Transplanting aubergine seedlings can be a delicate process, but with the right knowledge and techniques, you can increase your chances of success. One important factor to consider is the timing of the transplant. Aubergine seedlings should be around 6-8 weeks old and have at least 2-3 sets of true leaves before being transplanted into the ground. This ensures that the seedlings are strong enough to withstand the transition and have a better chance of survival.
Preparing the soil before transplanting is also crucial for the health and growth of your aubergines. They thrive in well-draining soil rich in organic matter. It’s a good idea to amend the soil with compost or well-rotted manure before planting. Additionally, aubergines require full sun, so choose a location in your garden that receives at least 6-8 hours of direct sunlight daily.
When it comes to transplanting the seedlings, there are a few schemes that you can use. One popular method is to dig a hole slightly larger than the size of the seedling’s rootball and gently place the seedling into the hole. Be sure to firm the soil gently around the base of the seedling to provide support. Another scheme involves creating a small trench and planting multiple seedlings in a row, spacing them about 18-24 inches apart. This allows for better air circulation and makes it easier to support the plants as they grow.
By following these guidelines and choosing the scheme that works best for you, you will be well on your way to successfully transplanting aubergine seedlings into the ground. With proper care and maintenance, you can look forward to a bountiful harvest and enjoying the fruits of your labor in the kitchen.
Preparing the Soil for Aubergines:
Creating the right soil conditions is crucial for successful aubergine cultivation. Here are some steps to follow when preparing the soil for planting aubergines:
1. Choose the right location:
Select a sunny location for planting aubergines. They thrive in warm conditions, so choose a spot that receives at least 6-8 hours of direct sunlight daily.
2. Clear the area:
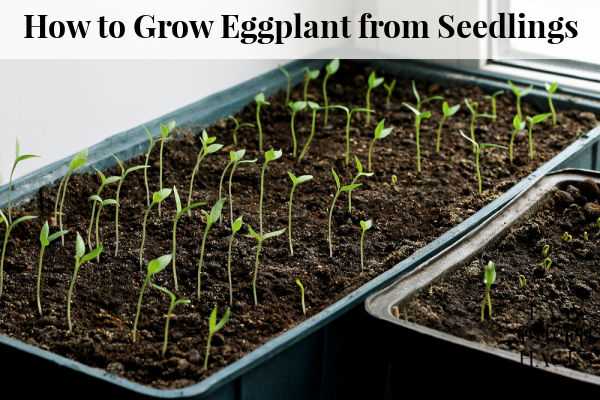
Remove any weeds, rocks, or debris from the planting area to ensure the aubergine plants have ample space to grow and access to nutrients.
3. Test the soil:
Perform a soil test to determine its pH level. Aubergines prefer slightly acidic soil with a pH range between 5.5 and 6.5. Adjust the pH if necessary by adding amendments such as lime to increase acidity or sulfur to decrease acidity.
4. Improve the soil structure:
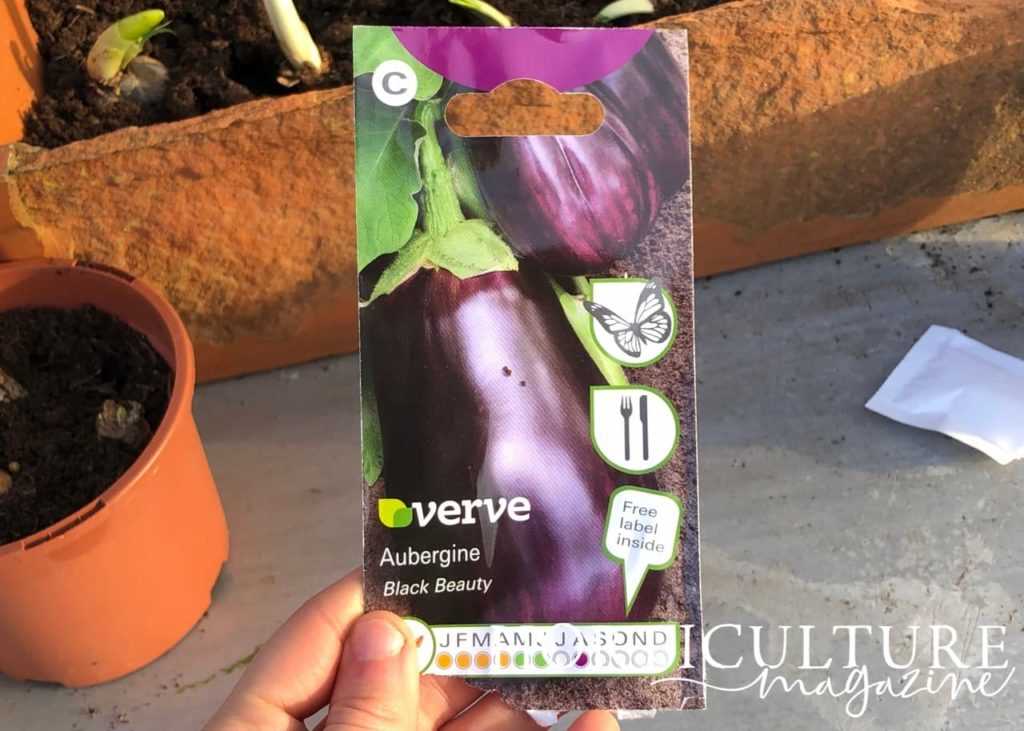
Ensure good drainage by adding organic matter such as compost or well-rotted manure to the soil. This will also help improve the soil’s fertility and moisture retention.
5. Provide adequate nutrients:
Aubergines are heavy feeders and require a nutrient-rich soil. Incorporate a balanced fertilizer into the soil before planting, ensuring it contains essential elements like nitrogen, phosphorus, and potassium.
6. Mulch the soil:
Apply a layer of organic mulch, such as straw or wood chips, to protect the soil from erosion, regulate temperature, and conserve moisture.
7. Water the soil:
Before planting, thoroughly water the soil to ensure it is evenly moist. This will promote healthy root development and avoid transplant shock.
8. Consider crop rotation:
If you have previously grown nightshade family plants like tomatoes or peppers in the same area, consider rotating your crops to minimize the risk of pest and disease buildup.
By following these steps, you can create the ideal soil conditions for planting aubergines, ensuring healthy growth and abundant harvests.
Choosing the Right Spot for Planting:
When choosing a spot for planting your aubergines, there are a few important factors to consider:
Sunlight Exposure:
Aubergines thrive in full sunlight, so choose a spot in your garden that receives at least 6 to 8 hours of direct sunlight per day. Avoid areas that are shaded by trees or buildings, as this can hinder the growth and development of the plants.
Soil Quality:
Aubergines prefer well-drained soil that is rich in organic matter. Before planting, it’s recommended to amend the soil with compost or well-rotted manure to improve its fertility and drainage. Avoid areas with heavy clay or compacted soil, as this can limit root development and hinder the plant’s growth.
Temperature:
Aubergines are warm-season plants and require a minimum temperature of 18°C (64°F) for optimal growth. Choose a spot that is sheltered from cold winds and frost, as exposure to low temperatures can stunt the growth of the plants and damage the fruits.
Spacing:
Aubergines require adequate spacing for proper air circulation and to prevent the spread of diseases. Plant seedlings at least 60 cm (24 inches) apart to allow enough room for growth and to facilitate the harvesting process.
Proximity to Other Plants:
When selecting a spot for planting aubergines, consider the proximity to other plants in your garden. Avoid planting them near other nightshade family plants, such as tomatoes or potatoes, as they are susceptible to similar pests and diseases. It’s also a good idea to rotate your crops each year to prevent the buildup of soil-borne diseases and pests.
By taking these factors into consideration, you can choose the right spot for planting your aubergines and provide them with optimal growing conditions, resulting in healthy plants and a bountiful harvest.
Starting Seeds Indoors:
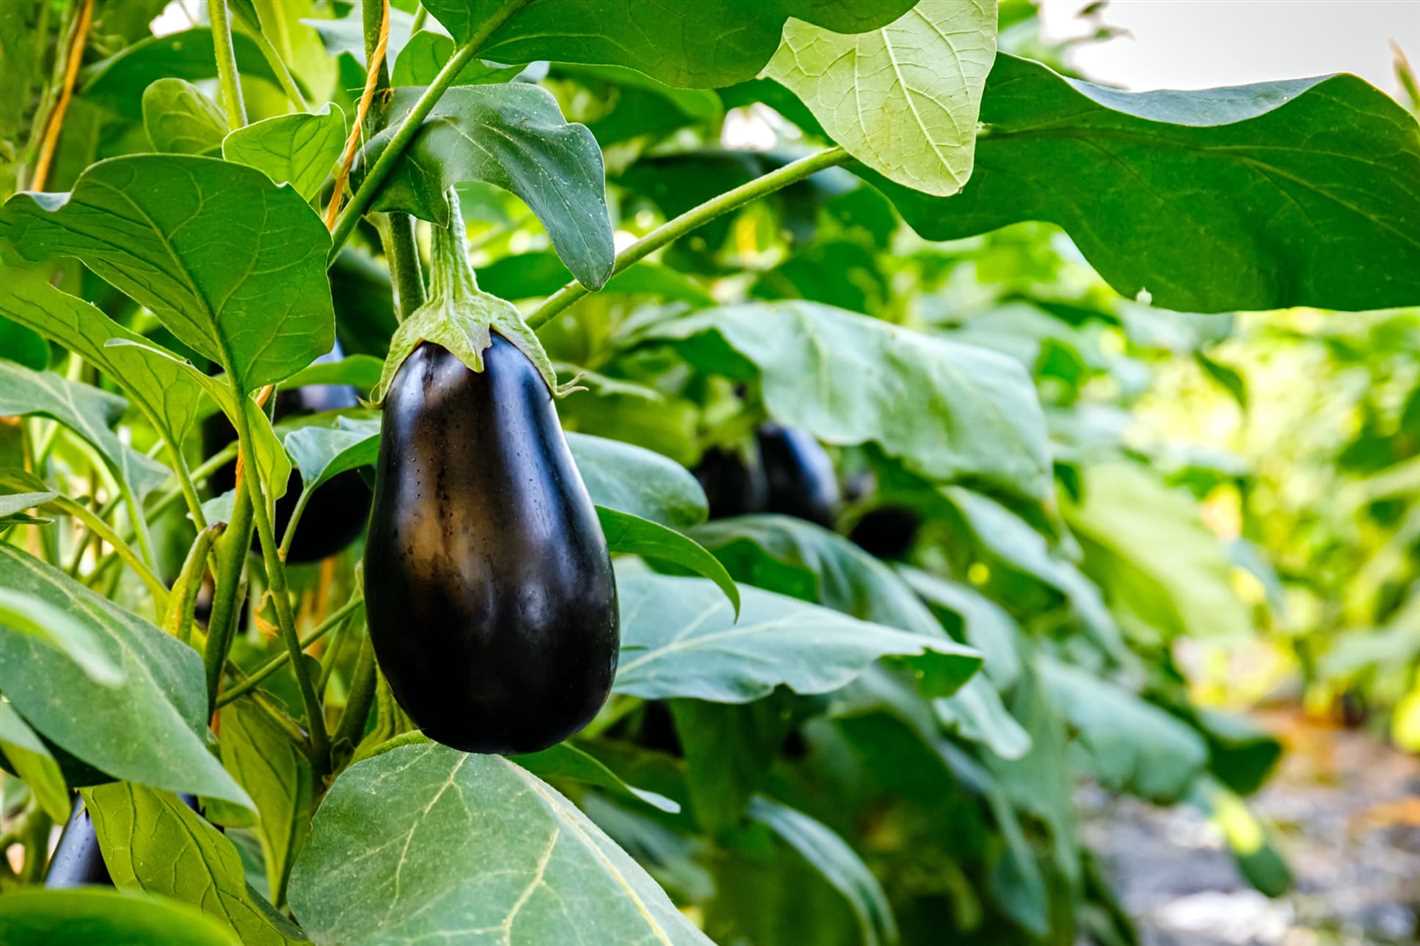
Advantages of Starting Seeds Indoors:
Starting seeds indoors allows you to get a head start on the growing season and gives you more control over the germination and early growth of your plants. Here are some advantages of starting seeds indoors:
- Extended growing season: By starting seeds indoors, you can start growing your plants earlier in the year, giving them a longer growing season.
- Control over growing conditions: Indoors, you have full control over temperature, humidity, and light, allowing you to create optimal growing conditions for your seeds.
- Early harvest: Starting seeds indoors can help you achieve an earlier harvest, giving you a jump start on enjoying your homegrown produce.
- Variety selection: When starting seeds indoors, you have a wide variety of seeds to choose from, including heirloom and specialty varieties that might not be available as seedlings at local nurseries.
Materials and Equipment Needed:
To start seeds indoors, you will need some basic materials and equipment:
- Seed trays or containers with drainage holes
- Seed starting mix or potting soil
- Seeds of your choice
- Watering can or spray bottle
- Plastic wrap or a clear plastic dome
- Grow lights or a bright, sunny windowsill
- Plant labels or markers
Steps to Start Seeds Indoors:
- Select the seeds you want to start indoors and check the recommended planting time on the seed packet.
- Fill the seed trays or containers with seed starting mix or potting soil, leaving about 1/4 inch of space at the top.
- Moisten the soil with water until it is evenly damp but not soaked.
- Plant the seeds according to the recommended planting depth on the seed packet. Some seeds may need to be covered with a thin layer of soil, while others can be left on the surface.
- Water the seeds gently using a watering can or spray bottle, making sure not to disturb the soil or displace the seeds.
- Cover the seed trays or containers with plastic wrap or a clear plastic dome to create a humid environment for germination.
- Place the trays or containers in a warm location with indirect light or under grow lights.
- Check the soil moisture regularly and water as needed to keep it evenly damp.
- Once the seeds have germinated and seedlings have emerged, remove the plastic cover and place the trays or containers under grow lights or in a sunny windowsill.
- Continue to water and care for the seedlings, gradually acclimating them to outdoor conditions before transplanting them into the ground.
Starting seeds indoors is a great way to get a head start on your garden and ensure strong, healthy plants. By following these steps and providing the right conditions for germination and growth, you can enjoy a successful indoor seed starting experience. Happy gardening!
Hardening Off Seedlings:
What is Hardening Off?
Hardening off is the process of gradually exposing seedlings to outdoor conditions in order to prepare them for the transition from a controlled indoor environment to the more unpredictable outdoor environment. This helps seedlings adapt and become stronger, reducing the risk of transplant shock and increasing their chances of survival.
Why is Hardening Off Necessary?
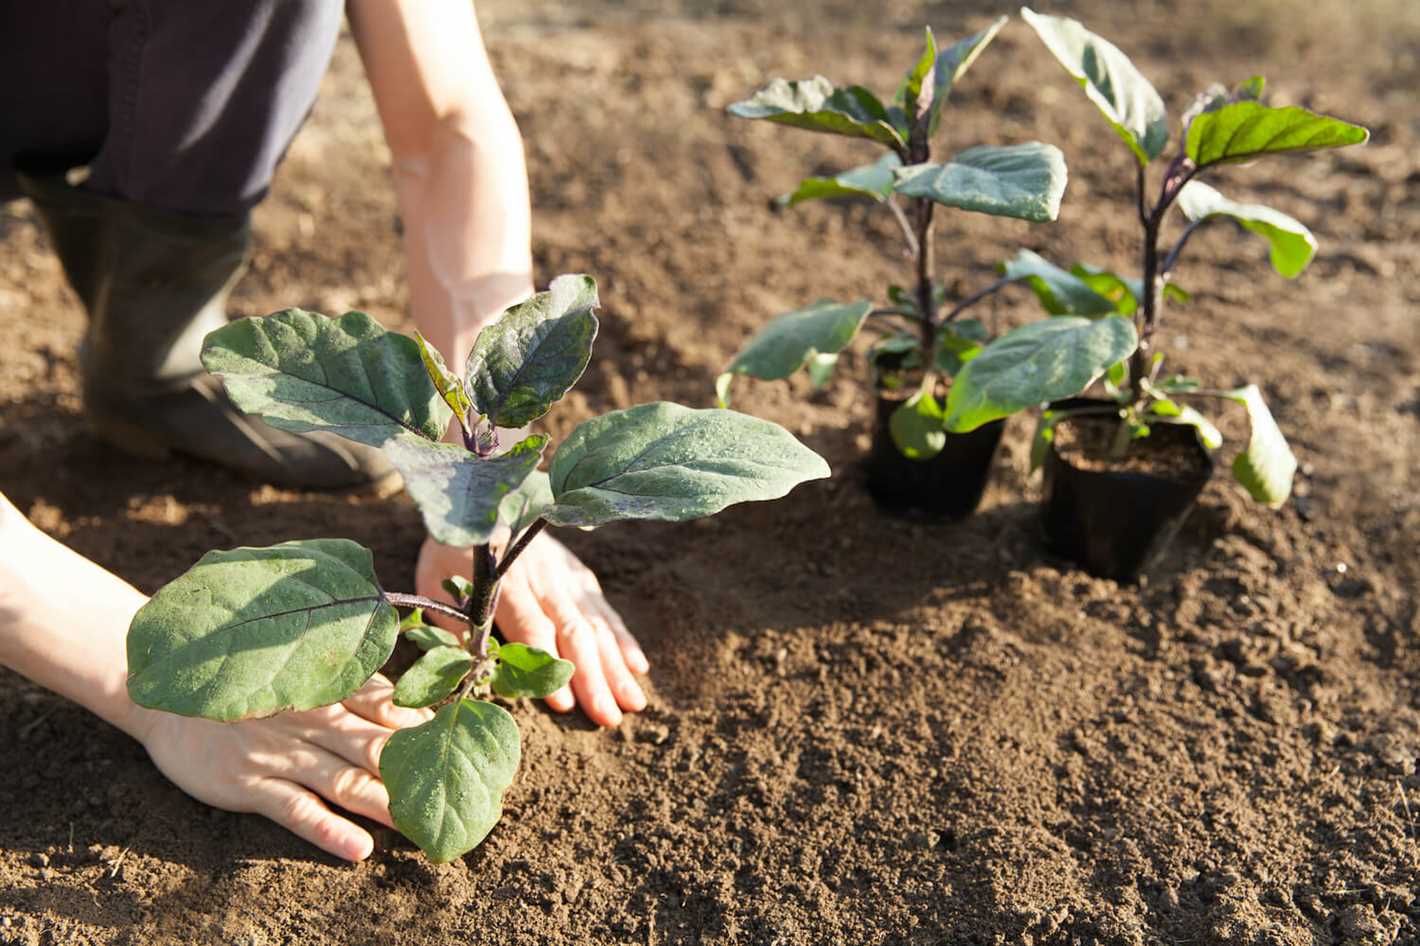
Seedlings that have been grown indoors lack the necessary defenses to survive in the outdoor environment. They are accustomed to a stable temperature, gentle breezes, and constant light. When suddenly exposed to the harsh conditions of the outside world, they can experience shock and stress, which can stunt growth or even kill the plant. Hardening off seedlings helps them adjust gradually to the new environment.
How to Harden Off Seedlings:
To successfully harden off your seedlings, follow these steps:
- Choose the Right Time: Wait until the danger of frost has passed and temperatures are consistently mild during the day and night.
- Start Slowly: Begin by placing the seedlings outdoors in a protected spot, such as a shaded porch or under a tree, for a few hours a day.
- Progressively Increase Exposure: Gradually increase the exposure time over the course of a week or two.
- Control Exposure: Pay attention to weather conditions and avoid exposing the seedlings to extreme temperatures, strong winds, or heavy rain during the hardening off process.
- Provide Shade: If the weather is hot and sunny, provide shade for the seedlings using floating row covers, shade cloth, or a makeshift shade structure.
- Protect from Pests: Be cautious of pests such as slugs, snails, and rabbits, which may see your seedlings as a tasty snack. Take necessary precautions to protect them.
- Water Properly: Keep the seedlings well-watered during the hardening off process, as exposure to outdoor conditions can increase their water needs.
Transplanting the Hardened Off Seedlings:
Once the seedlings have gone through the hardening off process and are ready to be planted, it is important to transplant them properly. Choose a sunny location with well-drained soil and gently remove the seedlings from their containers. Dig a hole that is slightly larger than the root ball and place the seedling in the hole. Backfill the hole with soil, firming it gently around the plant. Finally, water the newly transplanted seedlings thoroughly.
Conclusion:
Hardening off seedlings is an essential step in the process of planting aubergines or any other seedlings outdoors. By gradually exposing them to outdoor conditions, you increase their chances of survival and ensure their successful transition from indoor to outdoor cultivation. Follow these steps and tips to successfully harden off your seedlings and enjoy healthy, thriving plants.
Transplanting Seedlings:
Transplanting seedlings is a crucial step in the process of successfully growing aubergines. It is important to follow the right schemes and techniques to ensure the seedlings thrive in their new environment.
Timing:
Transplanting should be done when the seedlings are around 6-8 weeks old and have developed a good root system. This usually corresponds to the last frost date in your area.
Preparing the soil:
Before transplanting, it is important to prepare the soil properly. The soil should be well-draining, rich in organic matter, and have a pH level between 6.0 and 6.5. Remove any weeds or debris and loosen the soil to a depth of about 12 inches.
Transplanting technique:
When transplanting aubergine seedlings, follow these steps:
- Gently remove the seedlings from their containers, taking care not to damage the roots.
- Dig a hole in the prepared soil that is large enough to accommodate the roots and the base of the stem.
- Place the seedling in the hole, making sure the top of the root ball is level with the soil surface.
- Backfill the hole with soil, firming it gently around the seedling.
- Water the newly transplanted seedling thoroughly to help settle the soil and ensure good root-to-soil contact.
Spacing:
When transplanting aubergines, it is important to provide enough spacing between the seedlings. Each seedling should be planted at least 18-24 inches apart to allow for proper air circulation and healthy growth.
Protection:
After transplanting, it is important to protect the seedlings from extreme weather conditions. Use mulch or row covers to help regulate temperature and retain moisture in the soil.
Caring for transplanted seedlings:
After transplanting, continue to water the seedlings regularly, keeping the soil evenly moist. Monitor for pests and diseases and take appropriate action if necessary. Provide support for the plants as they grow by using stakes or trellises.
| Timing | Soil Preparation | Transplanting Technique | Spacing | Protection | Caring for Transplanted Seedlings |
|---|---|---|---|---|---|
| 6-8 weeks old | Well-draining soil, rich in organic matter, pH 6.0-6.5 | Gently remove seedlings, dig hole, place seedling, backfill, water | 18-24 inches apart | Use mulch or row covers | Water regularly, monitor for pests and diseases, provide support |
Mulching and Watering:
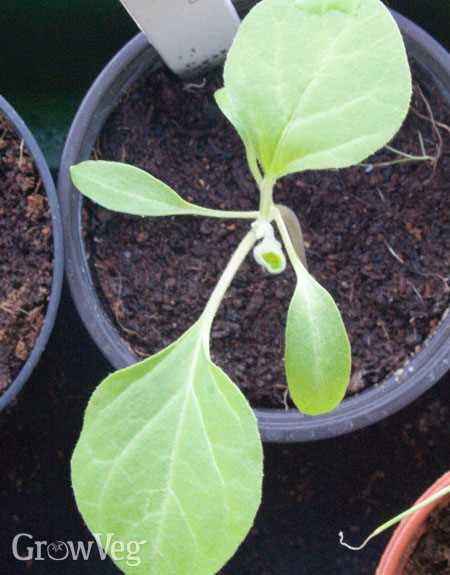
Mulching and watering are crucial aspects of growing healthy and productive aubergine plants. Proper mulching helps conserve moisture in the soil, regulates soil temperature, and prevents weed growth. Watering, on the other hand, ensures that the plants receive adequate hydration for optimal growth.
Mulching:
Applying mulch around the base of the aubergine plants helps retain moisture in the soil and prevents weed growth. Organic mulches, such as straw, wood chips, or compost, are recommended for aubergines as they gradually break down and improve soil fertility.
To mulch your aubergine plants:
- Carefully remove any weeds around the plants and ensure the soil is moist.
- Spread a layer of mulch around the base of each plant, avoiding direct contact with the stems.
- Ensure the mulch layer is about 2-3 inches thick to provide adequate coverage.
- Replenish the mulch as needed throughout the growing season to maintain its effectiveness.
Watering:
Aubergines require consistent soil moisture throughout their growth cycle, particularly during dry periods. Proper watering helps prevent drought stress and enhances fruit development. Here are some key watering tips for aubergines:
- Water the plants deeply, ensuring the water reaches the root zone.
- Avoid overhead watering, as it can lead to foliar diseases. Instead, use drip irrigation or a soaker hose to deliver water directly to the soil.
- Water the plants in the early morning or late evening to minimize evaporation.
- Monitor the soil moisture regularly, and water when the top inch of soil feels dry.
- Avoid overwatering, as it can lead to root rot and other problems. The key is to maintain a moist, but not waterlogged, soil.
By implementing proper mulching and watering techniques, you can create ideal growing conditions for your aubergine plants and increase their chances of producing a bountiful harvest.
Caring for Aubergine Plants:
1. Watering:
Aubergine plants need regular watering to thrive. It is important to keep the soil consistently moist, but not waterlogged. Water deeply once or twice a week, ensuring that the root zone is adequately hydrated. Avoid overhead watering as it can lead to the development of diseases.
2. Mulching:
Applying a layer of mulch around the base of the plants helps retain soil moisture and prevent weed growth. Use organic materials like straw, wood chips, or compost as mulch. Spread a 2-3 inch layer around the plants, leaving a gap around the stem to prevent rotting.
3. Fertilizing:
Aubergine plants are heavy feeders and require regular fertilization to produce healthy fruits. Start by incorporating well-rotted compost or aged manure into the soil before planting. Once the plants start growing, apply a balanced fertilizer every 4-6 weeks. Follow the recommended dosage and avoid over-fertilization, which can lead to excessive foliage growth with limited fruit production.
4. Pruning:
Pruning aubergine plants helps improve air circulation, reduce disease incidence, and increase fruit production. Remove any suckers or lateral shoots that emerge from the main stem to redirect the plant’s energy towards fruit development. Additionally, remove any yellow or diseased leaves to prevent the spread of pathogens.
5. Providing Support:
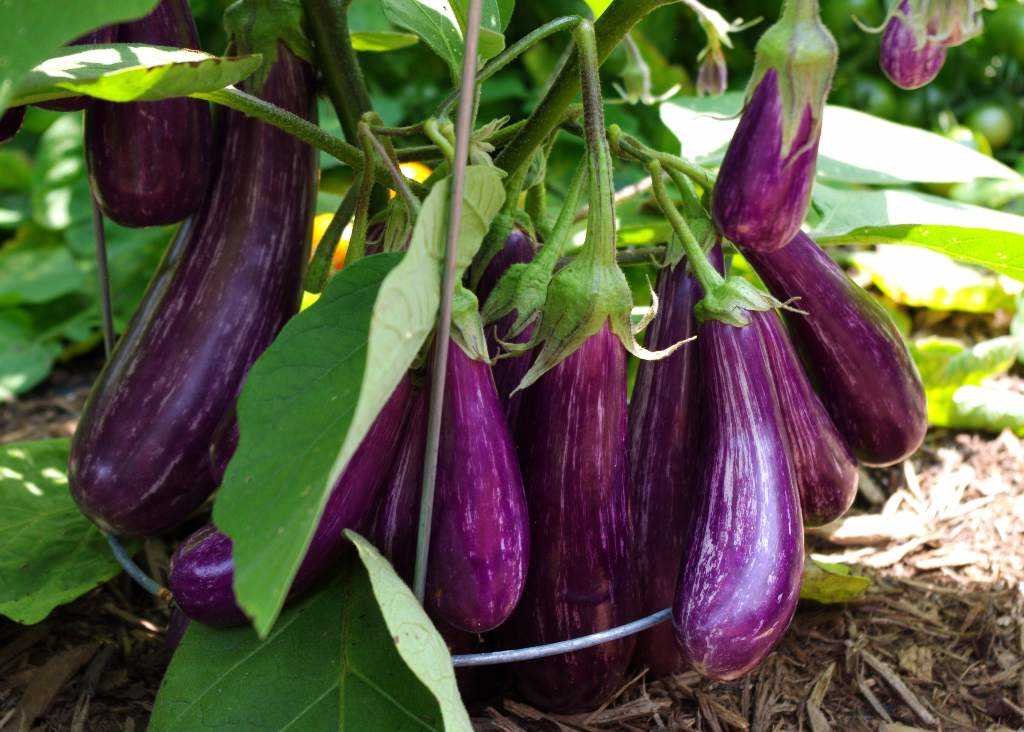
As aubergine plants grow, they can become heavy and may require support to prevent breakage. Install stakes or cages around the plants at the time of planting to provide support. Gently tie the main stems to the support structure using garden twine or soft plant ties to prevent damage during strong winds.
6. Pest and Disease Control:
Aubergine plants are susceptible to various pests and diseases, including aphids, spider mites, whiteflies, and fungal pathogens. Monitor the plants regularly and take action at the first sign of infestation or disease. Use organic insecticides or homemade remedies like neem oil to control pests. In case of severe infestations or diseases, consult a local gardening expert or extension service for appropriate treatment options.
7. Harvesting:
Aubergines can be harvested when the fruits reach their mature size and have a glossy appearance. Use a sharp knife or shears to cut the fruit from the plant, leaving a short stem attached. Harvesting regularly promotes continuous fruit production throughout the season. Avoid harvesting overripe or damaged fruits as they can attract pests and diseases.
8. Crop Rotation:
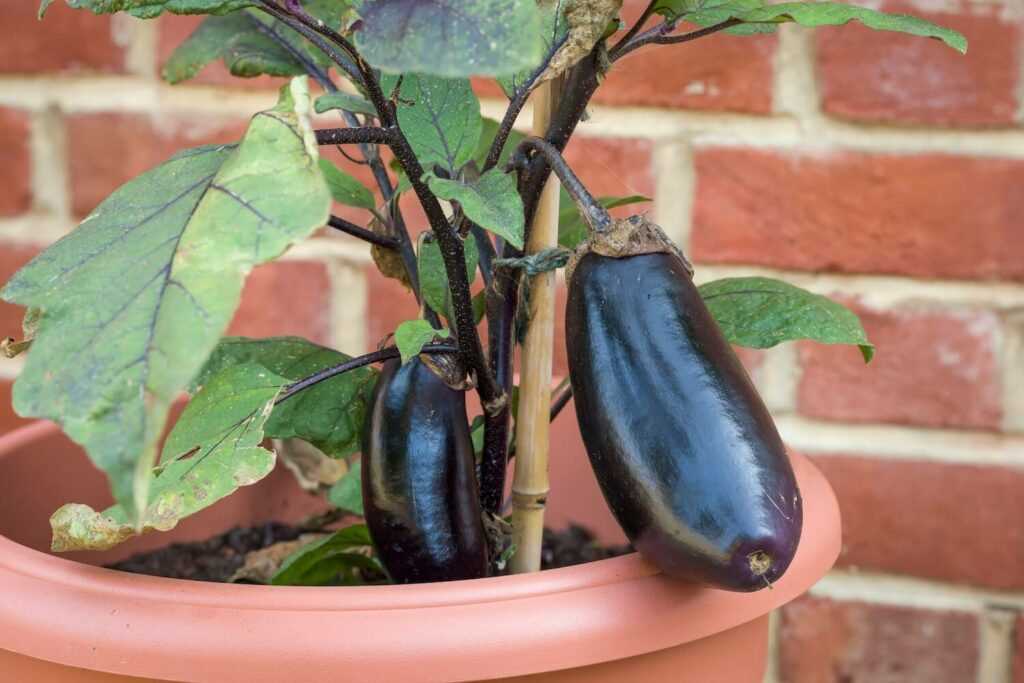
To minimize the risk of disease buildup and nutrient depletion, it is important to practice crop rotation in your garden. Avoid planting aubergines or other Solanaceae family plants in the same spot for consecutive years. Rotate them with unrelated crops such as legumes or brassicas.
9. Winter Protection:
In colder climates, aubergine plants are not frost-tolerant and require protection during the winter months. Before the first frost, harvest any remaining fruits and cut the plants back to about 6-8 inches above the soil level. Cover the plants with a layer of straw or a frost blanket to insulate them from the cold. Alternatively, you can dig up the plants and transplant them into containers to be grown indoors during the winter.
10. Clean-Up:
After harvesting the last fruits, it is important to clean up the garden bed and remove any plant debris. This helps prevent the buildup of pests and diseases and prepares the soil for the next growing season. Add the plant debris to your compost pile if it is disease-free.
“Question-Answer”
When is the best time to plant aubergine seedlings in the ground?
The best time to plant aubergine seedlings in the ground is after the last frost date in your area, when the soil has warmed up to a temperature of at least 60°F (15°C).
What is the recommended spacing between aubergine seedlings when transplanting them in the ground?
The recommended spacing between aubergine seedlings when transplanting them in the ground is 18-24 inches (45-60 cm) apart. This allows enough room for the plants to grow and spread out, ensuring good air circulation and preventing diseases.
Can I plant aubergine seedlings directly in the ground without starting them indoors?
While it is possible to plant aubergine seeds directly in the ground, it is generally recommended to start the seedlings indoors first. This gives the plants a head start and allows them to develop strong root systems before being transplanted into the garden. However, if you live in a warm climate with a long growing season, you can try planting the seeds directly in the ground.
Should I harden off my aubergine seedlings before transplanting them in the ground?
Yes, it is important to harden off your aubergine seedlings before transplanting them in the ground. This involves gradually acclimating the plants to outdoor conditions by exposing them to increasing amounts of sunlight, wind, and outdoor temperatures over the course of a week or two. Hardening off helps the seedlings adjust to the outdoors and reduces the risk of transplant shock.
What kind of soil is best for planting aubergines?
The best kind of soil for planting aubergines is a well-draining, fertile soil that is rich in organic matter. Aubergines prefer a slightly acidic soil with a pH between 6.0 and 6.8. Adding compost or well-rotted manure to the soil before planting can help improve its fertility and drainage.
How often should I water my aubergine seedlings after transplanting them in the ground?
After transplanting, it is important to keep the soil consistently moist but not waterlogged. Water the aubergine seedlings deeply once or twice a week, depending on the weather and soil conditions. Allow the top few inches of soil to dry out between waterings, and avoid overwatering, as this can lead to root rot and other problems.


