- Choosing the Right Garlic Varieties
- 1. Hardneck vs Softneck
- 2. Climate Adaptability
- 3. Flavor Profiles
- 4. Bulb Size
- 5. Disease Resistance
- 6. Cultivation Difficulty
- Preparing the Soil for Planting
- 1. Clear the area
- 2. Loosen the soil
- 3. Remove any grass or sod
- 4. Test the soil pH
- 5. Amend the soil
- 6. Level the soil
- 7. Remove large rocks and debris
- 8. Consider adding mulch
- Planting Garlic at the Right Time
- Choosing the Right Time
- Preparing the Soil
- Planting the Garlic
- Caring for the Garlic
- Harvesting and Storing
- Conclusion
- Selecting the Ideal Planting Location
- 1. Sunlight
- 2. Soil Quality
- 3. Water Drainage
- 4. Protection from Extreme Cold
- 5. Availability of Space
- 6. Pest and Disease History
- 7. Accessibility
- Proper Spacing and Depth for Planting
- Spacing
- Depth
- Providing Adequate Water and Drainage
- Protecting Garlic from Pests and Diseases
- 1. Mulching
- 2. Crop rotation
- 3. Proper spacing
- 4. Regular inspection
- 5. Companion planting
- 6. Proper watering
- 7. Disease-resistant varieties
- 8. Clean up and disposal
- 9. Organic pest control methods
- 10. Monitor and record
- Harvesting and Storing Winter Garlic
- 1. Timing
- 2. Harvesting
- 3. Curing
- 4. Trimming
- 5. Storage
- 6. Containers
- 7. Checking for Spoilage
- 8. Usage
- “Question-Answer”
- When is the best time to plant winter garlic?
- What type of soil is best for planting winter garlic?
- How deep should I plant winter garlic cloves?
- Do I need to water winter garlic after planting?
- Are there any pests or diseases that I should be aware of when planting winter garlic?
- How long does it take for winter garlic to mature?
- “Video” Grow Perfect Garlic Every Time
Winter garlic, also known as “hardneck garlic,” is a robust and flavorful variety that thrives in cold weather. Planting winter garlic is a rewarding and straightforward process that can yield a bountiful harvest. Whether you’re a seasoned gardener or a beginner, this comprehensive guide will provide you with clear and concise instructions on how to successfully plant winter garlic.
Preparing the Soil:
Before planting winter garlic, it’s essential to prepare the soil properly. Choose a sunny location with well-draining soil. Remove any weeds or grass from the area and loosen the soil using a garden fork or tiller. Add organic matter, such as compost or well-rotted manure, to enrich the soil and improve its fertility. It’s recommended to perform a soil test to determine its pH level and make any necessary adjustments. Aim for a slightly acidic soil with a pH of around 6.0 to 7.0.
Selecting and Preparing Garlic Bulbs:
When it comes to selecting garlic bulbs for planting, choose healthy and disease-free bulbs from a reputable source. Look for firm bulbs with large cloves. Before planting, gently break apart the bulb into individual cloves, being careful not to damage them. Leave the papery skin intact as it provides protection during planting. Soaking the cloves in a solution of water and a natural fungicide, such as garlic juice or chamomile tea, can help prevent fungal infections.
Planting Winter Garlic:
To plant winter garlic, dig a trench or individual holes approximately 2 inches deep. Space the cloves around 6 inches apart, with each clove pointed end up. Cover the cloves with soil, firming it gently to eliminate air pockets. Water the planted cloves thoroughly to help them settle into the soil. Applying a layer of organic mulch, such as straw or shredded leaves, can help conserve moisture and suppress weed growth.
By following these instructions and providing your winter garlic with proper care, you can enjoy a successful harvest in the spring. Remember to water the plants regularly, especially during dry periods, and keep an eye out for any signs of pests or diseases. With patience and diligence, you’ll soon be rewarded with delicious garlic bulbs to use in your favorite recipes.
Choosing the Right Garlic Varieties
When planting winter garlic, it is important to choose the right garlic variety that will thrive in your climate and growing conditions. Here are some factors to consider when selecting a garlic variety:
1. Hardneck vs Softneck
Garlic varieties are generally classified into two main types: hardneck and softneck. Hardneck garlic varieties produce a hard flowering stalk called a scape, which is typically removed to encourage bulb development. Softneck garlic varieties do not produce scapes and often have a longer shelf life.
2. Climate Adaptability
Garlic varieties vary in their adaptability to different climates. Some varieties are better suited for cold winters, while others are more tolerant of warm climates. Consider the average winter temperature and growing season length in your region when selecting a garlic variety.
3. Flavor Profiles
Different garlic varieties have unique flavor profiles, ranging from mild and sweet to spicy and pungent. Consider your personal preference and the culinary applications you have in mind when choosing a garlic variety.
4. Bulb Size
Garlic bulb size can vary significantly among different varieties. Some varieties produce large bulbs, while others produce smaller ones. Consider the desired bulb size for your culinary needs when selecting a variety.
5. Disease Resistance
Some garlic varieties have developed resistance to certain diseases, such as garlic rust or white rot. If you have experienced specific diseases in your garlic crop in the past, look for varieties that are known for their resistance to those specific diseases.
6. Cultivation Difficulty
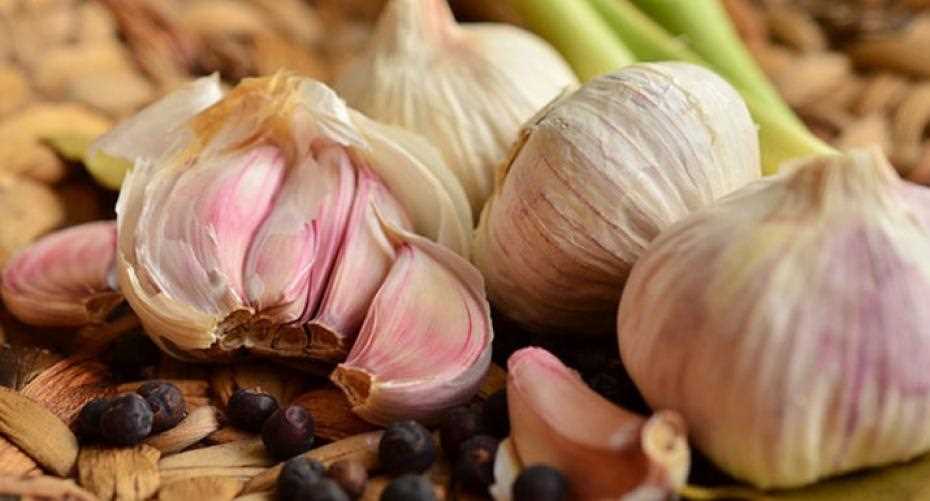
Garlic varieties also vary in their ease of cultivation. Some varieties may require more attention and specific growing conditions, while others are more forgiving and adaptable. Consider your level of experience and the amount of time you can dedicate to growing garlic when selecting a variety.
By considering these factors, you can choose the right garlic varieties for your winter planting, ensuring a successful and abundant harvest.
Preparing the Soil for Planting
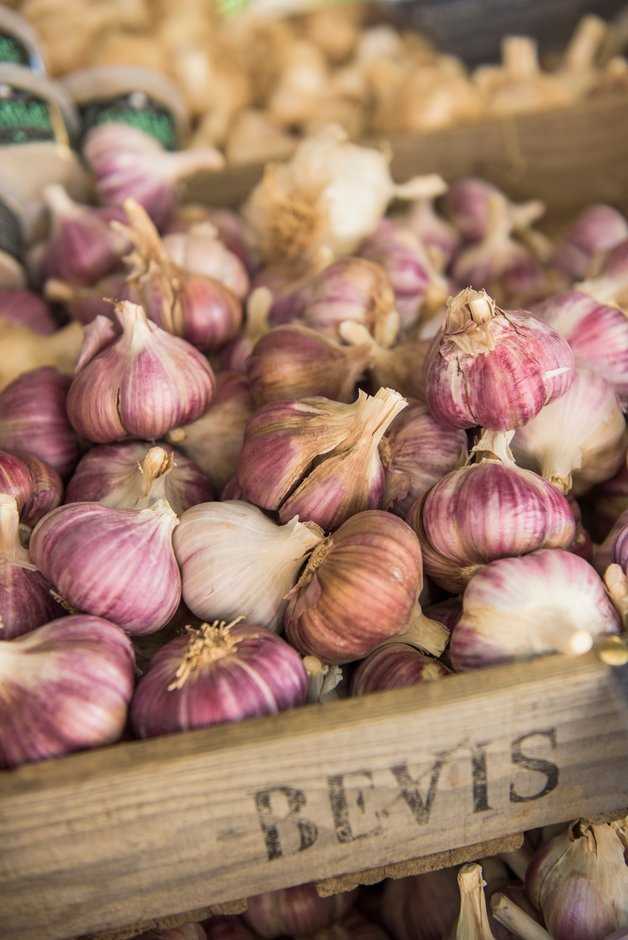
Before planting winter garlic, it is essential to prepare the soil to ensure the best possible growing conditions. Follow these steps to properly prepare your soil:
1. Clear the area
Start by clearing the planting area of any weeds, rocks, or other debris. This will give your garlic bulbs a clean and unobstructed space to grow.
2. Loosen the soil

Use a garden fork or a tiller to loosen the soil to a depth of about 8-10 inches. This will help improve drainage and root penetration, allowing the garlic plants to establish themselves more easily.
3. Remove any grass or sod
If there is grass or sod in the planting area, remove it to prevent competition for nutrients and space. Use a shovel or a sod cutter to lift and remove the grass layer.
4. Test the soil pH
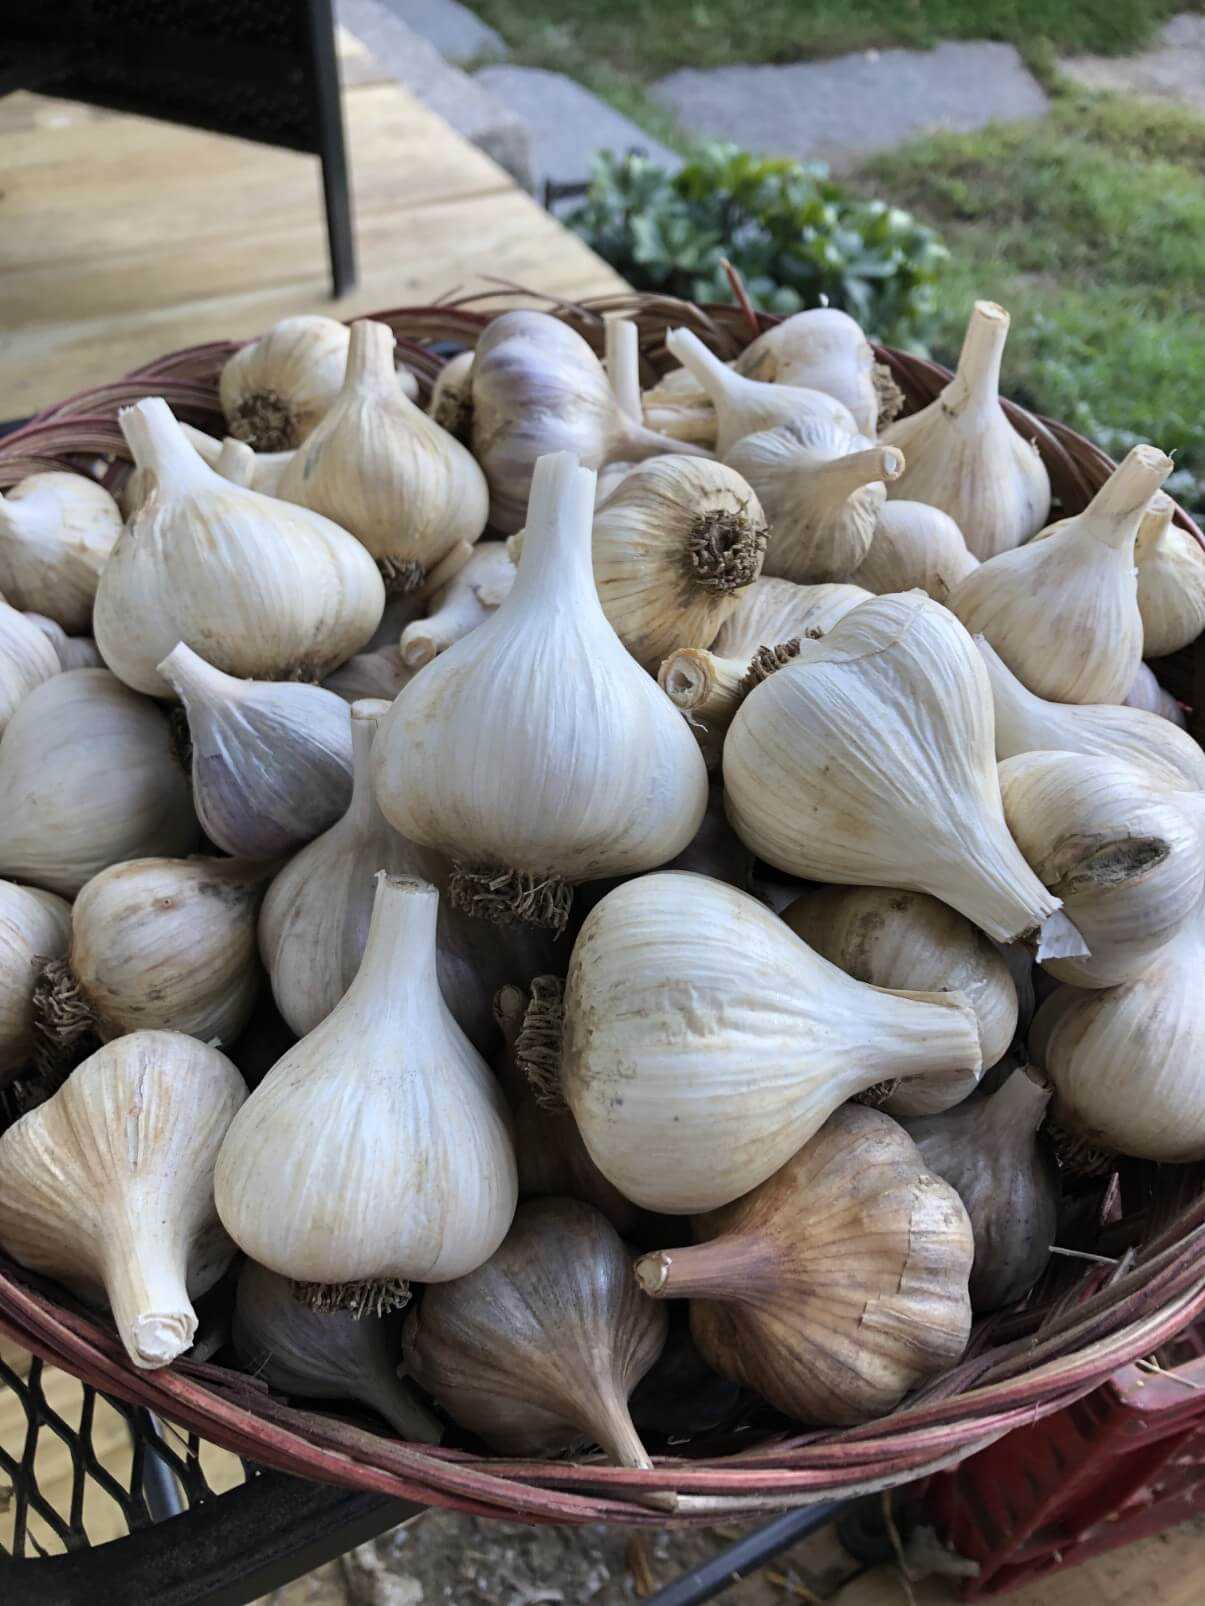
Test the pH level of your soil using a soil testing kit. Garlic prefers a slightly acidic soil pH between 6.0 and 7.0. If the pH is too low or too high, you can adjust it by adding lime to increase the pH or sulfur to decrease it.
5. Amend the soil
Enrich the soil by adding organic matter such as compost or well-rotted manure. This will provide essential nutrients to the garlic plants and improve soil fertility.
6. Level the soil
Rake the soil surface to level it and create a smooth bed for planting. This will help ensure even spacing and proper drainage.
7. Remove large rocks and debris
Inspect the soil for any remaining large rocks or debris. Remove them to avoid interference with the garlic bulbs as they grow.
8. Consider adding mulch
Consider adding a layer of organic mulch, such as straw or leaves, to the soil surface after planting. This will help conserve moisture, suppress weed growth, and insulate the garlic during winter.
By following these steps, you will create a suitable environment for your winter garlic to thrive and produce a bountiful harvest. Remember to consult local gardening resources or experts for specific recommendations based on your region and soil conditions.
Planting Garlic at the Right Time
Planting garlic at the right time is crucial for a successful harvest. Garlic bulbs need a period of cold weather to develop properly, so it is important to plant them in the fall before the ground freezes.
Choosing the Right Time
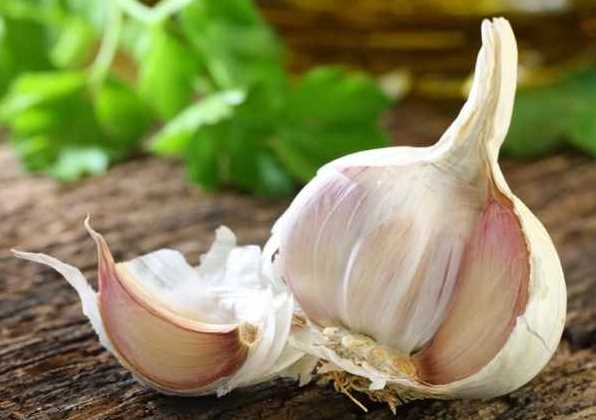
The best time to plant garlic is in late autumn, typically around October or November, depending on your location. Garlic should be planted at least four to six weeks before the ground freezes to allow the roots to establish before winter.
Preparing the Soil
Before planting garlic, it is essential to prepare the soil properly. Garlic thrives in loose, well-draining soil with a pH level between 6.0 and 7.0. Start by removing any weeds and rocks from the planting area. Loosen the soil with a garden fork or tiller to a depth of at least 8 inches. Add compost or well-rotted manure to improve soil fertility and drainage if necessary.
Planting the Garlic
When planting garlic, break the bulbs into individual cloves, making sure to keep the papery husk intact. Plant the cloves pointed side up, about 2 inches deep, and 4 to 6 inches apart in rows. Space the rows 12 to 18 inches apart to allow room for growth.
Caring for the Garlic
After planting, water the garlic thoroughly and cover the bed with a layer of mulch, such as straw or chopped leaves, to protect the cloves from extreme temperatures. Ensure the soil is consistently moist throughout the growing season, but avoid overwatering, as garlic does not tolerate soggy soil.
Harvesting and Storing
Garlic is typically ready to harvest in late spring or early summer when the leaves turn yellow and begin to dry out. Carefully dig up the bulbs using a garden fork, being careful not to damage them. Allow the garlic to dry in a well-ventilated area for a few weeks before storing it in a cool, dark place with low humidity.
Conclusion
Planting garlic at the right time ensures optimal growth and a bountiful harvest. By choosing the right time, preparing the soil, and providing proper care, you can enjoy the flavorful rewards of homegrown garlic.
Selecting the Ideal Planting Location
When it comes to planting winter garlic, choosing the right location is crucial for the success and growth of your garlic bulbs. Here are some important factors to consider:
1. Sunlight
Garlic thrives in full sun, which is generally defined as at least six hours of direct sunlight per day. Make sure the selected planting location receives ample sunlight throughout the day, especially during the winter months when daylight hours are shorter.
2. Soil Quality
Garlic prefers well-drained soil that is rich in organic matter and has a pH level between 6.0 and 7.0. Avoid areas with compacted or clay soil, as these can hinder bulb formation and growth. Conduct a soil test to determine the pH level and amend the soil if necessary.
3. Water Drainage
Avoid planting garlic in low-lying areas or locations prone to waterlogging. Excessive moisture can cause garlic bulbs to rot or develop diseases. Choose a site with good water drainage to ensure healthy plant growth.
4. Protection from Extreme Cold
In regions with extremely cold winters or harsh frosts, consider planting garlic in a location that offers some protection, such as near a building, fence, or under a row cover or cold frame. This will help shield the plants from freezing temperatures and reduce the risk of winter damage.
5. Availability of Space
Garlic requires adequate space for each bulb to grow and develop properly. Ensure that the selected planting location has enough room for the desired number of garlic bulbs, allowing for proper air circulation between plants.
6. Pest and Disease History
If possible, choose a planting location that has a low history of pest and disease problems. Avoid areas where garlic has been planted in the past two years to reduce the risk of soil-borne diseases. Crop rotation is crucial to maintain healthy garlic plants.
7. Accessibility
Consider the accessibility of the planting location for easy maintenance and harvesting. Ensure that it is convenient to access with tools and equipment and allows for efficient care and harvest as needed.
By carefully selecting the ideal planting location for your winter garlic, you can set the foundation for healthy growth and a bountiful harvest. Take the time to evaluate each factor to ensure optimal conditions for your garlic plants.
Proper Spacing and Depth for Planting
When it comes to planting winter garlic, proper spacing and depth are crucial for ensuring healthy growth and a bountiful harvest. Follow these guidelines to ensure optimal planting conditions for your garlic crop.
Spacing

- Plant cloves approximately 6 inches apart in rows.
- Leave approximately 12 inches between each row to allow enough space for the garlic shoots to grow.
- Ensure that there is enough space for airflow between the plants to prevent the spread of diseases.
Depth
- Plant garlic cloves with the pointed end facing up.
- Plant cloves approximately 2 inches deep.
- Ensure that the cloves are firmly planted in the soil, but not too deep that they struggle to emerge.
It is important to note that these guidelines may vary depending on the specific variety of garlic you are planting. Always refer to the instructions provided by the seed supplier or follow recommendations from experienced gardeners in your region.
Providing Adequate Water and Drainage
Proper watering and adequate drainage are essential for the successful growth of winter garlic. Here are some important guidelines to follow:
- Watering: Winter garlic should be watered consistently but not excessively. Aim to keep the soil moist, but avoid overwatering, as this can lead to root rot. Water the garlic plants thoroughly, ensuring the water reaches the roots.
- Timing: Watering should be done in the morning to allow the foliage to dry before evening, reducing the risk of fungal diseases.
- Rainwater: Whenever possible, use rainwater to irrigate the garlic plants. Rainwater is typically free from chemicals and minerals that may be present in tap water, which can be harmful to the plants.
- Mulching: Applying a layer of organic mulch around the garlic plants can help retain moisture in the soil and reduce evaporation. This can be particularly beneficial during dry winter months.
On the other hand, adequate drainage is equally important for healthy garlic growth. Here’s what you need to know:
- Soil drainage: Winter garlic prefers well-draining soil to prevent waterlogged conditions, which can lead to root rot. If your soil has poor drainage, consider amending it with organic matter or using raised beds.
- Spacing: Plant the garlic cloves with sufficient space between them to allow for proper air circulation, which aid in drying the soil and preventing excess moisture.
- Elevation: If planting in an area prone to waterlogging or heavy rainfall, consider planting garlic on slightly elevated beds to enhance drainage.
- Drainage paths: If you’re planting garlic in rows, create small drainage paths between the rows to allow excess water to drain away from the plants.
By ensuring adequate water and proper drainage, you can cultivate healthy and robust winter garlic plants that will thrive throughout the season.
Protecting Garlic from Pests and Diseases
Pests and diseases can be a major concern when growing garlic during the winter season. Here are some tips to help protect your garlic crop:
1. Mulching
Mulching is an effective way to protect garlic from pests and diseases. Apply a layer of organic mulch, such as straw or leaves, around the base of the garlic plants. This will help to suppress weed growth, retain moisture, and provide insulation to the garlic bulbs during cold winters. The mulch also acts as a barrier, preventing pests from reaching the plants.
2. Crop rotation
Practicing crop rotation is essential in preventing the build-up of diseases and pests in the soil. Avoid planting garlic in the same area or any other members of the Allium family (such as onions or leeks) for at least three years. This will reduce the risk of pests and diseases that specifically target the Allium family.
3. Proper spacing
Garlic plants should be adequately spaced to allow for good air circulation. Proper spacing helps prevent the spread of diseases, as well as reduces the likelihood of pests moving from one plant to another. Aim for a spacing of 4-6 inches between individual garlic plants.
4. Regular inspection
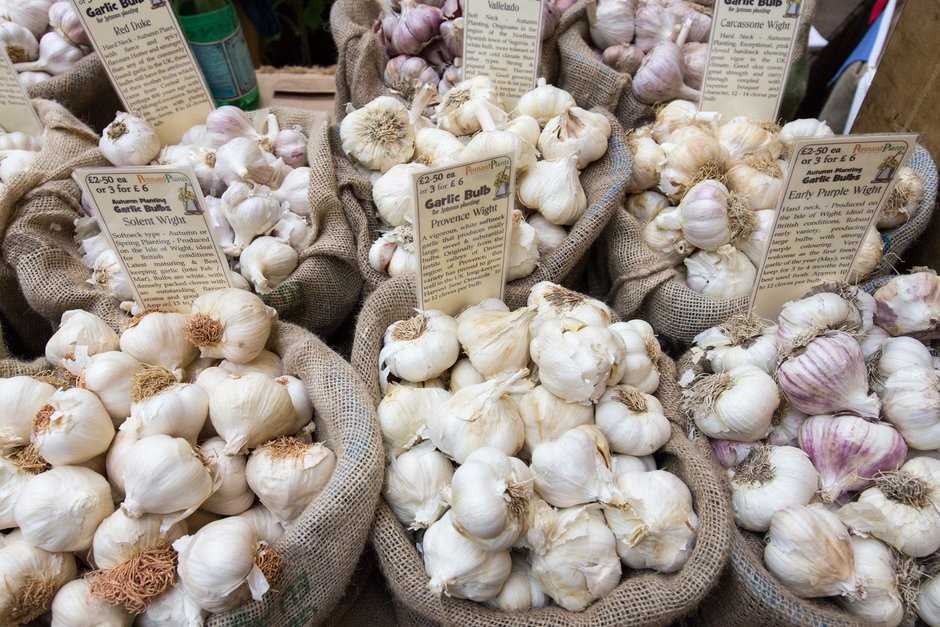
Regularly inspect your garlic plants for any signs of pests or diseases. Look for yellowing or wilting leaves, spots on the bulbs, or presence of pests such as aphids, thrips, or nematodes. Early detection can prevent the spread of pests or diseases to the entire crop. Remove any infected or infested plants to prevent further damage.
5. Companion planting
Planting garlic alongside pest-repellent companion plants can help deter pests from attacking your garlic crop. Some good companion plants for garlic include marigolds, chives, and mint. These plants release natural compounds that repel pests, helping to keep your garlic plants healthy.
6. Proper watering
Proper watering is important to keep garlic plants healthy and less prone to diseases. Garlic plants require consistent moisture, but overwatering can lead to root rot and other fungal diseases. Water the plants deeply once a week or as needed, allowing the soil to dry slightly between watering.
7. Disease-resistant varieties
Choose disease-resistant garlic varieties to minimize the risk of pest and disease problems. Some garlic varieties, such as ‘Chesnok Red’ and ‘German Extra Hardy’, have natural resistance to common garlic diseases. Check with your local garden center or consult gardening resources to find disease-resistant garlic varieties suitable for your region.
8. Clean up and disposal
After harvesting your garlic crop, it is important to clean up and dispose of any plant debris. This helps prevent the overwintering of pests and diseases. Remove any dead or decaying plant material and either compost it properly or dispose of it in sealed bags to prevent contamination.
9. Organic pest control methods
If pests become a persistent problem, consider using organic pest control methods, such as insecticidal soaps or neem oil. These products are safer for the environment and can effectively control common garden pests without harming beneficial insects or pollinators.
10. Monitor and record
Keep a record of any pest or disease problems you encounter while growing garlic. This will help you identify patterns and make informed decisions for future plantings. Monitoring the health of your garlic plants regularly will enable you to detect and address issues promptly.
By following these tips, you can protect your winter garlic crop from pests and diseases, ensuring a successful harvest. Remember that prevention is the key to maintaining healthy plants and maximizing your garlic production.
Harvesting and Storing Winter Garlic
Once your winter garlic has reached maturity, it’s time to harvest and store it to enjoy its delicious flavors throughout the year. Follow these steps to ensure a successful harvest and proper storage of your garlic bulbs.
1. Timing
Garlic is usually ready to be harvested when the majority of its leaves have turned brown and dried up, typically around late spring or early summer, depending on when it was planted. Avoid waiting too long to harvest, as the bulbs can start to separate or rot if left in the ground for too long.
2. Harvesting
To harvest your winter garlic, use a garden fork or shovel to gently loosen the soil around the bulbs. Be careful not to damage the bulbs during this process. Once loose, carefully lift the bulbs out of the ground, being mindful of any attached foliage.
3. Curing
After harvesting, allow your garlic bulbs to cure in a dry, well-ventilated area for about two to three weeks. This will help to dry out the outer skin and improve the overall flavor and longevity of the bulbs. Hang the bulbs in bundles or lay them in a single layer on a mesh or wire rack, ensuring good airflow around each bulb.
4. Trimming
After the curing period, it’s time to trim your garlic bulbs. Use a pair of sharp scissors or pruning shears to trim off the roots, leaving about a quarter-inch stub. Also, remove any dried or damaged foliage while ensuring that the protective outer skin remains intact.
5. Storage
Proper storage is essential to preserve the quality of your winter garlic. Store the trimmed bulbs in a cool, dark, and dry location, such as a pantry or cellar, where the temperature is around 50 to 60 degrees Fahrenheit (10 to 15 degrees Celsius). Avoid storing garlic bulbs in the refrigerator, as it can negatively affect their flavor and texture.
6. Containers

You can store your garlic bulbs in various containers to keep them organized and protected. Consider using mesh bags, paper bags, or even repurposed pantyhose to allow for good airflow while preventing excessive moisture buildup.
7. Checking for Spoilage
Regularly check your stored garlic bulbs for any signs of spoilage, such as mold, soft spots, or sprouting. Remove any spoiled bulbs immediately to prevent further deterioration.
8. Usage
During the storage period, you can simply remove the desired number of garlic bulbs from your storage container as needed. Remember to use the remaining bulbs within a year to ensure optimal flavor and quality.
By following these steps, you can harvest and store your winter garlic properly, ensuring a bountiful supply of this flavorful ingredient for your culinary endeavors throughout the year.
“Question-Answer”
When is the best time to plant winter garlic?
The best time to plant winter garlic is in the fall, typically between September and November, before the ground freezes.
What type of soil is best for planting winter garlic?
Winter garlic thrives in well-draining soil with a pH level between 6 and 7.5. Loamy soil is ideal, but sandy or clay soil can also be amended to create the right growing conditions.
How deep should I plant winter garlic cloves?
Winter garlic cloves should be planted about 2 inches deep. Make sure to space them about 6 inches apart to allow for proper growth.
Do I need to water winter garlic after planting?
After planting, water the garlic thoroughly to help settle the soil and provide moisture for the cloves to establish roots. However, during the winter months, garlic typically doesn’t require much additional watering.
Are there any pests or diseases that I should be aware of when planting winter garlic?
Common pests that can affect winter garlic include onion maggots, nematodes, and white rot. It’s important to keep the area clean, rotate crops, and inspect for any signs of infestation or disease. Applying organic pest control methods can also help protect your garlic.
How long does it take for winter garlic to mature?
Winter garlic typically takes 6 to 9 months to mature. It can be harvested when the foliage begins to turn brown and dry out. Leave the bulbs to cure for a few weeks in a warm, dry place before storing them.


