- Three Methods of Starting Celery Seedlings
- 1. Direct Sowing
- 2. Starting Seeds Indoors
- 3. Using Seedling Transplants
- Direct Seeding
- Growing Celery from Transplants
- Starting Celery Seedlings Indoors
- 1. Gather the materials you’ll need:
- 2. Sow the celery seeds:
- 3. Provide the right conditions for germination:
- Choosing the Right Celery Variety
- Growing Conditions
- Maturity Time
- Flavor and Texture
- Stalk Size
- Preparing the Soil for Celery Seedlings
- 1. Choose the right location
- 2. Test the soil
- 3. Improve drainage
- 4. Remove any weeds
- Providing Optimal Growing Conditions
- Care and Maintenance for Celery Seedlings
- 1. Watering
- 2. Fertilizing
- 3. Protecting from Pests
- 4. Providing Shade
- 5. Thin and Transplant
- 6. Regular Monitoring
- Harvesting and Using Celery from Seedlings
- 1. Harvesting:
- 2. Storing:
- 3. Using Celery:
- “Question-Answer”
- When is the best time to sow celery on seedlings?
- What is the recommended method for sowing celery on seedlings?
- Can celery seedlings be grown in pots or containers?
- How should celery seedlings be cared for after sowing?
- What are some common problems that can occur when sowing celery on seedlings?
- “Video” 3 Tips to Growing Celery Fast!

Growing celery from seedlings is an effective way to ensure a successful harvest. However, it can be a bit tricky to get the seeds to germinate and the seedlings to grow strong and healthy. In this article, we will discuss three different methods for sowing celery on seedlings that are sure to give you the best results.
The first method is to start the seeds indoors in trays or pots. This allows for better control over the moisture levels and temperature, which are crucial for successful germination. Fill the trays with a well-draining potting mix and sow the seeds 1/8 inch deep. Keep the soil consistently moist, but not waterlogged, and place the trays in a warm location with plenty of natural light.
The second method is to use peat pellets or biodegradable pots. These provide a convenient and eco-friendly option for starting celery seedlings. Simply plant the seeds according to the package instructions, and keep the pellets or pots moist. Once the seedlings have grown to a suitable size, they can be transplanted directly into the garden, as the peat or pots will break down in the soil.
Three Methods of Starting Celery Seedlings
1. Direct Sowing
Direct sowing is the simplest method of starting celery seedlings. It involves sowing the seeds directly into the ground or containers where they will grow. Here are the steps for direct sowing celery seedlings:
- Prepare the soil or containers by loosening it and removing any weeds or debris.
- Make small furrows or holes in the soil, spaced about 12-18 inches apart.
- Place the celery seeds in the furrows or holes, following the recommended spacing on the seed packet.
- Cover the seeds with a thin layer of soil, about 1/4 inch deep.
- Water the soil gently, keeping it consistently moist until the seeds germinate.
- Once the seedlings have germinated and grown a few inches tall, thin them out to the desired spacing.
2. Starting Seeds Indoors
Starting celery seeds indoors is a popular method for those who want to get a head start on the growing season. Here’s how to start celery seedlings indoors:
- Fill seed trays or pots with seed starting mix, which is a light and well-draining soil mixture.
- Moisten the soil mix with water until it’s evenly damp but not soggy.
- Sow the celery seeds on top of the soil, following the recommended spacing on the seed packet.
- Gently press the seeds into the soil or cover them with a thin layer of soil.
- Place the trays or pots in a warm location with indirect sunlight, such as a windowsill or under grow lights.
- Keep the soil consistently moist by misting it with water or using a bottom watering tray.
- Once the seedlings have grown a few inches tall and have developed a few true leaves, they are ready to be transplanted outdoors.
3. Using Seedling Transplants
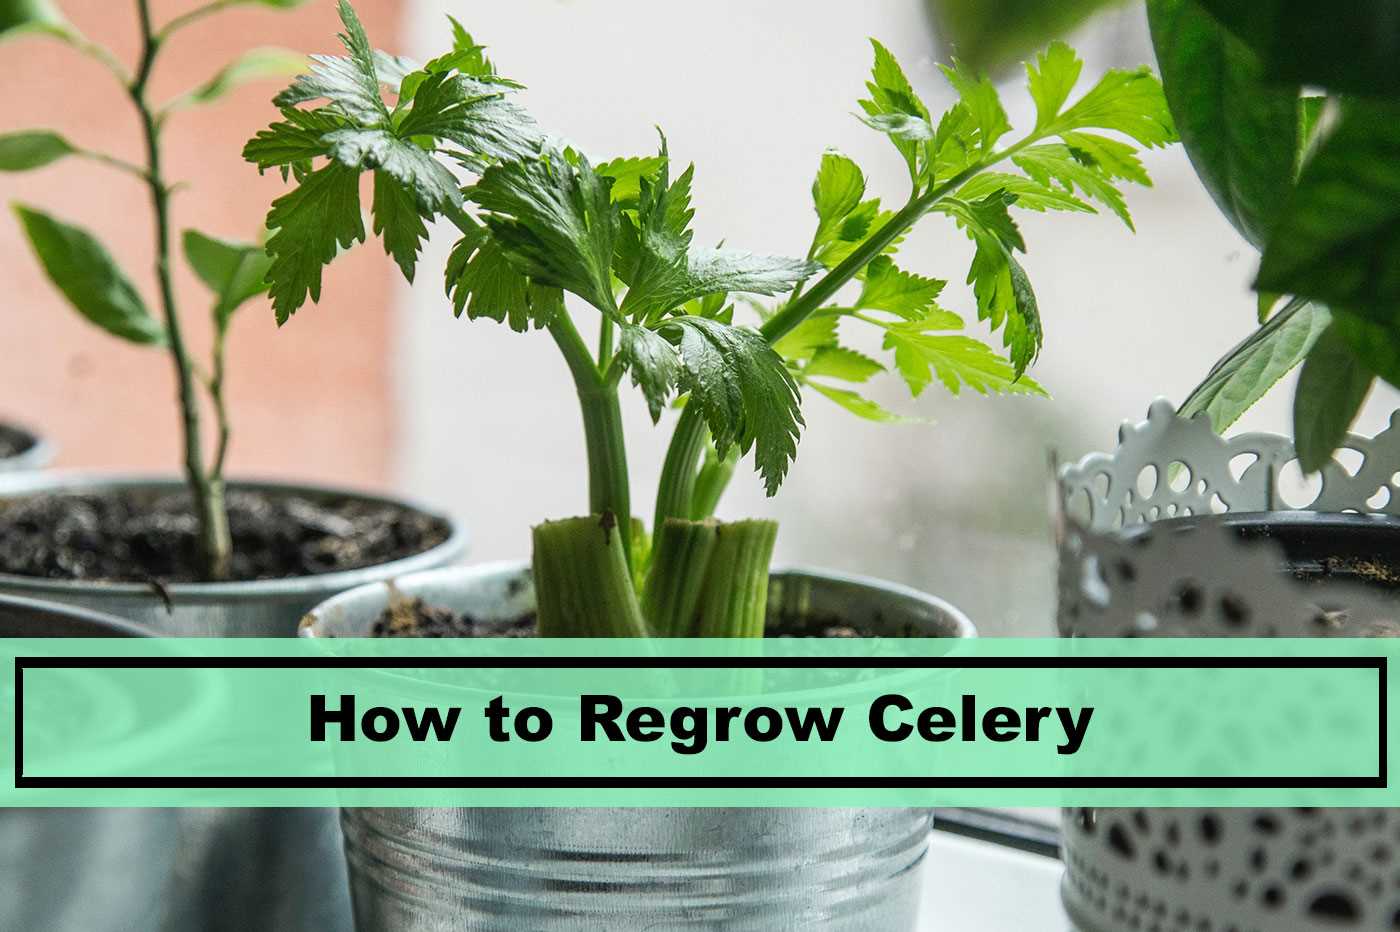

Using celery seedling transplants is a great option for those who want to skip the seed starting process and have young plants ready to go in the garden. Here’s how to use celery seedling transplants:
- Purchase young celery seedlings from a nursery or garden center.
- Prepare the soil or containers by loosening it and removing any weeds or debris.
- Dig holes in the soil or containers, spaced according to the recommended spacing for celery.
- Gently remove the seedlings from their containers, being careful not to damage the roots.
- Place the seedlings in the holes, making sure they are at the same depth as they were in their containers.
- Backfill the holes with soil, gently firming it around the seedlings.
- Water the newly planted seedlings thoroughly, ensuring that the soil is evenly moist.
No matter which method of starting celery seedlings you choose, it’s important to provide them with proper care and attention as they grow. Celery plants prefer moist but well-draining soil, consistent watering, and regular fertilization. With the right conditions and a little bit of patience, you’ll soon be enjoying crisp and delicious homegrown celery!
Direct Seeding
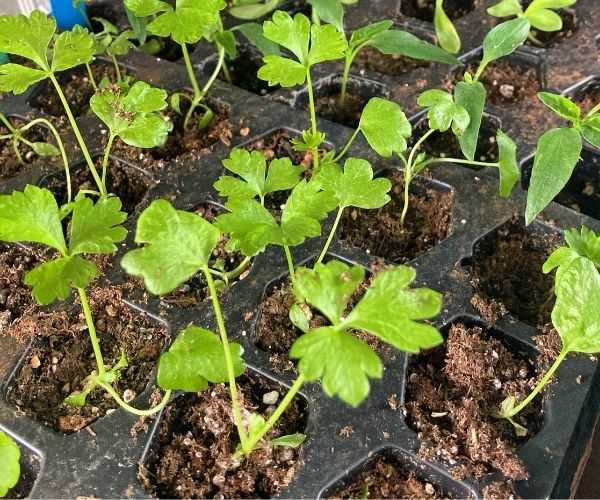

Direct seeding is a method of sowing celery seeds directly into the ground where they will grow. This method is best suited for gardeners who have experience with planting seeds and want to skip the step of starting seedlings indoors. Here are three steps to successfully direct seed celery:
- Prepare the soil: Before sowing celery seeds, prepare the soil by loosening it with a garden fork or tiller. Remove any rocks, weeds, or debris that may inhibit seed germination. Celery prefers loamy, well-drained soil with a pH between 6.0 and 7.0.
- Sow the seeds: Once the soil is prepared, sow celery seeds directly into the ground. Make furrows that are 1/4 inch deep and about 12 inches apart. Place the seeds about 1 inch apart within the furrows. After sowing the seeds, gently cover them with soil and pat it down lightly.
- Provide care: After sowing the seeds, provide proper care to help them germinate and grow. Keep the soil consistently moist but not waterlogged. Water the celery beds regularly, especially during dry periods. Mulch around the plants to help retain moisture and suppress weed growth. Thin the seedlings when they are about 4-6 inches tall, leaving the strongest plants spaced about 6-8 inches apart.
Direct seeding celery can be a convenient way to grow this vegetable without the need for starting seedlings indoors. However, keep in mind that direct seeding may lead to a longer growing season and a later harvest compared to starting seedlings indoors. Additionally, direct-seeded celery may be more susceptible to pests and diseases, so be sure to monitor your plants regularly and take appropriate measures to prevent and address issues as they arise.
Growing Celery from Transplants
While growing celery from seedlings is a common practice, starting celery from transplants can be a convenient and time-saving method. Here are a few steps to successfully grow celery from transplants:
- Purchase Transplants: Look for healthy celery transplants in local nurseries or garden centers. Choose transplants that have strong, green stalks and well-developed roots.
- Prepare the Soil: Celery prefers well-draining soil with a pH level between 6.0 and 7.0. Clear the planting area from weeds and add organic matter to improve soil fertility.
- Transplanting: Dig holes in the prepared soil that are slightly deeper and wider than the root ball of the celery transplant. Carefully place the transplant into the hole, making sure the plant is upright and the roots are spread out. Gently firm the soil around the plant.
- Watering: After transplanting, water the celery plants thoroughly to help settle the soil and establish a good root system.
- Mulching: Apply a layer of organic mulch around the plants to help retain moisture and suppress weed growth.
- Fertilizing: Celery plants have high nutrient requirements. Feed them with a balanced fertilizer that is rich in nitrogen, phosphorus, and potassium. Follow the instructions on the fertilizer package for proper application.
- Watering and Care: Regularly water the celery plants, keeping the soil consistently moist. Celery also prefers cool temperatures, so providing shade during hot summer days can help prevent the plants from wilting.
- Harvesting: Celery can be harvested when the stalks are 8-12 inches tall and the outer stalks are firm and crisp. Cut the stalks at the base using a sharp knife or scissors.
| Advantages of Growing Celery from Transplants: |
|---|
|
By following these steps, you can enjoy a successful celery harvest by growing celery from transplants. Happy gardening!
Starting Celery Seedlings Indoors
If you want to grow celery in your garden, starting seedlings indoors is a great way to get a head start on the growing season. By sowing celery seeds indoors, you can control the growing conditions and ensure optimal germination and growth. Here are the steps to start celery seedlings indoors:
1. Gather the materials you’ll need:
- Seeds: Choose a variety of celery seeds that is suitable for your climate and growing conditions.
- Seed trays or pots: Use seed trays or pots with drainage holes to sow the celery seeds.
- Seed starting mix: Use a sterile, well-draining seed starting mix to sow the celery seeds.
- Grow lights or a sunny window: Celery seedlings need bright light to grow properly. If you don’t have a sunny window, you can use grow lights to provide the necessary light.
- Watering can or spray bottle: Use a watering can or spray bottle to moisten the seed starting mix without saturating it.
2. Sow the celery seeds:
- Fill the seed trays or pots with the seed starting mix, leaving about half an inch of space at the top.
- Moisten the seed starting mix with water until it is evenly damp but not soaking wet.
- Place the celery seeds on top of the seed starting mix, leaving about an inch of space between each seed.
- Lightly cover the celery seeds with a thin layer of the seed starting mix.
3. Provide the right conditions for germination:
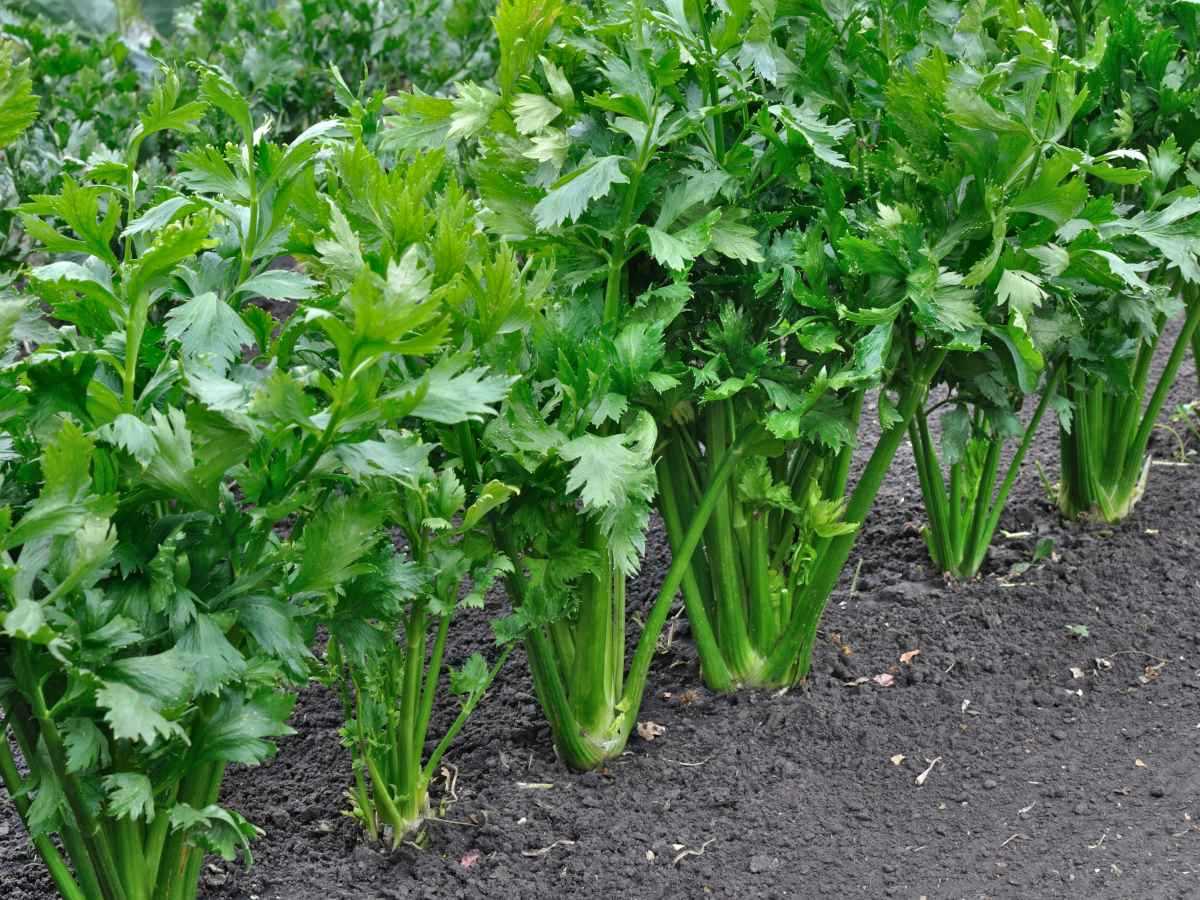

- Place the seed trays or pots in a warm location, ideally between 70 and 75 degrees Fahrenheit.
- Keep the seed starting mix consistently moist, but not waterlogged. Check the moisture level regularly and water as needed.
- If using grow lights, position them about 2 inches above the seedlings and keep them turned on for 14-16 hours a day.
- If using a sunny window, make sure the seedlings receive at least 6 hours of direct sunlight each day.
Following these steps will help you start celery seedlings indoors successfully. Once the seedlings have grown a few inches tall and the danger of frost has passed, you can transplant them into your garden. With proper care, you’ll soon be enjoying homegrown celery straight from your garden!
Choosing the Right Celery Variety
When it comes to growing celery from seed, choosing the right variety is crucial for a successful harvest. With so many different types of celery available, it can be difficult to know which one is best for your garden. Here are a few factors to consider when selecting a celery variety:
Growing Conditions
Celery varieties can vary in their tolerance to different growing conditions. Some varieties are better suited for cooler climates, while others can withstand heat better. Consider your local climate and choose a celery variety that will thrive in those conditions.
Maturity Time
The time it takes for celery to reach maturity can differ among different varieties. Some varieties are faster growing and can be harvested in as little as 80 days, while others may take up to 120 days or more. Consider how quickly you want to harvest your celery and choose a variety accordingly.
Flavor and Texture
Celery varieties can also differ in flavor and texture. Some varieties have a more intense flavor, while others are more mild. Additionally, some varieties may have a crisp, crunchy texture, while others may be more tender. Consider your personal preferences and choose a celery variety that aligns with what you enjoy.
Stalk Size
Celery stalks can vary in size and thickness depending on the variety. Some varieties have larger, thicker stalks, while others have smaller, more slender stalks. Consider how you plan to use your celery and choose a variety that will meet your needs in terms of stalk size.
| Variety | Growing Conditions | Maturity Time | Flavor and Texture | Stalk Size |
|---|---|---|---|---|
| Giant Pascal | Cooler climates | 100-120 days | Mild flavor, crisp texture | Large, thick stalks |
| Golden Self Blanching | Versatile, can tolerate different conditions | 80-100 days | Mild flavor, tender texture | Medium-sized stalks |
| Tango | Heat tolerant | 90-100 days | Mild flavor, crisp texture | Medium-sized stalks |
These are just a few examples of popular celery varieties, but there are many others to choose from. Take the time to research different varieties and consider the factors mentioned above to select the celery variety that will thrive in your garden and meet your culinary preferences.
Preparing the Soil for Celery Seedlings
Before sowing celery seedlings, it is important to prepare the soil properly to provide the best conditions for growth. Here are some tips on how to prepare the soil:
1. Choose the right location
Select a sunny spot in your garden or a location that receives at least 6-8 hours of direct sunlight per day. Celery plants thrive in full sun and need plenty of light to grow properly.
2. Test the soil
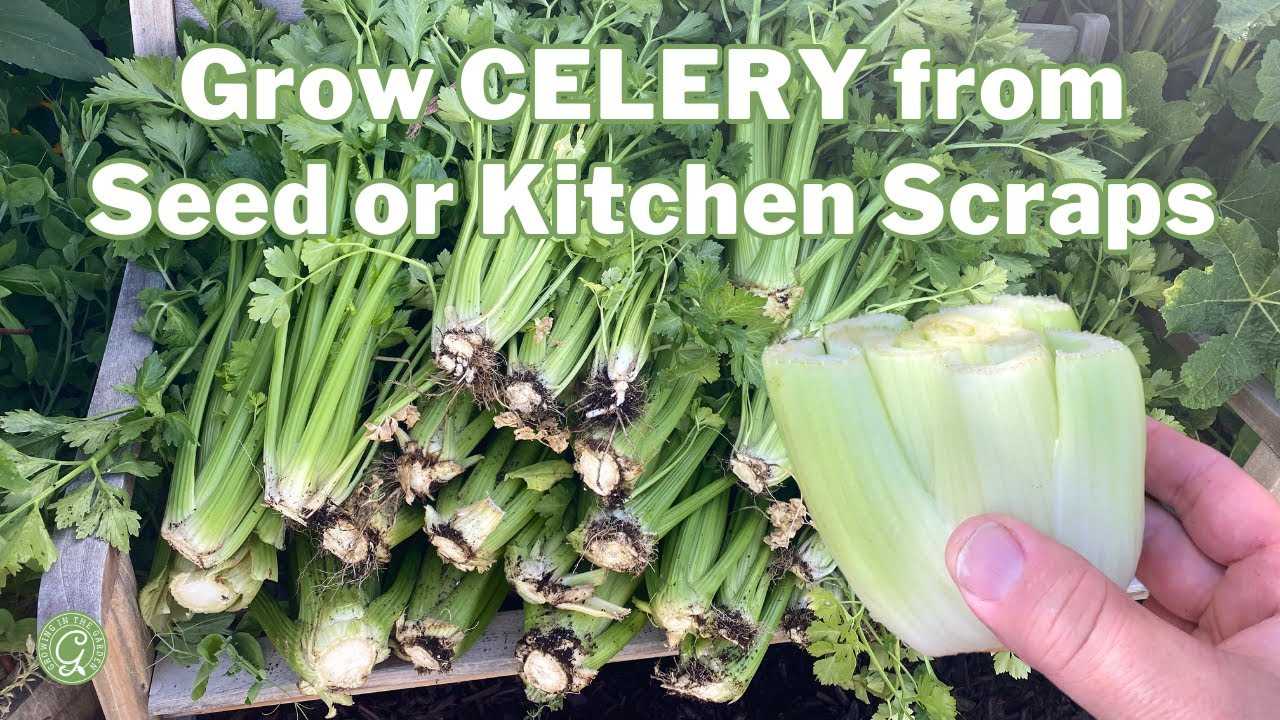

Before planting celery seedlings, it is recommended to test the soil to determine its pH level. Celery prefers slightly acidic soil with a pH ranging from 6.0 to 7.0. You can use a pH testing kit available at most garden centers to check the soil’s pH level.
3. Improve drainage
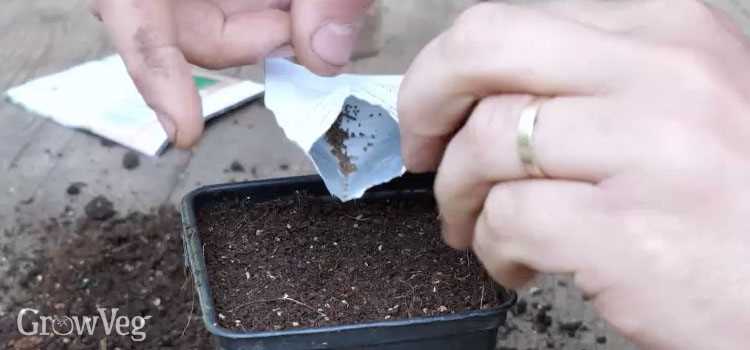

Celery plants require well-draining soil to prevent waterlogging, which can lead to root rot. If your soil has poor drainage, you can improve it by adding organic matter such as compost or well-rotted manure. This will help to loosen the soil and improve its ability to drain excess water.
4. Remove any weeds
Before planting celery seedlings, make sure to remove any weeds or grass from the planting area. Weeds can compete with celery plants for nutrients and water, which can inhibit their growth. Removing weeds will help to ensure that the celery seedlings have access to the necessary resources for healthy development.
Following these steps will help you create an optimal environment for your celery seedlings to thrive. Once the soil is prepared, you can proceed with sowing the seedlings and caring for them throughout their growth cycle.
Providing Optimal Growing Conditions
- Choose a suitable location: Celery requires a sunny spot in the garden with at least 6-8 hours of direct sunlight each day. Ensure that the soil is well-drained, as celery does not like wet feet.
- Prepare the soil: Prior to planting, amend the soil with organic matter such as compost or well-rotted manure. This will help improve soil fertility and drainage, ensuring optimal growing conditions for celery.
- Test the soil pH: Celery thrives in slightly acidic to neutral soil with a pH range of 6.0-7.0. Use a soil testing kit to determine the pH of your soil and make adjustments if needed. Adding lime can raise the pH, while sulfur can lower it.
- Provide adequate moisture: Celery is a moisture-loving plant and requires consistent watering throughout its growing season. Keep the soil evenly moist, but not waterlogged. Mulching around the plants can help retain moisture and regulate soil temperature.
- Fertilize regularly: Celery is a heavy feeder and benefits from regular fertilization. Apply a balanced fertilizer, such as 10-10-10, according to the package instructions. Be sure to avoid over-fertilization, as this can lead to excessive foliage growth and reduced flavor.
- Control weeds: Keep the area around celery plants free from weeds, as they can compete for nutrients and water. Regularly hand-pull weeds or use a shallow hoe to remove them.
- Protect from pests: Celery can be susceptible to pest infestations, such as aphids, celery flies, and slugs. Monitor plants regularly and take appropriate measures such as using organic pest control methods or introducing beneficial insects to control pest populations.
- Provide support: As celery plants grow, they may require support to prevent them from falling over or bending under their weight. Use stakes or plant supports to provide stability and keep the stalks upright.
Care and Maintenance for Celery Seedlings
Once your celery seedlings have emerged, it is important to provide them with proper care and maintenance to ensure their healthy growth. Here are some essential tips to follow:
1. Watering
Celery seedlings require consistent moisture to develop properly. Keep the soil consistently moist, but be careful not to overwater as it can lead to root rot. Avoid watering the leaves, as wet foliage can increase the risk of fungal diseases. Water at the base of the plant to deliver moisture directly to the roots.
2. Fertilizing
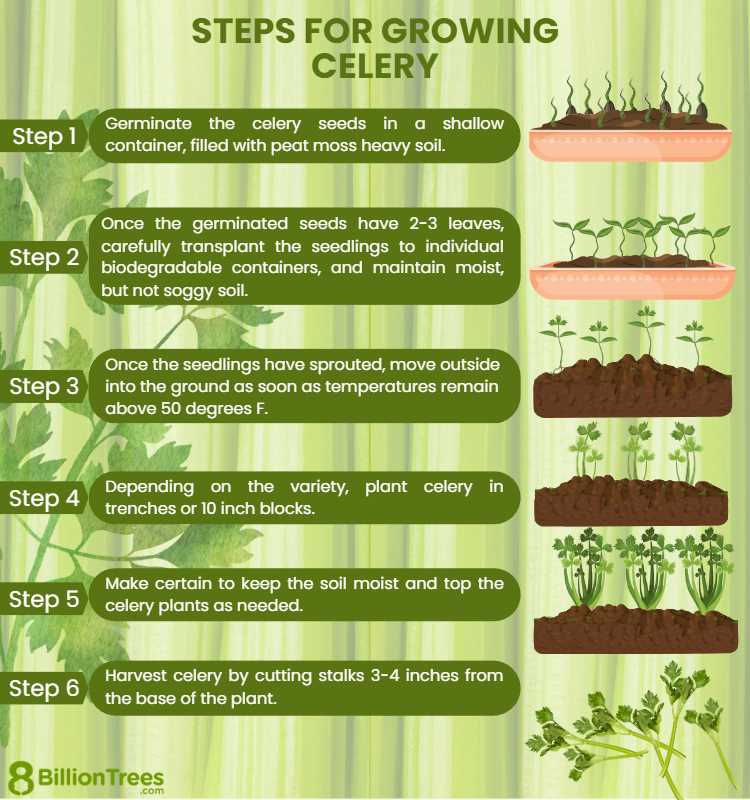

Feed your celery seedlings with a balanced fertilizer to provide them with essential nutrients. Apply a slow-release fertilizer or organic compost around the base of the plants. This will help promote healthy growth and strong root development. Avoid over-fertilizing, as it can damage the delicate seedlings.
3. Protecting from Pests
Celery seedlings are susceptible to pests such as slugs, snails, and aphids. Regularly check the plants for any signs of pest infestation and take appropriate measures to control them. Use natural pest control methods such as handpicking pests, applying organic insecticides, or using physical barriers like copper tape around the seedlings.
4. Providing Shade
Celery seedlings prefer partial shade during their early growth stages. If you are growing them in a sunny location, consider providing some shade using shade cloth or by planting taller plants nearby to provide natural shade. This will help prevent the seedlings from becoming stressed or wilting due to excessive heat and sun exposure.
5. Thin and Transplant
Once the celery seedlings have developed their first true leaves, they should be thinned to provide enough space for each plant to grow. Carefully remove the weaker seedlings, leaving the strongest ones with about 6-8 inches of space between each plant. Transplant the thinned seedlings into new containers or directly into the garden bed.
6. Regular Monitoring
Monitor your celery seedlings regularly for any signs of diseases or nutrient deficiencies. Keep an eye out for any yellowing leaves, wilting, or stunted growth, as these may indicate underlying issues. Promptly address any problems by adjusting watering, fertilizing, or applying appropriate treatments to ensure the health and vigor of the seedlings.
By following these care and maintenance tips, you can ensure the successful growth of your celery seedlings and prepare them for transplanting into the garden.
Harvesting and Using Celery from Seedlings
Celery is a versatile vegetable that can be harvested and used in a variety of ways. Here are some tips for harvesting and enjoying celery from seedlings:
1. Harvesting:
- When the celery plants have reached a desirable size, usually around 8-12 inches tall, they are ready to be harvested.
- Use a sharp knife or pruning shears to cut the celery stalks at the base, as close to the soil as possible.
- It’s best to harvest celery in the morning when the plants are well-hydrated and crisp.
2. Storing:
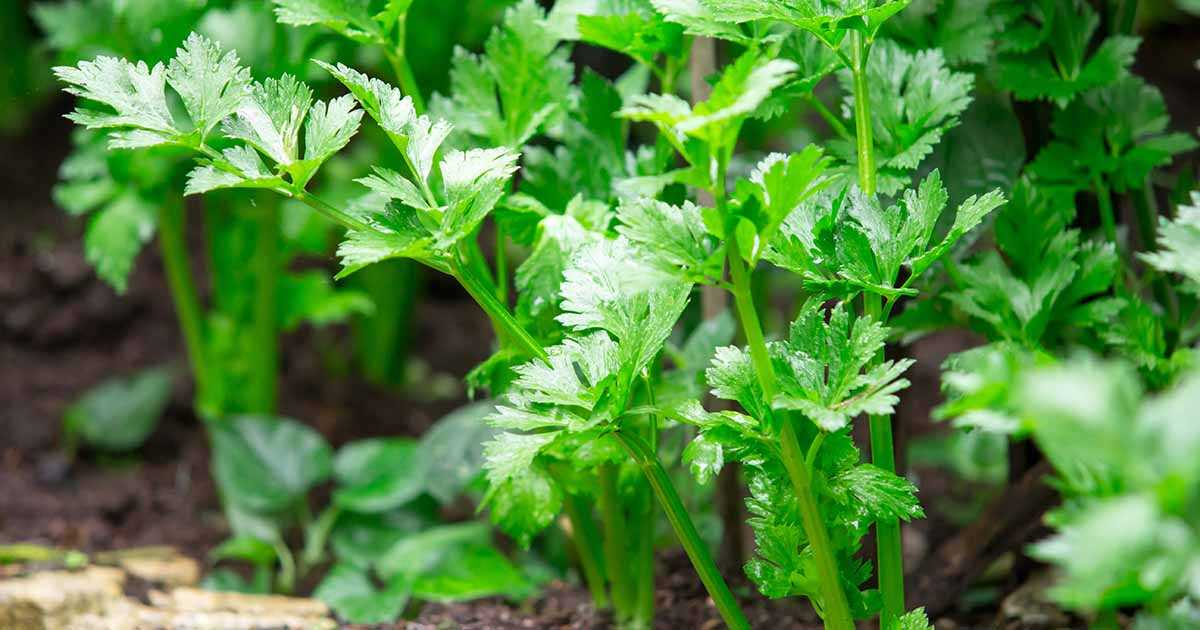

After harvesting, it’s important to store celery properly to maintain its freshness:
- Remove any leaves from the stalks and wash the celery thoroughly.
- Wrap the stalks in damp paper towels or store them in a plastic bag in the refrigerator crisper drawer.
- Celery can stay fresh for up to two weeks when stored properly.
3. Using Celery:
Celery can be used in a variety of recipes and dishes for added flavor and crunch:
- Add celery to soups, stews, and stir-fries for extra texture and flavor.
- Use celery stalks as a vehicle for dips or spreads.
- Chop celery and add it to salads for a crispy element.
- Celery can also be juiced for a refreshing and healthy drink.
- The leaves of celery can be used as a garnish or added to salads for added freshness.
By harvesting and using celery from seedlings, you can enjoy the fresh and flavorful taste of this versatile vegetable in a variety of dishes.
“Question-Answer”
When is the best time to sow celery on seedlings?
The best time to sow celery on seedlings is 8-10 weeks before the last frost date in your area.
What is the recommended method for sowing celery on seedlings?
The recommended method for sowing celery on seedlings is to scatter the seeds thinly on top of a tray filled with seed compost, cover them lightly with a thin layer of compost, and water gently.
Can celery seedlings be grown in pots or containers?
Yes, celery seedlings can be grown in pots or containers as long as there is enough space for the roots to grow and the pots have drainage holes.
How should celery seedlings be cared for after sowing?
After sowing, celery seedlings should be kept in a greenhouse or on a windowsill with plenty of light and a temperature of around 15-18°C. They should be watered regularly and kept moist, but not over-watered.
What are some common problems that can occur when sowing celery on seedlings?
Some common problems that can occur when sowing celery on seedlings include damping off, where the seedlings rot at the base, and pests such as slugs and snails. It is important to keep the seedlings well ventilated and to remove any affected plants to prevent the spread of disease.


