- Tips for increasing the size of garlic
- 1. Planting in the right soil
- 2. Adequate spacing
- 3. Proper watering
- 4. Fertilizing at the right time
- 5. Removing scapes
- 6. Harvesting at the right time
- 7. Sun exposure
- 8. Mulching
- 9. Disease and pest control
- 10. Proper storage
- Essential supplements for planting holes in autumn
- Optimal planting time in autumn
- Factors to consider
- General guidelines
- Proper soil preparation for garlic growth
- 1. Choose the right location
- 2. Clear the area
- 3. Test and amend the soil
- 4. Dig the soil
- 5. Add organic matter
- 6. Create planting rows or beds
- 7. Apply mulch
- Irrigation techniques for garlic plants
- Garlic Varieties That Boost Bulb Size
- Insights on spacing and depth for planting garlic cloves
- Spacing
- Depth
- Considerations for hilling
- In conclusion
- Importance of removing scapes during growth
- 1. Energy redirection
- 2. Increased bulb size
- 3. Improved bulb quality
- 4. Preventing competition
- 5. Encouraging healthier plants
- Harvesting and Curing Practices for Large Garlic Bulbs
- 1. Timing is everything:
- 2. Gently loosen the soil:
- 3. Lift the bulbs:
- 4. Clean off excess soil:
- 5. Trim the roots and leaves:
- 6. Curing the bulbs:
- 7. Proper storage:
- 8. Enjoy your large garlic bulbs:
- “Question-Answer”
- What can I add to the planting holes in autumn to increase the size of garlic?
- Is it necessary to add anything to the planting holes when growing garlic in autumn?
- How does adding compost or well-rotted manure to the planting holes help increase the size of garlic?
- Can I use other types of organic matter besides compost or well-rotted manure?
- Are there any alternatives to adding organic matter to the planting holes for increasing the size of garlic?
- “Video” How To Grow Garlic Indoors Anytime Anywhere
Growing your own garlic can be a rewarding experience, especially when you are able to harvest large, flavorful bulbs. One way to increase the size of your garlic bulbs is to add certain ingredients to the planting holes in autumn. By providing the right nutrients and conditions for the garlic plants to thrive, you can encourage larger bulb development.
1. Compost: Adding compost to the planting holes in autumn can provide a rich source of organic matter and nutrients for the garlic plants. Compost helps improve soil structure, retain moisture, and release nutrients slowly over time. By incorporating compost into the planting holes, you are giving the garlic plants a head start in terms of nutrition.
Tip: Use well-rotted compost to avoid burning the garlic plants. Spread a thin layer of compost at the bottom of each planting hole and mix it with the surrounding soil.
2. Bone meal: Bone meal is a great source of phosphorus, an essential nutrient for bulb development. Adding bone meal to the planting holes can help promote the formation of large garlic bulbs. It is important to note that bone meal should be used sparingly, as excessive amounts may cause imbalances in the soil.
Tip: Sprinkle a small amount of bone meal at the bottom of each planting hole before placing the garlic cloves. Avoid direct contact between the bone meal and the cloves to prevent burning.
3. Kelp meal: Kelp meal is rich in trace minerals and growth stimulants, making it a valuable addition to the planting holes. These nutrients can enhance the overall health and vigor of the garlic plants, leading to bigger bulbs. Kelp meal also helps improve soil structure and water retention.
Tip: Mix a tablespoon of kelp meal with the surrounding soil in each planting hole. Ensure that the kelp meal is evenly distributed and avoid using excessive amounts.
By incorporating compost, bone meal, and kelp meal into the planting holes in autumn, you can provide the necessary nutrients for garlic bulbs to grow larger. Remember to follow the tips provided and adjust the quantities according to your specific soil conditions. With proper care and attention, you can enjoy a bountiful harvest of large, delicious garlic bulbs!
Tips for increasing the size of garlic
1. Planting in the right soil
To increase the size of garlic bulbs, it is important to plant them in the right soil. Garlic prefers well-draining soil with a pH level of around 6.5 to 7.5. You can amend the soil with organic matter, such as compost or aged manure, to improve the soil structure and fertility.
2. Adequate spacing
Garlic plants need enough space to grow and develop full-sized bulbs. Plant each clove at least 4 to 6 inches apart in rows that are spaced about 12 inches apart. This allows the plants to have enough room to receive sunlight, nutrients, and water without competing with other garlic plants.
3. Proper watering
Garlic plants require consistent moisture during their growing season, especially when they are forming bulbs. Water the plants regularly, keeping the soil evenly moist but not waterlogged. Avoid overwatering, as this can lead to rotting of the bulbs.
4. Fertilizing at the right time
Applying a balanced fertilizer before planting can provide the necessary nutrients for garlic growth. You can also side-dress the plants with a nitrogen-rich fertilizer, such as blood meal, in early spring to promote bulb development. However, avoid excessive fertilization, as it can lead to oversized bulbs with a milder flavor.
5. Removing scapes
Scapes are the curly flower stalks that garlic plants produce. Removing the scapes helps the plant direct its energy towards bulbing instead of flowering. Snip off the scapes when they start to curl, and use them in cooking as a delicious bonus.
6. Harvesting at the right time
Harvest garlic bulbs when the lower leaves turn yellow and begin to dry out. Gently dig the bulbs out of the ground using a garden fork or shovel, being careful not to bruise or damage them. Allow the harvested garlic bulbs to cure in a well-ventilated area for a few weeks to improve their flavor and storage life.
7. Sun exposure
Garlic plants require full sun exposure for optimal growth. Make sure the planting location receives at least 6 hours of direct sunlight daily. This will help the plants produce larger and healthier bulbs.
8. Mulching
Applying a layer of mulch around the garlic plants can help conserve soil moisture, control weed growth, and maintain a more consistent soil temperature. Organic mulches, such as straw or wood chips, work well for garlic. Apply a 2 to 4-inch layer of mulch around the plants, being careful not to bury the garlic bulbs.
9. Disease and pest control
To ensure the size and quality of garlic bulbs, it is important to manage diseases and pests. Avoid planting garlic in the same location year after year to reduce the risk of soil-borne diseases. Keep a close eye on the plants for signs of pests, such as aphids or onion maggots, and take appropriate measures to control them.
10. Proper storage
After curing the harvested garlic bulbs, store them in a cool, dry, and well-ventilated area. Avoid storing them in the refrigerator, as the cold temperatures can cause the bulbs to sprout prematurely. With proper storage, the garlic bulbs can last for several months.
By following these tips, you can increase the size and quality of your garlic bulbs, resulting in a bountiful harvest of flavorful garlic for your culinary delights.
Essential supplements for planting holes in autumn
When it comes to planting garlic bulbs in autumn, adding certain supplements to the planting holes can help increase their size and productivity. Here are some essential supplements to consider:
- Organic compost: Mixing organic compost into the planting holes can provide essential nutrients and improve soil structure, promoting healthy root development and overall plant growth.
- Bone meal: Adding bone meal to the planting holes can supply the garlic bulbs with phosphorus, which is important for root development and bulb formation.
- Kelp meal: Kelp meal is rich in trace minerals and beneficial hormones that can enhance plant growth and strengthen the garlic bulbs.
- Fish emulsion: Fish emulsion is a natural fertilizer that provides nitrogen and other nutrients to support healthy plant growth and increase the size of garlic bulbs.
It is important to note that while these supplements can be beneficial, it is recommended to follow the recommended application rates to avoid over-fertilization, which can harm the garlic plants. Additionally, it is always a good idea to test the soil to determine any specific nutrient deficiencies and adjust the supplements accordingly.
By incorporating these essential supplements into the planting holes in autumn, you can provide your garlic bulbs with the necessary nutrients for optimal growth and larger, more productive harvests.
Optimal planting time in autumn
Planting garlic in the autumn is an essential step to ensure a bountiful harvest in the following year. The optimal planting time for garlic in autumn depends on several factors such as the climate, soil condition, and the specific garlic variety being planted.
Factors to consider
- Climate: Garlic should be planted before the ground freezes. The ideal temperature range for planting garlic is between 4°C and 10°C (40°F and 50°F). Planting too early may result in premature sprouting, while planting too late may not allow enough time for the garlic to establish roots before winter.
- Soil condition: The soil should be well-drained and loose to allow for proper root development. It’s important to ensure that the soil is free of weeds and debris, as these can hinder the growth of garlic bulbs.
- Garlic variety: Different garlic varieties have different requirements for optimal planting time. Some varieties do better when planted earlier in the autumn, while others perform better when planted later. It’s important to research the specific garlic variety being planted and follow the recommended planting guidelines.
General guidelines
Based on these factors, a general guideline for planting garlic in autumn is to aim for a period of 2-4 weeks before the ground freezes. This allows the garlic enough time to establish roots before winter while avoiding premature sprouting.
It’s recommended to consult with local gardening experts or agricultural extension services for more precise planting timelines based on the specific climate and conditions in your region.
Proper soil preparation for garlic growth
In order to ensure the successful growth of garlic, proper soil preparation is essential. By preparing the soil correctly, you can provide your garlic cloves with the optimal environment for root development and overall growth. Here are some important steps to follow:
1. Choose the right location
Garlic plants require a location that receives full sun for at least 6 to 8 hours a day. Select a spot in your garden that has well-draining soil to avoid waterlogging, which can lead to rotting of the bulbs. Avoid areas where water tends to collect or areas with heavy clay soil.
2. Clear the area
Remove any weeds, grass, or other vegetation from the chosen garlic growing area. These can compete with the garlic plants for nutrients and water. Ensure that the area is clear and free of debris.
3. Test and amend the soil
Test the soil to determine its pH level and nutrient content. Garlic prefers a slightly acidic soil with a pH range between 6.0 and 7.0. If the soil pH is too high, you can lower it by adding organic matter such as compost or well-rotted manure. Additionally, if the soil is lacking in nutrients, you can amend it with balanced organic fertilizer.
4. Dig the soil
Using a garden fork or shovel, loosen the soil to a depth of about 8 to 10 inches. This will allow the garlic roots to penetrate easily and promote good drainage. Remove any large rocks, roots, or clumps of soil to create a smooth planting surface.
5. Add organic matter
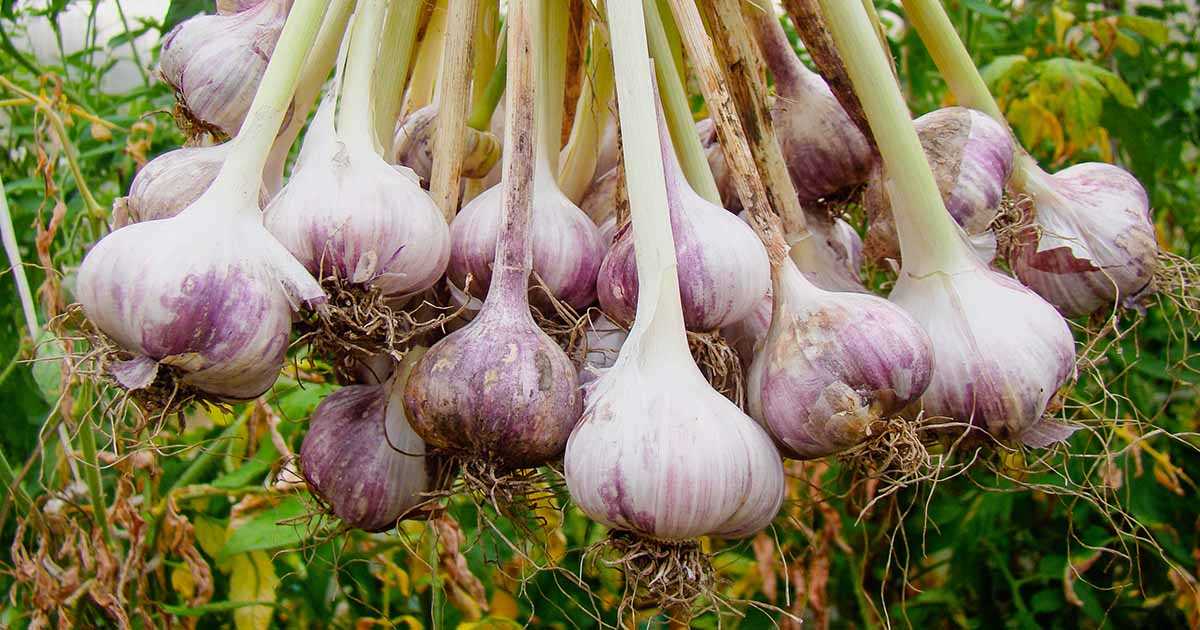
Mix in a generous amount of organic matter such as compost or well-rotted manure into the soil. This will improve the soil structure, fertility, and water-holding capacity. Spread the organic matter evenly over the planting area and incorporate it into the soil.
6. Create planting rows or beds
Depending on your preference, you can create planting rows or raised beds for garlic cultivation. Leave enough space between the rows or beds to allow for easy access and air circulation. This will help prevent diseases and promote better growth of the garlic plants.
7. Apply mulch
After planting the garlic cloves, apply a layer of organic mulch such as straw or leaves. Mulching helps conserve moisture, suppresses weed growth, and regulates soil temperature. It also adds organic matter to the soil as it breaks down over time.
By following these soil preparation steps, you can create an ideal environment for the growth of your garlic plants. This will not only result in larger garlic bulbs but also healthier plants with improved resistance to pests and diseases.
Irrigation techniques for garlic plants
- Timing: It is important to provide adequate water to garlic plants, especially during their growing and bulbing stages. Garlic requires consistent moisture but also needs to be well-drained to prevent waterlogged conditions.
- Frequency: Depending on the weather conditions and soil moisture levels, garlic plants generally need to be watered every 3-5 days. However, it is essential to monitor the soil moisture and adjust the frequency accordingly.
- Amount: Garlic plants require approximately 1 inch of water per week. This includes rainfall and irrigation. It is best to water deeply, providing enough water to saturate the soil to a depth of at least 6 inches.
- Drip irrigation: Using a drip irrigation system can be beneficial for garlic plants. Drip irrigation delivers water directly to the root zone, maximizing efficiency and minimizing water loss due to evaporation. It also helps to prevent the foliage from becoming wet, reducing the risk of fungal diseases.
- Mulching: Apply a layer of organic mulch, such as straw or hay, around the garlic plants. Mulching helps to conserve soil moisture by reducing evaporation and suppressing weed growth, which can compete with garlic for water and nutrients.
- Monitoring: Regularly monitor the soil moisture levels by checking the moisture content at the root level. Use a soil moisture meter or simply dig a small hole near the garlic plants and feel the soil. If it feels dry at a depth of 2-3 inches, it is time to water.
- Water quality: Garlic plants prefer well-drained soil and do not tolerate waterlogged conditions. Avoid overwatering, as it can lead to rot and disease. Use water that is free of chemicals, such as chlorine or salts, as these can be harmful to garlic plants.
Garlic Varieties That Boost Bulb Size
When it comes to growing garlic and maximizing bulb size, choosing the right variety is key. While all garlic varieties have the potential to produce large bulbs, some are known for their exceptional size and flavor. Here are some garlic varieties that can help boost bulb size:
- Elephant Garlic: Known for its enormous size, Elephant Garlic produces bulbs that can reach up to 5 inches in diameter. Although it is technically a type of leek, Elephant Garlic has a mild garlic flavor and can be used in the same way as regular garlic.
- Spanish Roja Garlic: This variety is known for its large cloves and rich, full flavor. Spanish Roja Garlic bulbs can often reach 2 inches in diameter and have a beautiful purple-striped outer skin.
- Musical Garlic: This Italian heirloom variety is prized for its large, uniform bulbs. Musical Garlic bulbs can reach 2-3 inches in diameter and have a rich, pungent flavor.
- Chesnok Red Garlic: Known for its beautiful purple-striped skin, Chesnok Red Garlic produces large bulbs with plump cloves. It has a rich, complex flavor and is great for both cooking and roasting.
- German White Garlic: With its large white bulbs and high heat tolerance, German White Garlic is a popular choice for gardeners looking to grow big, flavorful bulbs. It has a robust flavor that mellows when cooked.
When selecting garlic varieties, it’s important to consider your growing conditions and climate. Some varieties perform better in colder climates, while others thrive in warmer regions. Additionally, each variety may have different harvest times and storage requirements.
To maximize the size of your garlic bulbs, be sure to provide them with well-drained soil, adequate moisture, and plenty of sunlight. Proper planting techniques, such as spacing the cloves correctly and planting them at the right depth, can also help promote bulb growth.
By choosing the right garlic varieties and providing optimal growing conditions, you can increase the size of your garlic bulbs and enjoy an abundant harvest with an intense garlic flavor.
Insights on spacing and depth for planting garlic cloves
When it comes to planting garlic cloves, it’s important to pay attention to the spacing and depth at which they are planted. Proper spacing and depth can ensure healthy growth and larger bulb formation. Here are some insights on spacing and depth for planting garlic cloves:
Spacing
Garlic cloves should be spaced properly to provide enough room for the plants to grow and avoid overcrowding. The recommended spacing for garlic cloves is usually between 4 to 6 inches apart. This allows each plant to develop a good root system and access enough nutrients and water.
By spacing the cloves properly, you also minimize the risk of disease spread. Adequate spacing between plants promotes good air circulation, reducing the chances of fungal infections and other diseases.
Depth
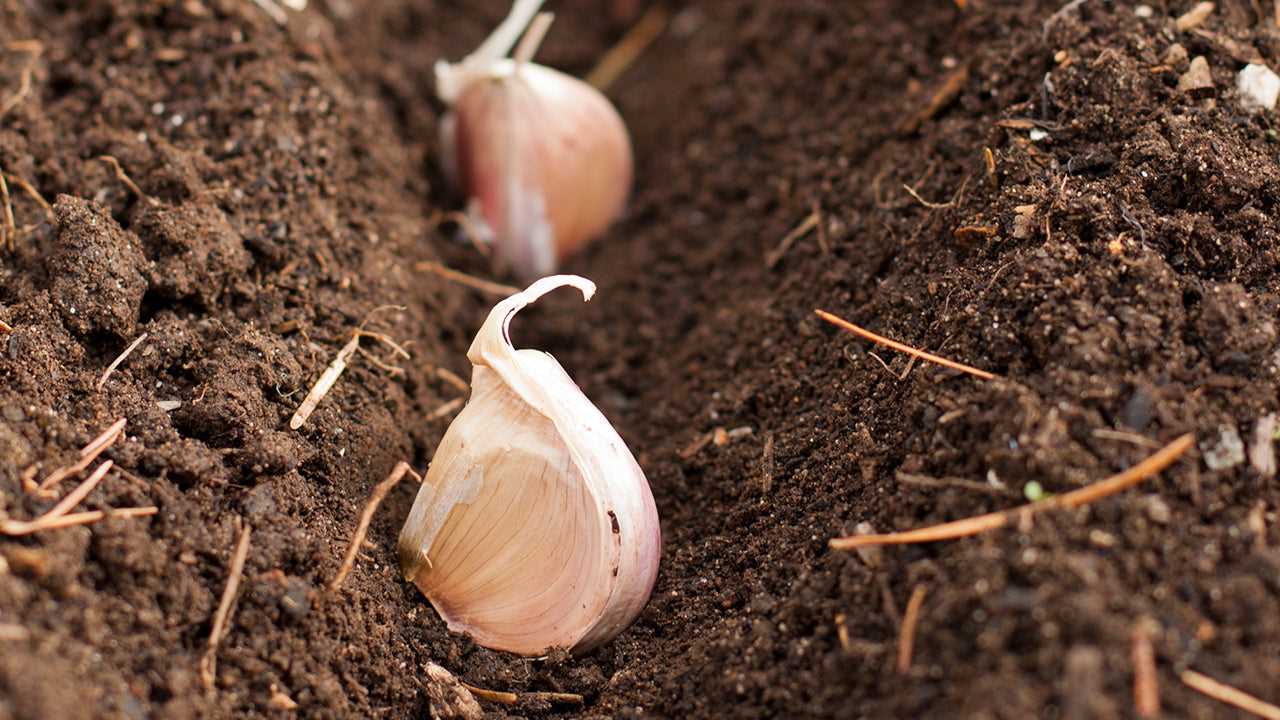
The depth at which garlic cloves are planted is crucial for the development of large bulbs. The general rule of thumb is to plant garlic cloves at a depth of approximately 2 inches. This depth provides enough soil coverage for the cloves to establish roots and develop into healthy plants.
Planting garlic cloves too shallow can result in weak root systems and susceptibility to drought. On the other hand, planting them too deep may hinder adequate sprouting and emergence. Finding the right balance is essential for optimal growth.
It’s also important to note that depth may vary slightly depending on the size of the cloves. Larger cloves can be planted slightly deeper, while smaller cloves may be planted slightly shallower.
Considerations for hilling
Hilling refers to the process of mounding soil around the base of the garlic plants as they grow. This can help protect the developing bulbs and promote larger bulb formation. Hilling can also increase the depth of the planting area, providing additional space for bulb development.
If you plan on hilling your garlic plants, you can initially plant the cloves at a slightly shallower depth. As the plants grow, you can gradually mound soil around the base of the plants, increasing the depth of the planting area.
In conclusion
Proper spacing and depth are crucial factors in the successful growth of garlic cloves. By spacing them adequately and planting them at the right depth, you can promote healthy growth and maximize bulb size. Consider these insights when planting garlic cloves and enjoy a bountiful harvest.
Importance of removing scapes during growth
Scapes are the curly, flower stalks that emerge from the center of the garlic plant as it grows. While they may look beautiful, it is important to remove these scapes to ensure optimal garlic bulb growth. Here are a few reasons why removing scapes is necessary:
1. Energy redirection
By removing the scapes, you redirect the plant’s energy from flower production to bulb formation. Garlic plants have limited energy reserves, and if allowed to produce flowers, these reserves will be diverted away from the bulbs. Removing scapes ensures that all the energy is focused on developing large, flavorful garlic bulbs.
2. Increased bulb size
When scapes are removed, the garlic plant can allocate more resources to bulb growth. This results in larger bulbs with more cloves, which is beneficial for both culinary and planting purposes. Larger bulbs contain more cloves, giving you a bigger harvest and a higher yield for future planting.
3. Improved bulb quality
Garlic bulbs with scapes left unharvested can become woody and less flavorful. By removing the scapes, you promote the development of high-quality bulbs. These bulbs will have a better texture, flavor, and overall appearance, making them more desirable for consumption or future planting.
4. Preventing competition
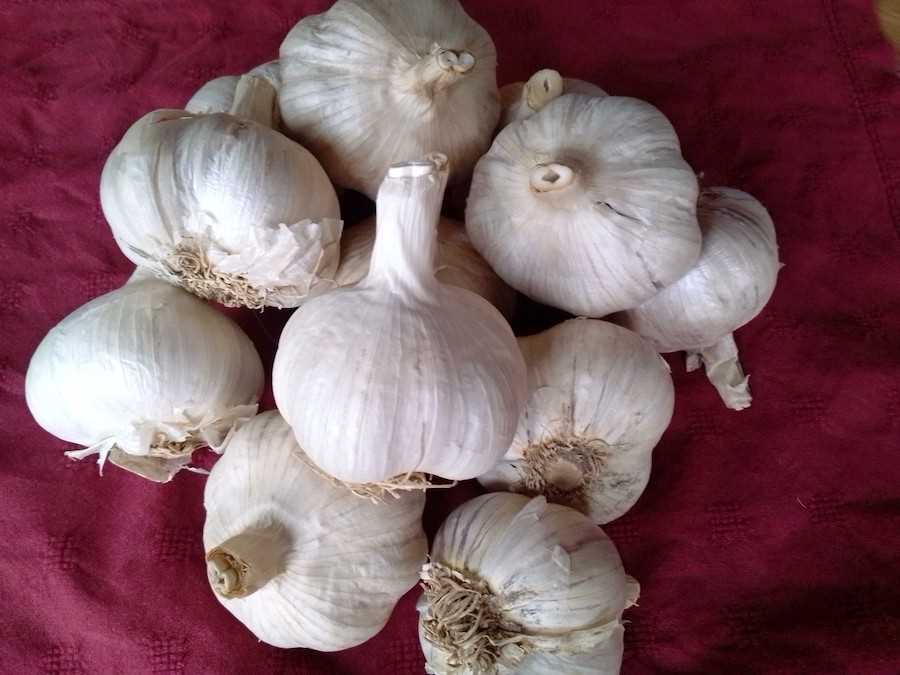
When scapes are left on the garlic plants, they can become a source of competition for nutrients and water. Removing the scapes eliminates this competition, allowing the garlic bulb to receive all the necessary resources for optimal growth. This helps prevent stunted bulb development and ensures uniform bulb size.
5. Encouraging healthier plants
By removing scapes, you reduce the risk of diseases, pests, and pathogens affecting your garlic plants. Scapes can provide hiding places for insects or promote the growth of fungal infections. Removing them helps create a healthier environment for your plants and reduces the likelihood of any potential issues.
Overall, removing scapes during growth is an essential practice for maximizing the size, quality, and yield of your garlic bulbs. It redirects energy, increases bulb size, improves bulb quality, prevents competition, and encourages healthier plants. Make sure to remove the scapes at the appropriate stage to ensure the best results for your garlic harvest.
Harvesting and Curing Practices for Large Garlic Bulbs
Harvesting garlic at the right time is crucial to ensure that the bulbs reach their maximum size and quality. Here are some key tips for harvesting and curing large garlic bulbs:
1. Timing is everything:
Garlic should be harvested when the leaves have turned yellow and dried up but are still holding onto the bulb. This is usually around late summer or early fall, depending on your climate and the garlic variety. Do not wait too long as the bulbs may start to separate and won’t store well.
2. Gently loosen the soil:
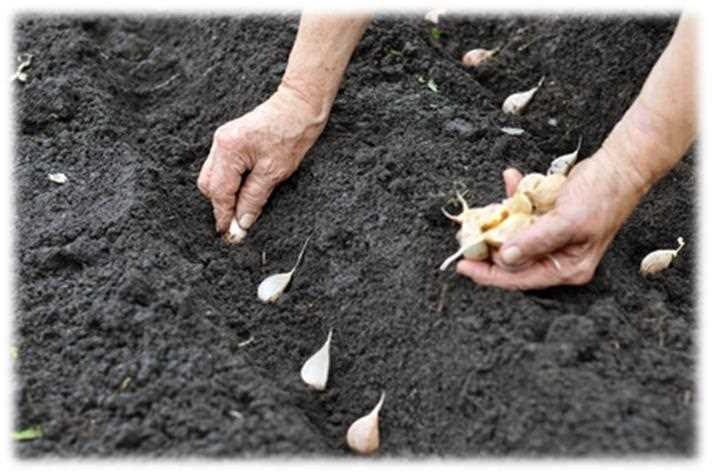
Before pulling the garlic bulbs from the ground, gently loosen the soil around the plant using a garden fork or shovel. Be careful not to damage the bulbs or bruise them during the process.
3. Lift the bulbs:
Once the soil is loosened, carefully lift the garlic bulbs from the ground by grabbing the base of the plant. Avoid pulling on the leaves or stems, as they can easily detach from the bulb.
4. Clean off excess soil:
Shake off any excess soil from the bulbs, but do not wash them. Washing can remove the protective outer layers and increase the risk of rot during the curing process.
5. Trim the roots and leaves:
Using a sharp pair of scissors or pruning shears, trim the roots and leaves of the garlic bulbs to about an inch or two. This helps to create a neat appearance and prevents the bulbs from rotting during curing.
6. Curing the bulbs:
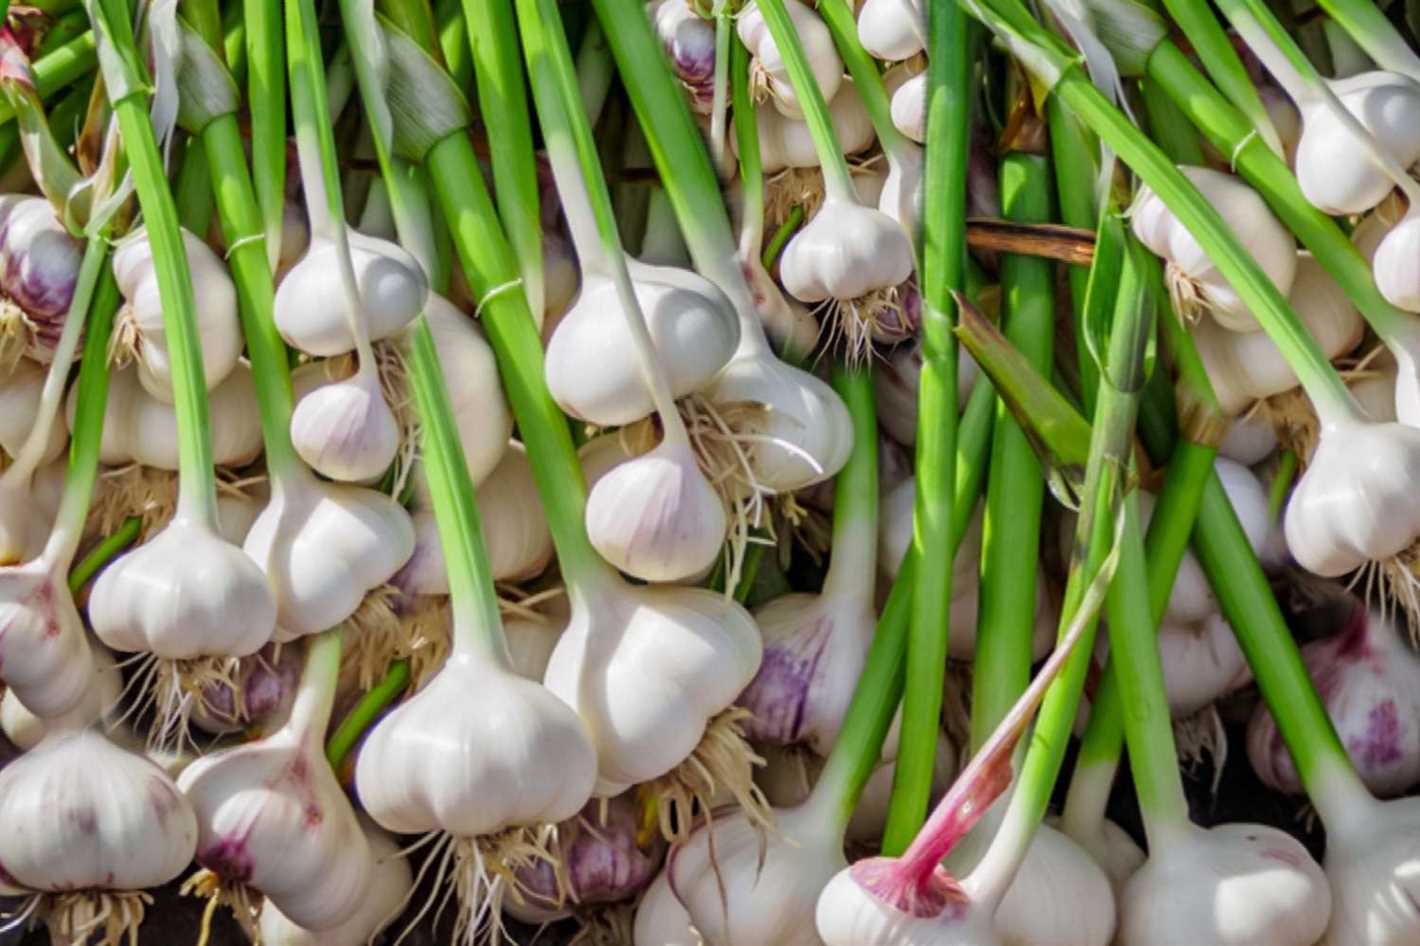
Curing is the process of drying garlic bulbs to improve their flavor and storage life. This can be done by hanging the garlic in a well-ventilated, dry area for several weeks. Avoid exposing the bulbs to direct sunlight, as it can cause them to become too dry.
7. Proper storage:
Once the garlic bulbs are fully cured, store them in a cool and dark place with low humidity. You can use mesh bags, baskets, or even braiding the stems together for storage. Avoid storing garlic in the refrigerator, as the moisture can cause them to sprout or spoil.
8. Enjoy your large garlic bulbs:
After curing and storing, your garlic is ready to be used in various culinary dishes. The large bulbs will have a strong, flavorful taste that can enhance the flavor of your favorite recipes.
By following these harvesting and curing practices, you can ensure that your garlic bulbs reach their maximum size and flavor, providing you with a bountiful harvest of delicious garlic.
“Question-Answer”
What can I add to the planting holes in autumn to increase the size of garlic?
To increase the size of garlic, you can add compost or well-rotted manure to the planting holes in autumn. These organic matter options provide additional nutrients to the soil, which promotes the growth of larger garlic bulbs.
Is it necessary to add anything to the planting holes when growing garlic in autumn?
While it is not necessary to add anything to the planting holes when growing garlic in autumn, adding compost or well-rotted manure can greatly benefit the growth of garlic bulbs. These organic matter options enrich the soil with nutrients, resulting in larger garlic bulbs.
How does adding compost or well-rotted manure to the planting holes help increase the size of garlic?
Adding compost or well-rotted manure to the planting holes in autumn helps increase the size of garlic by enriching the soil with nutrients. Garlic plants require a nutrient-rich environment to grow, and these organic matter options provide the necessary nutrients for the plants to produce larger bulbs.
Can I use other types of organic matter besides compost or well-rotted manure?
Yes, besides compost and well-rotted manure, you can also use other types of organic matter to add to the planting holes in autumn. Examples include leaf mulch, straw, or grass clippings. These options also provide additional nutrients to the soil and can help increase the size of garlic bulbs.
Are there any alternatives to adding organic matter to the planting holes for increasing the size of garlic?
Yes, besides adding organic matter to the planting holes, you can also consider using natural fertilizers that are high in phosphorus and potassium. These nutrients are essential for bulb development. Examples of natural fertilizers include bone meal, wood ash, or fish emulsion. However, it is important to follow the recommended application rates to prevent over-fertilization.


